· Grilling & Outdoor Cooking · 15 min read
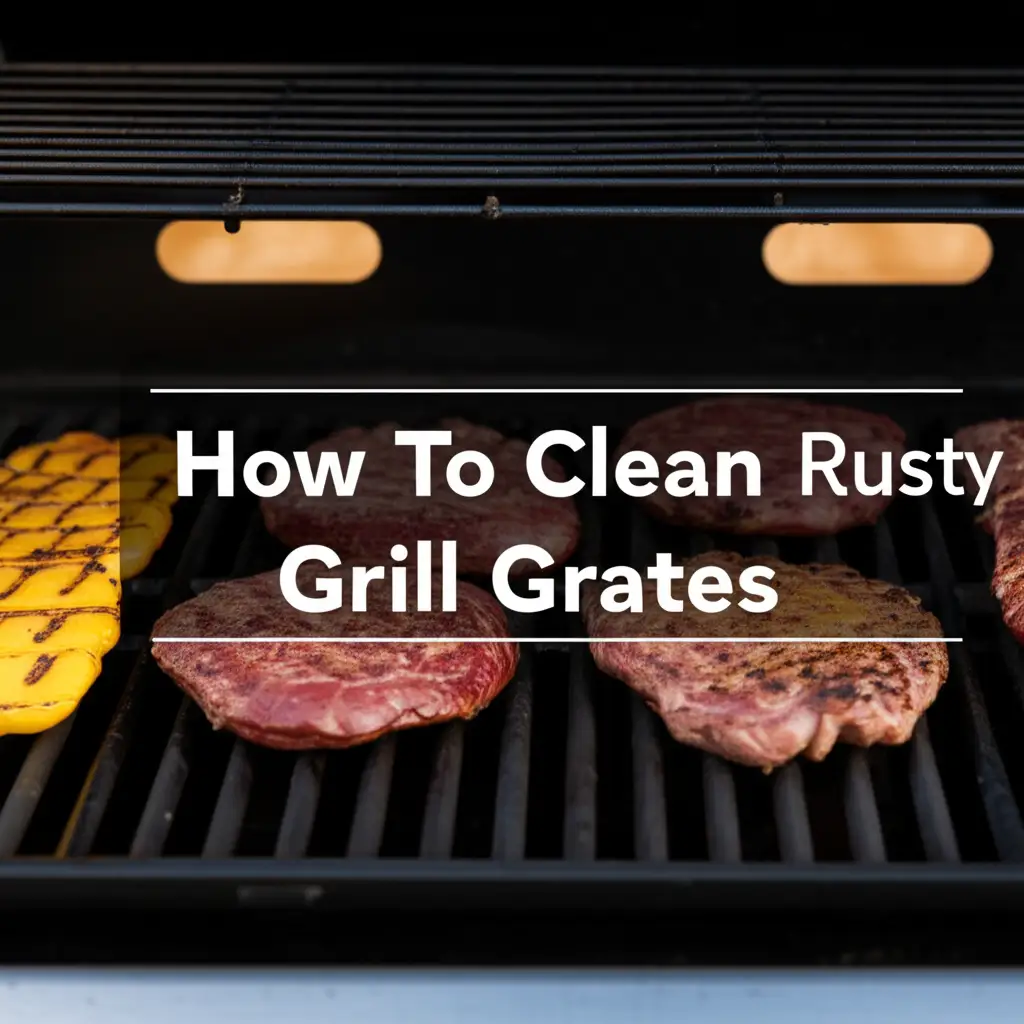
How To Clean A Griddle Grill That Has Rust
How to Clean a Griddle Grill That Has Rust: Ultimate Restoration Guide
Quick Takeaway:
- Rust on griddles is common but completely fixable with the right techniques
- You’ll need basic supplies like vinegar, baking soda, and metal scrapers
- Multiple effective methods exist - from mild to aggressive rust removal
- Proper seasoning after rust removal prevents future oxidation
- Regular maintenance prevents rust from returning
Answer: To clean a rusty griddle grill, first scrape off loose rust with a metal scraper, then apply vinegar or a baking soda paste and scrub with steel wool. Rinse thoroughly, dry completely, and re-season the surface with cooking oil to prevent future rust.
Why Griddles Rust and Why It Matters
Griddle grills have become increasingly popular for outdoor cooking enthusiasts and restaurant owners alike. Their flat cooking surface provides versatility for preparing everything from pancakes to burgers to stir-fry. However, one common issue that plagues these cooking surfaces is rust development. Understanding why griddles rust is the first step in proper maintenance and restoration.
Rust forms when iron in the steel surface reacts with oxygen in the presence of moisture. For griddle owners, this typically happens when the cooking surface isn’t properly cleaned, dried, or seasoned after use. Even high-quality griddles like Blackstone models can develop rust spots if neglected or improperly stored in humid environments.
Many griddle owners panic at the first sign of rust, wondering if their cooking surface is permanently damaged. The good news is that in most cases, rust on a griddle is completely reversible with the right cleaning techniques. Whether you’re dealing with light surface rust or more substantial oxidation, restoring your griddle to its former glory is absolutely possible.
Before we dive into the cleaning methods, it’s important to note that rust on a cooking surface is not only unsightly but can also affect food quality and potentially impact health if extensive rust flakes mix with food. Additionally, unchecked rust will continue to spread and eventually compromise the integrity of your griddle.
Essential Supplies for Rust Removal
Before tackling rust on your griddle grill, gathering the right tools and supplies will make the job much easier and more effective. Here’s what you’ll need to successfully remove rust and restore your cooking surface:
Basic Cleaning Tools:
- Metal scraper or putty knife (plastic scrapers may not be effective on serious rust)
- Steel wool or metal scouring pads (various grades from fine to coarse)
- Heat-resistant gloves to protect your hands
- Old towels or paper towels for drying
- Grill stones or pumice stones designed for griddle cleaning
- Wire brushes (brass bristles are often preferable as they’re effective yet less likely to scratch)
Rust-Fighting Agents:
- White vinegar (5% acidity)
- Baking soda
- Lemon juice
- Commercial griddle cleaners or specific rust removers designed for cooking surfaces
- Cooking oil for re-seasoning (flaxseed, vegetable, or canola oil work well)
If you’re dealing with a Blackstone griddle or similar model, you might also want to consider their specialized rust removal kit, though most home remedies work just as effectively at a fraction of the cost.
For severe rust cases, having a hand-held electric sander with fine-grit sandpaper can speed up the process, though this should be considered a last resort for extreme situations. Remember that mechanical methods like sanding will remove some of the metal surface along with the rust.
Having all these supplies ready before you begin will make the rust removal process much more efficient and ensure you don’t have to pause midway through this sometimes messy job.
Method 1: Vinegar Soak for Moderate Rust
Vinegar is one of the most effective natural rust removers due to its acidity, which helps dissolve iron oxide (rust). This method works particularly well for griddles with moderate rust coverage and is often the go-to technique for many Blackstone griddle owners.
Step-by-Step Vinegar Cleaning Process:
Safety First: Ensure your griddle is completely cool before beginning the cleaning process.
Initial Scraping: Use a metal scraper to remove any loose rust particles, food debris, and grease from the surface. Work in sections, applying firm pressure while being careful not to gouge the metal.
Vinegar Application: There are two approaches to using vinegar:
- For smaller rust spots: Create a solution of equal parts white vinegar and water in a spray bottle. Generously spray the rusty areas.
- For extensive rust: Pour undiluted white vinegar directly onto the griddle surface and spread it evenly with a cloth or paper towel.
Allow to Sit: Let the vinegar work on the rust for at least 15-20 minutes. For stubborn rust, you can extend this time up to an hour. The acid in the vinegar will begin breaking down the rust bonds.
Scrubbing Phase: Using steel wool or a grill stone, scrub the surface in circular motions. Start with the most rusted areas and work your way across the entire griddle. Apply steady pressure but avoid excessive force that might damage the metal.
Rinse Thoroughly: After scrubbing, rinse the griddle surface with clean water. You may need to repeat this several times to remove all vinegar residue.
Immediate Drying: Using clean towels, dry the griddle completely to prevent new rust from forming.
Many users report excellent results with this vinegar cleaning method for flat grills, especially when combined with proper scrubbing techniques. The acidity level of standard white vinegar (typically 5%) is strong enough to dissolve rust but gentle enough that it won’t damage your griddle’s metal surface when used properly.
For particularly stubborn rust spots, you might need to repeat this process 2-3 times, allowing the surface to dry completely between applications.
Method 2: Baking Soda Paste for Light Rust
For griddles with light surface rust or if you prefer to avoid the strong smell of vinegar, baking soda offers an excellent alternative cleaning method. Baking soda (sodium bicarbonate) creates a mildly abrasive, alkaline solution that helps lift rust from metal surfaces.
Baking Soda Cleaning Process:
Prepare the Surface: Turn off your griddle and allow it to cool completely. Use a scraper to remove any loose debris or flaky rust particles.
Create the Paste: Mix baking soda with water in a small bowl until you achieve a thick, spreadable paste consistency – approximately 3 parts baking soda to 1 part water.
Apply the Paste: Using gloved hands or a spatula, spread a generous layer of the baking soda paste over the rusty areas of your griddle. Make sure all affected areas are well-covered.
Let It Work: Allow the paste to sit for at least 30 minutes. For more significant rust, you can leave it on for several hours or even overnight. The longer it sits, the more time it has to break down the rust.
Gentle Scrubbing: Using a grill stone or steel wool, begin to scrub the surface in circular motions. The baking soda paste will turn brownish as it lifts the rust from the surface.
Rinse and Inspect: Thoroughly rinse the griddle with clean water, wiping away all baking soda residue. Inspect the surface for any remaining rust spots that might need additional treatment.
Dry Thoroughly: Use clean, dry towels to remove all moisture from the griddle surface.
This baking soda cleaning method is particularly effective for Blackstone griddles and other flat-top cooking surfaces. The gentle abrasiveness of baking soda helps lift rust without scratching the metal underneath, making it an ideal first approach before trying more aggressive methods.
For enhanced effectiveness, some griddle owners combine baking soda with a small amount of lemon juice to create a more acidic paste that tackles rust while still being food-safe and environmentally friendly.
Method 3: Commercial Rust Removers and Advanced Techniques
When dealing with severe rust or when natural methods haven’t fully resolved the issue, commercial rust removers and more aggressive techniques may be necessary. These approaches should be considered your second line of defense, after trying the gentler vinegar and baking soda methods.
Commercial Rust Removers:
Select an Appropriate Product: Choose a rust remover specifically formulated for cooking surfaces. Many products marketed as “griddle rust remover” or “Blackstone rust removal kit” are designed to be food-safe after proper cleaning.
Follow Product Instructions: Apply the commercial rust remover according to the manufacturer’s guidelines. Most require application to a dry surface and a specific dwell time.
Use Protective Gear: Always wear chemical-resistant gloves and ensure proper ventilation when using commercial rust removers, as they often contain stronger acids or chemicals than household solutions.
Thorough Rinsing: After treatment, rinse the griddle multiple times to ensure all chemical residue is removed before cooking on the surface again.
Mechanical Rust Removal Methods:
For extremely stubborn rust that resists chemical treatment:
Griddle or Grill Stones: These pumice-like stones are specifically designed for griddle cleaning and can effectively remove rust without damaging the cooking surface. Use firm pressure and circular motions.
Angle Grinder with Wire Wheel: For the most severe cases, a wire wheel attachment on an angle grinder can remove stubborn rust. This should be used cautiously and as a last resort, as it will remove some of the metal surface along with the rust.
Sandpaper Method: Starting with coarse-grit sandpaper (around 60-80 grit) and progressing to finer grits (120-220), you can manually sand away rust. Always sand in the direction of the grain of the metal when possible.
After using any of these more aggressive methods, it’s crucial to clean the surface thoroughly to remove all metal particles and dust. A solution of mild dish soap and water works well for this final cleansing step.
Remember that mechanical methods will likely remove some of the original surface metal along with the rust, so the cooking surface may need more careful re-seasoning afterward to restore its non-stick properties. For particularly valuable or high-end griddles, consulting a professional restoration service might be worth considering if these methods don’t produce satisfactory results.
Re-Seasoning Your Griddle After Rust Removal
After successfully removing rust from your griddle, proper seasoning is crucial to restore the non-stick surface and prevent future rusting. Seasoning creates a polymerized oil layer that protects the metal and improves cooking performance.
The Complete Re-Seasoning Process:
Ensure the Surface is Clean and Dry: Before seasoning, verify that all rust has been removed and the griddle surface is completely dry. Any moisture left will interfere with the seasoning process.
Heat the Griddle: Turn on your griddle to medium-high heat (around 350-400°F) and allow it to heat thoroughly for about 10-15 minutes. This opens the metal’s pores to better accept the oil.
Apply a Thin Layer of Oil: Once heated, turn off the griddle and allow it to cool slightly until it’s warm but not hot enough to smoke oil immediately. Using tongs and a folded paper towel, apply a thin layer of high-smoke-point oil such as:
- Flaxseed oil (considered optimal by many enthusiasts)
- Canola oil
- Vegetable oil
- Grapeseed oil
Spread Evenly: Use paper towels to spread the oil in a very thin, even layer across the entire cooking surface. The goal is a microscopically thin layer—too much oil will create a sticky surface rather than a smooth polymerized finish.
Heat to Smoking Point: Turn the heat back to high and wait until the oil begins to smoke. This indicates the oil is polymerizing and bonding with the metal.
Let it Smoke: Allow the oil to smoke for about 15-20 minutes, or until it stops smoking. This means the oil has fully polymerized.
Repeat the Process: For best results, repeat steps 3-6 at least three times. Each layer builds upon the previous one, creating a stronger, more durable seasoning.
Final Cooling: After the final layer, turn off the heat and allow the griddle to cool completely before storing or cooking.
A properly seasoned griddle will have a dark, semi-glossy appearance and smooth feel. The seasoning process may need to be repeated periodically, especially in areas where the coating wears thin from regular use or aggressive cleaning.
This seasoning technique works for all types of griddles, including Blackstone and other popular brands. After dealing with rust problems, many users find that proper seasoning is the key to preventing future issues and extending the life of their cooking surface.
Preventing Future Rust Development
After investing time and effort to remove rust and re-season your griddle, taking preventative measures will help ensure you don’t have to repeat the process anytime soon. Rust prevention is simpler and less time-consuming than rust removal.
Daily and Post-Cooking Maintenance:
Clean After Every Use: Once your griddle has cooled to a warm temperature after cooking, use a scraper to remove food particles. For stubborn residue, a small amount of water and gentle scrubbing with a grill stone works well.
Oil Application: After cleaning, apply a very thin layer of cooking oil to the entire surface while the griddle is still warm. This maintains the seasoning and creates a moisture barrier.
Proper Cooling: Allow your griddle to cool completely before covering or storing it to prevent condensation from forming.
Storage Best Practices:
Use a Quality Cover: Invest in a well-fitted, weather-resistant cover specifically designed for your griddle model. This protects against rain, snow, and excessive humidity.
Consider Indoor Storage: During periods of non-use, especially in humid climates or during rainy seasons, consider storing your griddle in a garage, shed, or other covered area.
Elevate in Humid Environments: In particularly humid areas, placing silica gel packets under the griddle or using a dehumidifier in the storage area can help prevent moisture accumulation.
Regular Maintenance Schedule:
Weekly Check: Even when not in use, check your griddle weekly for any signs of rust beginning to form. Early intervention prevents minor spots from becoming major problems.
Monthly Re-seasoning: For griddles used frequently, consider a monthly light re-seasoning to maintain the protective coating.
Seasonal Deep Clean: At the beginning and end of your primary grilling season, perform a thorough cleaning and re-seasoning to prepare for either heavy use or long-term storage.
By following these preventative measures, you’ll significantly extend the life of your griddle and maintain its cooking performance. Remember that consistency is key—regular maintenance takes just minutes after each use but can save hours of restoration work down the line.
If you use your griddle in coastal areas or places with high humidity, you may need to be even more vigilant about rust prevention. In these environments, consider cleaning and maintenance techniques similar to those used for outdoor furniture that’s exposed to similar conditions.
FAQ: Common Questions About Griddle Rust
Is it safe to cook on a griddle that has some rust?
Small amounts of rust aren’t typically harmful if ingested in tiny quantities, but cooking on a rusty surface is not recommended. Rust can transfer to food, affecting taste and appearance. Additionally, a rusty surface won’t cook evenly and food will stick more easily. It’s always best to remove rust before cooking, even if it means delaying your grilling plans.
How long does the vinegar method take to remove rust completely?
The time required depends on the severity of rust. Light surface rust might clear up after a 15-30 minute vinegar application and scrubbing. Moderate to heavy rust may require multiple applications and could take 1-3 hours of total treatment time. In extreme cases, leaving vinegar on overnight might be necessary, though this should be done cautiously as prolonged exposure can potentially damage the metal.
Can I use an electric sander to remove griddle rust?
Yes, for severe rust, an electric sander with fine-grit sandpaper can be effective. Start with 120-grit and move to finer grits (220+) for finishing. Work evenly across the surface and don’t focus too long on one area. After sanding, thorough cleaning and immediate seasoning are crucial to protect the newly exposed metal.
Why does my Blackstone griddle keep rusting despite regular seasoning?
Recurring rust despite maintenance usually indicates either insufficient drying after cleaning, inconsistent or thin seasoning layers, or exposure to excessive moisture during storage. Ensure you’re heating the griddle adequately during seasoning (oil must smoke to polymerize properly), using a quality cover, and storing in a relatively dry location. Consider more frequent re-seasoning if you live in a humid climate.
How do I know when all the rust is removed?
A rust-free griddle surface will have a uniform appearance without reddish-brown spots. Run your hand (carefully, if the surface is cool enough) or a paper towel over the cleaned area—it should feel smooth without rough patches. Any discoloration that remains after thorough cleaning is likely staining rather than active rust and will typically disappear with proper seasoning.
Final Thoughts: Embracing Griddle Maintenance
Dealing with rust on your griddle grill might seem daunting at first, but with the right techniques and regular maintenance, it’s a completely manageable aspect of ownership. In fact, many griddle enthusiasts find that the restoration process gives them a deeper appreciation for their cooking equipment and the science behind its care.
Remember that rust removal is not just about aesthetics—a properly maintained, rust-free griddle cooks more efficiently, produces better-tasting food, and will last significantly longer. The investment of time in cleaning a griddle grill that has rust pays dividends in both performance and longevity.
Whether you’ve chosen the vinegar method, baking soda paste, commercial cleaners, or mechanical removal, the key to long-term success lies in the follow-up care. Proper seasoning creates a natural non-stick surface that not only prevents rust but also enhances your cooking experience with more even heat distribution and easier food release.
Make griddle maintenance a regular part of your cooking routine—a few minutes of care after each use will prevent hours of restoration work later. And if you do encounter rust again, return to this guide with confidence knowing that your griddle can be restored to like-new condition with some elbow grease and patience.
For those who enjoy outdoor cooking, proper griddle care becomes part of the culinary journey. A well-maintained griddle grill isn’t just a cooking tool—it’s an investment in countless delicious meals and gatherings for years to come.
Ready to tackle other cleaning challenges around your home? Explore our guides on how to clean white upholstery that has yellowed or how to clean grill briquettes for more expert cleaning advice.
- griddle cleaning
- rust removal
- grill maintenance