· Home Maintenance · 6 min read
How To Clean A Thermostat
Keeping Your Comfort Control: How To Clean A Thermostat
Is your thermostat looking a little dusty? A dirty thermostat can actually impact its accuracy and even your HVAC system’s efficiency. Cleaning your thermostat is a simple task that can save you money and ensure your home stays comfortable. This article will guide you through the process of how to clean a thermostat, covering everything from safety precautions to step-by-step instructions. We’ll explore different thermostat types and the best cleaning methods for each, ensuring you can maintain optimal performance. Let’s get started and keep your home climate control in top shape!
Takeaway:
- Regularly cleaning your thermostat improves accuracy.
- Dust and debris can hinder performance and increase energy costs.
- Always turn off power before cleaning to ensure safety.
- Gentle cleaning methods are best to avoid damage.
A clean thermostat ensures accurate temperature readings, which means your HVAC system isn’t working harder than it needs to. This translates to lower energy bills and a more comfortable home environment.
Why Cleaning Your Thermostat Matters
You might not think about it often, but your thermostat accumulates dust, dirt, and even pet dander over time. This buildup can interfere with the thermostat’s ability to accurately sense the room temperature. When the thermostat misreads the temperature, your heating or cooling system might run longer or shorter than necessary. This leads to wasted energy and potentially higher utility bills. Beyond energy efficiency, a clean thermostat simply functions better, providing consistent and reliable temperature control. It’s a small maintenance task with a big impact on your home’s comfort and your wallet.
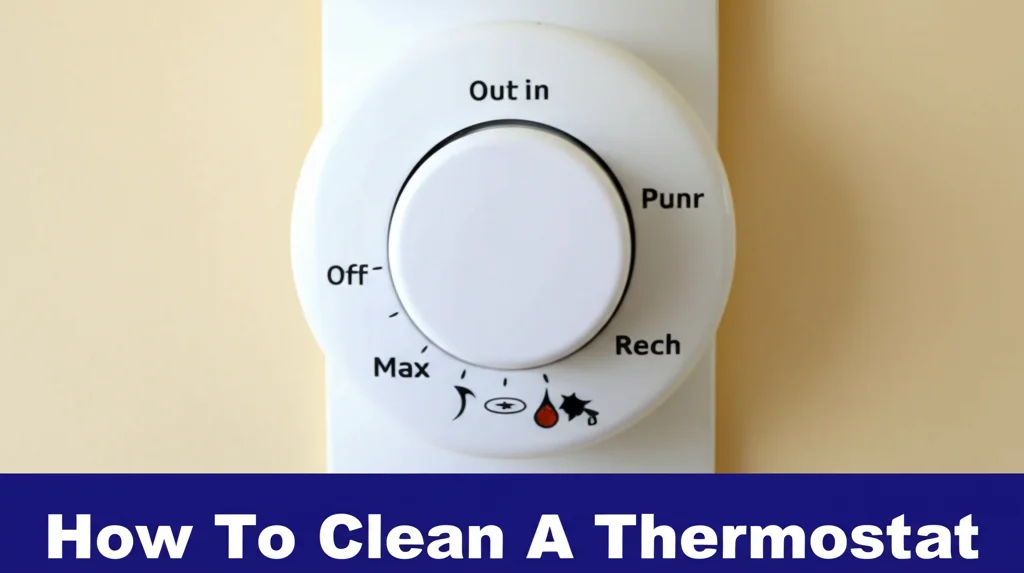
Identifying Your Thermostat Type
Before you begin cleaning, it’s important to identify what type of thermostat you have. Different types require slightly different cleaning approaches. Here are the most common types:
- Mechanical Thermostats: These are older models with a dial or slider. They are generally simpler to clean.
- Digital Non-Programmable Thermostats: These have a digital display but don’t allow for scheduled temperature changes.
- Programmable Thermostats: These allow you to set different temperatures for different times of the day.
- Smart Thermostats: These connect to your Wi-Fi and can be controlled remotely. They often have more sensitive components.
Knowing your thermostat type will help you choose the right cleaning tools and techniques. For example, smart thermostats often require extra caution to avoid damaging sensitive electronics.
Gathering Your Cleaning Supplies
You don’t need a lot of fancy equipment to clean your thermostat. Here’s a list of the supplies you’ll need:
- Screwdriver: To remove the thermostat cover (if necessary).
- Soft Brush: A small paintbrush or a soft toothbrush works well for removing dust.
- Microfiber Cloth: For wiping down surfaces.
- Compressed Air: Useful for blasting away dust from hard-to-reach areas.
- Isopropyl Alcohol (Optional): For stubborn grime, but use sparingly.
- Vacuum with Brush Attachment (Optional): For initial dust removal.
Having these supplies on hand will make the cleaning process quick and efficient. Remember to always prioritize gentle cleaning methods to avoid damaging the thermostat. If you’re looking for other ways to keep your home tidy, consider how often to clean windows for a brighter, more inviting space.
Step-by-Step Guide to Cleaning Your Thermostat
Now, let’s get to the cleaning process. These steps apply to most thermostat types, but always refer to your thermostat’s manual for specific instructions.
- Turn Off the Power: This is the most important step! Turn off the power to your HVAC system at the breaker box. This prevents electrical shock and damage to the thermostat.
- Remove the Cover: Most thermostats have a cover that can be removed. Use a screwdriver to gently loosen and remove the cover.
- Dust the Interior: Use a soft brush or compressed air to remove dust and debris from the inside of the thermostat. Pay attention to the sensors and any electronic components.
- Clean the Cover: Wipe down the cover with a microfiber cloth. If there’s stubborn grime, lightly dampen the cloth with isopropyl alcohol.
- Clean the Wall Plate: Gently wipe down the wall plate where the thermostat is mounted.
- Reassemble and Restore Power: Once everything is dry, reattach the cover and turn the power back on to your HVAC system.
Regular cleaning, even just a quick dusting every month, can prevent significant buildup and maintain optimal performance. Keeping your home clean extends beyond just the thermostat; you might also want to consider how often to clean the pool if you have one.
Cleaning Specific Thermostat Types
While the general steps above apply to most thermostats, here’s a closer look at cleaning specific types:
- Mechanical Thermostats: These are the easiest to clean. Simply dust the interior and wipe down the cover.
- Digital Thermostats: Be extra careful when cleaning digital thermostats. Avoid getting any liquid inside the unit.
- Smart Thermostats: Smart thermostats are more sensitive. Use only a dry microfiber cloth to clean the exterior. Avoid using any cleaning solutions.
- Programmable Thermostats: These are similar to digital thermostats, so use caution and avoid liquids.
Always consult your thermostat’s manual for specific cleaning instructions. If you’re unsure about any step, it’s best to err on the side of caution.
Troubleshooting Common Thermostat Issues
Sometimes, cleaning your thermostat isn’t enough to fix a problem. Here are a few common issues and how to troubleshoot them:
- Inaccurate Readings: If your thermostat is still reading incorrectly after cleaning, the sensor may be faulty.
- Thermostat Not Responding: Check the batteries (if applicable) or the breaker box.
- HVAC System Not Turning On: There may be a problem with the wiring or the HVAC system itself.
If you’re unable to resolve the issue yourself, it’s best to call a qualified HVAC technician. Don’t hesitate to seek professional help if you’re uncomfortable working with electrical components.
Frequently Asked Questions (FAQ)
Q: How often should I clean my thermostat? A: Ideally, you should dust your thermostat monthly and do a more thorough cleaning at least twice a year, before the heating and cooling seasons. Regular cleaning prevents dust buildup that can affect accuracy and efficiency.
Q: Can I use a vacuum cleaner to clean my thermostat? A: Yes, but use a vacuum with a brush attachment and be very gentle. Avoid using a strong suction that could damage the internal components.
Q: Is it safe to use water to clean my thermostat? A: No, avoid using water or any other liquids directly on the thermostat. Moisture can damage the electronic components. Use a lightly dampened microfiber cloth with isopropyl alcohol if necessary, but ensure it’s almost dry.
Q: What should I do if my thermostat is still not working after cleaning? A: Check the batteries (if applicable) and the breaker box. If the problem persists, consult a qualified HVAC technician.
Q: Can a dirty thermostat increase my energy bills? A: Yes, a dirty thermostat can cause your HVAC system to run inefficiently, leading to higher energy bills. Accurate temperature readings are crucial for optimal performance.
Conclusion
Cleaning your thermostat is a simple yet effective way to maintain your home’s comfort and save money on energy bills. By following the steps outlined in this guide, you can ensure your thermostat is functioning optimally. Remember to always prioritize safety by turning off the power before cleaning and using gentle cleaning methods. Regular maintenance, like cleaning your thermostat, contributes to a more efficient and comfortable home. Don’t underestimate the power of a clean thermostat! If you’re looking for more ways to improve your home’s cleanliness, consider how much to clean out a house for a comprehensive approach.
- thermostat cleaning
- home maintenance
- HVAC