· Metal Fabrication · 13 min read
How To Clean Aluminum for Welding
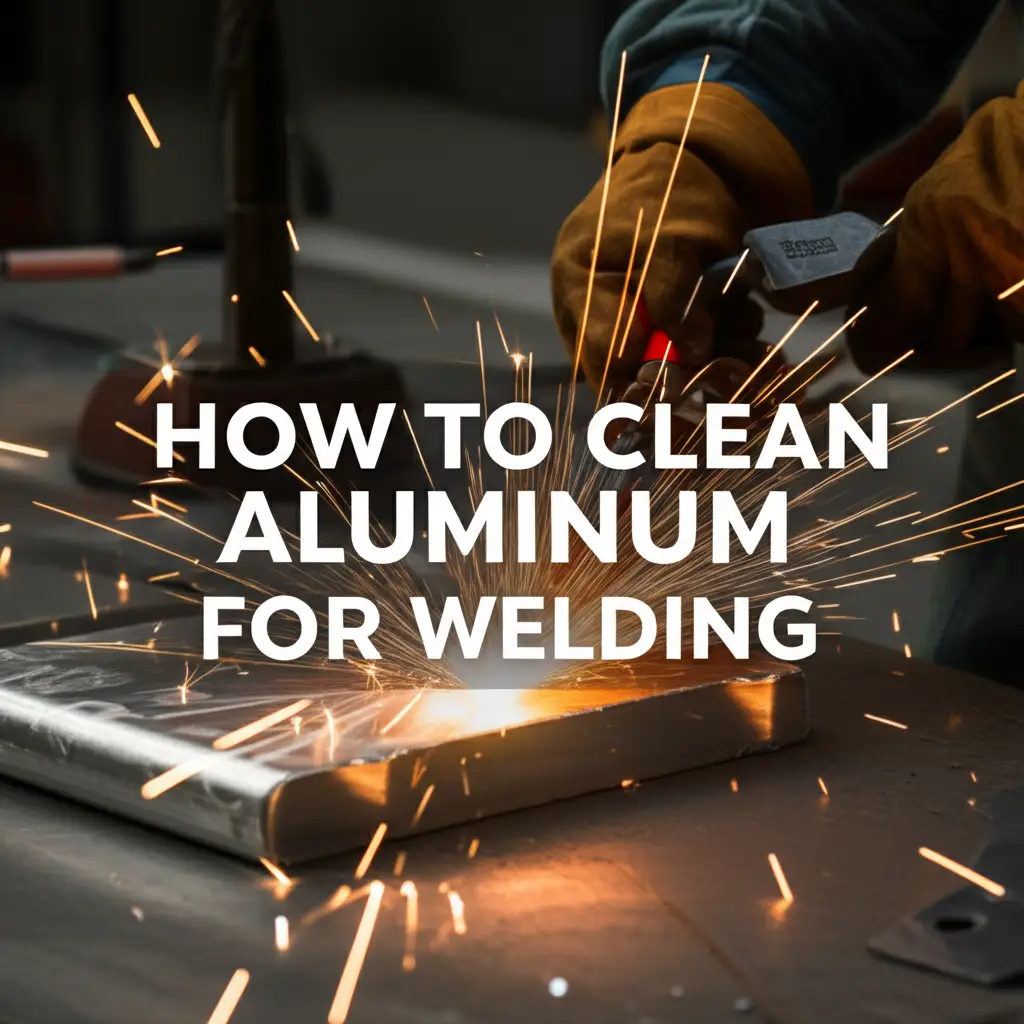
Clean Aluminum for Welding: Pro Guide to Flawless Joins
Welding aluminum presents unique challenges. Unlike steel, aluminum forms a protective oxide layer quickly. This layer has a much higher melting point than the base metal. Cleaning aluminum for welding is not just a suggestion; it is a critical step.
Ignoring proper preparation leads to weak, porous welds. We will explain why cleaning is essential and guide you through the best methods. This article covers mechanical and chemical cleaning, safety measures, and common pitfalls. You will learn how to achieve strong, clean welds every time.
Takeaway:
- Remove the aluminum oxide layer and all contaminants before welding.
- Use dedicated stainless steel brushes for mechanical cleaning.
- Apply appropriate solvents for chemical degreasing.
- Work quickly after cleaning to avoid re-oxidation.
- Prioritize safety with proper ventilation and protective gear.
To clean aluminum for welding, first remove any surface contaminants like oil or dirt using a degreaser. Next, mechanically remove the tough aluminum oxide layer with a dedicated stainless steel wire brush or grinder. Finally, wipe the surface with acetone or isopropyl alcohol just before welding to ensure a pristine, contaminant-free surface for a strong, high-quality weld.
The Critical Need to Clean Aluminum Before Welding
Why is cleaning aluminum for welding so important? Aluminum quickly forms an oxide layer when exposed to air. This layer is very hard and has a melting point of about 3,700°F (2,037°C). The aluminum base metal melts at a much lower temperature, around 1,220°F (660°C). This difference creates problems during welding.
When you start to weld, the base metal melts before the oxide layer. This traps the solid oxide within the molten puddle. The result is a weak, porous weld full of inclusions. These defects compromise the strength and appearance of your joint. Proper cleaning removes this oxide layer and other contaminants. This allows for smooth, strong fusion between the base metals. It ensures the weld metal flows properly and bonds effectively.
Contaminants like oil, grease, paint, or dirt also cause issues. These materials vaporize under welding heat. They introduce gases into the weld puddle, leading to porosity. Porosity makes the weld brittle and reduces its structural integrity. A clean surface ensures predictable and consistent weld quality. It reduces rework and saves time and materials.
Essential Safety Steps for Aluminum Cleaning
Safety must always come first when preparing aluminum for welding. You will handle chemicals and create dust. Proper personal protective equipment (PPE) is non-negotiable. Always wear safety glasses or a face shield to protect your eyes. Gloves are necessary to shield your hands from chemicals and sharp metal edges.
Good ventilation is crucial, especially when using solvents or creating dust. Work in a well-ventilated area or use local exhaust ventilation. Solvents can produce harmful fumes. Dust from grinding or sanding aluminum can irritate lungs. A respirator or dust mask can protect your respiratory system. Ensure your workspace is free of ignition sources if using flammable solvents.
Always read the safety data sheets (SDS) for any chemicals you use. They provide important information on safe handling, storage, and first aid. Keep a fire extinguisher nearby when working with flammable materials. Dispose of used rags and chemicals properly. Following these safety steps protects you and prevents accidents.
Mechanical Methods for Cleaning Aluminum Surfaces
Mechanical cleaning involves physically removing the surface layer. This is often the first step in preparing aluminum for welding. The primary goal is to break through and remove the tough aluminum oxide. You can use several tools for this.
Wire Brushing: A dedicated stainless steel wire brush is excellent for this task. It must be stainless steel because carbon steel brushes can embed particles into the aluminum. These embedded particles will cause contamination during welding. Always use a brush that has never touched other metals. Brush in one direction to lift and remove the oxide. Avoid aggressive scrubbing that pushes contaminants deeper.
Sanding: Sandpaper or sanding discs can also remove oxidation. Use a coarse grit, typically 60 to 80 grit. Fine grits can load up quickly and polish the surface, which is not ideal. Sand in a consistent direction. Remember to use sandpaper only on aluminum. Just like wire brushes, cross-contamination is a serious concern. This method is good for larger flat areas. You can learn more about cleaning various aluminum surfaces, such as how to clean aluminum diamond plate, by following specialized guides. how to clean aluminum diamond plate
Grinding: For very thick or heavily oxidized aluminum, grinding may be necessary. Use an abrasive disc designed for aluminum. These discs are less likely to load up with soft aluminum particles. Grinding removes a significant amount of material. Be careful not to thin the base metal too much. This method creates a lot of dust. Ensure you have proper ventilation and wear a respirator. After grinding, you will likely need to follow up with wire brushing or chemical cleaning to remove any fine dust or residual film.
Chemical Cleaning: Degreasing and Etching Aluminum
Chemical cleaning is vital for removing grease, oil, dirt, and other non-oxide contaminants. It also plays a role in further preparing the surface after mechanical cleaning. This step ensures a truly pristine surface.
Degreasing with Solvents: Start by degreasing the aluminum. Solvents like acetone, isopropyl alcohol, or denatured alcohol work well. Acetone is highly effective for removing oils and greases. Isopropyl alcohol is less volatile but also a good choice. Apply the solvent to a clean, lint-free cloth. Wipe the aluminum surface thoroughly. Use a fresh part of the cloth with each wipe to avoid spreading contaminants. Always wipe in one direction.
Do not use chlorinated solvents. These can break down under welding heat and produce toxic fumes. They can also cause weld porosity. Ensure the solvent fully evaporates before proceeding. A common mistake is not allowing enough dry time.
Alkaline Cleaners (Etching): For heavy oxidation or when a deeper clean is needed, an alkaline cleaner can be used. These cleaners often contain sodium hydroxide (caustic soda). They react with the aluminum surface, dissolving the oxide layer and some of the base metal. This process is called etching. Use these cleaners with extreme caution. They are highly corrosive. Follow the manufacturer’s instructions precisely for dilution and contact time. Rinse the aluminum thoroughly with clean water immediately after using an alkaline cleaner. Residual cleaner can cause weld defects. After etching, you may need a final rinse with deionized water to prevent water spots. Cleaning specific aluminum parts like valve covers also benefits greatly from proper degreasing techniques. how to clean aluminum valve covers
For specific applications, such as preparing engine components, the cleaning process might include steps to address heavy grease and carbon buildup. You can find more detailed guidance on cleaning specific parts, such as how to clean aluminum engine parts, which often involves a combination of degreasing and light abrasive methods. When addressing severe oxidation, such as on wheels, specialized products are often needed to restore the surface, similar to processes described in how to clean oxidized aluminum wheels.
Final Preparation and Minimizing Contamination
After mechanical and chemical cleaning, the aluminum surface is at its most vulnerable. It will begin to re-oxidize immediately upon exposure to air. This makes the final steps critical. Speed and cleanliness are key.
Last-Minute Wipe: Just before you begin welding, perform a final wipe. Use a clean, lint-free cloth dampened with acetone or isopropyl alcohol. This removes any dust or airborne contaminants that settled on the surface. Wipe only the area directly around the weld joint. Avoid touching the clean surface with bare hands. Fingerprints contain oils that can cause contamination.
Work Quickly: Aluminum forms a new oxide layer within minutes of being cleaned. The faster you weld after cleaning, the better. If you clean a large piece, consider cleaning sections just before welding them. This minimizes the time the surface is exposed to air. For critical welds, some professionals even weld immediately after brushing or wiping.
Proper Storage: If you cannot weld immediately, store the cleaned aluminum properly. Wrap it in plastic film or foil. Keep it in a dry, clean environment. This limits exposure to air and moisture. The goal is to prevent the oxide layer from forming too thickly again. Even with careful storage, re-cleaning might be necessary if left for extended periods.
Maintaining a clean workspace also helps. Keep your welding area free of dust and debris. Ensure your welding electrodes or filler rods are clean and stored correctly. The cleanliness of your filler metal is as important as the base metal. For other precision cleaning tasks, such as preparing an aluminum head gasket surface, similar meticulous steps are required to ensure no contaminants compromise the seal. how to clean aluminum head gasket surface
Common Mistakes to Avoid When Cleaning Aluminum for Welding
Even with the best intentions, mistakes happen. Knowing what to avoid can save you time, effort, and prevent faulty welds. Let’s look at common errors in cleaning aluminum for welding.
Using the Wrong Tools: A common mistake is using carbon steel brushes or grinders. These tools leave tiny iron particles embedded in the aluminum. Iron has a much higher melting point than aluminum. These particles will cause severe contamination, leading to brittle welds and potential cracking. Always use dedicated stainless steel brushes and abrasive discs specifically for aluminum. This also applies to other aluminum components like intake manifolds, where specific cleaning tools ensure optimal performance. how to clean aluminum intake manifold
Incomplete Cleaning: Rushing the cleaning process is another pitfall. The oxide layer must be fully removed. If you see dull or patchy areas, the oxidation is still present. Any residual oil, grease, or dirt will cause porosity. Take your time and be thorough. If you can’t see a shiny, clean surface, it’s not ready.
Cross-Contamination: This is a big one. Using a brush or rag that has touched steel or other metals will transfer contaminants to the aluminum. Even handling the cleaned aluminum with dirty gloves can cause problems. Dedicate tools and cloths solely for aluminum cleaning. Keep your workspace clean.
Insufficient Drying Time: If you use solvents or water-based cleaners, they must fully evaporate. Welding over wet or damp surfaces traps moisture. This leads to hydrogen porosity in the weld. Allow ample time for the surface to dry completely before striking an arc. You can use clean compressed air to speed up drying.
Delaying the Weld: Aluminum re-oxidizes quickly. If you clean the metal and then wait hours or days to weld, you will have to clean it again. Plan your cleaning and welding schedule to minimize the time between preparation and arc striking. Weld the same day you clean, ideally within minutes.
Maintaining Cleanliness During Welding Operations
Cleaning aluminum for welding is not just a pre-welding step. Maintaining cleanliness throughout the entire welding process is equally important. Even small details can affect the final weld quality.
Handle with Care: Once cleaned, avoid touching the aluminum surface with bare hands. Our skin contains oils that will contaminate the pristine surface. Wear clean gloves, preferably cotton or nitrile, when handling the prepared material. Be mindful of how you position the material on your workbench. Ensure the workbench itself is clean.
Protect Your Filler Metal: The filler wire or rods are just as susceptible to contamination as the base metal. Store your aluminum filler metal in its original packaging. Keep it in a dry, clean environment. If a filler rod gets dirty or oily, do not use it. Never leave filler wire exposed for long periods. Dust and moisture can accumulate on its surface.
Clean Welding Equipment: Your TIG torch consumables, like collets, collet bodies, and nozzles, must be clean. Inspect them regularly. A dirty nozzle can cause arc instability and poor gas coverage. Ensure your gas lens is clear and free of debris. Your welding gun nozzle for MIG welding should also be free of spatter and debris to ensure smooth wire feeding and proper gas flow.
Optimal Gas Shielding: Argon gas is crucial for shielding the weld puddle from atmospheric contamination. Ensure your gas cylinder has enough pressure. Check for leaks in your gas lines. A consistent and adequate gas flow rate prevents porosity. Too little gas means oxygen and nitrogen can get into the weld. Too much gas can create turbulence, pulling in air. Cleanliness extends to the entire welding environment. A dust-free area and well-maintained equipment support high-quality aluminum welds.
Frequently Asked Questions About Cleaning Aluminum for Welding
Q1: What is the most effective way to remove aluminum oxide? A1: The most effective method involves mechanical abrasion. Use a dedicated stainless steel wire brush or coarse-grit sandpaper (60-80 grit) to physically abrade the oxide layer. Follow this with a solvent wipe. This ensures removal of both the tough oxide and any surface contaminants for optimal weld quality.
Q2: Can I use brake cleaner to degrease aluminum before welding? A2: No, you should not use brake cleaner. Many brake cleaners contain chlorinated solvents. When heated by the welding arc, these chemicals can produce highly toxic phosgene gas. They also leave residues that cause weld porosity. Stick to safer alternatives like acetone or isopropyl alcohol.
Q3: How quickly does aluminum re-oxidize after cleaning? A3: Aluminum re-oxidizes almost instantly when exposed to air. A thin, protective layer forms within minutes. While this initial layer is very thin, it continues to thicken over time. Ideally, you should weld the aluminum within minutes or at most, a few hours, after cleaning for the best results.
Q4: What happens if I weld dirty aluminum? A4: Welding dirty aluminum or aluminum with an intact oxide layer leads to several problems. You will likely see porosity in the weld, meaning tiny gas pockets are trapped. The weld will also be weak, brittle, and prone to cracking. It will have a poor appearance and reduced structural integrity.
Q5: Is it necessary to clean new aluminum for welding? A5: Yes, even new aluminum needs cleaning. While it might look clean, it often has a thin layer of mill oil, dirt, or a pre-formed oxide layer from manufacturing and shipping. Always degrease and mechanically abrade new aluminum before welding to ensure a strong, clean joint.
Q6: Can I use a regular steel brush to clean aluminum? A6: Absolutely not. Using a regular steel (carbon steel) brush will embed tiny particles of steel into the soft aluminum surface. These embedded particles will contaminate your weld, leading to rust spots, weak welds, and potential cracking. Always use a dedicated stainless steel brush for aluminum.
Conclusion
Cleaning aluminum for welding is not a step to skip. It is the foundation for strong, defect-free welds. We have explored the critical reasons for cleaning, focusing on the stubborn aluminum oxide layer and various contaminants. We discussed safe practices, including proper PPE and ventilation.
You now understand the importance of mechanical cleaning with dedicated stainless steel tools. You also know how to use chemical degreasers effectively. Remember, timeliness is crucial; weld as soon as possible after cleaning. Avoid common mistakes like cross-contamination and using the wrong chemicals. By following these guidelines, you ensure your aluminum surfaces are pristine. This allows for excellent fusion and robust weld quality. Take the extra time to clean properly. Your future welds will thank you. Get started on your next aluminum welding project with confidence.
- aluminum welding prep
- metal cleaning
- oxidation removal
- welding surface preparation
- TIG welding tips
- MIG welding tips
- weld quality