· Cleaning Guides · 12 min read
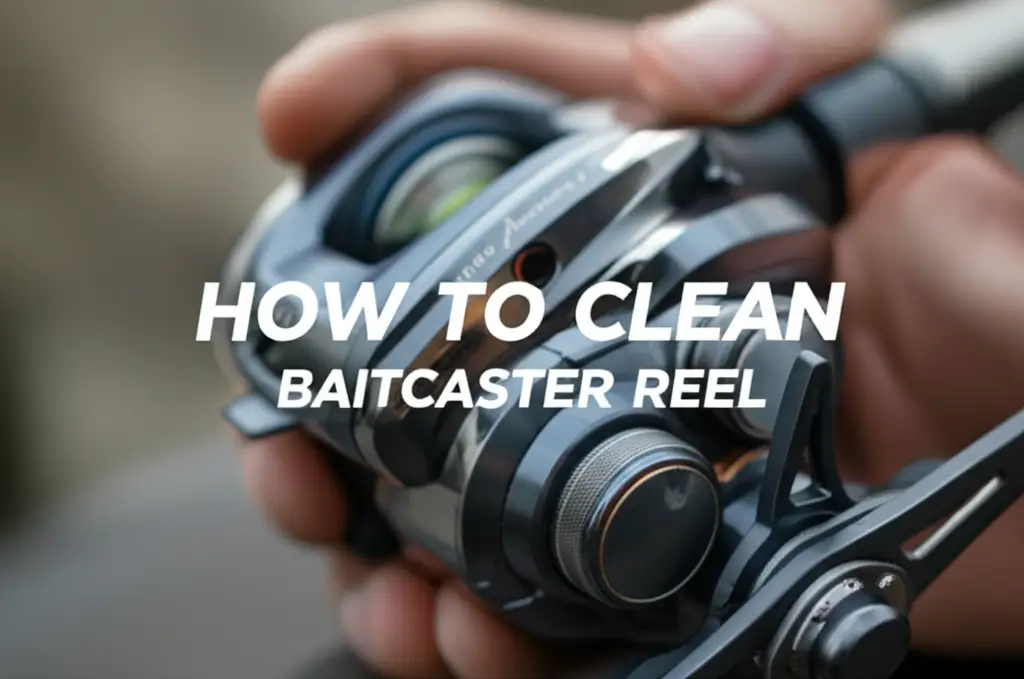
How To Clean Baitcaster Reel

Master Baitcaster Reel Cleaning for Top Performance
Keeping your fishing gear in top shape makes a big difference. If you own a baitcaster, you know it is a precision tool. A well-maintained baitcaster performs better. It also lasts longer. Learning how to clean baitcaster reel parts is a skill every angler should have. This process is not hard, but it does require careful steps. Dirty reels can cause casting problems. They can also lead to worn gears. A clean reel casts smoother. It also retrieves fish with less effort.
I often tell fellow anglers that a little time spent cleaning saves money later. Skipping maintenance can mean buying new parts. It might even mean buying a new reel. This guide gives you clear steps to clean your baitcaster reel effectively. We will cover the tools you need. We will also walk through disassembly, cleaning, and reassembly. Get ready to give your baitcaster the care it needs. This will help you enjoy many more fishing trips.
Takeaway
- Regular cleaning keeps your baitcaster working well.
- Proper care extends the life of your fishing reel.
- A clean reel casts smoother and performs better.
- Disassembly and reassembly are key steps for deep cleaning.
- Use specific tools and lubricants for best results.
Cleaning a baitcaster reel involves disassembling its components, thoroughly removing old grease, dirt, and debris with appropriate cleaning solutions, then lubricating and reassembling the parts. This process ensures smooth operation and extends the reel’s lifespan.
Why Clean Your Baitcaster Reel?
Your baitcaster reel works hard. It gets wet, dirty, and gritty during fishing trips. Over time, salt, sand, and old lubricants build up inside. This buildup can slow down the reel. It can also cause grinding noises. Cleaning your baitcaster reel prevents these problems. It keeps your reel running like new.
Think about the small gears and bearings inside. They move quickly. If dirt enters, it acts like sandpaper. This causes wear. Worn parts break down faster. A clean reel means less friction. Less friction leads to smoother casts. It also gives you better control over your line. I have seen many reels fail early because of a lack of cleaning.
Cleaning also lets you check for damage. You can spot tiny cracks or worn parts during the cleaning process. Catching these problems early saves money. It prevents a big failure on the water. A well-maintained reel gives you confidence when fishing. You know it will perform when you need it most. This peace of mind is priceless for any serious angler. Regular cleaning is a small time investment. It gives big returns in performance and reel life.
Essential Tools to Clean Your Baitcaster Reel
You need the right tools to clean your baitcaster reel properly. Having everything ready makes the job easier. It also prevents frustration. I always lay out my tools before I start. This ensures I do not miss anything. First, you will need a clean workspace. A well-lit table with good ventilation is perfect.
Here is a list of essential tools and materials:
- Small Screwdrivers: You will need a set of jewelers’ screwdrivers. These help remove small screws on the reel body. A Philips head and a flat head are common.
- Reel Oil and Grease: Use products made for fishing reels. Do not use generic oils like WD-40 for lubrication. They can damage your reel. Reel oil is for bearings and fast-moving parts. Reel grease is for gears.
- Cleaning Solution: Isopropyl alcohol works well for cleaning parts. You can also use specific reel cleaners. Avoid harsh chemicals that can harm plastic or painted surfaces.
- Cotton Swabs (Q-Tips): These are great for cleaning small spaces. They reach into tight areas.
- Soft Cloths or Microfiber Towels: Use these to wipe down parts and clean the reel exterior. Lint-free cloths are best.
- Small Brush: An old toothbrush or a small detailing brush helps scrub away grime.
- Tweezers: Useful for picking up small parts.
- Small Container or Tray: Keep screws and small parts in this. It prevents them from getting lost. I use a magnetic tray sometimes.
- Paper Towels: For absorbing excess oil and general wiping.
- Gloves: Protect your hands from cleaners and grease.
Having these items ready before you start saves time. It makes the cleaning process smooth and efficient.
Disassembling Your Baitcaster Reel for Cleaning
Disassembling your baitcaster reel is the first big step. Take your time during this part. Haste can lead to lost parts or damage. Always work slowly and methodically. I usually take pictures with my phone at each step. This helps me remember how everything goes back together.
Start by removing the handle and star drag. These parts often unscrew easily. Place them in your small container. Next, remove the side plate. Most baitcasters have a quick-release button or screws holding the side plate. Be gentle when removing it. Small springs or parts might be attached.
Once the side plate is off, you will see the main gear and pinion gear. Carefully remove these. Note their positions. Many reels have washers and shims. Keep these organized. They are important for smooth operation. You may need to remove the spool next. This usually slides out once the side plate is off. The spool itself contains bearings that need attention.
The level wind system is another area for cleaning. This involves the worm gear and pawl. These parts often collect a lot of dirt. Disassemble them carefully. Remember the order of all components. A common problem is getting dirt and sand into the small moving parts, similar to how how to clean sediment out of a well involves removing fine particles. These fine particles can cause wear if not removed.
Keep all screws and parts in separate sections of your tray. This prevents confusion during reassembly. Do not force any parts. If something feels stuck, check for hidden screws or clips. A good diagram of your specific reel model can be a big help. Many manufacturers provide these online.
Deep Cleaning Baitcaster Reel Components
Now comes the actual cleaning. Each part needs individual attention. This step removes all old grease, dirt, and debris. Clean parts work best. They also let new lubricants do their job well.
Start with the spool and its bearings. Use your cleaning solution and cotton swabs. Wipe down the spool carefully. For the bearings, you can flush them with cleaning solution. Spin them to make sure they run freely. Some people soak bearings briefly in cleaner. Just make sure to dry them completely afterward.
Move to the gears: the main gear and pinion gear. Use a small brush and cleaning solution. Scrub away all old grease. Make sure no grime remains on the teeth. Dirty gears cause grinding. Clean gear teeth ensure smooth cranking. For parts made of metal, like gear shafts or stainless steel screws, cleaning them well ensures they do not corrode. This is similar to the care needed when you clean stainless steel items.
Clean the inside of the reel frame. Use cotton swabs and a cloth. Reach into all crevices. Pay attention to the level wind system. The worm gear and pawl get very dirty. Use a brush to clean the worm gear grooves. Clean the pawl carefully. Any grit here causes the line to stack unevenly.
After cleaning each part, dry it thoroughly. Air drying is best for some parts. You can use paper towels or a soft cloth for others. Make sure no moisture remains. Water can cause rust. This is especially true for metal parts. A clean, dry part is ready for lubrication. This careful cleaning ensures optimal reel performance.
Lubricating and Reassembling Your Baitcaster Reel
After all parts are clean and dry, it is time for lubrication and reassembly. Proper lubrication is as important as cleaning. It protects your reel parts. It also ensures smooth operation. Use only reel-specific oil and grease.
Start by applying a small drop of reel oil to each bearing. Bearings need light oil for fast, free spinning. Do not over-oil. Too much oil attracts dirt. A single drop is usually enough. Apply oil to the spool shaft and the ends of the worm gear as well. Remember to oil the handle knobs if they have bearings. Some reels might also benefit from cleaning the internal filter-like components, which is somewhat like maintaining a how to clean water filter to remove fine particles and ensure free flow.
Next, apply reel grease to the gears. Use a small brush or a cotton swab. Apply a thin, even coat to the main gear teeth. Also, grease the pinion gear. Grease provides protection and smooth mesh between the gears. Do not pack the gear case with grease. A thin layer is all you need. Over-greasing can slow the reel down.
Now, begin reassembly. Follow your disassembly steps in reverse. Refer to your photos if you took them. Start with the main gear and pinion gear. Place all washers and shims back in their correct spots. These are important for proper gear alignment. Carefully reattach the level wind system. Make sure the pawl is seated correctly.
Reattach the spool. Ensure it spins freely. Finally, reattach the side plate, star drag, and handle. Tighten screws gently. Do not overtighten. This can strip threads or crack parts. Test the reel after assembly. Spin the handle. Check the drag. Ensure the level wind moves smoothly. A well-lubricated reel feels smooth and quiet.
Post-Cleaning Checks and Maintenance Tips
Your baitcaster reel is now clean and lubricated. The work is not quite over. A few post-cleaning checks ensure everything is perfect. Regular maintenance between deep cleans also keeps your reel in top shape.
First, test the reel’s function. Spin the handle several times. It should turn smoothly and quietly. Engage the thumb bar to free the spool. It should disengage easily. The spool should spin freely for a good duration. Adjust the cast control knob. Test the drag system. Make sure it adjusts smoothly and holds pressure. If anything feels off, check your reassembly. Sometimes a washer is out of place. Sometimes a screw is too tight or too loose.
For ongoing maintenance, wipe down your reel after every fishing trip. Use a damp cloth to remove salt, dirt, and water. A quick wipe prevents buildup. After fishing in saltwater, always rinse your reel with fresh water. Do not submerge it. Just a light rinse helps. Then, dry it completely. Pay attention to the line guide and level wind. Grit often collects there.
Periodically, you can add a drop of oil to the worm gear and spool bearings. This keeps them lubricated between deep cleans. Store your reel in a protective bag or case. This keeps dust and dirt away. Avoid extreme temperatures. Heat and cold can affect lubricants. Proper storage helps maintain reel health. Some plastic components may also benefit from occasional checks and light cleaning, much like you might clean a plastic shower to prevent grime buildup.
Following these tips extends the life of your baitcaster. It also ensures it performs best when you need it most. A little care goes a long way.
FAQ Section
How often should I clean my baitcaster reel?
Clean your baitcaster reel at least once a year for light use. If you fish often, especially in saltwater, clean it every three to six months. Heavy use or exposure to sand and dirt means more frequent cleaning. Regular maintenance, like wiping it down after each trip, also helps extend the time between deep cleans.
Can I use any type of oil or grease for my baitcaster reel?
No, use only oil and grease specifically made for fishing reels. General-purpose oils like WD-40 can attract dirt, break down plastic components, or dry out. Reel-specific lubricants are formulated to withstand water, resist corrosion, and properly lubricate the precision parts of your reel.
What are the signs my baitcaster reel needs cleaning?
Common signs include a gritty feeling when you turn the handle. The reel might make unusual noises, like grinding or squeaking. Casting distance may decrease. The spool might not spin freely, or the level wind may move slowly. If your reel feels sluggish, it is likely time for a good clean.
Is it okay to submerge my baitcaster reel in water to clean it?
No, never submerge your baitcaster reel in water. Submerging can force water into sealed areas. It can also wash away lubricants. This can cause rust and damage. Instead, rinse the reel lightly with fresh water, especially after saltwater use, and then wipe it dry.
What if I lose a small part during disassembly?
Losing a small part is common. If you lose a screw or washer, first check your workspace thoroughly. Use a magnet to scan the area. If you cannot find it, contact the reel manufacturer. Most companies sell replacement parts. Having a reel schematic helps identify the missing piece.
Conclusion
Cleaning your baitcaster reel is an important part of owning fishing gear. We walked through the reasons why cleaning is vital. We also covered the tools you need. Then, we broke down the disassembly process. We learned how to deep clean each part. Finally, we went over lubricating and reassembling your reel. We also looked at helpful post-cleaning checks and maintenance tips.
A clean baitcaster reel gives you top performance. It also lasts longer. You save money by avoiding costly repairs or replacements. Taking the time to care for your reel shows dedication to your hobby. I find that a well-maintained reel feels better in my hands. It gives me more confidence on the water.
Start your cleaning project today. Gather your tools. Follow these steps. Your baitcaster reel will thank you. You will enjoy smoother casts and more successful fishing trips. Keep your gear ready for adventure. Your clean baitcaster reel is a tool you can trust.
- baitcaster cleaning
- fishing reel maintenance
- reel care


