· Home Cleaning · 15 min read
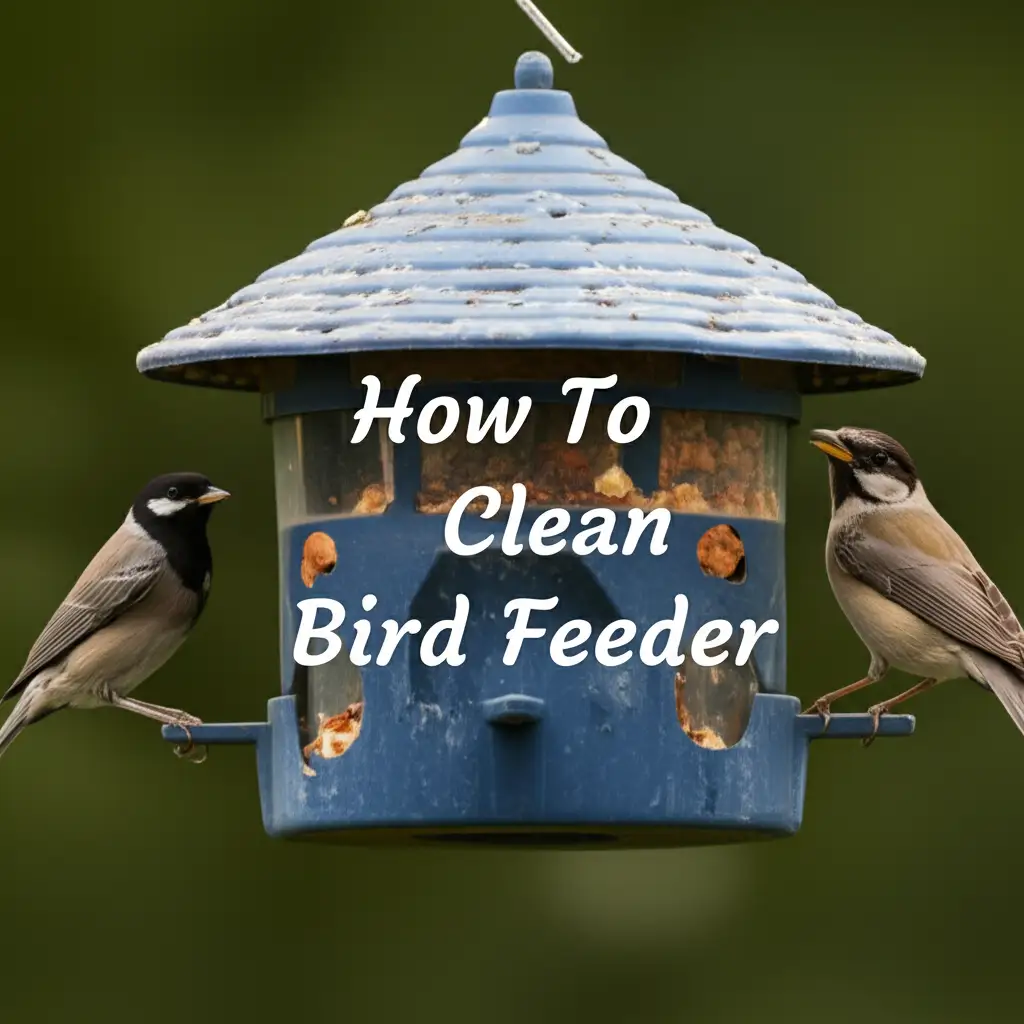
How To Clean Bird Feeder
Clean Your Bird Feeder: A Step-by-Step Guide
Welcome, bird enthusiasts! I love watching birds visit my backyard. Providing food for them is a joy. However, I know a dirty bird feeder can cause more harm than good. A filthy feeder can become a breeding ground for harmful bacteria and mold. These things make birds sick. Knowing how to clean bird feeder properly is very important.
A clean feeder keeps your feathered visitors healthy. It also makes your feeding station a pleasant sight. This guide will walk you through everything you need to know. We will cover why cleaning matters, what supplies you need, and the steps for various feeder types. I will also share tips for regular maintenance and solving common issues. Let us make sure your bird feeders are always sparkling clean.
Takeaway: Keep Your Feathered Friends Healthy
- Regular Cleaning: Clean your bird feeder at least every two weeks, or more often if it is busy.
- Simple Supplies: You only need hot water, dish soap, and a brush.
- Thorough Drying: Always dry the feeder completely before refilling to prevent mold.
- Safe Solutions: Use mild soap or a diluted bleach solution, then rinse very well.
- Prevent Disease: Clean feeders stop the spread of harmful germs among birds.
To clean a bird feeder, first empty it of old seed or nectar. Then, wash all parts with hot, soapy water, scrubbing away any grime. Rinse thoroughly with clean water. You can also use a diluted bleach solution (1 part bleach to 9 parts water) for disinfection. After rinsing, let the feeder air dry completely before refilling it with fresh food.
Why Cleaning Your Bird Feeder Matters for Bird Health
Keeping a clean bird feeder is not just about looks. It is truly about the health of the birds that visit your yard. Think of it like your own dinner plate. You would not want to eat off a dirty one. Birds feel the same way. When many birds gather at one spot, like a feeder, disease can spread quickly.
Old seed, droppings, and moisture create a breeding ground for bacteria, mold, and even viruses. These harmful things can cause serious illnesses in birds. Diseases like salmonellosis or avian pox can decimate local bird populations. A dirty feeder can make birds very sick. It can even cause death. Regular cleaning prevents these health risks. It ensures your backyard sanctuary remains a safe place for birds to eat and thrive. My goal is always to protect them.
I make sure my feeders are spotless. This stops disease in its tracks. Birds rely on us for safe food sources. When you see birds around your home, you might also find some droppings. Learning how to clean bird poop is a good idea to keep your whole area tidy. A clean environment helps both birds and your property.
Gathering Your Bird Feeder Cleaning Supplies
Before you start cleaning, gather all your tools. Having everything ready makes the job simple. You do not need fancy equipment. Most items are likely already in your home. I keep a dedicated set of cleaning tools for my bird feeders. This prevents cross-contamination with my kitchen items.
Here is a list of what you will need:
- Warm Water: This is your primary cleaning agent. Hot water helps loosen grime.
- Dish Soap: A mild, unscented dish soap works well. Avoid harsh detergents.
- Bleach (Optional): A diluted bleach solution can disinfect feeders. Mix one part bleach with nine parts water.
- Scrub Brushes: Different sizes help reach all parts. A bottle brush is great for tube feeders. A stiff brush helps with larger surfaces.
- Bucket or Tub: A designated cleaning bucket prevents messes.
- Rubber Gloves: Protect your hands from grime and cleaning solutions.
- Old Towels or Rags: For drying, or simply letting them air dry.
- Hose or Water Source: For rinsing.
Having these items ready helps me clean my feeders quickly and easily. It makes the task much less daunting. I find that when I am prepared, I am more likely to stick to a regular cleaning schedule. For tougher spots like hardened bird droppings on a surface, learning how to clean bird poop off concrete can be helpful. Similar principles apply to cleaning many outdoor items, like knowing how to clean a cement bird bath.
Step-by-Step Guide to Cleaning Different Bird Feeder Types
Cleaning bird feeders properly is easy once you know the steps. The basic process is similar for most feeders, but some types need special care. I follow these steps to ensure every feeder is thoroughly cleaned and safe for birds. Remember to clean your feeders away from areas where you prepare human food.
General Cleaning Steps for All Feeders
- Empty the Feeder: First, remove all old seed, hulls, or nectar. Dispose of it properly. Do not dump it on the ground near the feeder, as this can attract pests or spread disease.
- Disassemble: Take apart any removable parts. This includes perches, trays, and hanging wires. Cleaning each piece separately ensures a deeper clean.
- Scrub with Soap and Water: Use warm water and a small amount of mild dish soap. Scrub all surfaces, inside and out, with your brushes. Pay extra attention to corners and crevices where grime builds up.
- Rinse Thoroughly: Rinse every part under running water. Make sure no soap residue remains. Soap can be harmful to birds.
- Disinfect (Optional but Recommended): If you use bleach, mix a 10% bleach solution (1 part bleach to 9 parts water). Soak feeder parts for 5-10 minutes. This kills bacteria and mold.
- Rinse Again (Crucial): If you used bleach, rinse the feeder parts very well with clean water. Rinse until you cannot smell bleach anymore. This step is extremely important for bird safety.
Specific Feeder Type Considerations
- Tube Feeders: These feeders have small openings. A narrow bottle brush or specialized feeder brush works best to clean inside the tube. Make sure to clean all feeding ports.
- Hopper Feeders: These often have wider openings and can hold a lot of seed. Ensure you reach all corners of the hopper. Some have removable parts that make cleaning easier.
- Platform/Tray Feeders: These are open and easy to clean. Scrub the flat surface and drain holes. They often accumulate a lot of droppings and damp seed.
- Hummingbird Feeders: These require daily or every-other-day cleaning, especially in warm weather. Nectar can ferment quickly. Use a small brush for ports and tubes. Avoid soap if possible; hot water alone is often enough for daily cleans. If you use soap, rinse very carefully. I find that cleaning hummingbird feeders follows unique rules for freshness. They are more delicate than other feeders.
Follow these steps for sparkling clean feeders. Your birds will thank you.
Drying and Refilling Your Clean Bird Feeder
The drying step is just as important as the washing. If you put wet seed or nectar into a damp feeder, mold and bacteria will grow quickly. This defeats the whole purpose of cleaning. I always make sure my feeders are completely dry before refilling them. This step keeps birds safe and the food fresh.
Here is how I dry and refill my feeders:
- Air Drying is Best: After rinsing, place all feeder parts on a clean towel. I often put them in a sunny spot. Sunlight helps kill any remaining germs. Allow them to air dry completely. This might take several hours, depending on the feeder material and weather.
- Avoid Towel Drying: Resist the urge to towel-dry the inside of the feeder. Lint from towels can stick to the feeder. It can also introduce new bacteria. Air drying is the safest and most effective method.
- Check for Dampness: Before refilling, run your hand inside the feeder. Feel for any damp spots. If it feels even slightly damp, wait longer. Patience here prevents future problems.
- Refill with Fresh Food: Once completely dry, reassemble the feeder. Then, fill it with fresh, high-quality birdseed or nectar. Do not use old, clumpy, or moldy food. Store unused seed in a cool, dry place. This prevents spoilage.
I find that preparing an extra feeder helps. While one feeder dries, I can hang another clean, dry one. This way, my birds never go without food. Proper drying protects your cleaning efforts. It maintains a healthy feeding station for your backyard birds.
Establishing a Regular Bird Feeder Cleaning Schedule
Consistency is key when it comes to bird feeder hygiene. A one-time clean is not enough. Birds visit feeders daily. This means feeders get dirty quickly. Setting a regular cleaning schedule helps me stay on top of the task. It also keeps my birds consistently healthy.
Here is a general guideline for how often to clean your feeders:
- Suet and Seed Feeders:
- Every two weeks: This is a good baseline for most seed and suet feeders.
- Weekly (or more often): If you notice heavy bird traffic, persistent rain, or signs of mold, clean them more frequently. During warm or humid weather, food can spoil faster.
- Hummingbird Feeders:
- Every 2-3 days: Hummingbird nectar ferments very quickly, especially in hot weather.
- Daily: In extremely hot climates, daily cleaning is best.
Tips for Sticking to Your Schedule
- Set Reminders: I set a reminder on my phone or calendar. This ensures I do not forget.
- Pick a Consistent Day: Choose a specific day of the week for cleaning. For example, I clean my seed feeders every other Saturday. My hummingbird feeders get attention every other morning.
- Clean During Refills: If a feeder is empty, it is the perfect time for a quick wash. This makes cleaning feel less like an extra chore.
- Observe Your Feeders: Watch your birds and the feeders. Are birds avoiding the feeder? Does the seed look clumpy or moldy? These are signs it needs immediate cleaning.
A consistent cleaning routine protects birds from illness. It also makes your feeders more attractive to them. Birds learn which feeders are safe and well-maintained. Keeping bird feeders clean can also mean keeping the areas around them clean. For instance, how to clean bird poop off a deck is helpful for managing outdoor messes from birds. Similarly, knowing how to clean bird poop off a balcony can keep your patio space pristine.
Troubleshooting Common Bird Feeder Cleaning Challenges
Sometimes, cleaning a bird feeder presents small challenges. Mold, stubborn grime, or pest issues can make the job tougher. I have learned a few tricks over the years to handle these common problems. Do not let these issues discourage you from maintaining a clean feeding station.
Dealing with Mold and Mildew
Mold is a common problem, especially in humid conditions. It looks like black, fuzzy spots. Mold is very dangerous for birds.
- Aggressive Scrubbing: For mold, I use a stiff brush and hot, soapy water. Scrub the affected areas vigorously.
- Bleach Solution: A 10% bleach solution is effective against mold. Soak the feeder parts for 5-10 minutes. Then, rinse them repeatedly. Make sure no bleach smell remains.
- Vinegar (Alternative): Some people prefer vinegar. A solution of equal parts white vinegar and water can also kill mold. Soak, then rinse well. Just like when you clean mold with vinegar indoors, it needs proper ventilation and rinsing.
- Prevention is Key: To prevent mold, ensure feeders dry completely before refilling. Also, place feeders in a spot with good air circulation. Clean feeders more often during damp weather.
Removing Stubborn Grime and Seed Buildup
Old seed can get caked on. It forms a hard, sticky layer.
- Soaking: If grime is stubborn, soak the feeder parts in hot water for several hours or overnight. This softens the buildup.
- Scraping Tools: Use a plastic scraper or an old credit card to gently scrape away hardened gunk. Avoid metal tools that might scratch the feeder.
- Dish Soap Power: Let the dish soap sit on the grime for a few minutes before scrubbing. Its grease-cutting power helps.
Preventing Pests and Spillage
While not directly about cleaning the feeder itself, pest management relates to cleanliness. Excess seed or droppings on the ground attract rodents and insects.
- Catch Trays: Use feeders with built-in catch trays. These stop seed from falling to the ground.
- Clean Up Spillage: Regularly sweep or rake up any seed or hulls under the feeder. This removes food sources for pests.
- Proper Storage: Store birdseed in airtight containers. This keeps pests out and the seed fresh.
Addressing these challenges makes your bird feeding experience more enjoyable. It also ensures a safer environment for your beloved birds. My goal is always to keep things tidy and safe. I always make sure the area around the feeder is also clean.
Safe Cleaning Solutions: What to Use and What to Avoid
Choosing the right cleaning agents is critical for bird safety. Birds are sensitive creatures. Harsh chemicals can harm them. I always opt for the safest, most effective solutions. This ensures my feeders are clean without posing any risk to the birds.
Safe Solutions to Use
- Hot Water and Mild Dish Soap: This is my go-to cleaning method. Hot water helps sanitize. Mild, unscented dish soap breaks down grease and grime. Always choose a soap that is labeled as “mild” or “gentle.” The key is to rinse the feeder very thoroughly after washing. Any soap residue can be toxic to birds.
- Diluted Bleach Solution: For disinfection, a solution of 1 part bleach to 9 parts water is highly effective. Bleach kills bacteria, viruses, and mold. It is important to use this solution properly.
- Soak Time: A 5-10 minute soak is enough.
- Thorough Rinsing: After soaking, rinse the feeder parts many, many times with clean water. I rinse until I cannot smell bleach anymore. Air drying in sunlight also helps to break down any residual chlorine.
- White Vinegar Solution: White vinegar is a natural disinfectant. It is a good alternative for those who prefer not to use bleach. Mix equal parts white vinegar and water. Use it to soak or scrub the feeder. Vinegar is safe, but it still requires a good rinse. Birds do not like the strong smell. I have used vinegar for many cleaning tasks around my home, even to clean glass with vinegar. It is a versatile cleaner.
- Baking Soda Paste: For scrubbing tough spots or odors, baking soda mixed with a little water forms a gentle abrasive paste. It is completely safe. Just like when you clean a bird bath with baking soda, it is effective and natural. Rinse well after use.
Solutions to Avoid
- Harsh Detergents and Strong Chemicals: Never use laundry detergents, oven cleaners, or other strong household chemicals. These products contain toxic compounds. They can linger on the feeder, even after rinsing, and poison birds.
- Scented Soaps: Avoid soaps with strong fragrances. Birds have sensitive respiratory systems. The chemicals used for scents can be harmful.
- Pesticides or Insecticides: Do not use these near or on your feeders. They are designed to kill insects. They will also harm birds. If you have an ant problem, try placing the feeder in an ant moating system.
By sticking to these safe and effective cleaning solutions, you ensure your bird feeders are clean and harmless for your backyard visitors. Your diligence helps keep them vibrant and healthy.
FAQ Section
How often should I clean my bird feeder?
I recommend cleaning seed and suet feeders at least every two weeks. If you notice high bird traffic, rain, or mold, clean them weekly or more often. Hummingbird feeders need cleaning every 2-3 days, or daily in hot weather, because nectar ferments quickly. Regular cleaning prevents disease spread.
Can I use soap to clean a bird feeder?
Yes, you can use a mild, unscented dish soap to clean a bird feeder. Mix a small amount with warm water and scrub all parts thoroughly. It is very important to rinse the feeder completely afterward. Any soap residue left on the feeder can be harmful to birds.
What are the signs of a dirty bird feeder?
Signs of a dirty bird feeder include mold growth (black, fuzzy spots), old or clumpy seed, a foul odor, or bird droppings on the feeding surfaces. If birds stop visiting your feeder, it might also be a sign that it is unclean. A visibly dirty feeder is a risk to bird health.
Is bleach safe for cleaning bird feeders?
Yes, bleach is safe for cleaning bird feeders when used properly. Mix one part bleach with nine parts water to create a 10% solution. Soak feeder parts for 5-10 minutes. The most important step is to rinse the feeder very thoroughly with clean water afterward. Rinse until you cannot smell any bleach.
How do I prevent mold in my bird feeder?
To prevent mold, ensure your feeder dries completely after cleaning before you refill it. Store birdseed in a cool, dry place. Also, avoid overfilling your feeder, especially in humid weather. Discard any wet or clumpy seed immediately. Placing feeders in a sunny spot with good air circulation also helps.
What if birds stop visiting my clean feeder?
If birds stop visiting a freshly cleaned feeder, check the type of seed you are offering. Ensure the feeder is in a safe location away from predators. Also, make sure no strong chemical smells remain from cleaning. Sometimes, it takes a little time for birds to feel comfortable with a changed feeder.
Conclusion
Keeping your bird feeders clean is a simple act with a big impact. It goes beyond just tidiness. It is about protecting the health and well-being of the birds you love to watch. A dirty feeder can quickly become a health hazard. It spreads disease among our feathered friends. But with a little effort, you can create a safe and welcoming dining spot for them.
I hope this guide helps you feel confident in how to clean bird feeder properly. Remember to clean regularly, use safe supplies, and dry feeders thoroughly. Your commitment to feeder hygiene supports local bird populations. It allows you to enjoy their beauty and songs without worry. So, go ahead, grab your cleaning supplies. Give your bird feeders the attention they deserve. You will enjoy the vibrant life they bring to your yard even more.
- bird feeder cleaning
- wild bird care
- feeder hygiene
- outdoor cleaning
- bird diseases prevention