· Cleaning Guides · 7 min read
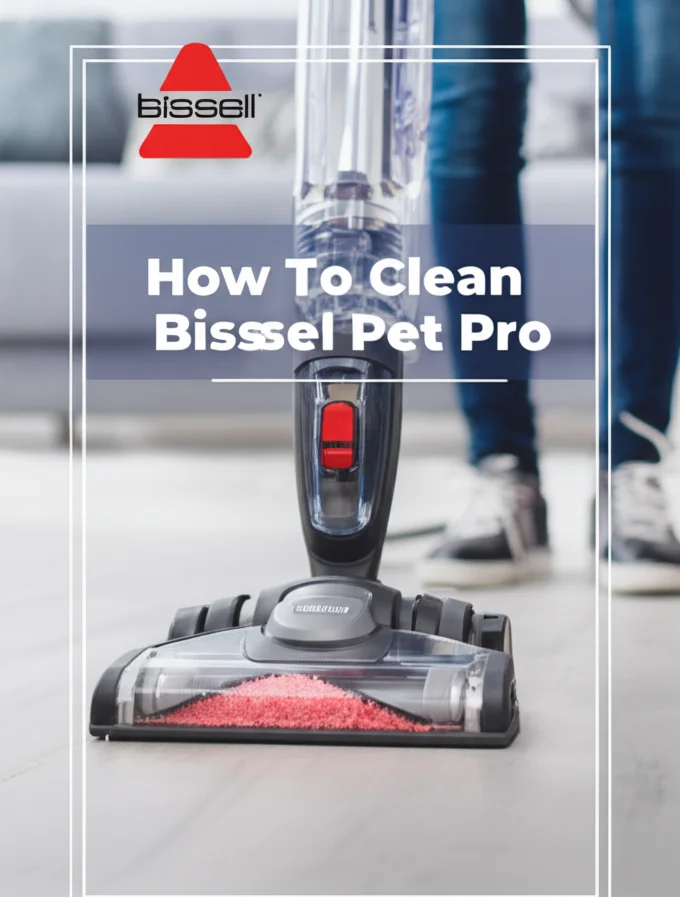
How To Clean Bissell Pet Pro

Keeping Your Floors Fresh: How To Clean a Bissell Pet Pro
Do you love your furry friend but dread the messes they leave behind? A Bissell Pet Pro is a lifesaver for pet owners, but like any cleaning tool, it needs regular maintenance to stay effective. This article will walk you through everything you need to know about how to clean a Bissell Pet Pro, ensuring it continues to tackle pet stains and odors for years to come. We’ll cover everything from emptying the tanks to deep cleaning the machine itself, keeping your home – and your Pet Pro – fresh and clean.
Takeaway:
- Regularly empty and rinse both the clean and dirty water tanks.
- Clean the brush roll and spray nozzle to prevent clogs.
- Use Bissell cleaning solutions or a diluted vinegar solution for optimal results.
- Deep clean the machine monthly to maintain performance.
Quick Answer:
To clean your Bissell Pet Pro, empty and rinse the tanks after each use. Regularly clean the brush roll and spray nozzle to remove hair and debris. Monthly, perform a deep clean using a Bissell cleaning solution or diluted vinegar to maintain optimal performance and prevent odors.
1. Daily Maintenance: Emptying and Rinsing the Tanks
After every use of your Bissell Pet Pro, the most important step is to empty and rinse both the clean and dirty water tanks. Leaving stagnant water in the tanks can lead to mold and mildew growth, causing unpleasant odors and potentially damaging the machine. This simple habit will significantly extend the life of your Pet Pro.
First, remove both tanks from the unit. Empty the dirty water tank into a sink or toilet, being mindful of any debris. Rinse both tanks thoroughly with warm water, ensuring all residue is removed. Allow them to air dry completely before reattaching them to the machine. This quick process takes just a few minutes but makes a huge difference in maintaining your Bissell Pet Pro.
2. Cleaning the Brush Roll and Spray Nozzle
Pet hair and debris can easily wrap around the brush roll and clog the spray nozzle of your Bissell Pet Pro, reducing its cleaning effectiveness. Regularly cleaning these components is crucial for optimal performance. Start by unplugging the machine for safety.
To remove the brush roll, consult your owner’s manual for specific instructions, as the process can vary slightly depending on the model. Once removed, use scissors or a seam ripper to carefully cut away any tangled hair or fibers. For the spray nozzle, check for any blockages and gently flush it with warm water. You can also use a small brush or toothpick to dislodge any stubborn debris. If you’re dealing with tough clogs, consider checking out this guide on how to clean the dirty tank on Bissell Little Green for helpful techniques.
3. Using the Right Cleaning Solutions
Using the correct cleaning solution is vital for both cleaning performance and protecting your Bissell Pet Pro. Always use Bissell-approved cleaning formulas specifically designed for your machine. These formulas are formulated to work effectively with the Pet Pro’s components and won’t cause damage.
However, if you prefer a more natural approach, you can use a diluted vinegar solution. Mix equal parts white vinegar and warm water. Never mix vinegar with bleach or other cleaning products. While vinegar is a great natural cleaner, it’s important to rinse the machine thoroughly after use to avoid any lingering odors. Using the wrong solution can void your warranty, so always check your owner’s manual.
4. Deep Cleaning Your Bissell Pet Pro – Monthly Maintenance
A monthly deep clean will keep your Bissell Pet Pro running like new. This involves cleaning the internal components of the machine to remove any buildup or residue. Begin by disconnecting the machine from the power outlet.
Next, follow these steps:
- Flush the System: Fill the clean water tank with a solution of warm water and Bissell cleaning formula (or diluted vinegar). Run the machine through a full tank of water, allowing it to spray and suction.
- Clean the Exterior: Wipe down the exterior of the machine with a damp cloth and mild detergent.
- Inspect the Hoses: Check the hoses for any kinks or blockages.
- Air Dry: Allow all components to air dry completely before reassembling the machine.
Regular deep cleaning prevents odors and ensures your Bissell Pet Pro continues to deliver powerful cleaning performance.
5. Addressing Common Issues: Clogs and Odors
Even with regular maintenance, you might encounter some common issues with your Bissell Pet Pro. Clogs are a frequent problem, often caused by pet hair or debris. If you notice reduced suction or spraying power, check the brush roll, spray nozzle, and hoses for blockages.
Unpleasant odors can also develop over time. This is usually due to bacteria buildup in the tanks or hoses. To eliminate odors, thoroughly clean the tanks with warm, soapy water and allow them to air dry completely. You can also run a tank of water with a small amount of baking soda through the machine to neutralize odors. If you’re still struggling with odors, consider using a Bissell-approved odor eliminator. For more information on maintaining your Bissell, you might find this article on how to clean a Bissell Quicksteamer helpful.
6. Extending the Life of Your Bissell Pet Pro: Storage Tips
Proper storage can significantly extend the life of your Bissell Pet Pro. After each use, ensure the tanks are empty and dry before storing the machine. Store the Pet Pro in a cool, dry place away from direct sunlight and extreme temperatures.
Avoid wrapping the power cord tightly around the machine, as this can damage the cord over time. Instead, loosely coil the cord and secure it with a Velcro strap. If you live in a humid climate, consider storing the machine with a desiccant packet to absorb any moisture. Taking these simple precautions will help keep your Bissell Pet Pro in top condition for years to come.
7. Troubleshooting: When to Seek Professional Help
While most maintenance tasks can be handled at home, there are times when you might need to seek professional help. If you’ve tried all the troubleshooting steps and your Bissell Pet Pro is still not working correctly, it’s best to contact Bissell customer support or a qualified appliance repair technician.
Signs that you need professional help include:
- The machine is making unusual noises.
- The motor is overheating.
- There is a significant leak.
- The machine is not suctioning or spraying properly after cleaning.
Attempting to repair the machine yourself could void your warranty and potentially cause further damage.
Frequently Asked Questions (FAQ)
Q: How often should I change the Bissell Pet Pro filter?
A: The filter should be replaced every 3-6 months, depending on usage. A dirty filter reduces suction power and can damage the motor. Check your owner’s manual for specific filter replacement recommendations.
Q: Can I use essential oils in my Bissell Pet Pro?
A: While some people add a few drops of essential oils to the water tank for fragrance, it’s generally not recommended. Essential oils can potentially damage the machine’s internal components and void your warranty.
Q: What should I do if my Bissell Pet Pro is leaking?
A: First, unplug the machine and empty the tanks. Check the hoses and connections for any cracks or loose fittings. If you can’t identify the source of the leak, contact Bissell customer support.
Q: Is it safe to use my Bissell Pet Pro on all types of flooring?
A: The Bissell Pet Pro is designed for use on carpets and rugs. However, you can use it on sealed hard floors with caution. Always test a small, inconspicuous area first to ensure it doesn’t damage the flooring.
Conclusion
Maintaining your Bissell Pet Pro is essential for keeping your home clean and fresh, especially if you have furry friends. By following the simple steps outlined in this guide – from daily tank emptying to monthly deep cleaning – you can ensure your machine continues to perform at its best. Remember to always use Bissell-approved cleaning solutions and address any issues promptly. A little preventative maintenance goes a long way in extending the life of your Bissell Pet Pro and keeping your floors looking their best. Don’t let pet messes get you down – with a clean and well-maintained Bissell Pet Pro, you can enjoy a spotless home and happy pets!
- Bissell Pet Pro
- pet stain remover
- carpet cleaner maintenance


