· Baby Care Appliances · 16 min read
How To Clean Bottle Sterilizer
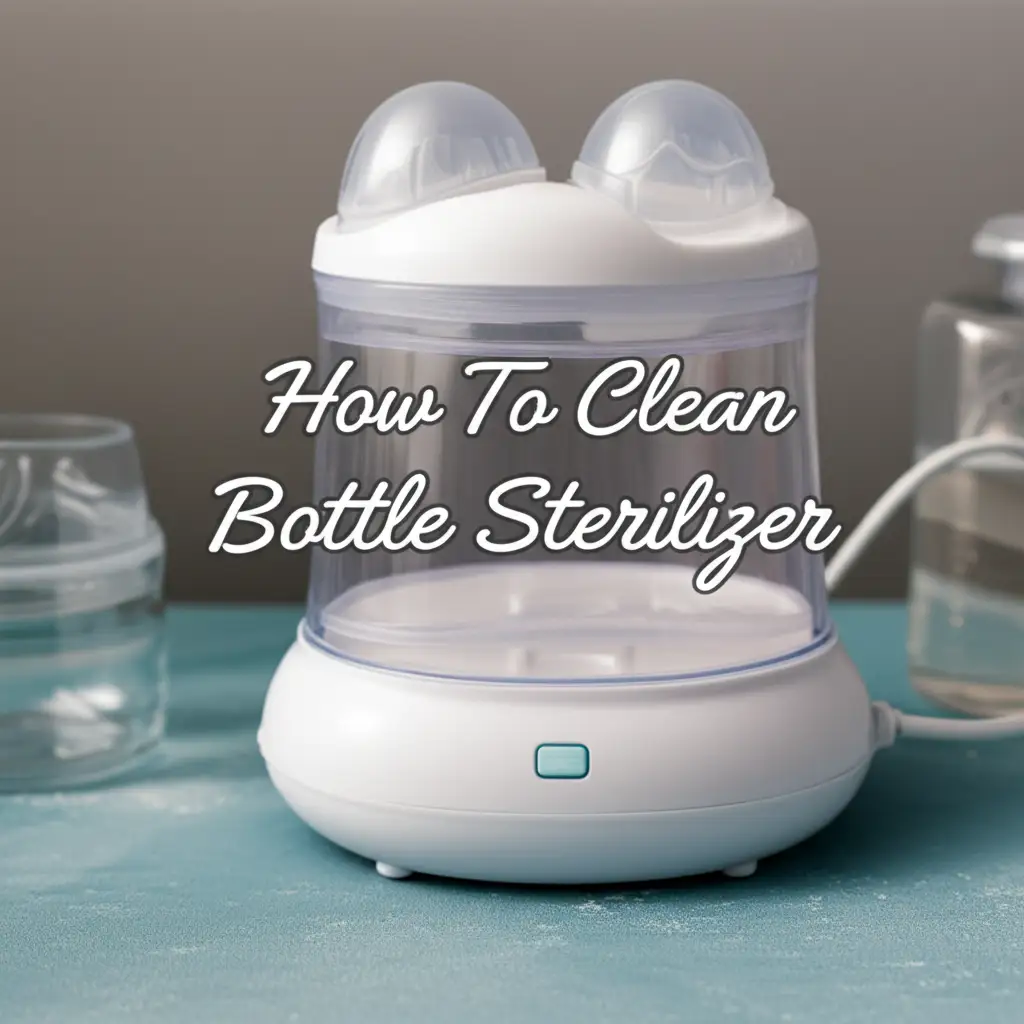
Keep Your Baby’s Gear Pristine: How to Clean Bottle Sterilizer
Welcoming a baby means a house full of new responsibilities, and ensuring their feeding items are safe and sanitary is top priority. You depend on your bottle sterilizer to eliminate harmful bacteria from bottles, pacifiers, and pump parts. But have you thought about what keeps the sterilizer itself clean? Just like any appliance that uses water, sterilizers can accumulate mineral deposits and residue.
Learning how to clean bottle sterilizer properly is important. A dirty sterilizer cannot sanitize effectively. Mineral buildup, often called limescale, reduces efficiency and can leave marks on bottles. Left unchecked, moisture and warmth inside a sterilizer might even encourage mold.
This article provides simple steps to clean bottle sterilizer units. We will look at why regular cleaning matters and what supplies you need. We will give a clear, step-by-step cleaning guide. We will also cover how to remove limescale, offer daily care tips, and list common mistakes to avoid. My goal is to help you keep your baby’s sterilizer in top working order.
Takeaway
Keeping your bottle sterilizer clean is simple and protects your baby’s health.
- Always unplug the sterilizer before starting to clean.
- Use white vinegar or citric acid for effective descaling.
- Wipe down components daily to prevent buildup.
- Dry all parts completely to avoid mold growth.
You clean a bottle sterilizer by first unplugging it and letting it cool. Then, you wipe down its internal and external surfaces to remove residue. For limescale, a common issue, you run a descaling cycle using a solution of water and white vinegar or citric acid. Regular cleaning and drying prevent buildup and ensure proper sanitization for your baby’s items.
Why Regular Sterilizer Cleaning Matters for Baby Health
Many new parents focus on cleaning baby bottles, which is good. We often overlook the machines that help us sanitize them. A bottle sterilizer works hard to keep your baby safe. It creates steam at high temperatures to kill germs on feeding equipment. Over time, however, hard water leaves mineral deposits inside the sterilizer. This buildup is often called limescale.
Limescale looks like white, chalky residue. It builds up on the heating plate and inside walls of the sterilizer. This buildup affects how well your sterilizer works. Heavy limescale can cause the sterilizer to heat slower or not reach the correct temperature for effective sterilization. This means your baby’s bottles might not be as clean as you think.
A dirty sterilizer can also transfer residue onto your baby’s clean bottles. You might notice white spots on bottles after a cycle. This is usually from limescale flaking off inside the machine. While not directly harmful, it makes bottles look unclean. It also suggests that the sterilizer itself needs attention.
Beyond limescale, moisture can lead to other issues. If the sterilizer is not dried properly after use, mold or mildew can grow. Mold spores are not safe for your baby’s health. Regular cleaning prevents these problems. It helps the sterilizer last longer. It ensures it performs its job effectively, keeping your baby’s feeding gear genuinely germ-free.
I remember when I first noticed white marks on my baby’s bottles. I thought the bottles were dirty. Then I realized it was the sterilizer. Cleaning it made a clear difference. It gave me peace of mind knowing the sterilization process was truly effective.
Essential Tools and Cleaning Agents for Your Sterilizer
Gathering the right supplies makes cleaning your bottle sterilizer easy. You do not need many special tools. Most items are likely already in your kitchen or cleaning cabinet. Having them ready saves time and ensures a thorough clean.
First, you will need some soft cloths or sponges. Microfiber cloths work very well for wiping surfaces without scratching them. Avoid using abrasive scrubbers or steel wool. These can damage the sterilizer’s plastic or metal parts. A soft brush, like a clean toothbrush, can help reach small crevices. For cleaning baby bottles before sterilization, I always recommend a bottle brush. This brush is also useful for reaching into awkward spots within the sterilizer trays themselves.
Next, consider your cleaning agents. White distilled vinegar is an excellent natural cleaner for sterilizers. It is acidic enough to dissolve limescale effectively. It is also safe for baby items and rinses away easily. Lemon juice is another natural alternative if you prefer its scent. Citric acid powder is also a popular choice, often sold specifically for descaling appliances. Just mix it with water following package directions.
You will also need water, preferably distilled water, for the descaling process. This helps prevent new mineral deposits during the cleaning cycle. A measuring cup is helpful for accurate mixing of water and vinegar or citric acid. Finally, a dry towel is good for drying the sterilizer thoroughly after cleaning.
I find that keeping a designated “sterilizer cleaning kit” helps. This way, I do not have to search for items each time. It makes regular maintenance a quick and simple task. These simple tools ensure your sterilizer stays clean and ready for use.
Step-by-Step Guide to Deep Cleaning Your Bottle Sterilizer
A deep clean for your bottle sterilizer should happen about once a week, depending on your water hardness and usage. Following these steps ensures your unit remains hygienic and functions well. This process addresses both visible residue and unseen mineral buildup.
1. Prepare Your Sterilizer for Cleaning
Safety comes first. Always unplug the sterilizer from the power outlet. Allow it to cool completely if you just finished a sterilization cycle. Hot surfaces can burn you. Remove all internal components: trays, baskets, and any accessory holders. You should also ensure no bottles or other items are inside.
Next, empty any standing water from the base. A simple pour usually works. If there is a lot of loose residue, you can rinse the base with clean water first. This removes the initial layer of debris before you start scrubbing.
2. Wipe Down Surfaces and Components
Take a soft, damp cloth and wipe the exterior of the sterilizer. This removes dust and smudges. Then, clean the internal walls, lid, and heating plate. Use a mild dish soap solution if needed, but ensure it is well diluted. Focus on areas with visible residue or spills.
For the removable trays and baskets, you can wash them in warm, soapy water. Use a soft sponge to scrub away any milk residue or other debris. Remember to clean all the small crevices. Rinse these components thoroughly under running water. Ensure no soap residue remains.
3. Descale the Heating Plate and Base
This is the most important part of the deep clean. Limescale often builds up on the heating plate at the bottom. Mix a descaling solution. For white vinegar, use a 1:1 ratio with water. For example, use half a cup of white vinegar and half a cup of water. Pour this mixture into the sterilizer base, covering the heating plate.
If you use citric acid, follow the package instructions. Typically, it is one sachet or a tablespoon of powder mixed with water. Let the solution sit in the sterilizer. The time depends on the level of buildup. For light scale, 20-30 minutes may suffice. For heavy scale, you might let it sit for a few hours or even overnight. The acid breaks down the mineral deposits.
4. Run a Descaling Cycle
After the solution has sat, put the empty trays back into the sterilizer. Close the lid. Plug the unit back in. Run a full sterilization cycle with the descaling solution inside. This allows the hot steam to further break down stubborn limescale. It also helps clean parts of the sterilizer that are hard to reach by hand.
Once the cycle finishes, unplug the sterilizer again. Let it cool. Carefully pour out the descaling solution. You will likely see flakes of limescale come out with it. If significant buildup remains, you might need to repeat the descaling process.
5. Rinse and Dry Thoroughly
After descaling, rinse the sterilizer’s base and all components with clean water. Do this several times to remove any traces of vinegar or citric acid. Run a final cycle with just clean water to ensure all residue is gone. This is a crucial step to remove any lingering smell or taste from the cleaning agents.
Finally, dry everything completely. Use a clean, dry cloth for all surfaces. Leave the lid open or separate the components. Air dry for several hours. This prevents mold and mildew growth. A completely dry sterilizer is ready for its next use, giving you peace of mind.
I make sure to do this thorough clean every week. It keeps the sterilizer looking new and working efficiently. This routine makes a big difference in ensuring my baby’s bottles are truly clean. Just like you would clean a water bottle regularly, your sterilizer needs similar care.
Tackling Limescale Buildup: Descaling Your Sterilizer Effectively
Limescale is the most common issue for bottle sterilizers. It comes from minerals in tap water, especially in hard water areas. These minerals, mostly calcium and magnesium, leave white deposits as water evaporates during heating. Effective descaling removes this buildup and restores your sterilizer’s function.
The key to successful descaling is using an acidic solution. White vinegar is the most popular and readily available option. Its mild acetic acid content is perfect for dissolving mineral deposits. You can also use citric acid, which is often sold as a powder for descaling. Many appliance brands sell their own descaling solutions, which are usually citric acid based.
To descale with white vinegar, mix equal parts white vinegar and water. Pour this mixture into the sterilizer’s water reservoir, making sure it covers the heating element. Do not fill past the max line. Let it sit for at least 30 minutes. For heavy buildup, you can let it soak for a few hours or even overnight. The vinegar works to break down the hard mineral deposits.
After soaking, turn on the sterilizer and run a full cycle with the vinegar solution. This heats the acid and helps it penetrate tough scale. When the cycle finishes, unplug the sterilizer and let it cool down. Carefully pour out the vinegar solution. You should see white flakes of limescale coming out with the liquid.
If using citric acid powder, dissolve one tablespoon of powder in about 100-150 ml (around 0.5 cup) of water. Pour this into the sterilizer base. Again, run a full cycle. The heated citric acid quickly dissolves scale. This method often works faster than vinegar for stubborn buildup.
After descaling, it is important to rinse the sterilizer thoroughly. Fill the base with clean water and run a cycle. Then, empty it and repeat with fresh water at least two more times. This removes any lingering acid residue or smell. Finally, wipe down the inside with a clean, damp cloth and dry completely. This process keeps your sterilizer clean and running at its best. It helps ensure the continued hygiene of your baby’s items.
Daily Maintenance Tips for a Hygienic Sterilizer
While deep cleaning and descaling are important, daily maintenance keeps your bottle sterilizer in good condition between uses. Simple habits prevent buildup and extend the life of your appliance. These small steps take very little time but make a big difference.
First, always empty any leftover water from the sterilizer after each use. Do not let water sit in the base. Stagnant water can lead to mineral buildup and encourage mold growth. Just tip the unit to pour out the water, or use a paper towel to absorb it.
Next, wipe the heating plate and the inside of the sterilizer base with a clean, damp cloth after each cycle. This removes any fresh residue before it hardens into limescale. You can also quickly wipe the lid and inside walls. This prevents milk residue or water marks from drying onto surfaces.
Ensure all components dry thoroughly before storing the sterilizer. Leave the lid ajar or remove the trays to allow air circulation. Moisture is a breeding ground for mold and bacteria. A completely dry sterilizer avoids this issue. I sometimes leave it open for a few hours on the counter after emptying.
Consider using distilled or filtered water instead of tap water if you live in an area with very hard water. This significantly reduces limescale formation. While not always practical, it is an effective way to minimize cleaning frequency. Just as you might consider cleaning your water filter, using filtered water for your sterilizer can improve its performance and longevity.
These daily steps are a form of preventive care. They reduce the need for harsh scrubbing later. They ensure your sterilizer is always ready to provide truly sanitized bottles for your baby. This routine becomes very quick once you get used to it.
Common Sterilizer Cleaning Mistakes to Avoid
Keeping your bottle sterilizer clean is straightforward, but certain actions can harm the appliance or reduce its effectiveness. Knowing what to avoid helps you clean it safely and properly. I made some of these mistakes myself in the beginning.
One common mistake is using harsh cleaning agents. Abrasive cleaners, strong chemical disinfectants, or bleach can damage the sterilizer’s plastic components. They can also leave harmful residues that might transfer to your baby’s bottles. Stick to white vinegar, citric acid, or mild dish soap for cleaning. These are safe and effective.
Another mistake is neglecting regular descaling. Ignoring limescale buildup will reduce the sterilizer’s efficiency. The heating element might not get hot enough to kill germs properly. It can also cause the sterilizer to break down faster. Many parents forget about descaling because the sterilizer still seems to be working. But visual inspection of the heating plate is crucial.
Using metal scrubbers or abrasive sponges is also a bad idea. These can scratch the heating plate or plastic parts, creating rough surfaces. Such surfaces can trap bacteria or lead to faster mineral buildup. Always use soft cloths or sponges.
Leaving water in the sterilizer after use is another common error. This provides a damp environment where mold and bacteria can thrive. It also allows limescale to form more quickly. Always empty the water and dry the unit.
Finally, do not submerge the electrical base of the sterilizer in water. This is a serious safety hazard and will damage the appliance. Always unplug it before cleaning. Wipe the exterior with a damp cloth instead. Just like with a bottle warmer, the electronic parts should never be wet.
Avoiding these common mistakes helps you maintain your sterilizer safely and effectively. It ensures your baby’s bottles are truly clean and your appliance lasts a long time.
When to Consider Replacing Your Bottle Sterilizer
Even with the best cleaning and maintenance, bottle sterilizers do not last forever. Knowing when to replace your unit is important for your baby’s safety and your peace of mind. Several signs can tell you it might be time for a new one.
One clear sign is persistent limescale buildup, even after descaling. If you descale regularly but the white residue returns very quickly, or if the heating element remains heavily coated, it suggests a problem. Severe limescale can permanently damage the heating plate. This reduces its ability to heat water to the correct temperature. A sterilizer that cannot reach proper temperatures is not doing its job.
Another indicator is if the sterilizer no longer produces enough steam. You might notice less steam escaping during a cycle, or bottles not feeling as hot as they used to. This can mean the heating element is failing. Without sufficient steam, the sterilization process becomes ineffective.
Physical damage is also a reason for replacement. Look for cracks in the plastic body, especially in the lid or base. Any electrical issues, like flickering lights, strange noises, or the unit shutting off unexpectedly, mean it is time to replace it. Never use an appliance with electrical faults.
If your sterilizer consistently leaves wet spots or residue on bottles after a cycle, even after cleaning, it might be malfunctioning. This could indicate a problem with water circulation or steam distribution. While some dampness is normal, excessive wetness or visible marks are not.
Finally, consider the age of the unit. Most bottle sterilizers have a lifespan of a few years with regular use. If your sterilizer is several years old and shows any of the above signs, replacing it is a good idea. A new sterilizer will give you confidence in its performance. It also provides the best environment for keeping your baby’s feeding items safe. Investing in a new unit is investing in your baby’s health.
Frequently Asked Questions
How often should I descale my bottle sterilizer?
You should descale your bottle sterilizer at least once a week if you use it daily, especially if you have hard water. If you use filtered or distilled water, or use the sterilizer less often, descaling every two to four weeks might be sufficient. Check the heating plate regularly for white mineral deposits.
Can I use dish soap to clean my bottle sterilizer?
Yes, you can use mild dish soap to clean the removable trays, baskets, and the inside walls of the sterilizer. However, avoid using dish soap on the heating plate or for descaling. For descaling, use white vinegar or citric acid. Always rinse all parts thoroughly after using dish soap to prevent residue transfer.
What if my sterilizer smells like vinegar after cleaning?
A faint vinegar smell after descaling is normal. To remove it, run one or two additional sterilization cycles with only clean water. Make sure to rinse all components thoroughly before these cycles. Leaving the lid open for several hours to air dry will also help dissipate any lingering odor.
Can I put sterilizer parts in the dishwasher?
Most sterilizer components, like trays and baskets, are dishwasher safe. However, always check your sterilizer’s instruction manual first. The main electrical base of the sterilizer should never go in the dishwasher or be submerged in water. Hand wash and air dry these parts instead.
How do I know if my water is hard or soft?
Signs of hard water include frequent limescale buildup in kettles, coffee makers, and your sterilizer. You might also notice soap scum in your sink or shower, or clothes feeling stiff after washing. You can also purchase water test kits online or at home improvement stores to determine your water hardness level.
Is it safe to use commercial descaling solutions?
Yes, many commercial descaling solutions are safe and effective for bottle sterilizers. They often use citric acid as the active ingredient. Always choose solutions specifically designed for baby appliances or kitchen appliances. Follow the product instructions carefully. Ensure you rinse the sterilizer thoroughly afterward.
Conclusion
Keeping your bottle sterilizer clean is a small but important task in caring for your baby. A well-maintained sterilizer works efficiently and keeps bottles truly germ-free. We looked at why regular cleaning matters and how limescale can reduce effectiveness. We also provided a clear, step-by-step guide on how to clean bottle sterilizer units. This includes deep cleaning and descaling.
Remember that simple daily habits like emptying water and wiping surfaces go a long way. Avoiding common mistakes like using harsh chemicals ensures the sterilizer remains safe and lasts longer. Knowing when to replace an old unit also adds to your peace of mind.
By following these simple steps, you ensure your baby’s feeding equipment is always safe and hygienic. This means one less worry for you as a busy parent. Make sterilizer cleaning a regular part of your baby care routine. Your efforts provide a healthy start for your little one. Keep that sterilizer sparkling clean!
- sterilizer cleaning
- baby bottle sterilizer
- descaling sterilizer
- baby gear hygiene
- steam sterilizer maintenance