· Home Cleaning · 15 min read
How To Clean Brush After Staining
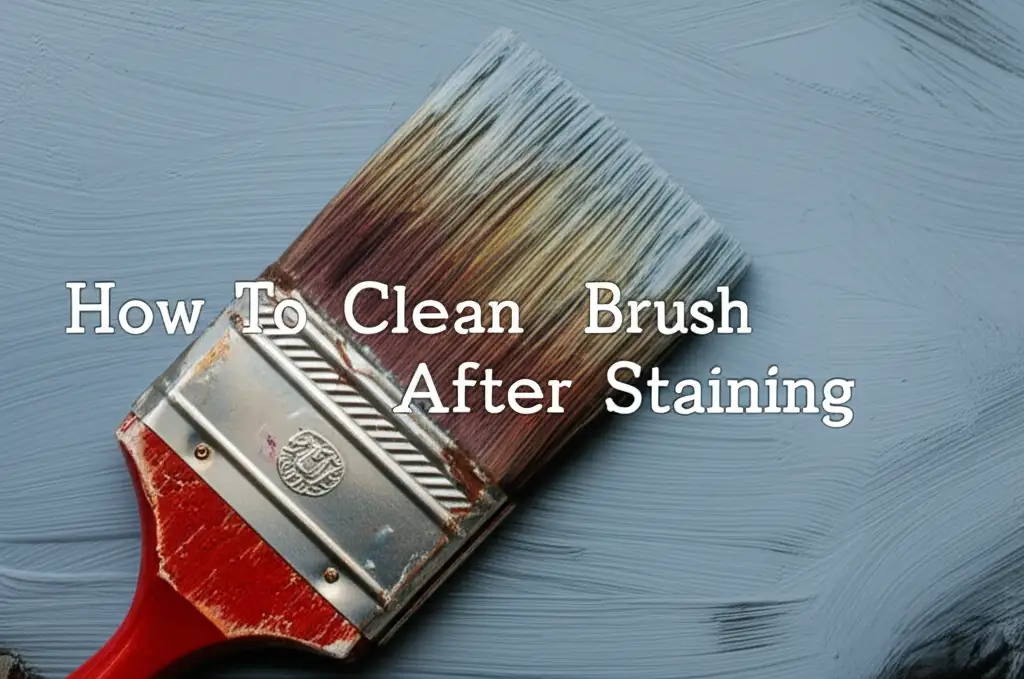
Proper Brush Care: How To Clean Brush After Staining
Have you ever finished a staining project, looked at your brush, and wondered how to save it? Many people just throw away used brushes. This is a waste of money and resources. Cleaning your brushes properly after staining saves you time and effort. It also helps your tools last longer.
A well-maintained brush gives a better finish on future projects. Neglecting brush care leads to hardened bristles and uneven application. I always make sure my brushes are spotless. It extends their life and keeps my work looking professional. This guide will help you understand the types of stain, the right cleaning agents, and easy methods to clean your brushes. You will learn to prepare your brushes for next use, storing them correctly. Let’s make your brushes last for years.
Takeaway
- Identify your stain type (oil-based or water-based) to choose the correct cleaning agent.
- Clean brushes immediately after use to prevent stain from drying and hardening.
- Use specific solvents for oil-based stains (mineral spirits, paint thinner) and soap and water for water-based stains.
- Rinse thoroughly, reshape bristles, and dry brushes completely before storage.
To clean a brush after staining, first identify the stain type. For oil-based stains, use mineral spirits or paint thinner. Agitate the brush in the solvent until clean, then rinse with soap and water. For water-based stains, use warm soapy water, working it into the bristles. Rinse thoroughly under running water until clean, then dry and reshape.
Understanding Stain Types for Effective Brush Cleaning
Before you start cleaning your brush, you must know what type of stain you used. Stains fall into two main categories: oil-based and water-based. Each type needs a different cleaning method. Using the wrong cleaner can ruin your brush. It can also make cleaning much harder.
Oil-based stains are common for outdoor projects like decks and fences. They provide deep penetration and durability. These stains use oil as a binder, which means they are not water-soluble. They dry slower and resist moisture well. Cleaning brushes used with oil-based stains requires a strong solvent. You cannot just use water for these.
Water-based stains are popular for indoor furniture and cabinets. They dry faster and have less odor. These stains use water as their primary solvent. They are easier to clean from brushes. You can often clean them with simple soap and water. Always check the stain can’s label to confirm the type. Knowing your stain type is the first step to successful brush cleaning.
Essential Tools and Materials for Brush Cleaning
Having the right tools ready makes the cleaning process smooth. You do not want to stop midway to search for supplies. Gathering everything beforehand saves time and prevents frustration. Proper preparation ensures you clean your brushes effectively. It protects your investment in quality tools.
For oil-based stains, you will need specific solvents. Mineral spirits or paint thinner are the best options. Keep a sturdy bucket or container for soaking the brush. Old rags or paper towels are also useful for wiping excess stain. Always wear chemical-resistant gloves and eye protection when handling solvents. Good ventilation is important too.
For water-based stains, the supplies are simpler. You will need warm water and a mild soap. Dish soap works well for this purpose. A bucket or sink for rinsing is also necessary. A brush comb can help separate bristles and remove stubborn stain. Rags or paper towels are still useful for drying. Prepare your space with newspaper or drop cloths. This protects surfaces from drips.
Cleaning Oil-Based Stain Brushes
Cleaning brushes after using oil-based stain needs careful attention. Oil-based stains are thick and sticky. They can harden fast if not cleaned immediately. Hardened stain ruins brush bristles. It makes the brush unusable for future projects. This cleaning process saves your tools.
Start by removing as much excess stain from the brush as possible. You can wipe the brush against the rim of the stain can. You can also drag it across a piece of newspaper. This step reduces the amount of solvent you need. It also makes the actual cleaning quicker. Do this before the stain dries.
Pour mineral spirits or paint thinner into a sturdy container. The liquid should cover the bristles. Work the brush back and forth in the solvent. Use a swirling motion. You will see the stain leave the bristles and color the solvent. Press the brush against the bottom or sides of the container to force out stain. If the solvent gets too cloudy, pour it out and add fresh solvent. Repeat this until most of the stain is gone. For a deeper clean, consider these methods to clean stain off a brush.
Rinsing and Conditioning Oil-Based Brushes
After dissolving the stain, it is time for rinsing. This step removes solvent and any remaining stain. Proper rinsing prevents stiffness in the bristles. It prepares the brush for drying and storage. This makes the brush feel new for next use.
Rinse the brush under running warm water. Use a mild soap like dish soap. Work the soap into the bristles with your fingers. Create a lather. You will see any lingering solvent and stain wash away. Keep rinsing until the water runs clear and no soap remains. The bristles should feel soft and clean.
Next, you can use a brush conditioner. Some products are specifically made for paint and stain brushes. This step helps restore the bristles’ flexibility. It also prevents them from becoming brittle over time. If you do not have a conditioner, a small amount of fabric softener can work. Rinse the conditioner out completely. Pay attention to how you prepare surfaces, for example, how to clean wood before staining. This ensures the best finish and makes cleanup easier.
Cleaning Water-Based Stain Brushes
Cleaning brushes after using water-based stain is much simpler. Water-based stains are easier to remove than oil-based ones. They do not need harsh chemicals. Prompt cleaning is still key. If a water-based stain dries, it can be hard to remove.
Begin by removing excess stain from the brush. Wipe the brush against the edge of the stain can. You can also wipe it on newspaper. This removes most of the product. It makes the washing process faster and uses less water. Do this immediately after you finish staining.
Hold the brush under warm, running water. Add a generous amount of mild dish soap to the bristles. Work the soap into the brush using your fingers. Gently massage the bristles. You will see the stain rinse away quickly. Keep running water over the brush until the water runs clear. The bristles should feel soft and flexible. If you are cleaning a brush that also had polyurethane, specific methods may apply. You can find more tips on how to clean polyurethane off brush for combined projects.
Final Rinse and Inspection for Water-Based Brushes
The final rinse is important for water-based brushes. It ensures no stain residue remains. Leftover stain can make bristles stiff when dry. A clean rinse helps maintain brush quality. This step ensures your brush is ready for storage.
After the soapy wash, rinse the brush under clean, running water. Angle the brush so water flows from the ferrule (metal part) to the tip. This helps push out any hidden stain. Squeeze the bristles gently to check if water runs clear. If you see any color, repeat the soap and rinse steps. Do not use very hot water; warm water is sufficient.
Once rinsed, gently shake the brush to remove excess water. Then, carefully reshape the bristles. Use your fingers to bring them back to their original form. A brush comb can help align the bristles perfectly. This reshaping step is crucial. It keeps the brush’s integrity for future use.
Advanced Cleaning Techniques and Troubleshooting
Sometimes, stain dries on a brush despite your best efforts. Or you might have a very old, neglected brush. In these cases, you need more aggressive cleaning methods. Do not give up on a brush too quickly. Many brushes can be saved with some extra work.
For brushes with dried oil-based stain, a longer soak is often needed. Submerge the brush bristles in mineral spirits for several hours. For stubborn cases, you can soak it overnight. Check the brush periodically. Once the stain softens, proceed with the regular cleaning steps. You might need to gently scrape off softened stain with a putty knife. Be careful not to damage the bristles.
If mineral spirits are not available or you want an alternative, other solutions exist. Some people use lacquer thinner or acetone for very tough dried stains. These are much stronger solvents. Always use them in a well-ventilated area. Wear heavy-duty chemical gloves and eye protection. Make sure you read the product warnings. You can find more specific advice on how to clean stain off brush without mineral spirits. This helps if you prefer different methods or lack traditional solvents.
Dealing with Stubborn Stains and Restoring Bristles
Even with strong solvents, some stain might remain deep in the brush. This often happens near the ferrule. A brush spinner tool can help. This tool holds the brush and spins it at high speed. The centrifugal force expels embedded stain and solvent. It is very effective for deep cleaning.
After cleaning, bristles might still feel a bit stiff or splayed. A final soak in warm water with fabric softener can help. Leave the brush in the mixture for 30 minutes. Then rinse thoroughly. This conditions the bristles. It restores some of their original softness and flexibility. Reshape carefully while the bristles are damp.
For brushes with very splayed bristles, try this trick. Wrap the clean, damp brush in newspaper or cardboard. Secure it tightly with a rubber band. Let it dry in this position. The wrapping helps the bristles retain their shape. This is especially useful for natural bristle brushes.
Drying and Storing Your Staining Brushes
Proper drying and storage are just as important as cleaning. A poorly dried brush can grow mold or mildew. It can also cause the bristles to lose shape. Incorrect storage can bend or crimp the bristles. This renders the brush useless for smooth application.
After cleaning and rinsing, gently shake off excess water. Avoid flicking the brush vigorously. This can cause bristles to splay. Use a clean cloth or paper towel to blot the bristles. Press gently to absorb moisture. Do not rub the bristles too hard.
Hang the brush to dry with the bristles pointing down. You can use a clothesline with a clothespin. Some people use a clamp or a special brush drying rack. Hanging prevents water from seeping into the ferrule. Water in the ferrule can loosen the glue holding the bristles. It can also cause the ferrule to rust. Ensure good air circulation around the brush. This speeds up drying and prevents mildew.
Long-Term Storage Solutions for Brushes
Once completely dry, store your brushes properly. This protects them from dust and damage. It also keeps their shape intact for future projects. Good storage extends their lifespan significantly. I always make sure my brushes are stored well.
- Original Sleeves or Wraps: Many brushes come with a cardboard sleeve. This sleeve protects the bristles and maintains their shape. If you kept it, slide the brush back into its original sleeve.
- Brush Rolls or Cases: For multiple brushes, consider a brush roll or case. These keep brushes organized and protected. They prevent bristles from getting crushed.
- Airtight Containers (for short breaks): If you are just taking a break from staining and will use the brush again soon, wrap it in plastic wrap. For longer breaks (a few days), submerge the brush head in mineral spirits (for oil-based) or water (for water-based) in an airtight container. This keeps the stain from drying on the brush. However, this is not for long-term storage of clean brushes.
- Flat Storage: If hanging is not possible, store brushes flat. Place them in a drawer or toolbox. Make sure nothing heavy sits on top of the bristles.
- Avoid Extreme Temperatures: Store brushes in a cool, dry place. Extreme heat can damage bristles. Extreme cold can make them brittle. A climate-controlled environment is ideal.
By following these drying and storage tips, your brushes will be ready for their next job. This makes your next staining project much easier. It also saves you money on buying new brushes. Remember that proper tool care is an investment.
When to Replace Your Staining Brush
Even with the best care, brushes do not last forever. Knowing when to replace a brush saves you frustration. Using an old, worn-out brush gives poor results. It can leave streaks, shed bristles, or not hold enough stain. A good finish starts with good tools.
One sign is when the bristles lose their original shape permanently. If they are splayed out or bent even after cleaning and reshaping, it is time for a new one. A splayed brush cannot give a clean edge. It also applies stain unevenly. Look for bristles that spread outwards, especially at the tip.
Another clear sign is excessive bristle shedding. If you find bristles in your stain or on your project surface, the brush is worn out. This happens when the glue in the ferrule weakens. Shedding bristles ruins the finish and adds extra work. You have to pick them out of the wet stain.
Assessing Brush Performance and Quality
The performance of the brush is the ultimate test. If the brush does not hold stain well, it is likely past its prime. Good brushes load stain evenly and release it smoothly. If your brush requires constant re-dipping or applies thin, patchy coats, it is not efficient.
Finally, consider the overall condition of the brush handle and ferrule. If the handle is cracked or the ferrule is loose, the brush is compromised. A loose ferrule can cause the bristles to fall out. A damaged handle affects your grip and control. Sometimes, buying a new, inexpensive brush is more cost-effective than struggling with a failing one. Regular maintenance and proper use of brushes for projects like staining a deck or fence, as detailed in guides like how to clean deck before staining and how to clean fence before staining, can prolong their life, but they won’t last forever.
FAQs About Cleaning Staining Brushes
Q1: Can I reuse the cleaning solvent for oil-based stains?
Yes, you can reuse cleaning solvent. After use, let the solvent sit. The stain particles will settle to the bottom. Pour off the clear solvent from the top into a separate container. Store it for future use. Dispose of the sludge at the bottom according to local regulations.
Q2: How often should I clean my brush during a staining project?
For short breaks (30 minutes to a few hours), wrap your brush tightly in plastic wrap or put it in an airtight plastic bag. This prevents the stain from drying. For longer breaks or when changing colors, clean the brush completely. This ensures fresh application and prevents cross-contamination.
Q3: What if I accidentally let the stain dry on my brush?
For dried oil-based stain, soak the brush in mineral spirits or paint thinner for several hours, or even overnight. For dried water-based stain, try soaking in hot water with dish soap. A paint brush cleaner solution formulated for dried paint might also work. Patience is key.
Q4: Are there eco-friendly alternatives for cleaning oil-based stain brushes?
Some bio-based or citrus-based solvents are available as alternatives to mineral spirits. These products are often less toxic and have a milder odor. Always check the product label to ensure it is suitable for oil-based stains. Dispose of these cleaners properly, even if they are eco-friendly.
Q5: Can I clean brushes used for polyurethane with the same methods?
Yes, cleaning brushes after polyurethane follows similar rules. If it’s an oil-based polyurethane, use mineral spirits or paint thinner. For water-based polyurethane, warm soapy water works. Polyurethane can be trickier to remove when dry. Clean brushes immediately after use for best results.
Q6: How do I know if my brush is truly clean?
Your brush is clean when the rinse water runs completely clear. The bristles should feel soft and pliable, not stiff or sticky. There should be no visible stain residue or color coming off when you squeeze the bristles onto a clean cloth. The brush should also smell clean, without strong solvent or stain odor.
Conclusion
Cleaning your brush after staining is more than a chore; it is an essential part of tool maintenance. By understanding the type of stain you use and selecting the right cleaning agents, you can preserve your brushes for many projects to come. Whether you are dealing with stubborn oil-based formulas or easily rinsable water-based stains, prompt and thorough cleaning makes all the difference. I have found that a little effort in cleanup saves a lot of money and ensures a better finish every time.
Remember to dry your brushes properly and store them with care. This simple routine protects your investment and keeps your tools ready for their next use. Do not let a good brush go to waste because of dried stain. Take the time to clean your brush after staining and enjoy the longevity and performance of your tools. Start applying these tips today and see the difference in your staining projects.
- brush cleaning
- stain removal
- wood staining tips