· Automotive Care · 17 min read
How To Clean Buffing Pad
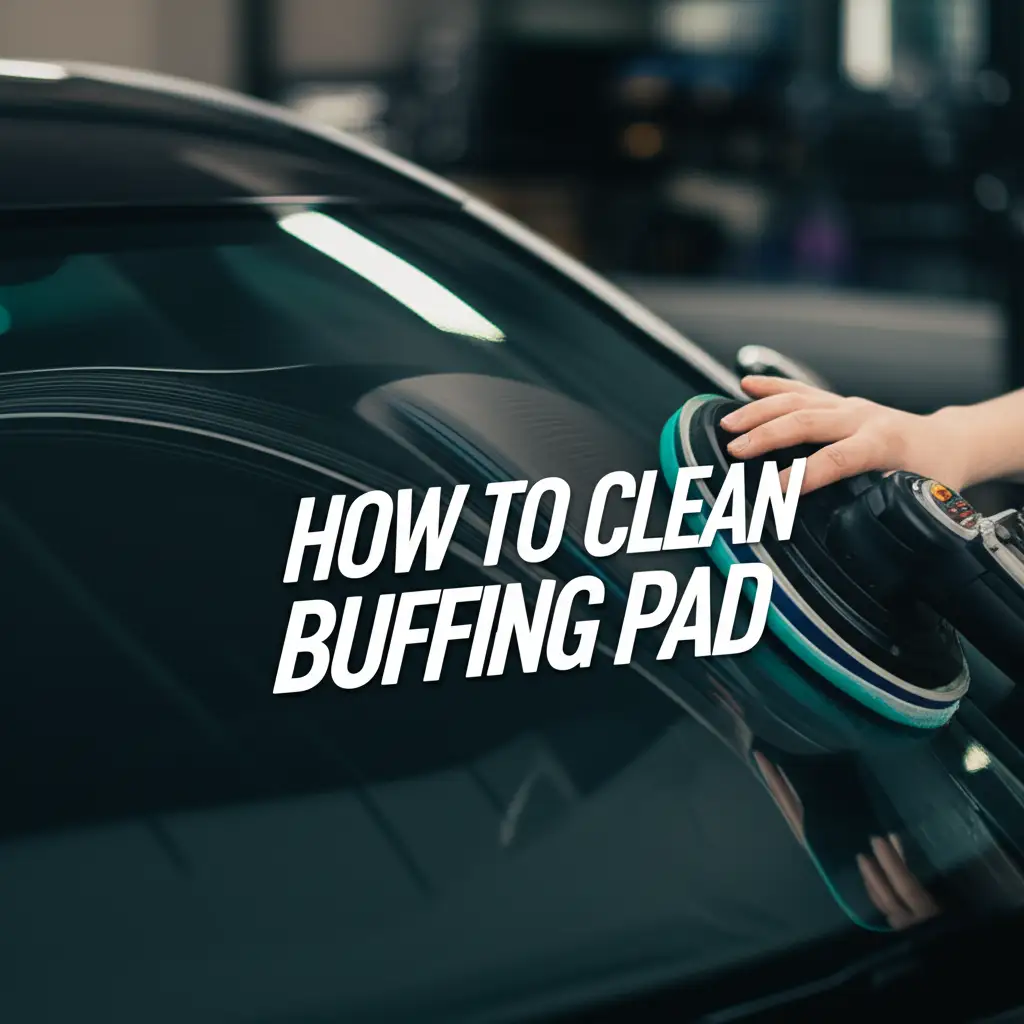
How To Clean Buffing Pad: A Complete Guide to Pad Longevity
Picture this: You are halfway through polishing your car, and your buffing pad feels heavy. It looks caked with polish residue and old paint. This is a common sight for anyone passionate about car detailing. A dirty pad does not work well. It can even scratch your car’s finish. That is why learning how to clean buffing pads properly is a game-changer. Cleaning your pads keeps them performing at their best. It also makes them last much longer. This guide will show you everything about keeping your pads spotless. You will learn about different pad types, cleaning methods, and proper storage.
Takeaway:
- Clean Regularly: Always clean buffing pads after each use to prevent product build-up.
- Choose Method Wisely: Select hand washing for delicate pads and machine washing for durable ones.
- Dry Thoroughly: Allow pads to air dry completely to prevent mold and mildew.
- Store Properly: Keep pads in a clean, sealed environment to avoid contamination.
Clear, Concise Answer:
To clean a buffing pad, first rinse off loose product. Then, use a dedicated pad cleaner or mild soap with warm water. Agitate the pad gently to release trapped compounds. Rinse thoroughly until the water runs clear. Finally, squeeze out excess water and allow the pad to air dry completely before storage.
Why Cleaning Your Buffing Pads Matters for Detailing Excellence
Cleaning buffing pads is not just about hygiene. It is about maintaining the quality of your work. A dirty pad harms your paint. It also wastes your time and product. I always ensure my pads are spotless before starting any detailing job. This simple step makes a huge difference in the final result.
Dirty pads are ineffective. They cannot spread polish evenly. This leads to inconsistent results. It also means you use more product than necessary. You end up spending more money in the long run.
Contamination and Swirl Marks
Buffing pads pick up old paint, dirt, and polishing compounds. These particles become trapped in the pad’s fibers or foam cells. When you continue to use a dirty pad, these trapped particles can scratch the paint. This creates new swirl marks or hazing. This undoes all your hard work.
A clean pad ensures you are only working with the fresh polish. This allows the polish to break down correctly. It also ensures a smooth, flawless finish. I always inspect my pads closely for any embedded debris. I pull out any foreign particles right away.
Extending Pad Life
Buffing pads are an investment. They are not cheap to replace. Product residue hardens on the pad over time. This makes the pad stiff and less effective. It can even cause the pad to break down.
Regular cleaning keeps the pad’s structure soft and pliable. It maintains the pad’s cutting or finishing ability. This extends the lifespan of your pads significantly. Proper care means you buy new pads less often. This saves you money in the long term.
Understanding Different Buffing Pad Materials and Their Cleaning Needs
Buffing pads come in various materials. Each material has unique characteristics. These characteristics affect how you should clean them. Knowing your pad type helps you choose the best cleaning method. I use different types of pads for different tasks. This means I also need different cleaning approaches.
The three main types are foam, wool, and microfiber. Each requires specific care. Using the wrong method can damage the pad. It can reduce its effectiveness. Always check the manufacturer’s recommendations first.
Foam Pad Cleaning Considerations
Foam pads are very popular. They come in many densities for cutting, polishing, and finishing. Foam pads have an open-cell or closed-cell structure. Open-cell foam absorbs more product. This makes it more prone to clogging. Closed-cell foam is denser and absorbs less.
When cleaning foam pads, be gentle. Harsh chemicals can break down the foam. Excessive twisting or pulling can tear it. Warm water and a mild cleaner work best. For a detailed guide on these specific pads, you can check out this resource on how to clean foam buffing pads.
Wool Pad Cleaning Considerations
Wool pads are excellent for heavy cutting. They are made from natural wool fibers. These fibers are durable but can hold a lot of compound. Wool pads can also mat down easily. This reduces their effectiveness.
Cleaning wool pads requires care. You must avoid hot water, which can shrink the wool. Strong detergents can strip the natural lanolin oils. This makes the wool brittle. Brushing the pad during cleaning helps release trapped fibers and product.
Microfiber Pad Cleaning Considerations
Microfiber pads are a newer option. They combine cutting power with a fine finish. They consist of thousands of tiny fibers. These fibers grab and hold product well. This also means they can get clogged quickly.
Microfiber pads need thorough rinsing. The tiny fibers can trap a lot of compound. Avoid fabric softeners when washing them. Fabric softeners can clog the fibers. This reduces the pad’s ability to absorb or cut. Wash them separately from other items to prevent lint transfer.
Essential Tools and Supplies for Effective Pad Cleaning
Having the right tools makes pad cleaning much easier. It also ensures a better clean. I have a dedicated setup for cleaning my detailing tools. This helps me stay organized. It also ensures I have everything on hand when I need it.
You do not need many items. A few key supplies will do. These items are readily available. They will improve your pad cleaning process. They also contribute to pad longevity.
Specialized Pad Cleaners
Many companies make special pad cleaning solutions. These cleaners are designed to break down polishing compounds. They are safe for different pad materials. They usually penetrate the pad deeply. This helps release hardened residue.
Using a dedicated pad cleaner is often the most effective option. It ensures the cleaner is compatible with your pads. It also removes residues without damaging the pad structure. Always follow the instructions on the cleaner’s label.
Household Alternatives
If you do not have a specialized cleaner, mild household products work. I often use a small amount of dish soap. Look for a dish soap that is pH neutral. Avoid harsh detergents or strong degreasers. These can be too aggressive for sensitive pad materials.
Diluted all-purpose cleaner (APC) can also work. Always dilute it properly. Test it on a small, hidden area of the pad first. This ensures it does not cause discoloration or damage. Remember, gentler is usually better for pad cleaning.
Other Useful Tools
- Two Buckets: One for soaking dirty pads, one for rinsing. This helps prevent cross-contamination.
- Pad Cleaning Brush/Spur: A stiff-bristled brush or a pad spur helps agitate the pad. It releases caked-on product. For rotary buffers, a spur can clean the pad while it spins.
- Microfiber Towels: Useful for blotting pads dry. They also clean up any spills.
- Running Water Source: A hose or faucet for rinsing. Strong water pressure helps flush out residue.
- Air Compressor (Optional): Great for quickly blowing out excess water from foam pads. It speeds up drying time.
- Gloves: Protect your hands from chemicals and dirty water.
Step-by-Step Guide to Hand Washing Buffing Pads
Hand washing is a gentle and effective method. It is my preferred method for most of my pads. This method gives you complete control. It ensures a thorough clean without causing damage. Follow these steps for best results.
This process is simple. It requires a bit of time and effort. The outcome is worth it. Clean pads mean better detailing work.
Preparing for Hand Wash
- Remove Excess Product: First, use a pad brush or a flathead screwdriver to scrape off any large chunks of dried compound. Do this while the pad is still on the machine or immediately after removal. This prevents spreading the grime. It also makes the main cleaning easier.
- Rinse Immediately: If possible, rinse the pad with water immediately after use. This prevents compounds from drying and hardening. A quick rinse under a faucet can remove much of the loose product. This step is crucial for an easier, deeper clean later.
- Fill a Bucket with Water: Fill a clean bucket with warm water. Avoid hot water, especially for wool pads. Hot water can damage the pad’s structure. Warm water helps loosen product residue effectively.
- Add Pad Cleaner: Pour a small amount of specialized pad cleaner or mild dish soap into the water. Swirl it around to mix. Do not use too much soap; it can be hard to rinse out.
The Hand Washing Process
- Submerge and Soak: Place the dirty buffing pad into the prepared water. Push it down gently to fully submerge it. Let the pad soak for 5-10 minutes. This allows the cleaning solution to penetrate the pad. It softens up dried compounds.
- Agitate the Pad: After soaking, gently knead and squeeze the pad under the water. Use your fingers to work the solution into the pad. You will see dirty water coming out. For foam pads, press and release the foam. For wool or microfiber, gently rub the fibers together.
- Use a Brush (Optional): For stubborn areas or embedded dirt, use a soft-bristled brush. Gently scrub the surface of the pad. This helps dislodge trapped particles. Do not scrub too hard, as this can damage the pad.
- Rinse Thoroughly: Remove the pad from the soapy water. Rinse it under clean, running water. Squeeze and rinse repeatedly until the water coming out of the pad is clear. This ensures all soap and residue are gone. Any remaining soap can cause issues later.
- Final Squeeze: Once the water runs clear, gently squeeze out as much excess water as possible. Do not twist or wring the pad harshly. This can damage the backing or tear the foam. Press it firmly against the side of the bucket or use a clean towel to blot.
Machine Washing Buffing Pads: Pros and Cons
Machine washing can be a convenient option. It is suitable for certain types of buffing pads. I sometimes use this method for my more durable foam pads. It saves time, especially when cleaning many pads. However, it is not for every pad.
Understanding when and how to machine wash is key. Improper machine washing can ruin your pads. Always check the pad manufacturer’s recommendations first. Some pads are simply not designed for machine washing.
When to Consider Machine Washing
Machine washing is generally best for:
- Durable Foam Pads: Thicker, denser foam pads can often withstand a gentle machine cycle.
- Microfiber Pads: These pads often machine wash well, but remember to avoid fabric softener.
- Large Batches of Pads: If you have many pads to clean, a machine saves significant time.
Avoid machine washing:
- Delicate Foam Pads: Thin or very soft finishing pads can easily tear.
- Wool Pads: The agitation and heat can shrink or damage wool fibers.
- Pads with Weak Hook-and-Loop Backing: The machine action can separate the backing.
Preparing Pads for Machine Wash
- Pre-Rinse: Before putting pads in the machine, pre-rinse them by hand. This removes most of the loose, caked-on product. It also prevents too much residue from going into your washing machine.
- Soak (Optional): For very dirty pads, a pre-soak in warm water with a cleaner can help. This loosens tough grime.
- Load Separately: Wash buffing pads separately from other laundry items. This prevents lint transfer to the pads. It also keeps your clothes free from polishing residue.
- Use a Mesh Laundry Bag: Place your pads inside a mesh laundry bag. This protects the pads from excessive tumbling. It also prevents the hook-and-loop backing from snagging other items or the machine drum.
Machine Wash Settings and Detergents
- Detergent Choice: Use a mild liquid detergent. Avoid powdered detergents; they can leave residue. Do not use fabric softener, bleach, or harsh chemicals. Fabric softener coats the pad fibers, reducing their effectiveness. Bleach can damage pad materials.
- Water Temperature: Use cold or warm water. Never use hot water, especially for foam or wool pads. Hot water can break down foam and shrink wool.
- Wash Cycle: Select a gentle cycle. A “delicate” or “hand wash” setting is ideal. Avoid cycles with high spin speeds. High spin can put excessive stress on the pad’s structure.
- Extra Rinse Cycle: If available, use an extra rinse cycle. This ensures all detergent is flushed out. Detergent residue can cause issues during polishing.
After the wash cycle, immediately remove the pads. Proceed to proper drying methods. Do not leave them sitting wet in the machine.
The Importance of Proper Drying and Storage for Buffing Pads
Cleaning is only half the battle. Proper drying and storage are just as important. They prevent mold, mildew, and contamination. They also maintain the pad’s integrity. I never rush this step. Rushing can undo all the cleaning efforts.
Incorrect drying can damage pads. It can also lead to foul odors. Poor storage can introduce new contaminants. Always take the time to dry and store your pads correctly. This ensures they are ready for your next detailing project.
Air Drying Techniques
Air drying is the safest and most recommended method. It prevents heat damage. It also allows thorough evaporation.
- Squeeze Out Excess Water: After washing, gently squeeze out as much water as you can. Do not twist or wring the pad. You can press it between two clean microfiber towels. This helps remove more water without damaging the pad.
- Lay Flat or Hang: Place foam pads flat on a clean, dry surface. A drying rack works well. You can also hang them if they have a hanging loop. Ensure good airflow around the pad. Avoid direct sunlight, as UV rays can degrade foam over time.
- Allow Ample Time: Drying time varies based on humidity and pad thickness. Most pads need 12-24 hours to dry completely. Ensure the pad is dry all the way through before storage. A damp pad will grow mold or mildew.
- Pad Spinner (Optional): A pad spinner attaches to a drill. You place the pad on it and spin it quickly. This centrifugally forces water out of the pad. It significantly speeds up drying, especially for foam pads. Use it in a safe area where water spray won’t cause issues.
Optimal Pad Storage
Once your pads are completely dry, proper storage is crucial. This keeps them clean and ready for use. It also protects them from dust and debris.
- Ensure Complete Dryness: Before storing, confirm the pad is bone dry. Even a slight dampness can lead to mold and mildew. This makes the pad unusable.
- Store in Sealed Containers or Bags: Use airtight plastic containers or sealable plastic bags. This protects pads from dust, dirt, and airborne contaminants. This is especially important if you store pads in a garage or workshop.
- Separate by Type/Purpose: If you have different types of pads (cutting, polishing, finishing), store them separately. This prevents cross-contamination of products. It also makes it easier to find the right pad for the job.
- Keep in a Clean Environment: Store your containers or bags in a clean, dry area. Avoid areas with extreme temperature fluctuations. Do not store them near chemicals or solvents. This can damage the pad material or introduce odors.
When to Replace Your Buffing Pads
Even with the best cleaning and care, buffing pads do not last forever. They are wear items. Knowing when to replace them is important. Using worn-out pads harms your paint. It also wastes your time and product. I regularly inspect my pads. This helps me decide when it is time for a new one.
Replacing pads at the right time ensures consistent results. It also prevents unexpected damage to your vehicle’s finish. Do not try to squeeze too much life out of a pad.
Visual Inspection Cues
Your eyes are the first line of defense. Look for obvious signs of wear or damage.
- Tears or Rips: Any significant tear in the foam or backing means replacement. A torn pad can wobble on the machine. This leads to uneven pressure and potential paint damage.
- Matted or Glazed Surface: For foam pads, if the surface becomes hard, shiny, or “glazed,” it is worn out. The foam cells have collapsed or are too clogged. For wool or microfiber, if the fibers are matted down and cannot be fluffed, it is time for a new one.
- Delamination: Check if the hook-and-loop backing is separating from the foam or wool. This is called delamination. A pad separating from its backing is dangerous. It can fly off the machine.
- Discoloration and Permanent Stains: While cleaning removes most stains, some discoloration may remain. If the pad looks permanently discolored and feels stiff, it may be compromised.
- Holes or Burn Marks: Small holes or burnt spots indicate the pad has been used too aggressively. These areas can cause uneven polishing. They can also scratch the paint.
Performance Indicators
Sometimes a pad looks okay, but it performs poorly. This is another sign it needs replacement.
- Decreased Effectiveness: If your pad is no longer cutting or finishing as well, it might be worn. You may need more passes or more product to achieve the same result. This is inefficient.
- Excessive Heat Buildup: Worn pads generate more heat. The pad’s structure can no longer dissipate heat effectively. Excessive heat can damage the paint. It can also quickly degrade the pad further.
- Vibration or Wobbling: A worn pad might become unbalanced. This causes excessive vibration during use. This makes it harder to control the machine. It also leads to uneven polishing.
- Product Slinging: If your pad is slinging polish excessively, it might not be absorbing or holding the product correctly. This can be a sign of a compromised pad.
Consider the cost of a new pad versus the potential damage to your vehicle’s paint. A new pad is a small investment. It protects your much larger investment in your vehicle’s finish. Always have a few spare pads on hand. This ensures you can switch out a worn pad immediately.
Frequently Asked Questions About Cleaning Buffing Pads
How often should I clean my buffing pads?
You should clean your buffing pads after every detailing job. If you are doing a large job, clean them every few sections or panels. Product buildup quickly reduces pad effectiveness. Regular cleaning ensures optimal performance and prevents paint marring. It also extends the life of your pads significantly.
Can I use dish soap to clean buffing pads?
Yes, you can use mild dish soap. Choose a pH-neutral dish soap. Avoid harsh detergents or those with added moisturizers. Dish soap effectively breaks down polishing compounds. Always rinse the pads thoroughly afterwards. Any soap residue left in the pad can cause issues during your next detailing session.
How do I remove stubborn caked-on polish from pads?
For stubborn, caked-on polish, first scrape off any large chunks. Then, soak the pad in warm water with a dedicated pad cleaner for a longer period, perhaps 30 minutes. Use a stiff brush or a pad spur to agitate the affected areas. Repeat the soaking and scrubbing if necessary.
Can I dry buffing pads in a dryer?
No, you should avoid drying buffing pads in a dryer. The high heat can melt or warp the foam. It can also damage the hook-and-loop backing. Machine drying can also cause wool pads to shrink. Always air dry your buffing pads. This preserves their structure and extends their life.
What is a pad conditioner?
A pad conditioner is a liquid spray used to prepare a clean pad before use. It primes the pad, making it slightly damp. This helps the polishing compound spread more evenly. It also prevents the pad from absorbing too much product too quickly. Pad conditioners improve initial cut and reduce product sling.
Do new buffing pads need to be pre-cleaned?
New buffing pads usually do not need a full wash. However, it is a good practice to “prime” them. This means using a pad conditioner or a light mist of water. This helps prevent the pad from initially absorbing too much product. Some detailers prefer a quick rinse for peace of mind.
Conclusion: Keep Your Buffing Pads Clean for Superior Results
Keeping your buffing pads clean is a simple yet powerful habit. It directly impacts your detailing work. A clean buffing pad ensures your polishes work as intended. It prevents scratches and swirl marks on your vehicle’s paint. Most importantly, it protects your investment in quality detailing pads. Remember, pads are tools. Proper maintenance keeps them sharp and effective.
I have learned over the years that a dirty pad is a wasteful pad. It wastes your time, your product, and your effort. By regularly cleaning your buffing pads, you guarantee top-notch results. You also extend the life of your valuable detailing equipment. Make pad cleaning a routine part of your detailing process. This simple step will elevate your paint correction results. It will leave your vehicle’s finish looking its absolute best every time.
- how to clean buffing pad
- car detailing tips
- pad maintenance
- foam pad cleaning
- wool pad care