· Appliance Maintenance · 11 min read
How To Clean Burnt Dryer Grate
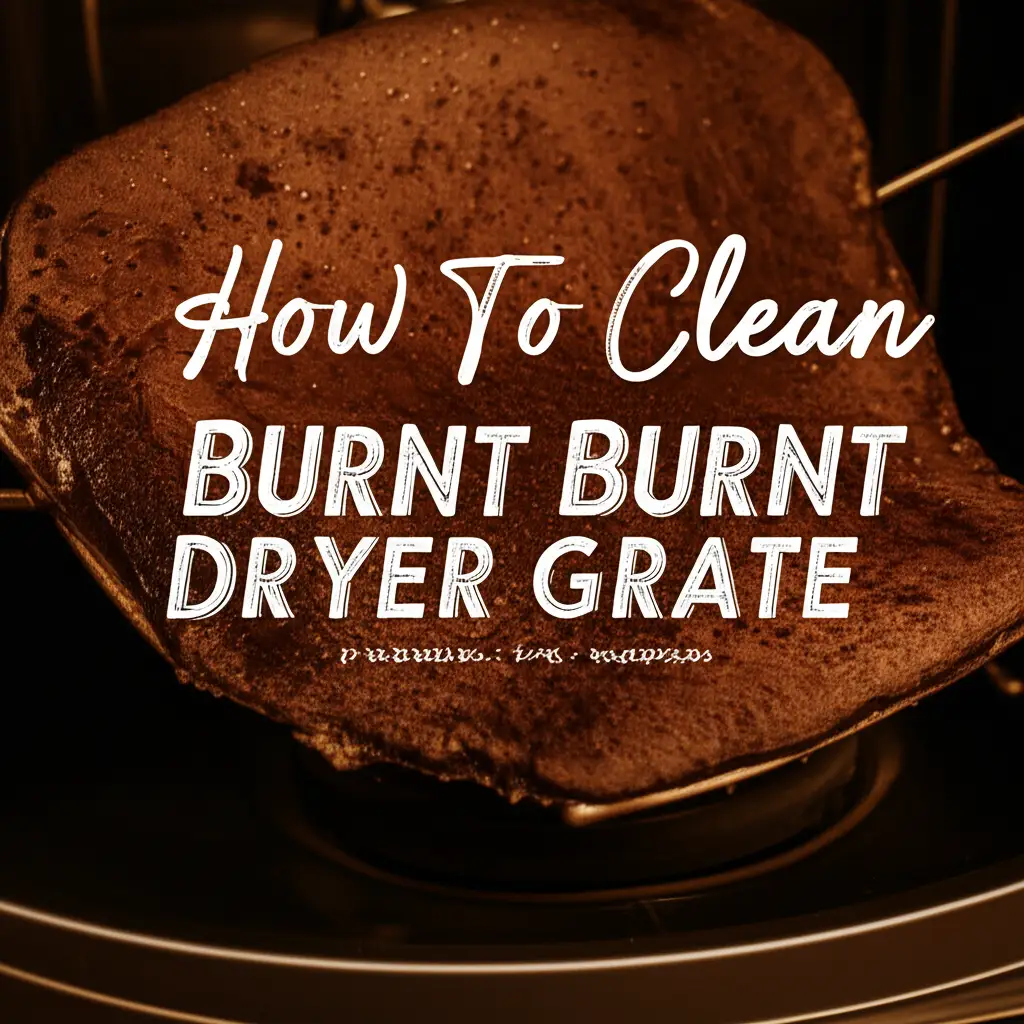
How to Clean a Burnt Dryer Grate
We all know the frustration. You open your dryer, expecting fresh, clean clothes, but a strange odor hits you. Maybe you see a dark stain on the grate. Learning how to clean burnt dryer grate becomes a priority. This burnt residue can cause unpleasant smells and even affect your dryer’s performance.
Dealing with a burnt dryer grate does not need to be hard. It requires the right tools and simple steps. This article helps you understand why your dryer grate burns. We then show you how to safely and effectively clean it. We also share tips for preventing future burns. You will keep your dryer running smoothly and your laundry smelling fresh. Let’s make your laundry routine better.
Takeaway
- Safety First: Always unplug the dryer before cleaning. Ensure good ventilation.
- Identify the Residue: Determine if it’s plastic, fabric, or other burnt material. This guides your cleaning method.
- Choose the Right Cleaner: Use mild solutions like baking soda for light burns. Opt for stronger cleaners or specific solvents for tough, melted plastic.
- Scrape Gently: Use non-abrasive tools to remove hardened residue. Avoid damaging the grate.
- Prevent Future Burns: Clean lint traps regularly. Avoid drying items with plastic or wax.
Quick Answer
To clean a burnt dryer grate, first unplug the dryer. Scrape off loose debris carefully using a plastic scraper. Apply a paste of baking soda and water for light burns. For stubborn, melted residue like plastic, use rubbing alcohol or nail polish remover with a soft cloth. Always ventilate the area well.
Understanding the Problem: Why Dryer Grates Burn
Your dryer grate handles a lot of heat. Sometimes, things go wrong. A common cause for a burnt dryer grate is foreign objects. Small plastic items, like buttons or zippers, can melt. This melted plastic sticks to the hot grate. It creates a stubborn, burnt stain.
Lint buildup also causes problems. Too much lint can restrict airflow. This makes parts of the dryer get too hot. This intense heat can scorch the grate. Even fabric softener sheets can leave a sticky residue. This residue can burn over time. Understanding the cause helps you choose the best cleaning method. It also helps prevent future issues.
A hot dryer can also cause other issues, such as crayons melting inside. If you have ever wondered how to clean crayon out of dryer, it also often involves heat and residue removal. Similarly, items like gum or ink can also melt or transfer if exposed to too much heat inside the dryer, creating tough stains. Knowing how items behave under heat helps you care for your appliance better.
Safety First: Essential Preparations Before Cleaning
Safety must always come first when working with appliances. Before you touch your dryer grate, unplug the machine. This step removes all power. It stops any risk of electric shock. Never skip this vital safety measure.
Next, ensure good ventilation in your laundry area. Open windows or turn on a fan. Cleaning burnt residue can create fumes. These fumes might be unpleasant or even harmful. Good airflow protects your lungs. Gather your cleaning supplies before you start. Having everything ready makes the job easier and faster. This preparation ensures you clean the dryer grate safely.
Working on a dryer can expose you to different parts of the machine. Cleaning parts like the dryer vent also requires careful preparation. Learning how to clean dryer vent on roof or understanding how to clean dryer vent from outside with drill are examples of tasks that also begin with proper safety checks and tool preparation. Each task requires attention to detail.
Gentle Approach: Cleaning Light Burnt Residue
For light burns or scorch marks, a gentle approach works best. You do not need harsh chemicals right away. Start with baking soda. Make a thick paste using baking soda and water. Apply this paste directly onto the burnt area of the grate.
Let the paste sit for about 30 minutes. This allows it to break down the residue. After soaking, gently scrub the area. Use a soft brush or a non-abrasive sponge. The baking soda acts as a mild abrasive. It lifts the burnt material without scratching the grate. Wipe away the paste and rinse the grate thoroughly with a damp cloth. This method is safe for many surfaces.
This gentle cleaning technique is useful for many household items. For example, cleaning certain types of burnt stains from cooking can use similar principles. Knowing how to clean burnt milk from stove or even how to clean burnt rice from pot often involves soaking and gentle scrubbing with mild agents. These methods protect the surface while removing the burn.
Tackling Tougher Stains: When Residue Sticks
Some burnt residue, especially melted plastic, can stick hard. For these tough stains, you need stronger solutions. Rubbing alcohol works well for many plastic residues. Soak a cloth in rubbing alcohol. Place the wet cloth over the burnt area. Let it sit for 10-15 minutes to soften the plastic.
Then, gently scrape the softened residue. Use a plastic scraper or an old credit card. Avoid metal tools that might scratch the grate. For very stubborn plastic, nail polish remover (acetone) can be effective. Test a small, hidden area first to ensure it does not damage the grate finish. Apply acetone with a cotton ball. Wipe carefully until the plastic lifts. Always ensure good ventilation when using these stronger chemicals.
Dealing with burnt materials is a common household challenge. Cleaning how to clean burnt plastic from oven follows a similar logic. You often need to soften the plastic before you can scrape it away. Similarly, stubborn burnt food on cookware, like learning how to clean burnt cast iron, often involves soaking and careful scraping to avoid damage. The principle of softening and gentle removal applies across different surfaces and materials.
Tools and Materials: What You Need for a Sparkling Grate
Having the right tools makes cleaning your burnt dryer grate much simpler. You don’t need many items. Most are common household products. Gather these supplies before you start the cleaning process. This preparation ensures you have everything on hand.
Here is a list of what you will likely need:
- Safety Glasses and Gloves: These protect your eyes and hands from chemicals.
- Soft Cloths or Microfiber Towels: These are for applying cleaners and wiping surfaces.
- Plastic Scraper or Old Credit Card: Ideal for gently removing hardened residue. Avoid metal tools.
- Baking Soda: For light burns and creating a scrubbing paste.
- Dish Soap: A few drops added to water can help clean grease or sticky residue.
- White Vinegar: Can help break down some burnt deposits and deodorize.
- Rubbing Alcohol (Isopropyl Alcohol): Effective for softening and removing melted plastic.
- Nail Polish Remover (Acetone): Use with caution for very stubborn melted plastic, test first.
- Empty Spray Bottle: Useful for mixing and applying liquid cleaning solutions.
- Bucket of Warm Water: For rinsing cloths and wiping down the grate.
Having these items ready saves time. It also helps you tackle any type of burnt residue. You will achieve a sparkling clean dryer grate.
Step-by-Step Guide: The Cleaning Process
Cleaning a burnt dryer grate requires a methodical approach. Follow these steps carefully to achieve the best results. Each step builds on the last, ensuring thorough cleaning. This guide helps you restore your dryer grate efficiently.
- Disconnect Power: Unplug your dryer from the electrical outlet. Safety is paramount.
- Inspect and Clear Loose Debris: Look closely at the grate. Use a soft brush or a vacuum hose to remove any loose lint, fabric bits, or charred particles.
- Identify the Residue Type: Determine what caused the burn. Is it melted plastic, scorched fabric, or just darkened residue? This helps you pick the right cleaning agent.
- Pre-Soak (Optional, but Recommended for Tough Burns): If the residue is thick or very hard, dampen a cloth with warm water. Place it over the burnt area for 15-30 minutes. This can help soften the material.
- Apply Cleaning Solution:
- For Light Burns: Mix baking soda with a little water to form a thick paste. Apply it generously onto the burnt areas. Let it sit for 30 minutes.
- For Melted Plastic or Stubborn Stains: Dampen a cloth or cotton ball with rubbing alcohol. For very tough plastic, use nail polish remover (acetone) sparingly, testing first. Press the cloth onto the burnt area. Let it soak for 10-15 minutes to dissolve or soften the material.
- Scrape Gently: Use a plastic scraper, an old credit card, or a silicone spatula. Gently push and lift the softened residue. Avoid harsh scrubbing or metal tools that can scratch the grate. Work slowly and carefully.
- Scrub and Clean: Once the bulk of the residue is removed, use a non-abrasive sponge or a soft brush. Dip it in a solution of warm water and a few drops of dish soap. Gently scrub the remaining stains. For baking soda paste, use the sponge to scrub the paste into the residue.
- Wipe and Rinse: Use a clean, damp cloth to wipe away all cleaning solutions and loosened debris. Rinse the cloth often. Make sure no residue or cleaning agent remains on the grate.
- Dry Thoroughly: Allow the grate to air dry completely before plugging the dryer back in. Ensure no moisture remains.
This systematic process helps you clean your dryer grate effectively. Your dryer will be ready for use again.
Prevention is Key: Keeping Your Dryer Grate Clean
Preventing future burns on your dryer grate is simpler than cleaning them. Regular maintenance makes a big difference. A clean dryer runs better and lasts longer. Taking a few proactive steps can save you time and effort in the long run.
First, always check pockets before doing laundry. This is vital. Small plastic items like pens, candy wrappers, or toy pieces can melt. They can stick to the hot grate. Remove any items that are not fabric. This simple habit prevents many common burnt residue problems.
Second, clean your lint trap after every load. A full lint trap restricts airflow. Restricted airflow causes the dryer to overheat. This overheating can scorch components, including the grate. A clean lint trap also improves drying efficiency and reduces fire risk.
Third, use fabric softeners wisely. Some liquid softeners or dryer sheets can leave a sticky film. This film can attract lint and scorch onto the grate over time. If you notice a buildup, consider reducing softener use or switching brands. Regularly wiping down the interior of your dryer with a damp cloth can also help remove any subtle residues before they burn. Keeping your dryer well-maintained protects your clothes and your appliance.
FAQ Section
Q1: What causes a dryer grate to burn? A: Dryer grates often burn due to foreign objects like plastic items (buttons, pens) melting and sticking to the hot surface. Excessive lint buildup can also restrict airflow, leading to overheating and scorching the grate. Fabric softener residue can also accumulate and burn over time.
Q2: Is a burnt dryer grate dangerous? A: A burnt dryer grate can pose a safety risk. Melted plastic or other residues can release fumes, which may be toxic. Excessive heat leading to a burnt grate also indicates potential airflow problems. This can increase the risk of a dryer fire if not addressed promptly.
Q3: Can I use steel wool to clean burnt dryer grate? A: No, you should not use steel wool to clean a burnt dryer grate. Steel wool is too abrasive. It can scratch the grate’s surface. These scratches can lead to rust. They also create rough spots where lint and new residue can stick more easily. Always use soft cloths or plastic scrapers.
Q4: How often should I clean my dryer grate? A: You should inspect your dryer grate regularly, ideally monthly. Clean it immediately if you notice any visible residue or a strange odor. Regular quick wipes can prevent buildup. A deep clean is needed if you find burnt material.
Q5: What if the burnt plastic won’t come off? A: For extremely stubborn burnt plastic, try repeated applications of rubbing alcohol or nail polish remover. Let the solvent sit longer to soften the plastic thoroughly. You can also try carefully heating the area with a hairdryer (from a safe distance) to soften the plastic before scraping, but use extreme caution and ventilation. If all else fails, consider professional appliance service.
Q6: Can I prevent items from melting in the dryer? A: Yes, you can prevent items from melting. Always check garment pockets thoroughly before placing them in the dryer. Remove any plastic items, coins, or other foreign objects. Avoid drying delicate plastic items that are not meant for high heat. Use a mesh laundry bag for small items that might fall out of pockets.
Conclusion
A burnt dryer grate can be a frustrating sight, but it is a problem you can fix. We have covered how to clean burnt dryer grate thoroughly and safely. From understanding the root causes to applying the right cleaning solutions, you now have the knowledge to restore your appliance. Remember to prioritize safety by unplugging the dryer and ensuring good ventilation.
Taking these steps helps remove unsightly marks and improves your dryer’s efficiency. Regular maintenance goes a long way. Checking pockets and cleaning the lint trap are simple habits that prevent future burns. A clean dryer operates better, smells fresher, and lasts longer. Take action today to keep your dryer grate sparkling and your laundry routine smooth. You can maintain a clean and safe laundry space with a little effort.
- dryer cleaning
- burnt residue
- appliance maintenance
- laundry room
- home cleaning