· Home Cleaning, Kitchen Care · 16 min read
How To Clean Burnt Non Stick Baking Sheet

Restore Your Baking Sheet: How To Clean Burnt Non Stick Surfaces
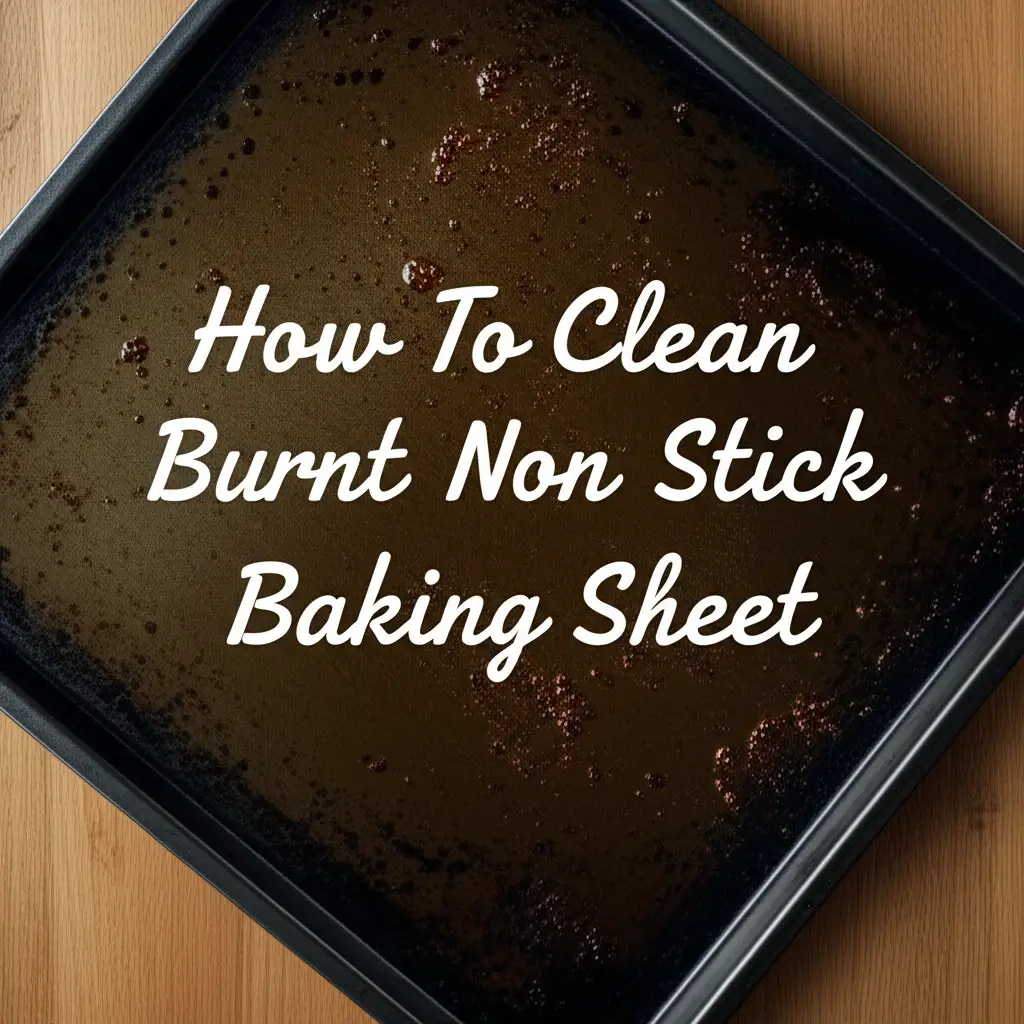
The smell of burnt food is awful. Seeing it stuck to your favorite non-stick baking sheet is even worse. A baking sheet covered in charred residue not only looks bad but also impacts future cooking. When food sticks and burns, it can ruin the next meal you try to make. Plus, a dirty sheet can transfer off-flavors to your baked goods.
Many people wonder how to clean burnt non stick baking sheet without causing damage. The delicate coating on non-stick bakeware requires careful treatment. Harsh scrubbing or abrasive cleaners can quickly destroy the surface. This article will guide you through gentle yet effective methods. We will explore household remedies like baking soda and vinegar. You will learn steps for safe residue removal. We also provide tips to prevent future burning. By the end, you will know how to keep your non-stick baking sheets pristine.
Takeaway
- Always use gentle cleaning methods for non-stick surfaces.
- Avoid harsh abrasive scrubbers and chemicals.
- Baking soda and vinegar are effective and safe cleaning agents.
- Proper care prevents future burnt food buildup.
To clean a burnt non stick baking sheet, first let it cool completely. Then, soak it in warm, soapy water to loosen initial debris. For the stubborn burnt areas, make a paste of baking soda and water. Gently scrub this paste onto the stains with a soft sponge. Rinse the sheet thoroughly. A vinegar solution can help with very persistent spots.
Understanding Your Non-Stick Baking Sheet: Why Gentle Care Matters
Your non-stick baking sheet is a valuable kitchen tool. It makes cooking and cleanup easier. These sheets have a special coating. This coating prevents food from sticking. It allows food to slide off without effort.
The Delicate Non-Stick Coating
The non-stick coating is usually made from materials like PTFE (Teflon). This material provides a smooth surface. It reduces the need for oil or grease. The coating is quite thin. It can scratch or chip easily. This sensitivity means you must be careful when cleaning. Rough treatment can ruin your pan quickly.
Risks of Harsh Cleaning
Many common cleaning tools are too harsh for non-stick surfaces. Metal scrubbers, steel wool, or abrasive cleaning powders can damage the coating. Using these items will create tiny scratches. These scratches cause food to stick. They also make the pan harder to clean in the future. Once the coating is compromised, the non-stick properties are lost. This damage can make the sheet unusable for its intended purpose. It is important to prioritize gentle methods. This gentle approach helps extend the life of your baking sheet.
Harsh chemicals can also harm the coating. Some strong cleaners contain ingredients that degrade non-stick surfaces. Always check product labels before use. Stick to mild soaps and natural remedies. The goal is to lift burnt residue without stripping the protective layer. We want to restore, not ruin, your bakeware. Using gentle care preserves the quality of your kitchen items. This thoughtful approach ensures they perform well for a long time.
Essential Preparations Before You Clean Burnt Non Stick Baking Sheet
You must prepare your baking sheet before you begin cleaning. Proper preparation sets the stage for easy cleaning. It also helps prevent further damage. Skipping these steps can make the job harder. It might also risk scratching your delicate non-stick surface.
Cooling Down is Crucial
Never try to clean a hot baking sheet. Heat makes the material expand. Applying cold water to a hot sheet can cause thermal shock. This shock might warp the pan. It can also damage the non-stick coating. Always allow your baking sheet to cool completely. Let it reach room temperature. This waiting period is important for the pan’s integrity. It ensures safety during the cleaning process.
Initial Soaking Steps
Once the baking sheet is cool, move to the soaking stage. Soaking helps loosen any stuck-on food or burnt residue. This step is often the most important. It reduces the amount of scrubbing needed later. Fill your sink or a large basin with warm water. Add a few drops of mild dish soap to the water. Place the burnt baking sheet into the soapy water. Make sure the entire burnt area is submerged.
Allow the sheet to soak for at least 30 minutes. For very stubborn, heavily burnt areas, you might need to soak it for several hours or even overnight. Soaking softens the burnt food particles. It makes them easier to remove. After soaking, gently try to scrape off any loose debris. Use a plastic scraper, a silicone spatula, or your fingernail. Avoid anything sharp or metallic. This initial removal of loose particles makes the next steps more effective. Soaking burnt residues is a common first step for many kitchen cleaning challenges, similar to cleaning burnt sugar from a pan. This preparation simplifies the removal of tough, stuck-on messes.
The Baking Soda Power: How To Clean Burnt Non Stick Baking Sheet Safely
Baking soda is a fantastic natural cleaner. It is mildly abrasive, but gentle enough for non-stick surfaces. It helps lift and break down burnt food residue. Many people use baking soda for a variety of cleaning tasks. Its gentle nature makes it perfect for delicate coatings.
Creating the Baking Soda Paste
To begin, you will need baking soda and water. Mix about half a cup of baking soda with a few tablespoons of water. Stir the mixture until it forms a thick paste. The paste should be consistent. It should not be too runny. Adjust the amounts of baking soda or water as needed to get the right consistency. This paste is your main cleaning agent. It will effectively tackle the burnt spots.
Gentle Application and Scrubbing
Apply the baking soda paste generously over all burnt areas. Make sure the paste covers the residue completely. Let the paste sit on the burnt spots for 15-30 minutes. For very tough burns, you can leave it for an hour or two. This sitting time allows the baking soda to work its magic. It helps to loosen the charred particles.
After the paste has sat, it is time to scrub. Use a soft sponge, a non-scratch scrub pad, or a microfiber cloth. Gently scrub the burnt areas in small circular motions. Apply light pressure only. You will see the burnt residue start to lift away. Do not push down hard. Hard scrubbing can damage the non-stick coating. The goal is to let the baking soda do most of the work. Rinse the baking sheet thoroughly with warm water. Check for any remaining residue. You may need to repeat the process for very stubborn spots. This method is part of a common strategy to clean with vinegar and baking soda for many household items.
Vinegar’s Role in Tackling Stubborn Burnt Non Stick Residue
Sometimes, baking soda alone might not be enough. This is especially true for very stubborn burnt residue. White vinegar can provide an extra boost. Vinegar is acidic. It helps to break down burnt material. When combined with baking soda, it creates a powerful fizzing reaction. This reaction helps lift tough stains. It is a natural and safe addition to your cleaning arsenal.
Combining Vinegar with Baking Soda
You can use vinegar after an initial baking soda treatment. Or, you can combine them for a stronger attack. First, sprinkle a layer of baking soda over the burnt areas. Make sure the spots are well covered. Then, slowly pour white vinegar over the baking soda. You will see a fizzing action immediately. This reaction is normal. It means the two ingredients are working together. The bubbles help to dislodge the burnt food particles.
Let the baking soda and vinegar mixture sit on the burnt areas. Allow it to sit for at least 15-30 minutes. For extremely stubborn stains, you can let it sit longer. Sometimes, an hour or two is needed. The fizzing will eventually subside. This combination is highly effective for many household cleaning tasks. For comprehensive guidance on using both ingredients, refer to our guide on how to clean with vinegar and baking soda.
Soaking for Deeper Clean
After the fizzing stops, add a small amount of warm water to the baking sheet. Let it soak for an additional 15-30 minutes. This extended soak allows the loosened particles to detach fully. The water helps to rinse away the residue. Once the soaking time is up, gently scrub the burnt areas. Use a soft sponge or cloth. The residue should come off much more easily now.
Rinse the baking sheet thoroughly with clean water. Ensure all baking soda and vinegar residue is gone. Dry the sheet completely to prevent water spots. This method is particularly effective for tough, burnt-on food. It offers a powerful, natural solution. It avoids the need for harsh chemicals or abrasive tools. Your non-stick sheet will thank you.
Alternative Gentle Methods for Burnt Non Stick Surfaces
While baking soda and vinegar are often the go-to solutions, other gentle methods exist. These alternatives can be useful. They might work for lighter burns. Or, you might prefer them if you do not have baking soda or vinegar on hand. Always prioritize gentleness when cleaning non-stick surfaces. The aim is to preserve the coating.
Dish Soap and Hot Water Boost
Sometimes, a simple boost of dish soap can do the trick. If the burnt residue is not too severe, try this. Fill your baking sheet with hot water. Add a generous amount of mild dish soap. Let it sit for several hours, or even overnight. The hot water and soap work together. They penetrate and loosen the burnt food.
After soaking, gently scrub with a non-abrasive sponge or cloth. The softened food should lift away. Rinse thoroughly. This method is safe for your non-stick coating. It is also an easy first step for less challenging messes. It avoids harsher chemicals. This simple approach is often overlooked. It can save you time and effort.
The Magic of Dryer Sheets (Careful Application)
This method might sound unusual. However, dryer sheets can help with burnt-on food. Dryer sheets contain softening agents. These agents can break down burnt residue. Place a single dryer sheet on the burnt area of your baking sheet. Add warm water to cover the sheet. Let it soak for at least an hour, or overnight. The softening agents will work on the burnt food.
After soaking, remove the dryer sheet. Then, gently scrub the area with a soft sponge. The burnt bits should slide off. Always rinse the baking sheet very thoroughly after using a dryer sheet. Ensure no residue remains. While effective, use this method with caution. Some people worry about chemical residue from dryer sheets. If you have concerns, stick to baking soda and vinegar. Always test a small, inconspicuous area first. This method is a gentle option when traditional remedies are not quite enough.
Restoring and Protecting Your Clean Burnt Non Stick Baking Sheet
Cleaning your burnt non-stick baking sheet is only half the battle. Proper rinsing, drying, and maintenance are crucial. These steps ensure the longevity of your bakeware. They also maintain its non-stick properties. Neglecting these final steps can lead to new problems. It might even cause the pan to rust or lose its effectiveness.
Thorough Rinsing and Drying
After cleaning, rinse your baking sheet very well. Make sure all cleaning agents are gone. Any residue from baking soda, vinegar, or soap can leave a film. This film can affect future cooking. It can also cause food to stick. Rinse both the top and bottom surfaces under warm running water. Inspect the sheet carefully. Look for any lingering cleaning product.
Once rinsed, dry the baking sheet immediately and completely. Do not let it air dry. Air drying can lead to water spots. It can also cause rust on exposed metal parts, if any. Use a clean, soft towel to dry the sheet thoroughly. Ensure no moisture remains. Proper drying prevents damage and maintains shine. It also prepares the sheet for storage.
Seasoning for Longevity
Some non-stick baking sheets benefit from occasional seasoning. This step is more common for cast iron or carbon steel. However, a light seasoning can help maintain non-stick properties. It can also extend the life of some non-stick coatings. Check your manufacturer’s instructions first. Not all non-stick pans require or recommend seasoning.
If seasoning is recommended, here is how to do it. Apply a very thin layer of cooking oil (like vegetable or canola oil) to the entire non-stick surface. Use a paper towel to wipe it. Ensure it is just a thin film. Place the baking sheet in a preheated oven. Use a low temperature, around 300-350°F (150-175°C). Bake for about 30-60 minutes. Turn off the oven. Let the sheet cool completely inside the oven. This process bakes the oil onto the surface. It creates an extra protective layer. This layer enhances the non-stick quality. It also helps protect against future burns and sticking. Proper care ensures your baking sheet remains a reliable kitchen tool.
Preventing Future Burnt Food on Your Non-Stick Baking Sheet
Cleaning burnt food is a hassle. It is much easier to prevent it from happening in the first place. Good habits and proper usage can significantly extend the life of your non-stick baking sheet. These simple tips will keep your bakeware pristine. They will also make your cooking experience more enjoyable.
Proper Temperature Control
Non-stick coatings are not meant for very high heat. Extreme temperatures can damage the coating over time. Most non-stick bakeware performs best at medium to medium-high heat. Always preheat your oven to the correct temperature. Avoid placing an empty non-stick sheet in a very hot oven. The dry heat can harm the coating. If a recipe calls for high heat, consider using a different type of baking sheet. Using the right temperature helps prevent food from burning and sticking. It also protects your pan.
Using Parchment Paper or Silicone Mats
For extra protection against burns and sticky messes, use liners. Parchment paper is a great option. It creates a barrier between your food and the baking sheet. This prevents food from sticking directly to the non-stick surface. Silicone baking mats are another excellent choice. They are reusable and provide a non-stick surface themselves. They distribute heat evenly. Using these liners makes cleanup incredibly easy. You just lift the liner. The baking sheet underneath stays clean. This simple step saves a lot of cleaning effort.
Avoiding Metal Utensils
Metal utensils are enemies of non-stick coatings. Spatulas, spoons, or knives made of metal can scratch the delicate surface. These scratches compromise the non-stick properties. They create areas where food can stick. Always use silicone, wood, or plastic utensils when cooking or serving on a non-stick baking sheet. These materials are soft. They will not scratch the coating. This small change in habit makes a big difference. Protecting the surface means your baking sheet stays non-stick for longer.
Regular inspection of your non-stick baking sheet also helps. If you see deep scratches or flaking, it might be time to replace it. A damaged non-stick surface can release chemicals. It is always better to be safe. By following these prevention tips, you can enjoy your non-stick baking sheet for many years. Proper care reduces the need to clean non-stick iron plate when burnt or any other burnt cookware. Maintaining your non-stick bakeware also helps to avoid issues like burnt grease, as discussed in how to clean burnt grease from bottom of frying pans.
FAQ Section
Can I use steel wool on a non-stick baking sheet?
No, never use steel wool or any abrasive scrubber on a non-stick baking sheet. These harsh tools will scratch and ruin the delicate non-stick coating. Once scratched, food will stick to the pan, and the coating may begin to flake off. Always opt for soft sponges, cloths, or non-scratch scrubbers to protect the surface.
How do I remove sticky residue from a non-stick sheet without damaging it?
For sticky residue, soak the sheet in warm, soapy water for an hour or more. Then, gently scrape with a plastic scraper or a silicone spatula. A paste of baking soda and water, applied with a soft sponge, also works wonders to lift sticky bits without harming the non-stick surface.
Is it safe to put a non-stick baking sheet in the dishwasher?
Most manufacturers recommend hand washing non-stick baking sheets. Dishwasher detergents can be abrasive. The high heat of a dishwasher can also damage the non-stick coating over time. Hand washing preserves the coating and extends the life of your pan, keeping it truly non-stick.
How do I know if my non-stick coating is ruined beyond repair?
If your non-stick coating is flaking, peeling, bubbling, or if food consistently sticks despite proper cleaning, it is likely ruined. Deep scratches that expose the metal underneath also indicate damage beyond repair. At this point, it is safest to replace the baking sheet.
Can I use a magic eraser on non-stick surfaces?
No, you should avoid using a magic eraser on non-stick surfaces. While they feel soft, magic erasers are micro-abrasive. They can create tiny scratches on the delicate non-stick coating. These scratches will cause food to stick more easily and can lead to the deterioration of the pan’s surface over time.
How often should I clean my non-stick baking sheet?
You should clean your non-stick baking sheet after every use. Wash it with mild dish soap and warm water immediately after it cools down. This prevents food residue from hardening and becoming difficult to remove. Regular, gentle cleaning ensures the pan remains hygienic and maintains its non-stick qualities for longer.
Conclusion
Cleaning a burnt non-stick baking sheet does not have to be a nightmare. You can restore your bakeware to its original glory. The key is to use gentle methods. Avoid harsh abrasives. Focus on natural cleaners like baking soda and vinegar. These common household items are powerful against burnt food. They are also safe for delicate non-stick coatings.
Remember to prepare your sheet properly. Let it cool completely. Soak it to loosen debris. Then, apply your chosen cleaning solution. Scrub gently with soft tools. Rinse and dry your sheet thoroughly. Following these steps helps you effectively clean burnt non stick baking sheet. You can save your favorite kitchen tool. More importantly, prevention is crucial. Control oven temperatures. Use parchment paper or silicone mats. Use only non-metal utensils. These simple habits keep your baking sheets looking new. They perform their best for many years. Take care of your bakeware. It will take care of your baking. You can enjoy delicious, non-stick results every time.
- non-stick cleaning
- burnt baking sheet
- baking soda
- vinegar cleaning
- gentle cleaning
- kitchen hacks
- pan care
- burnt food removal
- non-stick pan


