· Kitchen Cleaning · 20 min read
How To Clean Burnt Pots
How To Clean Burnt Pots: Restore Your Cookware Easily
I have been there countless times. You are cooking, get distracted, and suddenly smell something burning. The next thing you see is a pot with a thick layer of burnt food stuck to the bottom. It looks like a permanent stain. Many people feel frustrated by this. They might even think the pot is ruined forever.
But do not worry. You do not need to throw away your favorite cookware. Cleaning burnt pots is possible. You can restore them to their original shine. This guide offers simple, effective methods. We will cover various techniques. You will learn how to tackle different types of burns and pot materials. Get ready to make your pots look new again.
Takeaway:
- Address burnt pots quickly with the right method.
- Use common household items like baking soda, vinegar, and salt.
- Match the cleaning method to your pot’s material.
- Prevent future burns with careful cooking practices.
You can clean burnt pots by soaking them in water with dish soap, then scrubbing. For tougher burns, combine baking soda with vinegar or dish soap and water. Boil the mixture in the pot, let it sit, then scrape the residue.
Understanding Burnt Pots: Why Food Sticks
Burnt food sticks to pots for several reasons. High heat causes sugars and proteins in food to caramelize and carbonize. This process creates a strong bond with the pot’s surface. The burnt layer is often very hard. It resists simple scrubbing. Different pot materials react differently to burning. This affects how easily the burnt residue comes off.
The type of food also matters. Sugary sauces burn quickly. Milk products leave a sticky residue. Rice and starches often create a very hard, carbonized layer. Understanding the nature of the burn helps in choosing the best cleaning method. You can then select the right tools and ingredients. This makes the cleaning process more effective.
Types of Burnt Residue
Burnt residue comes in various forms. Light scorching often leaves a thin, dark film. This film might come off with simple scrubbing. Moderate burns create a thicker, hard crust. This crust requires more effort. It might need soaking or gentle abrasion. Severe burns result in a thick, carbonized layer. This layer is very dark and hard. It sticks tightly to the pot. This type of burn often needs strong cleaning agents. It might require repeated treatments.
Sometimes, the outside bottom of a pot gets burnt. This happens from spills or direct flame. This external burn is different from internal food burns. It requires specific cleaning approaches for the exterior. You should always assess the burn first. This helps you pick the right strategy.
Common Pot Materials and Their Resilience
Pots come in many materials. Each material has unique properties. Stainless steel is durable. It handles high heat well. It is often non-reactive. Burnt food usually lifts from stainless steel with common methods. Cleaning stainless steel pots burnt is a common task. Cast iron pots are also very durable. They retain heat well. They require specific care. Burnt food can stick to cast iron. You must avoid harsh chemicals on cast iron. This protects its seasoning. Cleaning burnt cast iron needs gentle methods.
Non-stick pots have a special coating. This coating prevents food from sticking. However, high heat can damage it. Burnt food can be hard to remove without damaging the coating. You must use soft tools. Harsh abrasives will scratch the non-stick surface. Glass and ceramic pots are also sensitive. They can crack with sudden temperature changes. Always use gentle methods for these materials. Learning how to clean burnt non-stick baking sheets can help you with pans too.
Essential Tools and Ingredients for Burnt Pot Cleaning
You do not need special equipment to clean burnt pots. Most items are already in your kitchen. Having these items ready makes the job easier. You can start cleaning right away. This saves you time and trips to the store. Always prioritize safety. Use gloves if working with strong chemicals. Ensure good ventilation.
Proper tools prevent damage to your pots. Abrasive scrubbers can scratch sensitive surfaces. Soft sponges and plastic scrapers are safer choices. You want to remove the burnt residue, not the pot’s finish. Gather your supplies before you begin. This helps the cleaning process flow smoothly.
Basic Household Items
Several common household items are very effective. Baking soda is a mild abrasive and odor absorber. Vinegar, specifically white vinegar, is an acid. It helps break down burnt residue. Dish soap is a degreaser. It helps lift and dissolve burnt material. Salt works as a natural abrasive. It helps scrub away stuck-on bits. Lemon juice is another mild acid. It also adds a fresh scent.
Water is essential for soaking. It softens the burnt layer. You will also need a soft sponge or cloth. A plastic scraper is useful. It removes thick layers without scratching. A wooden spoon can also help. It gently pries off burnt sections. Avoid steel wool on most pots. It can scratch surfaces.
Specialized Cleaners and Their Use
Sometimes, household items are not enough. Very stubborn burns might need stronger cleaners. Oven cleaner contains powerful chemicals. It breaks down carbonized food. Use it only on suitable pot materials. Always read the oven cleaner label first. It often specifies which surfaces are safe. Always use gloves and ensure good ventilation.
Commercial pot cleaners are also available. These are designed for heavy-duty burnt-on stains. They often come as sprays or pastes. Again, check the product label carefully. Make sure it is safe for your pot’s material. Always follow the instructions. Using specialized cleaners can save a lot of scrubbing. They are a good option for extreme cases.
Method 1: The Baking Soda and Vinegar Power Duo
The baking soda and vinegar method is very popular. It is effective and uses natural ingredients. This makes it a safe choice for many pot types. The combination creates a fizzing reaction. This reaction helps lift the burnt residue. It loosens the bond between the food and the pot. I use this method often. It works wonders on moderately burnt pots. It saves me from vigorous scrubbing.
This method is particularly good for stainless steel pots. It leaves them shiny. It can also work on non-stick pans with caution. Always use soft tools with non-stick. Avoid harsh scraping. This method relies on chemistry, not brute force. This makes it gentle yet powerful.
Step-by-Step for Baking Soda & Vinegar
- Remove loose bits: Scrape off any loose burnt food. Use a wooden spoon or plastic scraper.
- Add water and soap: Pour enough water into the pot to cover the burnt area. Add a few drops of dish soap.
- Boil the mixture: Bring the water to a boil on the stove. Let it simmer for 5-10 minutes. This softens the burnt food.
- Cool and drain: Remove the pot from heat. Let it cool down completely. Drain the water.
- Sprinkle baking soda: Generously sprinkle baking soda over the entire burnt area.
- Add vinegar: Pour a small amount of white vinegar over the baking soda. It will fizz. Let it sit for 15-30 minutes. This reaction helps lift the residue.
- Scrub and clean: Use a non-abrasive sponge or scrubber. Gently scrub the burnt bits. They should lift easily.
- Rinse: Rinse the pot thoroughly with water. If some bits remain, repeat the process.
This method is effective for many types of burns. It works well on burnt rice or sauces. You can learn more about how to clean burnt rice from a pot with similar techniques. For extra tough spots, make a paste. Mix baking soda with a little water. Apply it to the stubborn areas. Let it sit overnight. Then scrub. This added time helps break down the toughest grime.
When to Use This Method
Use the baking soda and vinegar method for most common burnt situations. It is excellent for light to moderate burns. It is a good first attempt before moving to stronger solutions. This method is safe for most stainless steel pots. It is also suitable for glass and ceramic cookware. Always test a small, hidden area first if unsure.
Avoid using this method on aluminum pots if possible. Vinegar can discolor aluminum over time. It can also be too harsh for some very delicate non-stick coatings. However, for most everyday pots, it is a go-to solution. I find it saves me a lot of scrubbing. This method proves its worth again and again. For more detailed instructions on using baking soda, you can also check out how to clean pots with baking soda.
Method 2: Using Dish Soap and Water for Lighter Burns
Sometimes, a simple approach is all you need. Dish soap and hot water can handle lighter burns. This method is the least abrasive. It is safe for all pot materials. It relies on soaking and the degreasing power of soap. This is my first step for any new burn. It often surprises me with its effectiveness.
This method works best when the burnt food has not completely carbonized. It is good for small amounts of stuck-on food. It is also perfect for fresh burns. If you catch a burn early, try this first. It helps prevent a small problem from becoming a big one. Always try the gentlest method first. This preserves your cookware.
Soaking for Success
Soaking is the most important part of this method. Fill the burnt pot with hot water. Add a generous amount of dish soap. Use your regular dish soap. Let the pot sit for several hours. Overnight is often best. The hot water and soap work together. They soften the burnt residue. The soap helps to break down fats and oils. These fats often bind the burnt food to the pot.
The soaking time allows the burnt food to hydrate. It makes it easier to remove. Do not rush this step. Patience pays off here. You want the burnt layer to become mushy. This way, it will lift off with minimal effort. This prevents scratching the pot surface. For general cleaning tips that can prevent such severe burns, see how to clean pots and pans.
Gentle Scrubbing Techniques
After soaking, drain the water. Use a soft sponge or dishcloth. Gently scrub the burnt areas. The softened residue should come off. You might need a little elbow grease. Avoid metal scourers. They can scratch your pot. A plastic scraper can help with stubborn spots. Use circular motions. This helps lift the burnt bits evenly.
For delicate non-stick surfaces, be extra careful. Use a silicone scraper or a soft cloth. Do not apply too much pressure. You want to preserve the non-stick coating. Rinse the pot thoroughly after scrubbing. Inspect it for any remaining residue. Repeat the soak if necessary. This method is simple. It is often very effective.
Method 3: The Salt and Lemon Technique for Stubborn Stains
The salt and lemon technique uses natural abrasives and acids. It is an excellent alternative. This method is especially good for discoloration. It brightens dull pot surfaces. It works well on stainless steel and copper. The salt provides gentle scrubbing power. The lemon juice acts as a natural cleaner. It also leaves a fresh scent. I use this trick for tough stains. It makes my pots sparkle.
This method is less harsh than some chemical cleaners. It is safe for many types of cookware. It is also environmentally friendly. You likely have these ingredients at home already. This makes it a convenient option. This method focuses on physical and chemical action working together.
Applying Salt and Lemon
- Empty the pot: Remove any loose burnt food or liquid.
- Add salt: Sprinkle a generous layer of coarse salt over the burnt area. Table salt works, but coarse salt gives more abrasion.
- Squeeze lemon juice: Cut a lemon in half. Squeeze its juice over the salt. Make sure the salt is damp.
- Let it sit: Let the mixture sit for 10-15 minutes. This allows the lemon’s acid to work.
- Scrub with lemon half: Use the squeezed lemon half as a scrubber. The rough texture of the lemon, combined with the salt, helps scrub away the burnt bits. You can also use a soft sponge.
- Rinse thoroughly: Wash the pot with warm, soapy water. Rinse well to remove all salt and lemon residue.
This method effectively tackles discolored patches. It also helps remove a thin layer of burnt food. It is especially useful for copper pots. Cleaning burnt copper pans can be tricky. This method provides a gentle yet powerful solution. It restores the natural shine of copper.
Best for Specific Materials
This technique shines on certain materials. Stainless steel pots benefit greatly. They regain their luster. Copper pots also respond well. The lemon helps remove tarnish and burnt residue. It brings back the copper’s beautiful gleam. Enameled cast iron can also benefit. Be careful with regular cast iron. Salt can be drying. Ensure you re-season cast iron immediately after.
Avoid this method on non-stick surfaces. The salt can scratch the delicate coating. Also, be cautious with aluminum. Lemon juice can react with aluminum. It may cause discoloration. Always know your pot material. Choose the method that best suits it. This ensures effective cleaning without damage.
Method 4: Targeted Solutions for Specific Pot Materials
Different pot materials need different care. What works for stainless steel may harm non-stick. Knowing the right approach saves your cookware. It also ensures the best cleaning results. I always check my pot’s material before cleaning. This prevents accidental damage. You want to remove the burn, not ruin the pot.
This section breaks down specific treatments. You will learn the best methods for common pot types. This tailored advice is crucial. It helps you pick the safest and most effective solution. This ensures your pots last longer.
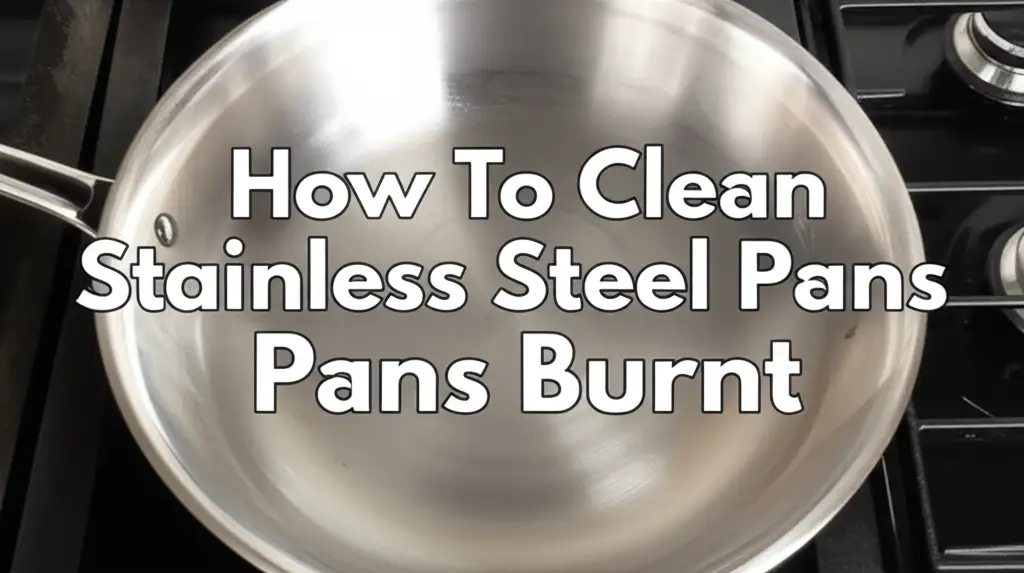
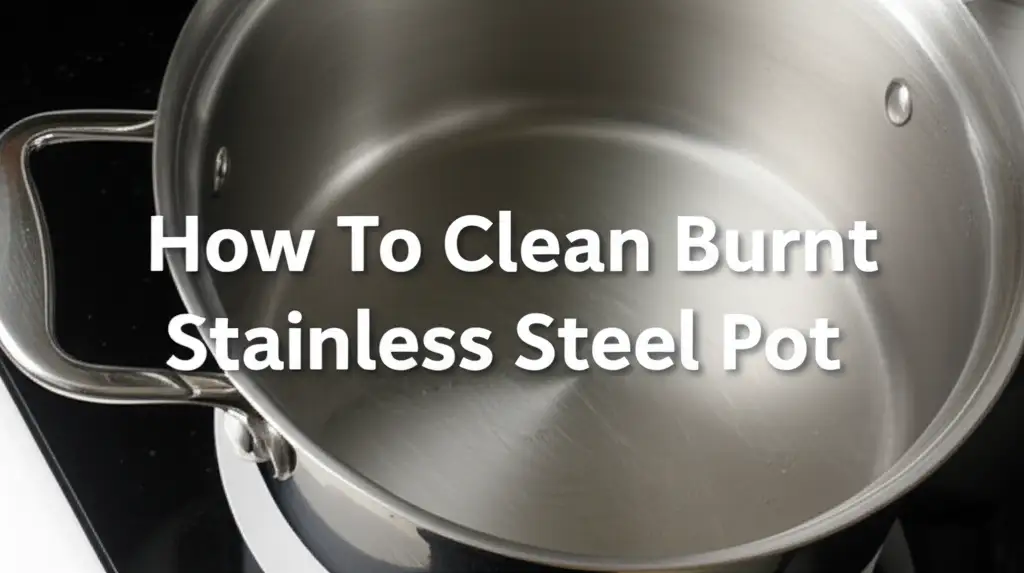
Stainless Steel Pot Cleaning
Stainless steel is durable. It is usually easy to clean. For burnt food, first try the baking soda and vinegar method. It often works perfectly. If the burn is severe, especially on the bottom outside, you might need a stronger approach. Cleaning burnt oil from stainless steel pans often involves degreasers and more scrubbing. For very stubborn, thick burns, you can use a commercial stainless steel cleaner. Always follow the product directions.
For discolored stainless steel, the salt and lemon method helps. It brings back the shine. Avoid steel wool on stainless steel. It can scratch the surface. Use nylon scrubbers or soft sponges. Always rinse thoroughly. Dry the pot immediately to prevent water spots. This keeps your stainless steel pots looking new.
Cast Iron Pot Restoration
Cast iron requires unique care. You must protect its seasoning. For burnt cast iron, avoid harsh chemicals. Do not use soap often. Instead, try these steps. First, boil water in the pot. Let it simmer for a few minutes. This softens the burnt bits. Then, scrape with a wooden or plastic scraper.
For tougher burns, use coarse salt and a small amount of water. Create a paste. Scrub with a stiff brush or a potato cut in half. The potato acts as a scrubber. It helps lift the residue. Rinse the pot with hot water. Dry it immediately and completely. Then, re-season your cast iron. Apply a thin layer of cooking oil. Heat it in the oven or on the stove. This maintains the non-stick quality and prevents rust. Cleaning burnt cast iron is essential for its longevity.
Non-Stick Pot Care
Non-stick surfaces are delicate. High heat can damage them. Scratches can also ruin the coating. For burnt non-stick pots, gentle is key. Do not use abrasive scrubbers. Avoid metal tools. Start with dish soap and hot water. Let it soak overnight. The burnt food should soften.
Then, use a soft sponge or silicone scraper. Gently push off the burnt bits. If needed, sprinkle a little baking soda. Add water to make a paste. Let it sit for 15 minutes. Then gently scrub with a soft cloth. Never use steel wool or harsh chemicals. These will destroy the non-stick coating. Protecting the coating ensures your pan remains non-stick.
Ceramic and Glassware
Ceramic and glass pots are sensitive to sudden temperature changes. They can crack. For burnt residue, start with soaking. Use warm water and dish soap. Let it sit for several hours. Then, gently scrape with a plastic scraper. You can also use a mixture of baking soda and a little water. Make a paste. Apply it to the burnt area. Let it sit for 30 minutes.
Then, gently scrub with a soft sponge. For glass cookware, you might consider how to clean burnt glass. This usually involves similar gentle methods. Avoid abrasive pads. Rinse thoroughly. Always let ceramic and glass cookware cool completely before washing. This prevents thermal shock and cracking.
Advanced Cleaning Techniques for Extremely Burnt Pots
Sometimes, burns are just too tough for simple methods. The burnt layer is thick and carbonized. This is when you might need more powerful solutions. These techniques are for extreme cases. They should be used with caution. Always prioritize safety. Read labels carefully. Ensure good ventilation. I only resort to these for very stubborn burns. They are not for everyday cleaning.
These methods involve stronger reactions. They can be very effective. They can save a seemingly ruined pot. But remember the risks. Protect your hands and eyes. Ensure the area is well-aired.
Oven Cleaner Method (Caution)
Oven cleaner is very strong. It contains harsh chemicals. It can break down stubborn carbonized food. Use this method only as a last resort. It is suitable for stainless steel and enameled cast iron. Do NOT use it on aluminum, non-stick, or regular cast iron.
- Safety first: Wear rubber gloves and eye protection. Ensure the area is very well-ventilated. Take the pot outdoors if possible.
- Spray the cleaner: Spray the oven cleaner directly onto the burnt area. Cover it thoroughly.
- Wait: Let the cleaner sit for several hours. Or follow the product’s instructions for soak time. Some suggest overnight.
- Scrape and wash: Scrape off the loosened burnt residue with a plastic scraper. Wash the pot thoroughly with hot, soapy water. Rinse multiple times. Ensure all chemical residue is gone.
- Neutralize: You may want to wipe with a vinegar solution after rinsing. This helps neutralize any lingering chemical traces. Then rinse again.
This method is powerful. It can save very burnt pots. But use it carefully.
Dryer Sheets Trick
This method sounds unusual. But it is surprisingly effective for some burnt pots. Dryer sheets contain fabric softeners. These softeners help loosen burnt-on food. They also have a slight abrasive quality when wet. It is a very gentle method. It is safe for almost all pot types, including non-stick.
- Fill with water: Place a dryer sheet or two in the burnt pot. Fill the pot with warm water. Ensure the burnt area is covered.
- Soak: Let the pot soak for several hours, or overnight. The softeners will work on the burnt food.
- Scrub: Remove the dryer sheets. Use them to gently scrub the burnt area. The residue should lift easily.
- Wash: Wash the pot as usual with dish soap and water.
This method is simple. It uses common household items. It is a good alternative for moderate burns.
Commercial Pot Cleaners
Many commercial products are specifically for burnt pots. These come as powders, pastes, or liquids. Brands like Bar Keepers Friend or specialized cookware cleaners are popular. They contain mild abrasives or chemical agents.
- Read directions: Always read the product’s instructions carefully. Ensure it is safe for your pot material.
- Apply: Apply the cleaner to the burnt area. Follow the recommended amount.
- Scrub: Use a non-abrasive sponge or cloth. Scrub the burnt areas.
- Rinse: Rinse the pot thoroughly.
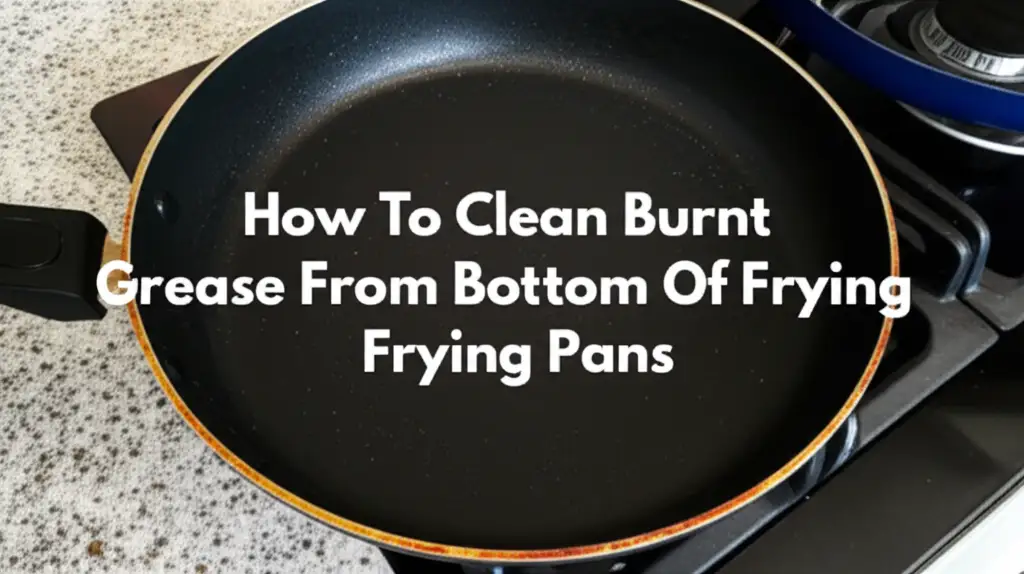
These cleaners can be very effective. They are often less harsh than oven cleaner. They are a good choice for recurring tough stains. For cleaning the outside bottom of frying pans with burnt grease, how to clean burnt grease from bottom of frying pans provides helpful strategies. These might involve specialized cleaners for external surfaces.
Preventing Burnt Pots: Best Practices
Prevention is always better than cure. Taking a few simple steps can save you from burnt pots. It saves time and effort cleaning. It also extends the life of your cookware. I learned these tips the hard way. Now, my kitchen is much cleaner.
Good cooking habits are key. They reduce the chances of food sticking. Regular maintenance also helps. A well-cared-for pot is less likely to burn. It is easier to clean if it does.
Proper Cooking Habits
- Use enough liquid: Always add sufficient liquid when cooking. Soups, stews, and sauces need enough liquid to prevent burning.
- Stir frequently: Stir food often, especially at the bottom of the pot. This prevents food from settling and sticking.
- Match pan size to burner: Use a pot that fits your burner. A too-small pot can get excessively hot on the sides. A too-large pot might not heat evenly.
- Control heat: Use medium to low heat for most cooking. High heat often causes burning. It is better to cook slowly.
- Do not overcrowd: Overcrowding a pot lowers its temperature. This can lead to uneven cooking and sticking.
- Watch your food: Do not leave cooking food unattended. Distractions are the main cause of burnt pots. Set a timer if you need to step away.
These simple habits make a big difference. They help you cook safely. They also keep your pots in good condition.
Regular Maintenance
Regular cleaning is important. It prevents buildup. Clean your pots properly after each use. Remove all food residue. Dry them completely. This prevents rust on cast iron. It also keeps stainless steel shiny.
Season cast iron regularly. This maintains its non-stick surface. It also protects it from corrosion. For non-stick pans, avoid metal utensils. Use plastic, wood, or silicone. Store pans carefully. Avoid stacking them without protection. This prevents scratches. A scratched non-stick pan loses its function. Regularly cleaning pots and pans keeps them performing well. It reduces the chance of future burns.
FAQ Section
Can you ruin a pot by burning it?
You can rarely ruin a pot by burning food in it. Extreme heat can warp or discolor some materials permanently. Non-stick coatings can get damaged beyond repair. But most metal pots, like stainless steel or cast iron, can be fully restored. It takes the right cleaning method.
Is it safe to eat food from a burnt pot?
It is generally not safe to eat food that has been burnt onto the pot. The burnt parts often contain carcinogens. The food itself will taste bad. Always discard the burnt food. Clean the pot thoroughly before using it again.
How do you remove burnt food smell from a pot?
After cleaning the burnt residue, the smell might linger. To remove the smell, fill the pot with water. Add a tablespoon of white vinegar or baking soda. Boil for 10-15 minutes. Then, wash and rinse the pot. You can also wipe the pot with a lemon half.
What is the best way to clean burnt pots without scrubbing?
The best way is usually prolonged soaking. Fill the pot with hot water and dish soap. Let it sit overnight. For tougher burns, add baking soda and a bit of vinegar. Boil the mixture for 10 minutes. Let it cool completely. The burnt residue should lift off with minimal scrubbing.
Can I use steel wool on burnt pots?
You should generally avoid steel wool. It can scratch most pot surfaces. This includes stainless steel, non-stick, and enameled finishes. Use steel wool only on very tough cast iron. Even then, use caution. For other materials, opt for nylon scrubbers or soft sponges.
- burnt pot cleaning
- kitchen hacks
- stainless steel cleaning
- household cleaning tips
- cookware restoration