· Kitchen Cleaning · 14 min read
How To Clean Coil Burners
Sparkling Stove Coils: How To Clean Coil Burners
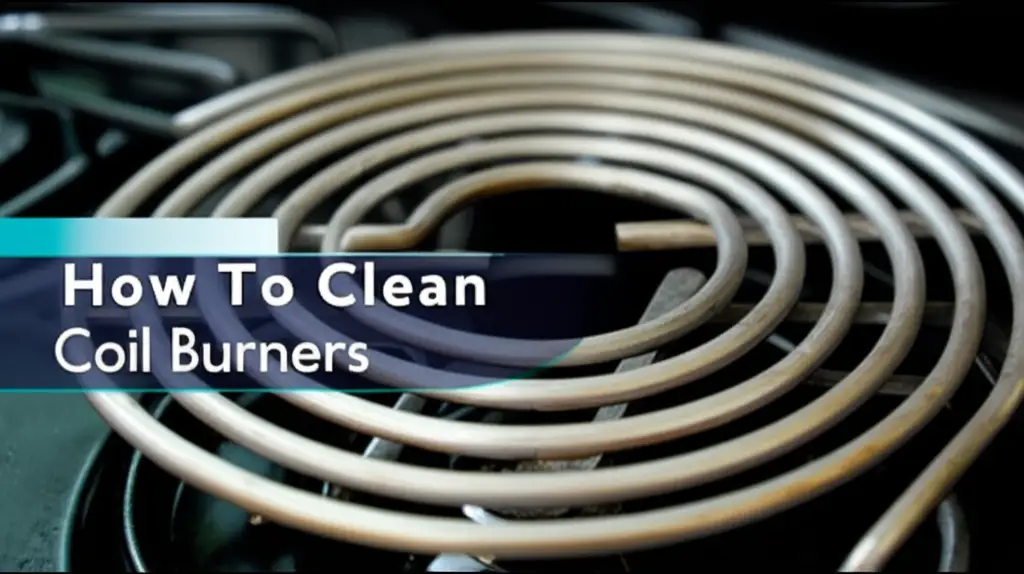
Have you ever looked at your electric stove’s coil burners and sighed? Over time, spills, grease, and cooked-on food build up. This grime makes your kitchen look untidy. It also affects how your stove works. Clean coil burners heat more evenly. They also last longer. I know this from keeping my own kitchen spotless.
Cleaning these coils might seem like a hard job. However, it does not have to be. I am here to show you simple steps. You will learn the best methods to tackle even tough messes. This guide covers everything. We will talk about tools, safety, and step-by-step instructions. Get ready to make your stove shine again.
Takeaway
- Always unplug the stove before cleaning for safety.
- Remove coil burners and drip pans for separate cleaning.
- Use a mild cleaning solution for most messes.
- Baking soda paste helps with tough, baked-on grime.
- Clean coils regularly to prevent heavy buildup.
Clear and Concise Answer
To clean coil burners, first unplug the stove for safety. Remove the coils and drip pans. Wash the drip pans with soap and water or use a baking soda paste for tough spots. Wipe the coils clean with a damp cloth, avoiding water immersion. Reassemble when dry.
Why Clean Coil Burners? Health and Efficiency Reasons
Cleaning your coil burners is more than just about appearance. It impacts your cooking and kitchen safety. Food particles and grease collect on coils and drip pans. This buildup can smoke when you cook. It creates unpleasant odors in your home. This smoke can also be unhealthy to breathe.
Dirty burners also waste energy. They do not heat food as well. The grime blocks the heat transfer. This means your stove works harder to reach the desired temperature. You might notice longer cooking times. Regular cleaning helps your stove run efficiently. It saves you money on electricity bills.
Keeping coil burners clean also prevents fire hazards. Built-up grease is flammable. A stray spark or high heat can ignite it. This puts your home and family at risk. A clean stove is a safer stove. It gives you peace of mind.
Regular cleaning also extends the life of your appliance. Grime can corrode metal parts over time. This leads to premature wear and tear. You want your stove to last many years. Proper maintenance is key to its longevity. I always make sure my appliances are cared for.
Essential Tools and Safety Precautions Before You Start
Gathering the right tools makes the cleaning process easier. You do not need many special items. Most of these things are already in your home. Having everything ready saves time. It helps you work efficiently.
Here is a list of what you will need:
- Dish soap
- Baking soda
- White vinegar (optional, for stubborn stains)
- Soft cloths or sponges
- Non-abrasive scrub brush or old toothbrush
- Paper towels
- Rubber gloves (to protect your hands)
- A plastic scraper or old credit card (for very stubborn, baked-on food)
- A large basin or sink for soaking
Safety is the most important part of any cleaning task. Especially when dealing with electrical appliances. Always follow these precautions. They protect you from harm.
Crucial Safety Steps:
- Unplug the Stove: This is the absolute first step. Pull the power cord from the wall outlet. If you cannot reach the plug, turn off the circuit breaker for the stove. This prevents electric shock.
- Allow Cooling: Ensure all burners are completely cool. Hot coils can cause severe burns. Wait at least 30 minutes after using the stove. I usually clean my stove after it has sat overnight.
- Wear Gloves: Cleaning solutions can irritate skin. Grease can be messy. Rubber gloves protect your hands.
- Avoid Water Immersion for Coils: Never submerge the actual coil burners in water. They contain electrical components. Water can damage them. It can also create a shock hazard when you plug them back in.
- Use Non-Abrasive Cleaners: Harsh chemicals or abrasive scrubbers can damage the coil finish. They can scratch your drip pans. Stick to mild soaps and soft tools. This keeps your stove looking good.
By taking these steps, you ensure a safe and effective cleaning experience. You will be ready to tackle any mess.
Step-by-Step Guide to Cleaning Coil Burners
Cleaning coil burners involves a few straightforward steps. Breaking down the process makes it manageable. You can achieve a truly clean stove. Follow these instructions carefully for the best results.
1. Removing Burner Coils and Drip Pans
Start by gently lifting each coil burner. They usually unplug from a receptacle. Twist or pull them slightly to disconnect. Be careful not to bend the prongs. The prongs are at the end of the coil. Once removed, set them aside. Remember which coil goes into which spot. They often vary in size.
Underneath each coil, you will find a metal drip pan. These pans catch spills. They also accumulate a lot of grime. Lift these drip pans out. They typically sit loosely in place. These pans will be the dirtiest part.
2. Cleaning the Drip Pans: Tackling the Toughest Grime
Drip pans collect a lot of baked-on food and grease. They often need the most attention. Here are the best ways to clean them:
Soak Method (for light to moderate grime):
- Place the drip pans in a sink or large basin.
- Fill with hot water and a generous amount of dish soap.
- Let them soak for at least 30 minutes, or even a few hours. Soaking softens the grime.
- After soaking, scrub with a sponge or non-abrasive brush. The loosened food should come off easily.
- Rinse thoroughly and dry completely.
Baking Soda Paste (for stubborn, baked-on messes):
- Make a thick paste using baking soda and a little water.
- Spread the paste generously over the soiled areas of the drip pans.
- Let the paste sit for 15-30 minutes, or longer for very tough stains.
- Use a damp sponge or brush to scrub the paste. The baking soda acts as a mild abrasive. It helps lift the grime. You might be surprised how well baking soda works. For similar tough spots, you can learn about how to clean the bottom of a pan.
- Rinse well and dry.
Vinegar Boost (for extra power):
- After applying baking soda paste, you can spray white vinegar over it.
- The vinegar will react with the baking soda. It creates a fizzing action. This helps loosen stubborn residue.
- Let it fizz for a few minutes. Then scrub and rinse. Vinegar is very versatile for cleaning. You can even use vinegar to clean walls or shower areas.
- Ensure to dry the pans completely before putting them back.
3. Cleaning the Coil Burners: Gentle Care
Remember, do not immerse the coils in water. They are electric components.
- Wipe Down: Use a damp cloth or sponge to wipe down the coils. Focus on the heating elements. Most general grime can be removed this way.
- Scrub Gently: For any stuck-on food, use a soft brush or old toothbrush. You can dampen the brush with a little dish soap. Gently scrub the affected areas. Avoid putting pressure on the coil itself.
- Remove Charred Bits: Use a plastic scraper or your fingernail to carefully scrape off any small, charred bits. Be very gentle. Do not use metal tools. They can scratch the coil’s protective coating.
- Dry Thoroughly: After cleaning, let the coils air dry completely. This is crucial. Any moisture could cause issues when you plug them back in. I usually let mine dry for several hours, or even overnight.
4. Cleaning the Stove Top Surface
While the coils and drip pans are removed, this is a great time to clean the stovetop surface underneath.
- Wipe Away Loose Debris: First, sweep away any crumbs or loose debris.
- Apply Cleaner: Spray an all-purpose kitchen cleaner or a solution of warm water and dish soap onto the surface. For greasy spots, a mix of equal parts white vinegar and water also works wonders.
- Scrub and Wipe: Use a clean cloth or sponge to scrub the surface. Pay attention to areas around the receptacles where the coils plug in. These spots often collect grime.
- Rinse and Dry: Wipe the surface with a clean, damp cloth to remove any cleaner residue. Then, dry it completely with a paper towel or dry cloth. A sparkling stovetop makes a big difference. Similarly, you might want to consider cleaning other parts of your appliance, like the bottom of your oven.
5. Reassembling Your Clean Stove
Once everything is completely dry, you can put your stove back together.
- Insert Drip Pans: Place the clean, dry drip pans back into their respective slots. Make sure they sit flat.
- Reattach Coils: Gently reinsert each coil burner into its receptacle. Wiggle it slightly if needed until it clicks into place. Ensure the prongs are fully seated.
- Plug In: Finally, plug the stove back into the wall outlet. You are now ready to use your gleaming, efficient stove.
Troubleshooting Common Coil Burner Problems
Even with regular cleaning, you might encounter specific issues. Here are solutions to some common coil burner problems. Knowing these fixes saves you time and frustration.
Burners Not Heating Properly
If a coil burner is not heating, or heats unevenly, check the connection. First, unplug the stove. Then, remove the coil. Look at the metal prongs at the end of the coil. Also, inspect the receptacle opening on the stove. Sometimes, food particles or corrosion build up there. This can prevent a good electrical connection.
Use a small, non-metallic brush or a toothpick to carefully clear any debris from the receptacle. You can also gently bend the prongs on the coil slightly. This helps them make better contact. Reinsert the coil firmly. If the problem persists, the coil might be faulty. It may need replacement.
Stubborn Baked-On Stains
For very tough, old stains that baking soda paste did not fully remove, try repeating the soaking or paste method. Sometimes, multiple applications are necessary. You can also try a specialized oven cleaner for the drip pans. Always test it on a small, hidden area first. This checks for discoloration. Follow the product instructions carefully. Ensure proper ventilation.
For coils, avoid harsh chemicals. The baking soda paste and gentle scraping are usually enough. If a stain on a coil does not come off, it might be permanent discoloration. This often happens from extreme heat. It does not affect performance.
Rust on Drip Pans
Drip pans can sometimes develop rust spots. This happens if they are not dried completely. Or if water sits on them for too long. For light rust, you can try scrubbing with a paste of baking soda and a few drops of lemon juice. The acid in the lemon juice helps break down the rust.
For more severe rust, you might need to replace the drip pans. They are generally inexpensive. Replacing them improves the stove’s look and functionality. Regular drying after cleaning prevents rust.
Lingering Odors After Cleaning
Sometimes, even after cleaning, a faint burning smell might appear when you first use the stove. This is usually due to any residual moisture or cleaning product that cooked off. It should go away quickly. Ensure the area is well-ventilated.
If the smell persists, recheck your coils and drip pans. Make sure they are completely dry. Also, ensure no cleaning residue remains. A quick wipe with a damp, clean cloth and then a dry cloth can help.
Preventative Measures and Regular Maintenance Tips
Cleaning coil burners is important. Preventing heavy buildup is even better. Regular maintenance saves you effort in the long run. It keeps your stove in top condition. I have found that small, consistent actions make a huge difference.
Wipe Spills Immediately
The easiest way to prevent baked-on messes is to clean spills as they happen. If something boils over, turn off the burner. Let it cool slightly. Then, wipe up the spill before it dries and hardens. This simple act saves hours of scrubbing later. I always keep a damp cloth nearby when I cook.
Daily Quick Wipe-Down
Make it a habit to wipe down your stovetop every day. Use a damp cloth after cooking. This removes fresh splatters and crumbs. It prevents them from turning into tough stains. A quick wipe takes only a minute or two. It keeps your kitchen looking tidy.
Weekly Drip Pan Check
Once a week, remove your drip pans. Give them a quick wash with hot, soapy water. This catches any minor grease buildup before it becomes significant. You do not need to deep clean them every time. A light wash is often enough. This routine keeps them from accumulating heavy grime.
Monthly Deep Clean
Aim for a more thorough deep clean once a month. This is where you follow all the steps outlined in this article. Remove coils, soak drip pans, and clean the stovetop surface thoroughly. This prevents any deep-seated grease from becoming permanent. It also ensures your stove operates efficiently.
Use Proper Cookware
Using cookware that is the right size for your burners helps. It minimizes spills over the sides. Flat-bottomed pans make better contact with the coils. This leads to more efficient heating. It also reduces boil-overs.
Avoid Aluminum Foil
Some people line drip pans with aluminum foil. This is not recommended. Foil can trap heat. It can also melt onto the drip pan or coil. This creates a hard-to-remove mess. It also risks fire. Stick to the original drip pans.
By incorporating these preventative measures, you will find that cleaning your coil burners becomes much less of a chore. Your stove will stay cleaner for longer. It will perform better too.
FAQ Section
How often should I clean my coil burners?
You should wipe down the stovetop and drip pans daily or after each major spill. A quick wash of the drip pans weekly helps prevent buildup. Perform a deep clean, including coil removal, at least once a month. This schedule keeps your stove efficient and clean.
Can I put coil burners in the dishwasher?
No, never put the actual coil burners in the dishwasher. They contain electrical elements that water will damage. Only the drip pans are sometimes dishwasher-safe, but hand washing is generally recommended for them to prevent damage and ensure a thorough clean.
What if my coil burner is rusty?
For light rust on drip pans, you can scrub with baking soda and lemon juice paste. For heavy rust, replacing the drip pans is the best option. Coil burners rarely rust, but if they do, they likely need replacing. Always ensure pans are completely dry after washing to prevent rust.
Is it safe to use abrasive cleaners on coil burners?
No, it is not safe to use abrasive cleaners or metal scrubbers directly on coil burners or drip pans. They can scratch the protective coating on coils and damage the finish of drip pans. Stick to mild dish soap, baking soda, and soft cloths or non-abrasive sponges.
Can I clean coil burners with just water?
You can use a damp cloth to wipe light surface dust or crumbs from coil burners. However, for grease and baked-on food, water alone is not enough. You will need dish soap, baking soda, or vinegar for effective cleaning. Remember to always dry coils completely.
How do I know if a coil burner needs replacing?
A coil burner needs replacing if it does not heat up at all, heats unevenly, or has visible damage like breaks or severe corrosion. Also, if the coil sparks excessively when turned on, it might be faulty. A new coil burner will restore proper heating.
Conclusion
Cleaning your coil burners is a simple act with big benefits. It makes your kitchen look better. It also helps your stove work more efficiently. Most importantly, it creates a safer cooking environment. We have covered every step, from gathering your tools to the final reassembly. You now have the knowledge.
Remember, consistency is key. Regular cleaning prevents tough messes from building up. A quick wipe-down daily and a deeper clean monthly will keep your electric stove shining. You no longer need to sigh at those dirty coils. Now, you can cook on a stove that is both clean and performs its best. Get ready to enjoy your sparkling clean kitchen. Take action today and start cleaning those coil burners. You will be glad you did.
- electric stove cleaning
- coil burner maintenance
- kitchen appliance care
- deep cleaning stove
- DIY cleaning hacks

