· Deck Care · 15 min read
How To Clean Deck Before Staining
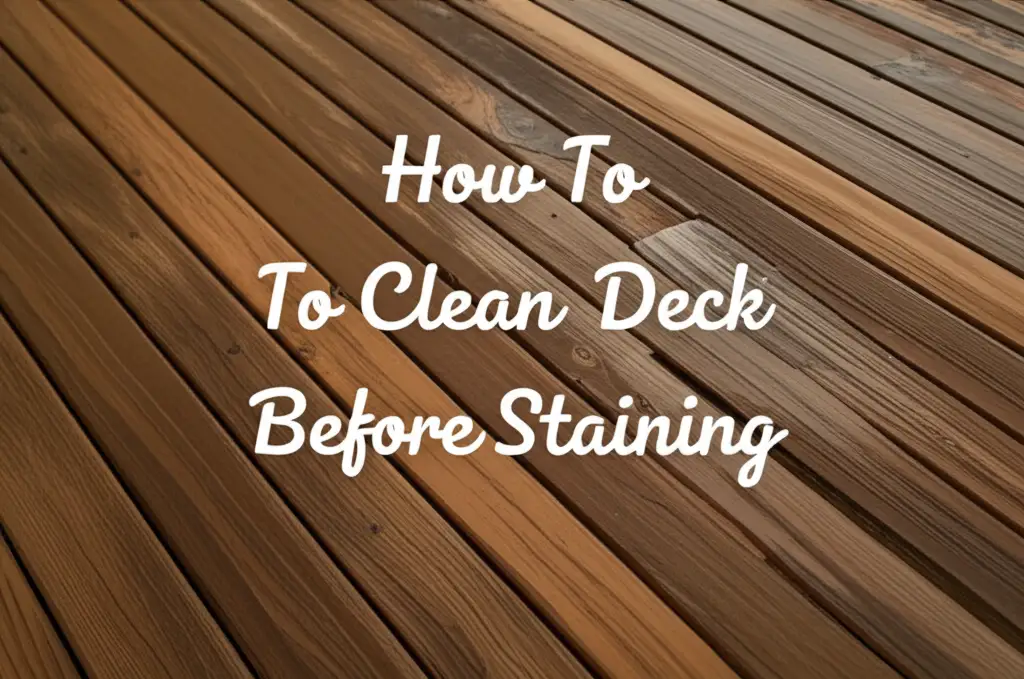
Clean Deck Before Staining: The Essential Guide
My deck is a central part of my outdoor living space. It handles sunny days, rain, and everything in between. Over time, it collects dirt, grime, and even mildew. If I want to stain my deck, preparing it correctly is important. A fresh coat of stain makes a deck look new. But stain needs a clean surface to stick well. Knowing how to clean deck before staining makes all the difference. This guide provides clear steps. It helps you prepare your wood deck for a beautiful, long-lasting finish. We will cover necessary tools, safety steps, cleaning methods, and common mistakes to avoid. Get ready to transform your deck.
Takeaway
- Remove All Debris: Sweep and clear the deck completely before any wet cleaning.
- Gather Tools: Collect safety gear, cleaner, brushes, and a hose or pressure washer.
- Protect Surroundings: Cover plants, siding, and other areas from cleaner and water spray.
- Apply Cleaner Correctly: Use a cleaner made for decks; follow product directions carefully.
- Scrub and Rinse Thoroughly: Work in small sections, scrub well, and rinse all cleaner away.
- Allow Full Drying: Wait 2-3 days for the deck to dry completely before applying stain.
To clean a deck before staining, first remove all loose debris and protect surrounding areas. Next, apply a suitable deck cleaner according to product instructions. Scrub the surface to remove dirt, mold, and old stain, then rinse thoroughly with water. Finally, let the deck dry completely for at least 48-72 hours before applying any stain.
Why Proper Deck Cleaning Matters for Staining Success
Cleaning a deck before staining goes beyond making it look good. This step is a big part of how long your stain lasts. It affects how well the new stain sticks to the wood. My deck surface gathers many things over time. This includes dirt, mildew, algae, and old flaking stain. If these stay on the deck, the new stain cannot bond correctly.
Imagine painting a dirty wall; the paint will not stick well. The same idea applies to your deck. A clean surface allows the stain to penetrate deep into the wood fibers. This creates a strong bond. This bond helps the stain protect the wood better from sun, rain, and foot traffic. Stain failure often starts with poor surface preparation. Peeling, bubbling, and uneven color can happen if the deck is not clean enough. I always make sure my deck is ready. A clean deck ensures an even, beautiful finish. It also makes your hard work on staining last for many years.
Gathering Your Tools and Supplies for Deck Cleaning
Getting ready for deck cleaning needs the right tools. Having everything ready saves time and effort. I always check my inventory before I start. My list usually includes basic items. You will need a stiff-bristle brush or broom to sweep away loose dirt. A garden hose with a spray nozzle is essential for rinsing. A pressure washer can speed up the process, but use it carefully to avoid wood damage.
For cleaning solutions, you can choose a commercial deck cleaner. These products are made to remove grime, mold, and mildew. Some cleaners also brighten the wood. You might consider a wood brightener for dull or gray wood. For tough spots like stubborn stains or mold, I sometimes use specific cleaners. For example, if I have mold issues, I might use a product designed for that purpose, or even a simple homemade solution. How to clean mold with vinegar can be a helpful guide for tackling these problems. Safety gear is also a must. This includes safety glasses, gloves, and old clothes. These items protect your skin and eyes from cleaning chemicals. A plastic tarp or drop cloths can protect nearby plants and surfaces.
- Safety Gear: Safety glasses, rubber gloves, old clothes.
- Cleaning Tools: Stiff-bristle broom, stiff-bristle brush, garden hose with spray nozzle, optional pressure washer.
- Cleaning Solutions: Commercial deck cleaner, wood brightener (optional).
- Protection: Plastic tarps or drop cloths, painter’s tape.
- Other: Buckets, scrub brush with a long handle.
Safety First: Preparing Your Work Area and Yourself
Safety is my top priority when I clean my deck. Deck cleaners can be strong. Some contain chemicals that irritate skin or eyes. Always wear appropriate personal protective equipment (PPE). I always put on safety glasses to protect my eyes from splashes. Rubber gloves keep my hands safe from the cleaning solution. Old clothes are a good choice, as cleaners can bleach fabric.
Before I even open the cleaner, I prepare the work area. Move all furniture, grills, and potted plants off the deck. This clears the space for thorough cleaning. Protect nearby plants, shrubs, and flowers. Deck cleaners can harm them. I use plastic tarps or drop cloths to cover sensitive vegetation. If I am using a pressure washer, I also cover walls or siding near the deck. This prevents accidental damage or splash back. Water from a pressure washer can also blast dirt onto clean surfaces. It is also wise to wet down nearby plants with plain water before applying cleaner. This helps dilute any accidental overspray. Keep pets and children away from the work area until cleaning is complete and the deck is dry.
Step-by-Step Guide: How to Clean Your Deck
Cleaning your deck before staining involves several important steps. Each step plays a role in preparing the surface. I follow this process carefully to ensure the best results. A clean surface is key for stain adhesion.
Sweeping and Debris Removal
Begin by removing all loose debris from the deck surface. I use a stiff-bristle broom to sweep off leaves, dirt, and loose grit. Pay attention to cracks between deck boards. Debris can get trapped there. A leaf blower can also speed up this process for larger decks. Take time to inspect the deck for any nails sticking up or loose boards. Fix these issues before applying any liquid. This prevents injuries during the cleaning process and creates a safer work area. This initial step is simple but very important. It removes material that would only turn into mud once wet.
Protecting Adjacent Areas
Before I start spraying any cleaner, I protect anything near the deck. This includes shrubs, flowers, and the side of your house. Deck cleaners can be harsh on plants and paint. I use plastic sheeting or tarps to cover all plants close to the deck. I secure the tarps with painter’s tape or weights. For house siding or trim, I cover it as well. If I have outdoor light fixtures or outlets nearby, I cover those too. I also wet down all nearby vegetation with plain water before applying cleaner. This dilutes any accidental overspray. This protection step saves you from extra cleanup or damaged landscaping later on.
Applying Deck Cleaner
Now it is time to apply the deck cleaner. Always read the cleaner’s instructions first. Different products have different mixing ratios and application methods. Some cleaners are concentrates and need diluting. Others come ready to use. I usually work in small sections, about 10x10 feet. This prevents the cleaner from drying on the wood before I can scrub it. Apply the cleaner evenly to the wood. I often use a garden sprayer for an even coat. A roller or mop also works well. Let the cleaner sit for the recommended time, usually 10-15 minutes. Do not let it dry on the wood. If it starts to dry, mist it lightly with water.
Scrubbing and Rinsing
After the cleaner has sat for the recommended time, it is time to scrub. I use a stiff-bristle brush with a long handle. Scrub along the grain of the wood. Apply firm, consistent pressure. This helps lift the dirt, mildew, and old stain residue. For especially dirty or moldy areas, I scrub a bit harder. If I encounter specific stains like bird droppings, I might focus on those spots. For example, knowing how to clean bird poop off a deck can save you from frustration. Work from one end of the deck to the other. Do not skip any areas.
Once a section is scrubbed, rinse it thoroughly. I use a garden hose with a strong spray nozzle. For faster results, a pressure washer can be used. If using a pressure washer, keep the nozzle moving and at least 6-12 inches from the wood. Too close, and it can damage the wood fibers. Rinse until all suds and residue are gone. Start rinsing from the highest point of the deck and work your way down. This ensures dirty water does not flow over already clean areas. Repeat the scrub and rinse process for all deck sections. For stubborn stains like rust or sap, you might need a specialized cleaner or a focused scrub. Understanding how to clean stains on wood can provide additional solutions for these tougher spots.
Addressing Stubborn Stains and Mildew
Sometimes, general cleaning is not enough for all deck issues. Stubborn stains, heavy mildew, or algae patches might need extra attention. After the main cleaning, I inspect the deck closely. For persistent mildew or green algae, I apply a targeted mildew killer or a stronger bleach-based solution (diluted, if necessary, following product directions). I let it soak and then scrub again. Some deck cleaners are “all-in-one” and handle these issues well. But heavy growth can need more help.
Oil or grease stains are different. They need a degreaser. Apply it, let it sit, then scrub and rinse. Rust stains can be tricky. An oxalic acid-based wood brightener often helps remove them. Always test these stronger solutions in a small, hidden area first. This checks for any adverse reactions on your specific wood type. After treating these spots, rinse them very well. Residual chemicals can prevent stain adhesion. Make sure these problem areas are as clean as the rest of the deck. This extra effort ensures an even stain application and a great final look.
The Importance of Proper Drying Time
After I finish cleaning my deck, the most important step before staining is patience. The deck must dry completely. This is not just about the surface feeling dry. The wood needs to be dry deep down in its fibers. Most stain manufacturers recommend a drying time of 48-72 hours. Some even suggest longer, especially in humid conditions or after heavy rain. I always check the weather forecast before I start cleaning. I look for a stretch of at least three sunny, dry days with low humidity.
Why is this drying time so critical? If the wood holds moisture, the stain will not penetrate properly. It will sit on top of the wet wood, not soak in. This leads to a weak bond. The stain might peel, blister, or wear away quickly. It can also cause mold or mildew to grow under the stain. Use a moisture meter if you have one. It provides an accurate reading of the wood’s moisture content. Ideal moisture content for staining is typically 12-15% or less. If you do not have a meter, the “sprinkle test” can help. Sprinkle a few drops of water on the deck surface. If the water beads up, the deck is still too wet. If it soaks into the wood within a few minutes, it is likely dry enough. A fully dry deck ensures the stain performs as it should. It provides maximum protection and beauty.
Final Inspection and Readiness for Staining
Once my deck is completely dry, I conduct a thorough final inspection. This step ensures all my hard work pays off. I walk every inch of the deck. I look for any missed spots. Are there areas with lingering dirt or mildew? Sometimes, after drying, spots become more visible. If I find any, I spot clean them. I use the same cleaner and scrub brush. Then, I let those areas dry again.
I also check for any loose wood fibers raised by cleaning, especially if I used a pressure washer. If the deck feels fuzzy, a light sanding might be needed. Use 80-grit or 100-grit sandpaper attached to a pole sander. Sand lightly along the grain. This smooths the surface. Then, sweep or vacuum all sanding dust. Dust also prevents good stain adhesion. The goal is a uniform, clean, and smooth surface. This prepares the deck perfectly for the new stain. Your deck is now a blank canvas, ready to absorb the stain evenly. This final check prevents problems that would show up after the stain is applied. It ensures a professional-looking finish.
Common Mistakes to Avoid When Cleaning Your Deck
I have learned a lot over the years about deck cleaning. Many mistakes are easy to avoid if you know about them. Paying attention to these pitfalls saves you time and frustration.
- Not Protecting Surroundings: Forgetting to cover plants and nearby structures is a common mistake. Deck cleaners are strong. They can bleach plants or damage siding. Always use tarps and wet down vegetation first.
- Letting Cleaner Dry on Wood: This is a big one. If the deck cleaner dries on the wood, it can leave behind chemical residue or permanent marks. Always work in small sections. Re-mist with water if the cleaner starts to dry.
- Using Too Much Pressure with a Pressure Washer: A pressure washer is powerful. If the pressure is too high or the nozzle is too close, it can damage wood fibers. This leaves gouges or fuzzy spots. Keep the nozzle moving and at a safe distance (usually 6-12 inches).
- Not Rinsing Thoroughly Enough: Leftover cleaning solution will affect stain adhesion. It can cause bubbling or peeling. Rinse until all suds are gone. Rinse until the water running off the deck is clear.
- Staining a Wet Deck: This is perhaps the most critical error. Staining a deck that is still wet will lead to poor penetration, peeling, and potential mold growth. Always allow at least 48-72 hours of dry weather. Conduct the sprinkle test or use a moisture meter.
- Ignoring Loose Nails or Boards: Before you even clean, inspect your deck. Loose nails can tear tarps or scratch you. Loose boards can become tripping hazards. Fix these issues first.
- Not Testing Cleaner in a Small Area: Always test a new cleaner on an inconspicuous spot. This ensures it does not cause discoloration or damage to your specific deck material.
Avoiding these common mistakes leads to a much better outcome. Your deck will be properly prepared. The stain will look great and last longer.
FAQ Section
How long does a deck need to dry after cleaning before staining?
Your deck needs to dry completely, typically 48 to 72 hours, after cleaning and before staining. This drying time allows moisture deep within the wood fibers to evaporate. Staining a wet deck can lead to poor stain adhesion, bubbling, and premature peeling. Always check the weather forecast for several dry days.
Can I use a pressure washer to clean my deck before staining?
Yes, you can use a pressure washer to clean your deck, but use caution. Set it to a low-to-medium pressure (around 1200-1500 PSI) and use a wide-angle nozzle (like a 25-degree or 40-degree tip). Keep the wand moving constantly and at least 6-12 inches from the wood surface. Too much pressure can damage the wood fibers, causing them to splinter or become fuzzy.
What type of cleaner should I use for my deck?
For deck cleaning before staining, use a cleaner specifically formulated for wood decks. These are often labeled as “deck brighteners,” “deck cleaners,” or “wood restorers.” Many contain oxalic acid or sodium percarbonate. These ingredients effectively remove dirt, mildew, and graying from the wood without harming it. Always follow the product’s instructions for mixing and application.
Do I need to strip old stain before cleaning?
It depends on the condition of your old stain. If the existing stain is peeling, flaking, or severely worn, you should strip it first. Stripping removes the old finish, allowing the new stain to penetrate evenly. If the old stain is in good condition and you are applying a similar type of stain, a thorough cleaning might be enough. Always test in a small area.
What if my deck has green algae or mold?
Green algae and mold are common on decks. Most commercial deck cleaners are effective at killing and removing them. Apply the cleaner, let it sit for the recommended time, and then scrub thoroughly with a stiff brush. For very stubborn mold, you might need a dedicated mold remover or a diluted bleach solution (one part bleach to three parts water, used with caution and thorough rinsing).
What’s the best weather for cleaning and staining a deck?
The best weather for cleaning and staining is a clear, dry period with mild temperatures (50-80°F or 10-27°C). Avoid cleaning or staining in direct hot sun, as it can cause cleaners or stains to dry too quickly. Do not work if rain is expected within 24-48 hours after cleaning or staining. Low humidity is also beneficial for faster drying.
Conclusion
Cleaning your deck before staining is not just a suggestion; it is a fundamental step for success. I know from experience that skipping or rushing this process leads to disappointing results. By taking the time to properly clean deck before staining, you ensure the new stain adheres correctly. This means your deck will look beautiful and stay protected for many years. We covered gathering tools, prioritizing safety, and following a step-by-step cleaning process. Remember the importance of thorough rinsing and, most crucially, allowing ample drying time.
Now, you have all the knowledge to prepare your deck. Do not cut corners. A well-prepared surface is the foundation for a durable, stunning finish. Get ready to transform your outdoor space. Enjoy your renewed deck with its fresh, vibrant stain!
- deck cleaning
- deck preparation
- wood deck staining
- deck maintenance
- outdoor cleaning

