· Cleaning Tips · 12 min read
How To Clean Dry Erase Board Old Marks
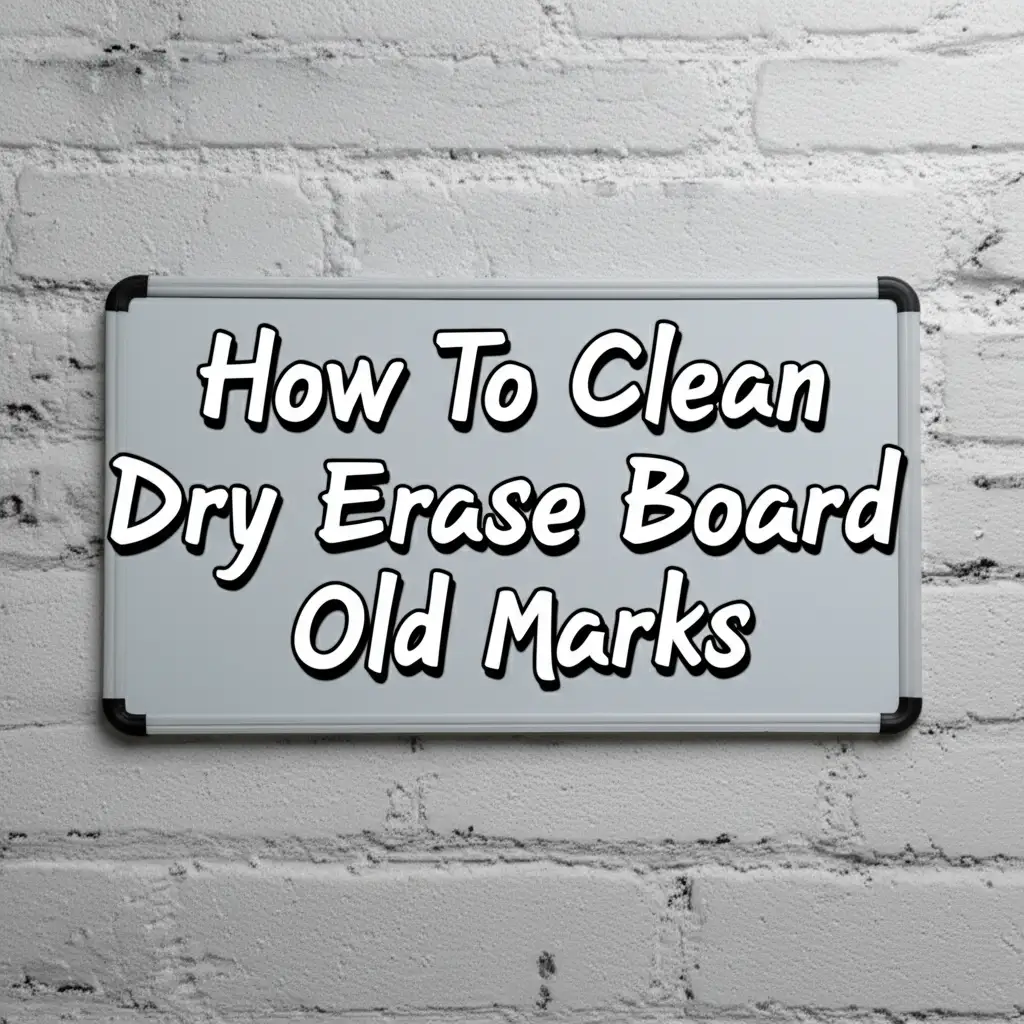
Restore Your Whiteboard: How To Clean Dry Erase Board Old Marks
Do you stare at your dry erase board, frustrated by those faint, stubborn marks that just won’t disappear? We all know the struggle. Old dry erase board marks, often called “ghosting,” make your board look dirty and hard to read. This guide helps you bring your whiteboard back to life. I will share simple, effective ways to clean dry erase board old marks.
This article covers everyday cleaning methods and tackles stubborn stains with household items. We will explore specialized cleaners and even fix permanent marker accidents. You will also learn how to prevent future ghosting. Let’s make your dry erase board look new again.
Takeaway
- Use household items like rubbing alcohol or white vinegar for most old marks.
- Always test cleaning solutions on a small, hidden spot first.
- Clean your dry erase board regularly to prevent marks from setting.
- Avoid abrasive materials that can damage the board’s surface.
- Consider commercial cleaners for very stubborn stains or ghosting.
To clean dry erase board old marks effectively, use a soft cloth with rubbing alcohol, hand sanitizer, or a solution of white vinegar and water. For very stubborn spots, a baking soda paste or a specialized dry erase board cleaner can lift the old ink, restoring the surface.
Why Old Marks Stick: Understanding the Problem
Have you ever wondered why some dry erase marks refuse to leave your board? It is a common mystery. These stubborn marks are not just dirt; they are signs of ink that has bonded with the board’s surface. Understanding this process helps us clean more effectively.
The Ghosting Effect
The “ghosting effect” occurs when dry erase ink settles into the tiny pores of a whiteboard. Dry erase markers contain a silicone-based oil that prevents the pigment from fully adhering. Over time, or with improper cleaning, this oil breaks down. The pigment particles then become embedded. This leaves behind a faint, shadowy image of what was once written.
Ink Residue and Porosity
Dry erase boards have a smooth, non-porous surface, but it is not perfectly flat. Over time, microscopic scratches and pores develop from use and cleaning. When ink sits on the board for extended periods, or if you use low-quality markers, the pigments can seep into these tiny imperfections. This makes the ink much harder to wipe away. The ink residue gets trapped, creating those frustrating old marks. High-quality boards resist this better, but all boards will eventually show some wear.
First Line of Defense: Everyday Cleaning Methods
Before reaching for strong cleaners, try these simple, everyday methods. They often remove fresh and moderately old dry erase marks. Regular cleaning prevents marks from becoming truly stubborn. I always start here when I notice marks building up.
Dry Erase Board Eraser Use
A clean, high-quality dry erase eraser is your first and best tool. Simply wipe the board with firm, overlapping strokes. Ensure your eraser is not saturated with old ink. A dirty eraser will only spread the ink around, making the problem worse. If your eraser is dirty, clean it by gently rubbing it on a clean cloth or washing it if it is a washable type.
For best results, wipe horizontally, then vertically. This helps pick up all the loose ink. If some marks remain, try wiping them immediately after writing. The ink is freshest then and comes off easiest. Regular dry erasing helps prevent ink from settling.
Microfiber Cloth and Water
Sometimes, all you need is a little water and a microfiber cloth. Dampen a clean microfiber cloth with plain water. Wipe the affected area firmly. The microfiber material is excellent at picking up tiny ink particles without scratching the surface.
Avoid soaking the board. Too much water can seep into the edges and warp the board over time. Wring out the cloth well, so it is only damp, not dripping. This method is gentle and effective for light ghosting or smudges. It is also good for a quick wipe-down after a long day of use.
Common Household Items for Stubborn Dry Erase Marks
When everyday methods fail, turn to common household items. Many of these products are surprisingly effective at breaking down old dry erase ink. They offer a cost-effective alternative to specialized cleaners. Always test a small, inconspicuous area first.
Rubbing Alcohol Solution
Rubbing alcohol is a powerful solvent. It dissolves the resin and pigment in dry erase ink. Dampen a soft cloth or cotton ball with isopropyl rubbing alcohol (70% or 90% concentration). Gently rub the old marks. You will see the ink transfer onto the cloth.
Repeat the process with a clean section of the cloth until the marks are gone. Finish by wiping the board with a damp cloth to remove any alcohol residue. This step is important to prevent the board from drying out or becoming sticky. Rubbing alcohol works well for many types of stubborn marks.
Hand Sanitizer Trick
Hand sanitizer contains a high percentage of alcohol. This makes it an effective cleaner for dry erase boards. Squeeze a small amount of hand sanitizer onto a paper towel or a soft cloth. Rub it directly onto the old marks. The alcohol in the sanitizer breaks down the ink.
Wipe away the dissolved ink with a clean part of the cloth. Once the marks are gone, wipe the board with a damp cloth to remove any residue. This method is convenient if you have hand sanitizer readily available. It is a quick fix for unexpected stubborn spots.
White Vinegar Power
White vinegar is a natural acid. It can break down the oils and pigments in dry erase ink. Mix equal parts white vinegar and water in a spray bottle. Spray the solution lightly over the marked areas. Let it sit for a few seconds.
Wipe the board clean with a soft cloth. For very stubborn marks, you can apply undiluted white vinegar directly to the cloth. Rub the area gently. Always wipe with a damp cloth afterward to remove the vinegar smell and residue. White vinegar is safe and effective for many cleaning tasks. If you use white vinegar often for cleaning, you might be interested in how to use vinegar and baking soda for cleaning different areas of your home. You can even use this powerful duo to clean your dishwasher with vinegar and baking soda.
Baking Soda Paste
Baking soda is a mild abrasive. It can gently scrub away embedded ink without scratching the board. Mix a small amount of baking soda with just enough water to form a thick paste. Apply the paste directly to the old marks. Let it sit for a minute or two.
Gently scrub the paste into the marks using a soft, damp cloth or sponge. The mild abrasion helps lift the ink. Wipe away the paste with a clean, damp cloth. Repeat if necessary. Baking soda is excellent for lifting deep-seated stains. This method is also useful for removing stains off a mattress with baking soda.
Specialized Cleaners for Tough Stains
Sometimes, household items are not enough for very tough dry erase marks. This is when specialized cleaners come into play. These products are formulated to tackle the most stubborn ghosting and stains. They offer a more targeted approach.
Commercial Dry Erase Cleaners
Many companies make cleaners specifically for dry erase boards. These cleaners often contain solvents designed to break down dry erase ink effectively. Look for sprays or wipes labeled as “whiteboard cleaner” or “dry erase board cleaner.” Follow the product instructions carefully.
Usually, you spray the cleaner onto the board and wipe it off with a soft cloth. These cleaners leave behind a thin film that can help prevent future ghosting. Using a dedicated product can restore your board’s surface quickly. They are a good investment for heavily used boards.
Melamine Foam Erasers (Magic Eraser)
Melamine foam erasers, often known by the brand name Magic Eraser, are highly effective. They work by acting as a super-fine abrasive. Dampen the melamine foam eraser slightly with water. Gently rub the old marks on your dry erase board.
The foam will break down and lift the embedded ink. Be careful not to scrub too hard. Excessive pressure can damage the board’s surface. Wipe the board with a clean, damp cloth afterward to remove any residue from the eraser. This tool is surprisingly powerful for stubborn marks.
Addressing Permanent Marker Accidents on Dry Erase Boards
A permanent marker on a dry erase board can cause panic. It looks like a disaster. However, there are proven methods to remove permanent ink from these surfaces. Do not give up hope immediately. I have personally used these tricks successfully.
Dry Erase Marker Over Permanent Marker
This is a classic and highly effective trick. Write directly over the permanent marker lines with a black dry erase marker. Make sure you completely cover the permanent ink. The solvents in the dry erase marker react with the permanent ink.
Let the dry erase ink sit for a few seconds. Then, quickly wipe away both the dry erase and permanent ink with a dry erase eraser or a soft cloth. The dry erase marker’s solvent reactivates the permanent ink, allowing it to be wiped away. This method often works surprisingly well.
Alcohol-Based Solvents
If the dry erase marker trick does not fully remove the permanent ink, use stronger alcohol-based solvents. Products like rubbing alcohol, hand sanitizer, or even nail polish remover (containing acetone) can dissolve permanent ink. Apply a small amount to a soft cloth or cotton ball.
Gently dab and rub the permanent marker stain. Work in small sections. Be cautious with nail polish remover, as acetone can be strong. Always test it on an inconspicuous spot first to ensure it does not damage the board’s surface. Wipe the area with a damp cloth afterward to remove any chemical residue. This method is powerful for ink stains, similar to how you might need to clean pen ink out of a dryer.
Preventing Old Marks: Best Practices for Dry Erase Board Care
Prevention is always easier than cure when it comes to dry erase board marks. Implementing a few simple habits can keep your board looking clean and performing well for years. I have found that regular care makes a huge difference.
Regular Cleaning Schedule
Clean your dry erase board regularly, even if it does not look dirty. A quick wipe-down daily or weekly prevents ink from setting. Use a dry erase eraser or a microfiber cloth. For deeper cleaning, use a damp cloth with water or a mild whiteboard cleaner once a week or every few days.
This proactive approach stops ghosting before it starts. Consistent care maintains the board’s non-porous surface. It ensures your board stays ready for clear, crisp writing. A clean board is a productive board.
Using Quality Markers
The quality of your dry erase markers matters significantly. Cheap markers often contain less silicone oil or different pigments. These can stick to the board more easily. Invest in reputable brands known for their easy-erase formulas.
High-quality markers glide smoothly and wipe away cleanly. This reduces the risk of ghosting and stubborn marks. Always cap your markers tightly when not in use. This prevents them from drying out, which can also contribute to poor erasability.
Resurfacing for Longevity
Over time, even with the best care, dry erase boards can develop microscopic scratches and become more porous. This leads to persistent ghosting. Some specialized dry erase board conditioners or resurfacing sprays can help. These products create a new, smooth layer over the board.
Apply these conditioners as directed, usually after a thorough cleaning. They fill in tiny imperfections and restore the board’s original smooth surface. This makes future erasing much easier. Resurfacing can extend the life of your dry erase board significantly.
FAQ Section
Q1: Can I use Windex to clean my dry erase board?
Many people use Windex or other glass cleaners on dry erase boards. It can temporarily clean the board. However, Windex leaves a residue that can make future marks harder to erase. This residue also attracts dust and dirt. For best results, stick to dedicated dry erase board cleaners or the household methods mentioned above.
Q2: How often should I clean my dry erase board?
For light use, a weekly wipe-down with a damp cloth is often sufficient. If you use your dry erase board daily, a quick wipe with an eraser after each session helps. A deeper clean with a specialized cleaner or household solution is good monthly or whenever ghosting appears. Regular cleaning prevents marks from setting.
Q3: Why do old marks remain on my whiteboard?
Old marks remain because the ink’s pigment settles into the microscopic pores and scratches on the board’s surface. The silicone oil in the dry erase ink, which normally allows it to wipe away, breaks down over time. This makes the ink bond more strongly with the board. Poor marker quality or infrequent cleaning worsen this issue.
Q4: What should I never use to clean a dry erase board?
Never use abrasive cleaners, scourers, or steel wool. These materials can scratch and permanently damage the board’s surface, making it even more prone to ghosting. Avoid harsh chemical solvents like paint thinner or strong bleach, as they can degrade the board’s coating. Stick to recommended, gentle methods.
Q5: Does toothpaste really clean dry erase boards?
Yes, toothpaste can surprisingly clean dry erase boards. Use a small amount of non-gel toothpaste. Apply it to a soft cloth and gently rub the old marks. The mild abrasive quality of toothpaste helps lift the ink. Rinse thoroughly with a damp cloth afterward. This method works similarly to baking soda paste.
Q6: Can permanent marker be removed from a dry erase board?
Yes, permanent marker can often be removed from a dry erase board. The most common method involves writing over the permanent ink with a dry erase marker, then wiping it away. Alcohol-based solvents like rubbing alcohol, hand sanitizer, or even a small amount of nail polish remover can also dissolve permanent ink.
Conclusion
Tackling old dry erase board marks can seem daunting, but it is a manageable task. You now have many effective strategies to restore your whiteboard. We covered everything from simple microfiber cloth wipes to more powerful solutions like rubbing alcohol, white vinegar, and baking soda paste. We even explored how to handle accidental permanent marker stains.
Remember that regular cleaning is your best defense against stubborn marks. Use quality markers and consider resurfacing your board for long-term care. You can keep your dry erase board looking pristine and functional with these tips. Do not let old marks dull your thoughts. Bring your board back to life and continue to brainstorm, plan, and create clearly.
- dry erase board cleaning
- old marks removal
- whiteboard cleaner
- stubborn stains
- cleaning hacks

