· Aquarium Maintenance · 18 min read
How To Clean Fish Tank Rocks
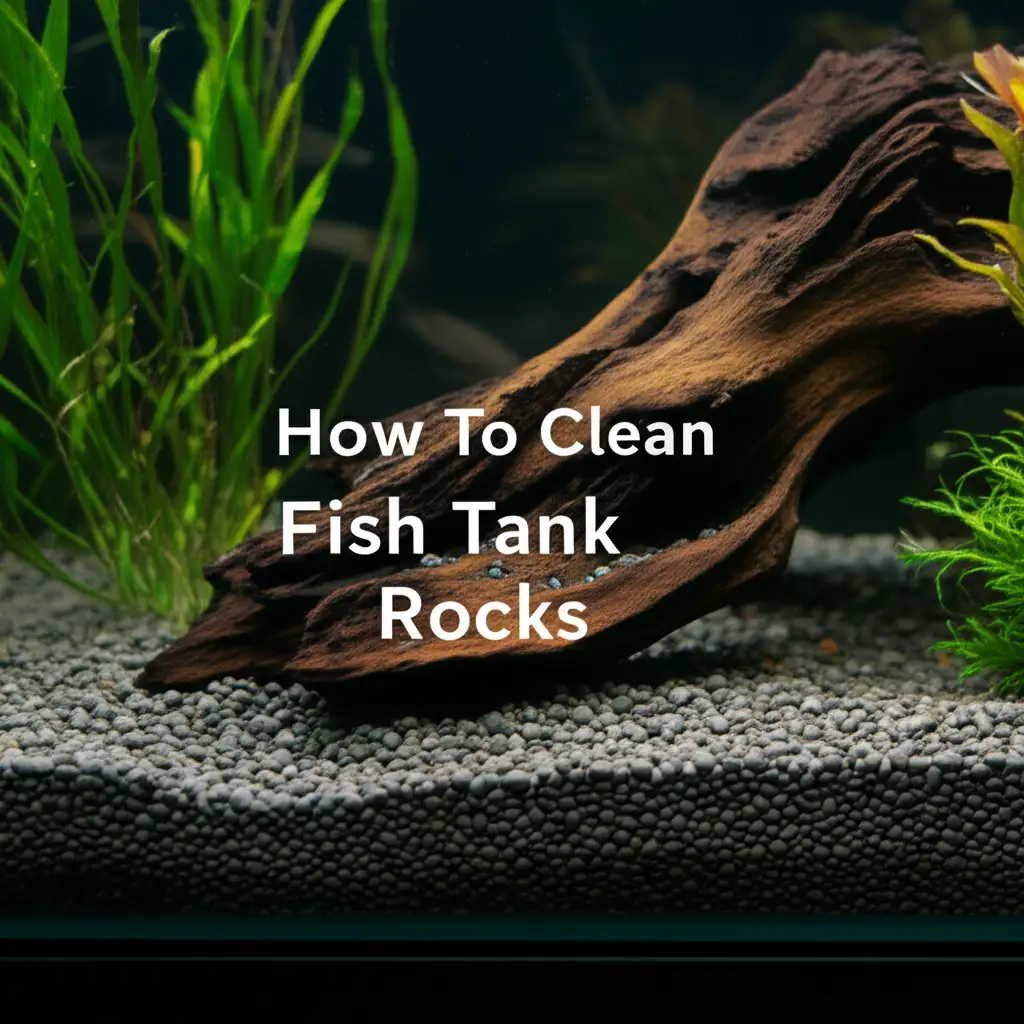
How To Clean Fish Tank Rocks Safely and Effectively
A beautiful fish tank brings calm and beauty to any room. But what happens when the rocks, the very foundation of your tank’s appeal, start looking dull or covered in green slime? Cleaning your fish tank rocks is a critical part of maintaining a healthy and vibrant aquatic environment. Dirty rocks are not just an eyesore; they can hold harmful waste, impacting water quality and your fish’s well-being.
This guide helps you understand exactly how to clean fish tank rocks. We will cover the tools you need, simple methods for regular cleaning, and deep cleaning steps for stubborn build-up. You will also learn how to safely reintroduce cleaned rocks to your aquarium. Keeping your fish tank rocks clean prevents algae, removes fish waste, and ensures a clean home for your aquatic friends. Let us dive into making your aquarium sparkle again.
Takeaway
- Regular cleaning prevents algae and waste buildup.
- Always use fish-safe tools and chemicals.
- Remove rocks for deep cleaning; clean them outside the tank.
- Never use soap or detergents.
- Rinse rocks thoroughly before returning them to the tank.
To clean fish tank rocks, remove them from the tank. Gently scrub away algae and debris with a soft brush under running, de-chlorinated water. For stubborn grime, soak rocks in a dilute bleach or vinegar solution, followed by thorough rinsing and dechlorination before reintroducing them to the tank.
Why Clean Fish Tank Rocks? The Importance of a Healthy Aquatic Environment
Clean rocks are important for a healthy fish tank. Over time, fish waste, uneaten food, and decaying plant matter build up on your tank’s decorations. These particles settle on surfaces like rocks. This buildup creates a breeding ground for harmful bacteria and unsightly algae. A dirty tank environment stresses your fish and can lead to sickness.
When rocks get dirty, they also affect water quality. Algae growth takes away oxygen from the water. This can harm your fish. The waste trapped on the rocks breaks down. This releases ammonia and nitrites, which are toxic to fish. Regular rock cleaning helps keep these harmful substances low. It supports a stable and healthy water environment.
Fish need a clean home to thrive. Clean rocks allow good bacteria to grow, which helps the nitrogen cycle. This cycle changes toxic fish waste into safer substances. When rocks are dirty, this balance gets disrupted. Fish may become stressed, lose color, or get sick. Dirty rocks also make it hard to see your fish clearly.
Cleaning the rocks makes your aquarium look better. A clean tank is more enjoyable to look at. It shows you care for your aquatic pets. Many people clean the tank glass, but forget about the rocks and substrate. Ignoring dirty rocks means ignoring a large source of tank pollution. Regular cleaning protects both the beauty and the health of your fish tank.
Tools and Supplies for Cleaning Aquarium Rocks Safely
Gathering the right tools before you start cleaning makes the process easier and safer. You need specific items to clean fish tank rocks. Using the wrong products can harm your fish. Avoid household cleaners like soaps or detergents at all costs. These products contain chemicals that are very toxic to aquatic life.
Here are the essential tools and supplies you will need:
- Large Buckets: Have at least two clean buckets. One is for holding tank water and temporary fish if needed. The other is for rinsing rocks.
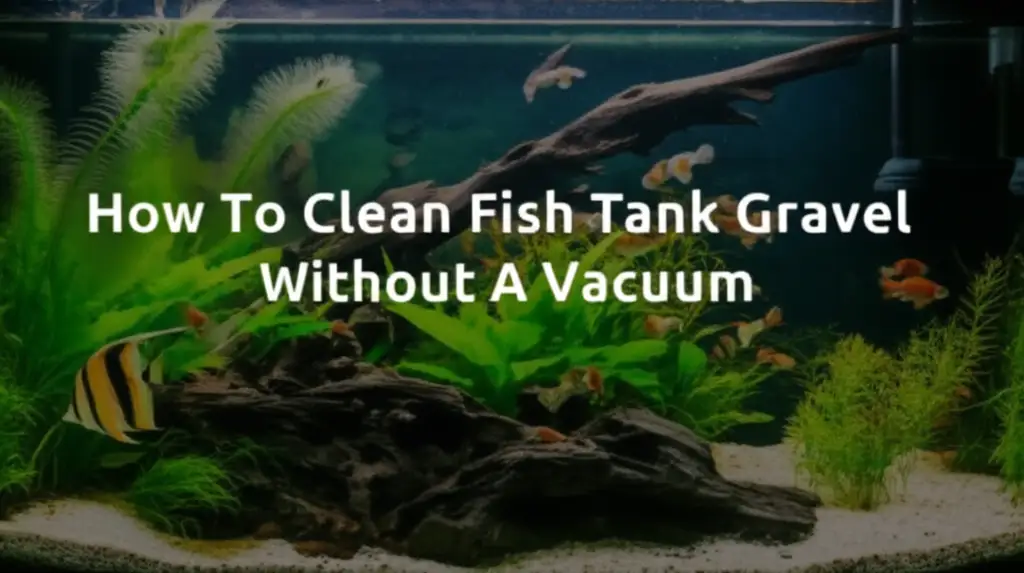
- Aquarium-Safe Siphon/Gravel Vacuum: This tool helps remove debris from the substrate. It also helps with partial water changes. It is helpful for initial loose debris removal. If you want to know more about cleaning gravel without a vacuum, read our guide on how to clean fish tank gravel without a vacuum.
- Soft Bristle Brush: A new, clean toothbrush or a dedicated aquarium brush works well. Use it to scrub off algae and grime from the rocks. Do not use a brush that has touched any soaps or chemicals.
- Algae Scraper/Pad: For removing stubborn algae from tank walls, which often goes hand-in-hand with dirty rocks.
- Dechlorinator/Water Conditioner: This product removes chlorine and chloramines from tap water. You must use it when preparing water for your fish. Use it for rinsing rocks that have touched tap water. You also need it for refilling the tank.
- Gloves: Wear clean gloves to protect your hands. This also prevents transferring skin oils or dirt into the tank.
- Optional: Bleach (Unscented, Chlorine Bleach Only): Use this for deep cleaning very dirty rocks. You must dilute it properly and rinse it completely. You also need to neutralize it. This is not for routine cleaning.
- Optional: White Vinegar: This is a natural and safe cleaner for mild algae and mineral deposits. It is good for general use. You can learn more about safe cleaning using common household items like vinegar and baking soda.
Always use clean tools dedicated only to aquarium maintenance. This prevents cross-contamination. Having all supplies ready before you start saves time and reduces stress for your fish. Prepare your work area with towels. Ensure you have easy access to water.
Step-by-Step Guide: Cleaning Rocks During a Partial Water Change
Cleaning rocks during a water change is efficient. It reduces stress on your fish. This method handles light to moderate algae and debris. It does not require removing all rocks from the tank. This is good for routine maintenance.
Follow these steps for a safe and effective clean:
- Prepare Your Work Area: Lay down towels around your tank. Gather your siphon, buckets, and scrubbing brush. Make sure you have enough dechlorinated water ready for the water change.
- Remove a Portion of Tank Water: Use your siphon to remove about 25-30% of the tank water. Direct the siphon towards the rocks and substrate. This helps to suck up loose debris and detritus. Be gentle around plants and fish.
- Remove Select Rocks (If Applicable): For surface-level rocks, you might not need to remove them. If you want to clean specific smaller rocks more thoroughly, carefully remove them. Place them in a separate bucket of old tank water. This keeps them wet and avoids shocking any good bacteria on their surface.
- Gentle Scrubbing: If you left rocks in the tank, use your dedicated aquarium brush. Gently scrub the visible surfaces of the rocks. Remove any green algae or brown biofilm. Do not scrub too hard, or you will disturb the substrate too much. Rinse the brush in the dirty tank water often.
- Clean Removed Rocks: For rocks you took out, scrub them in the bucket of old tank water. The old tank water helps preserve some beneficial bacteria. This prevents adding tap water chemicals to your main tank. A soft toothbrush works well for getting into small crevices.
- Rinse Thoroughly (Important for Removed Rocks): After scrubbing removed rocks, rinse them under running tap water. Make sure to use only cold or lukewarm water. Hot water can kill good bacteria. After rinsing, add dechlorinator to the rocks. Allow them to sit in dechlorinated water for a few minutes. This removes any chlorine from the tap water. This step is vital to fish safety.
- Return Rocks and Refill Tank: Carefully place the cleaned rocks back into your aquarium. Avoid major disturbance to the substrate. Slowly refill your tank with fresh, dechlorinated water. Match the temperature to the tank water. This prevents temperature shock for your fish.
This method is ideal for regular upkeep. It helps keep your rocks looking good. It prevents major buildup between deep cleaning sessions. Aim for this type of cleaning every 2-4 weeks. This aligns with your regular water change schedule.
Deep Cleaning Fish Tank Rocks: For Serious Build-up
Sometimes, regular scrubbing is not enough. Rocks can get heavily coated with algae, stubborn stains, or mineral deposits. This calls for a deep cleaning. Deep cleaning requires removing all affected rocks from the tank. It also means more intense cleaning methods. Always remember to prioritize the safety of your fish and tank ecosystem.
Here are the methods for deep cleaning fish tank rocks:
Removing All Rocks from the Tank
Before you start, plan for your fish. They will need a temporary home if you remove many rocks. Set up a separate container with tank water and an air stone. This keeps them safe during the process. Carefully remove all decorations and rocks from the tank. Place them in a clean, empty bucket. Scoop out some tank water to keep your fish safe. You can then do a more thorough cleaning of the tank’s interior and substrate.
Vinegar Soaking: A Natural Solution
Vinegar is a safe, natural acid. It is excellent for removing mineral deposits and mild algae. White vinegar works best. It is biodegradable and non-toxic once rinsed away.
- Preparation: Place the dirty rocks in a bucket.
- Soak: Pour undiluted white vinegar over the rocks. Make sure they are fully submerged. For heavily soiled rocks, use a 50/50 mix of vinegar and hot water.
- Soak Time: Let the rocks soak for several hours, or even overnight. This gives the vinegar time to break down grime. You might see bubbling, which means the vinegar is working on mineral deposits.
- Scrubbing: After soaking, scrub the rocks with your dedicated brush. The grime should come off easily.
- Rinsing: Rinse the rocks extremely well under running tap water. Ensure no vinegar smell remains. Soak them in a bucket of clean, dechlorinated water for at least 30 minutes. Change this water a few times to be extra safe. This removes any final vinegar residue. Vinegar is safe, but it can alter water pH if too much gets back into the tank.
Bleach Soaking: For Extreme Cases
Bleach is very powerful. It kills all bacteria and algae. Only use plain, unscented chlorine bleach. Never use color-safe or scented bleaches. Bleach is extremely toxic to fish. Use this method only for rocks that have very severe algae or bacterial issues. You must follow rinsing and neutralizing steps perfectly.
- Preparation: Place rocks in a bucket. Do this outdoors or in a well-ventilated area. Wear gloves.
- Dilution: Mix 1 part bleach with 9 parts water (a 1:9 ratio). For example, 1 cup of bleach to 9 cups of water.
- Soak: Submerge rocks in the bleach solution. Soak for 15-30 minutes. Do not soak longer than 30 minutes. Bleach can damage some rock types with extended exposure.
- Thorough Rinsing (Critical): Remove rocks from the bleach solution. Rinse them under strong running tap water for several minutes. Use a stiff brush to scrub every surface while rinsing.
- Dechlorination/Neutralization (Crucial Step): This is the most important step for bleach use. Submerge the rinsed rocks in a bucket of clean, dechlorinated water. Add a triple dose of a strong dechlorinator. Let them soak for at least 24 hours. Change the water and re-dose the dechlorinator every 6-8 hours. You can also use a concentrated solution of baking soda to clean and neutralize chlorine from surfaces. Some people also soak rocks in a concentrated solution of dechlorinator for an hour.
- Smell Test: Before returning rocks to the tank, smell them. There should be no trace of bleach smell. If you smell anything, repeat the soaking and dechlorinating steps. Any bleach residue can kill your fish.
Boiling Rocks: For Sterilization
Boiling is an effective way to kill algae, bacteria, and parasites. It is great for sterilizing rocks. However, not all rocks can be boiled. Porous rocks or those with air pockets can crack or explode when heated rapidly. Avoid boiling slate, lava rock, or any highly porous natural rocks. Only boil smooth, dense rocks like granite or quartz.
- Preparation: Place suitable rocks in a large pot.
- Boil: Cover the rocks with water. Bring the water to a rolling boil.
- Boil Time: Let them boil for 10-15 minutes.
- Cooling: Turn off the heat. Let the rocks cool completely in the pot of water. Do not remove them while hot. This sudden temperature change can cause cracking.
- Rinse: Once cool, rinse them thoroughly under cool tap water.
Always choose the cleaning method that matches the severity of the dirt and the type of rock. Safety for your fish is paramount.
Dealing with Stubborn Algae and Biofilm on Rocks
Stubborn algae and biofilm cling tightly to rocks. They make your tank look dirty and affect water quality. You need specific approaches to remove them. These methods are more intensive than light scrubbing.
First, identify the type of algae. Green spot algae are small, hard green dots. Black beard algae looks like black or dark green tufts. Diatoms are brown, dusty slime. Each type needs a slightly different strategy.
For green spot algae, a plastic scraper or a stiff bristled brush works well. You may need to apply more pressure. These algae attach strongly to surfaces. If the rocks are removable, you can scrape them outside the tank. For non-removable rocks, gently scrub with an aquarium brush. You can also carefully use a razor blade on glass, but never on acrylic.
Black beard algae (BBA) is very tough to remove. It often indicates too much light or unstable CO2 levels. Manual removal is the first step. For removable rocks, a dilute bleach solution soak (as mentioned earlier) is often the most effective. Remember the strict rinsing and neutralizing process. For rocks in the tank, you can try spot treating. Turn off filters and water flow. Apply liquid carbon (like Flourish Excel, used as an algaecide) directly onto the BBA using a syringe. Let it sit for 10-15 minutes, then perform a water change. This will kill the algae. It will then turn red or white and can be scrubbed off or eaten by algae eaters.
Diatoms (brown algae) usually appear in new tanks or tanks with high silicates. They are easy to wipe off. A soft brush or even your hand can remove them. Address the root cause: ensure your tank is cycled. Check your tap water for silicates. Reduced light can also help with this.
Consider investing in algae-eating fish or invertebrates. Otocinclus catfish, bristlenose plecos, Amano shrimp, and Nerite snails are excellent natural algae controllers. They constantly graze on surfaces, including rocks. This keeps algae from building up quickly. However, they are not a substitute for manual cleaning. They help with ongoing maintenance.
Proper lighting is key to algae control. Too much light or too many hours of light promotes algae growth. Reduce your tank’s light cycle to 8-10 hours a day. Avoid direct sunlight on the tank. Direct sunlight fuels massive algae blooms.
Finally, consistent water changes and proper filtration are essential. A clean filter removes debris that feeds algae. Regular water changes remove excess nutrients. These nutrients are what algae thrive on. By combining physical removal, chemical treatment when necessary, and good tank husbandry, you can keep stubborn algae off your rocks.
Reintroducing Clean Rocks to Your Aquarium Safely
Returning cleaned rocks to your aquarium requires care. This step ensures your fish remain safe and the tank environment stays balanced. Rushing this process can undo all your hard work and harm your fish.
First, ensure no residue remains on the rocks. This is especially true if you used bleach or strong chemicals. Smell the rocks. They should have no odor. If you smell anything like bleach or vinegar, repeat the final rinsing and dechlorination/neutralization steps. A tiny amount of chemical can be deadly for fish. Soaking rocks in a bucket of fresh, dechlorinated water for a final hour is a good safety measure. You can even test the water in the bucket with a basic water test kit to ensure it’s free of harmful substances, especially chlorine.
Before placing rocks back, match their temperature to the tank water. Sudden temperature changes shock fish. Let the cleaned rocks sit in a bucket of tank water (from your water change) for 15-30 minutes. This allows them to reach the same temperature.
Carefully place rocks back into the tank. Do not drop them. Dropping rocks can crack the tank glass. It can also stir up a lot of sediment from the substrate. This sediment will cloud your water. Gently position each rock. Think about the layout and how your fish will use the space. Some fish like hiding spots. Arrange rocks to create caves or territorial boundaries if needed.
Check the stability of your rock formations. Ensure rocks are stable and cannot fall over. This is especially important if you have active or large fish. Fish can bump into decorations. Falling rocks can injure fish or crack the tank. Bury the base of larger rocks slightly into the substrate for better stability.
After replacing all rocks and refilling your tank, monitor your fish closely for the next few hours and days. Watch for any signs of stress, like rapid gill movement, lethargy, or gasping at the surface. These can indicate poor water quality or residual chemicals. If you see signs of stress, do an immediate partial water change. Test your water parameters (ammonia, nitrite, nitrate) to confirm water quality. A slight temporary cloudiness after disturbing the substrate is normal. It should clear within a few hours.
Reintroducing rocks correctly maintains the health and beauty of your aquarium. It completes the cleaning cycle. Your fish will appreciate their refreshed, safe home.
Preventive Measures: Keeping Your Fish Tank Rocks Cleaner Longer
Keeping your fish tank rocks clean involves more than just periodic scrubbing. Smart daily habits help prevent dirt and algae buildup. This reduces the need for frequent deep cleaning.
Control lighting: Too much light is a major cause of algae growth. Limit your aquarium lights to 8-10 hours per day. Use a timer for consistency. Avoid placing your tank in direct sunlight. Sunlight promotes rapid algae growth on all surfaces, including rocks.
Do regular water changes: Partial water changes (25-30%) every 1-2 weeks remove nitrates and other nutrients that feed algae. Fresh water also helps keep your tank healthy. Clean water means less food for algae. As part of your water change, use a gravel vacuum around the rocks. This removes loose detritus and uneaten food.
Avoid overfeeding: Fish food breaks down and releases nutrients that algae love. Feed your fish only what they can eat in 2-3 minutes. Remove any uneaten food after this time. Less food in the water means fewer nutrients for algae.
Maintain your filter: A clean filter removes waste particles from the water. A dirty or clogged filter cannot do its job well. This allows more waste to settle on rocks and other surfaces. Clean or replace filter media regularly. Follow your filter manufacturer’s recommendations.
Consider algae-eating inhabitants: Introduce natural algae controllers to your tank. Nerite snails, Otocinclus catfish, and Amano shrimp are good choices. They graze on algae on rocks and glass. They are not a solution for heavy algae, but they help with maintenance. Research if these species fit your tank size and fish compatibility.
Check water parameters: High phosphate or nitrate levels can encourage algae. Test your water regularly. Address any imbalances. Use phosphate removers if necessary. Live plants can also help absorb excess nutrients, reducing algae growth.
Clean tank walls regularly: When cleaning your tank glass, also wipe down any accessible rock surfaces. This removes new algae growth before it becomes established. Use a magnetic cleaner or an algae pad.
By following these preventive measures, you create a less hospitable environment for algae and waste. Your fish tank rocks will stay cleaner longer. This means less scrubbing for you and a healthier, more beautiful tank for your fish.
FAQ Section
How often should I clean fish tank rocks?
For routine maintenance, clean rocks lightly during your weekly or bi-weekly partial water changes. This involves gentle scrubbing of visible surfaces. Deep cleaning, which requires removing rocks from the tank, depends on algae growth. If you see significant buildup, perform a deep clean every 1-3 months.
Can I use soap to clean fish tank rocks?
No, never use soap, detergents, or any household cleaners to clean fish tank rocks. These products contain chemicals highly toxic to fish and beneficial bacteria. Even a tiny residue can poison your entire aquarium. Stick to plain water, dedicated aquarium brushes, vinegar, or diluted bleach with proper neutralization.
Is boiling rocks safe for my fish tank?
Boiling rocks is a safe way to sterilize them, killing algae and bacteria. However, only boil solid, non-porous rocks like granite or quartz. Do not boil porous rocks like lava rock or slate. They can absorb water, trap air, and explode when heated. Always let boiled rocks cool completely before handling or returning to the tank.
How do I clean algae off rocks without removing them?
You can clean algae off rocks without removing them during a water change. Use a soft-bristled aquarium brush or a new, clean toothbrush. Gently scrub the visible algae off the rock surfaces while they are submerged. A gravel vacuum can also help remove any dislodged algae or debris from the surrounding substrate.
What causes dirty fish tank rocks?
Dirty fish tank rocks result from a buildup of fish waste, uneaten food, and decaying plant matter. These organic materials provide nutrients that fuel algae growth and encourage bacterial film formation. Overfeeding, excessive lighting, infrequent water changes, and inadequate filtration are common causes of dirty rocks.
Should I clean new rocks before putting them in my tank?
Yes, always clean new rocks before adding them to your fish tank. New rocks can carry dust, dirt, chemicals, or even parasites from their origin or handling. Rinse them thoroughly under running tap water. You can also boil them or soak them in a dilute bleach solution followed by complete neutralization and rinsing to sterilize them.
Conclusion
Keeping your fish tank rocks clean is a fundamental part of maintaining a vibrant and healthy aquatic environment. We have covered why clean rocks matter, the essential tools, and step-by-step methods for both routine and deep cleaning. Whether you are dealing with a little bit of algae or heavy buildup, you now have the knowledge to tackle the job safely. Remember, never use soaps or detergents, and always ensure rocks are thoroughly rinsed and free of chemicals before they go back into the
- aquarium cleaning
- fish tank maintenance
- rock cleaning
- algae removal
- aquarium safety
- substrate cleaning