· Kitchen Cleaning · 15 min read
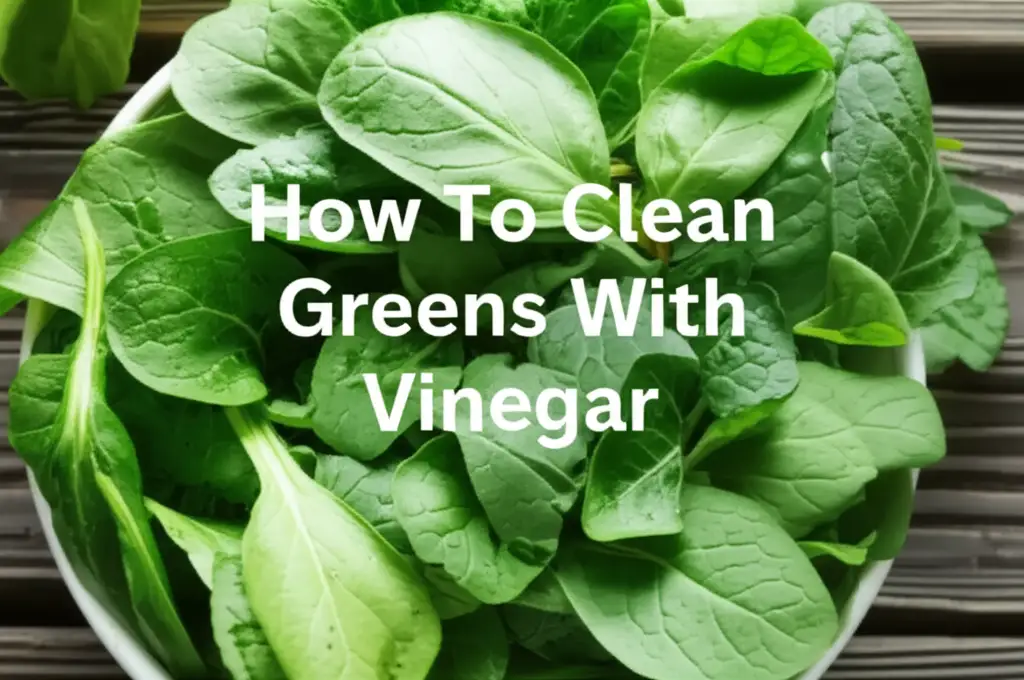
How To Clean Greens With Vinegar
Unlock Freshness: How to Clean Greens with Vinegar
Do you worry about the dirt, pesticides, and unseen contaminants hiding on your fresh greens? Many people do. Cleaning greens thoroughly is a crucial step for food safety and enjoyment. We often grab leafy vegetables, assuming a quick rinse under the tap is enough. However, this simple method rarely removes all unwanted residues. This guide focuses on how to clean greens with vinegar, a natural and effective solution.
Using vinegar offers a powerful way to purify your produce without harsh chemicals. It helps remove dirt, bugs, and even some pesticide residues. Preparing your greens properly ensures they are safe and delicious for salads, stir-fries, or any meal. I will walk you through the benefits of vinegar, the supplies you need, and a simple step-by-step process. You will also learn tips for different types of greens and how to store them after cleaning. Let’s make your kitchen experience safer and tastier, starting with perfectly clean greens.
Takeaway
Cleaning greens with vinegar is simple and effective.
- Vinegar helps remove dirt, pesticides, and bacteria.
- Soak greens in a diluted vinegar solution.
- Rinse thoroughly with clean water.
- Dry greens completely before storage.
To clean greens with vinegar, prepare a solution of 1 part white vinegar to 3 parts water. Submerge your greens, gently swishing them to dislodge dirt and debris. Let them soak for 10-15 minutes, then rinse them very well under cold running water. This method helps remove contaminants, leaving your greens crisp and clean.
Why Vinegar Works Wonders for Your Greens
Vinegar is a remarkable natural cleaner, and its benefits extend wonderfully to food preparation. Many people use it for household tasks, but it also cleans vegetables effectively. The acetic acid in vinegar creates an environment that helps neutralize harmful bacteria. This makes your greens safer to eat.
Beyond its antibacterial properties, vinegar helps loosen dirt and small insects from leafy surfaces. Think about how many hands touch produce before it reaches your home. It often travels long distances and sits in various environments. A simple water rinse might not remove everything. Vinegar provides an extra layer of cleanliness, ensuring your family eats truly clean produce. I find peace of mind knowing my food is washed correctly. This method helps you prepare greens before cooking, ensuring a healthier meal. You can find more details on general cleaning techniques to ensure all your produce is safe and ready to eat by understanding how to clean greens before cooking.
Furthermore, vinegar is a readily available and affordable item. You likely already have a bottle of white vinegar in your pantry. It is a natural choice, free from the harsh chemicals found in some commercial produce washes. This means you avoid adding new substances to your food while cleaning. Choosing vinegar supports a natural approach to food hygiene. It is a simple, effective, and economical choice for your kitchen.
Gathering Your Supplies: What You Need
Before you start cleaning your greens with vinegar, you need to collect a few basic items. These supplies are common household goods, making this method convenient. You do not need any special or expensive equipment. This process requires only what you likely have in your kitchen right now.
First, you need a large bowl or a clean sink basin. This will be your soaking vessel for the greens. Ensure the bowl or sink is clean before you begin. Any residual soap or food particles could contaminate your fresh produce. I always give my sink a quick scrub before I start washing vegetables. This step helps maintain hygiene in your food preparation.
Next, gather your white vinegar. Distilled white vinegar is the best choice for cleaning greens. It has a consistent acidity level and does not impart any flavor to your vegetables. Avoid using apple cider vinegar or other types, as they can leave a slight taste or residue. A standard bottle of white vinegar is perfect for this task.
Finally, you will need a colander for rinsing. A salad spinner is also very helpful for drying your greens effectively. If you do not have a salad spinner, clean paper towels or a clean kitchen towel will work. Having these items ready saves time and makes the cleaning process smooth. Preparing your workspace ensures a successful cleaning experience for your greens.
The Step-by-Step Method to Clean Greens with Vinegar
Cleaning your greens with vinegar is a straightforward process. Following these steps ensures your produce becomes clean and fresh. I find this method quick and effective for all types of leafy vegetables. Let’s walk through it together.
Step 1: Inspect and Trim Your Greens. Before washing, look over your greens carefully. Remove any wilted, damaged, or discolored leaves. Trim off tough stems or roots as needed. This prepares your greens for a better wash. It also removes any parts you would not want to eat.
Step 2: Prepare the Vinegar Solution. Fill your large bowl or clean sink with cold water. Add white vinegar to the water. A good ratio is 1 part vinegar to 3 parts water. For example, if you use 4 cups of water, add 1 cup of vinegar. Adjust the amount based on how many greens you are cleaning. This ratio creates an effective cleaning solution without leaving a vinegar taste.
Step 3: Submerge and Soak Your Greens. Place your trimmed greens into the vinegar solution. Make sure they are fully submerged. Gently swish the greens around with your hands. This action helps dislodge dirt, sand, and any small insects. Let the greens soak for 10 to 15 minutes. This soaking time allows the vinegar to work its magic.
Step 4: Agitate and Drain. After soaking, gently agitate the greens again in the solution. You will often see dirt settling at the bottom of the bowl. Carefully lift the greens out of the vinegar water. Place them into a colander. Discard the dirty vinegar solution. This stage removes the bulk of the contaminants. For a deeper understanding of initial cleaning steps, refer to our article on how to clean greens before cooking. This helps ensure thorough removal of all unwanted substances from your produce.
Following these steps provides a clean foundation for your healthy meals. This simple method ensures your greens are ready for the next step: rinsing and drying.
Proper Rinsing and Drying After a Vinegar Wash
Rinsing your greens thoroughly after a vinegar soak is a critical step. This ensures no residual vinegar taste remains. It also washes away any loosened dirt or bacteria. Skipping this step can leave your greens tasting sour. This might also impact the texture.
Step 1: Rinse Under Cold Running Water. Transfer your greens from the colander to a clean sink. Rinse them under cold running water. Do this in batches if you have a large amount. Gently move the greens around with your hands. This helps water reach all surfaces. Continue rinsing until you are sure all vinegar smell and dirt are gone. The water running off the greens should appear clear.
Step 2: Dry Your Greens Thoroughly. Drying greens is just as important as washing them. Excess moisture can cause greens to wilt quickly or become slimy. A salad spinner is the most effective tool for this. Place the rinsed greens into the salad spinner basket. Spin them until most of the water is removed. You may need to do this in a few batches.
If you do not have a salad spinner, use clean paper towels or a clean kitchen towel. Spread the greens in a single layer on the towels. Gently pat them dry. You can also roll them loosely in the towel to absorb moisture. Be gentle to avoid bruising delicate leaves. Proper drying helps maintain freshness and crispness. It also ensures salad dressings or sauces adhere better to the leaves.
Cleaning Different Types of Leafy Greens
Different types of greens require slightly varied approaches when cleaning with vinegar. Understanding these differences helps you clean them effectively without damage. The goal remains the same: clean, crisp, and safe produce.
Delicate Greens:
- Examples: Lettuce, spinach, spring mix, arugula.
- Approach: These greens have thin, tender leaves. They bruise easily. Use a gentler touch during soaking and rinsing.
- Method: Soak them for a shorter period, perhaps 5-7 minutes, in the vinegar solution. Swish very gently. When rinsing, use low water pressure. Do not squeeze them hard when drying. Pat them very lightly with towels or use a salad spinner on a low setting. This helps maintain their delicate texture.
Sturdier Greens:
- Examples: Kale, collard greens, Swiss chard, mustard greens.
- Approach: These greens have tougher leaves and often more dirt or sand. They can handle a more vigorous wash.
- Method: You can soak these for the full 10-15 minutes in the vinegar solution. Feel free to agitate them more firmly to dislodge stubborn dirt. Rinse them under stronger running water. For drying, a salad spinner is excellent. You can also roll them in a clean towel with a bit more pressure. Their robust nature means they will stand up to a thorough cleaning.
Head Greens:
- Examples: Cabbage, iceberg lettuce, romaine hearts.
- Approach: For head greens, you often need to remove outer leaves or separate them.
- Method: Peel off any wilted or damaged outer leaves. For compact heads like cabbage, you might only wash the outer leaves you plan to use. For looser heads like romaine, separate the individual leaves before soaking them in the vinegar solution. This ensures the cleaning solution reaches all surfaces. Rinse and dry as you would other sturdy greens.
Adjusting your technique based on the type of green ensures optimal cleanliness and preserves the quality of your produce. Each green deserves a tailored approach to become truly clean.
Storing Your Freshly Cleaned Greens
Proper storage of your freshly cleaned greens is key to maintaining their freshness. Cleaning produce can extend its life, but only with the right storage method. Storing them incorrectly can lead to quick spoilage. I always make sure my greens are ready for use throughout the week.
The most important rule for storing cleaned greens is to ensure they are completely dry. Any residual moisture is the enemy of freshness. It creates a breeding ground for bacteria and causes greens to rot faster. After rinsing and drying thoroughly, follow these steps:
Step 1: Line a Container. Get an airtight container or a large resealable bag. Line the bottom with a layer of clean paper towels. The paper towels will absorb any remaining moisture. This creates a dry environment for your greens. You can use multiple layers of paper towels for very wet greens.
Step 2: Add Greens and More Towels. Place your dried greens loosely into the lined container. Do not pack them too tightly. If you have a large amount, you can add another layer of paper towels on top of the greens. This helps absorb moisture from all sides. For delicate greens, this also provides a small cushion.
Step 3: Seal and Refrigerate. Seal the container or bag tightly. Place it in the crisper drawer of your refrigerator. The crisper drawer helps regulate humidity. This further supports the freshness of your produce. Your greens should stay crisp and fresh for several days, sometimes even up to a week. Check them periodically for any signs of spoilage. Remove any wilting leaves immediately. This simple storage method makes meal prep easier during the week.
Common Mistakes to Avoid When Cleaning Greens with Vinegar
Even a simple process like cleaning greens with vinegar can have pitfalls. Avoiding common mistakes ensures your greens are truly clean and taste great. I have learned these lessons through experience and want to share them with you.
Mistake 1: Using Too Much Vinegar. Some people think more vinegar means cleaner greens. This is not true. An overly strong vinegar solution can leave a distinct sour taste on your greens. It can also damage delicate leaves, causing them to wilt or brown. Stick to the recommended 1 part vinegar to 3 parts water ratio. This ratio is effective without being overpowering.
Mistake 2: Not Rinsing Thoroughly Enough. This is perhaps the most common mistake. If you do not rinse your greens completely after the vinegar soak, they will taste like vinegar. This can ruin a salad or other dish. Rinse under cold running water for several minutes. Ensure no vinegar smell remains. A thorough rinse is essential for taste.
Mistake 3: Skipping the Drying Step. As mentioned before, moisture is the enemy of fresh greens. Storing wet greens leads to rapid spoilage, slime, and mold. Always dry your greens as thoroughly as possible. Use a salad spinner or paper towels. If you are not drying them immediately, spread them out on clean towels until air-dry. This step is crucial for longevity.
Mistake 4: Soaking for Too Long (Especially Delicate Greens). While soaking helps, soaking delicate greens for too long can make them soggy. It also increases the risk of them absorbing too much vinegar. Limit soaking times to 10-15 minutes for sturdy greens and 5-7 minutes for delicate ones. This prevents damage while still allowing the vinegar to work effectively.
Mistake 5: Reusing the Soaking Water. After soaking one batch of greens, the water will contain dirt and contaminants. Do not reuse this water for subsequent batches. Always use fresh water and vinegar for each new batch of greens. This ensures maximum cleanliness and prevents re-contamination. For other cleaning tasks using vinegar and baking soda, you might reuse solutions, but for food, fresh is always best. Understanding how to clean with vinegar and baking soda in different contexts helps clarify proper usage.
Avoiding these common errors will make your vinegar green cleaning process more successful. You will enjoy crisp, clean, and delicious greens every time.
FAQ Section
Q1: Why should I clean my greens with vinegar instead of just water? Cleaning greens with vinegar offers extra benefits beyond water alone. Vinegar contains acetic acid, which helps to kill common bacteria found on produce. It also assists in loosening dirt, tiny insects, and potentially some pesticide residues more effectively. While water removes visible dirt, vinegar provides a deeper clean. This natural method helps ensure your greens are safer and fresher for consumption.
Q2: Will my greens taste like vinegar after cleaning them this way? No, your greens should not taste like vinegar if you follow the rinsing step correctly. The key is to rinse them very thoroughly under cold running water after soaking. This removes all traces of the vinegar solution. The purpose of the vinegar is to clean, not to flavor. A proper rinse ensures your greens remain neutral in taste, ready for any recipe.
Q3: Can I use apple cider vinegar instead of white vinegar? It is best to use distilled white vinegar for cleaning greens. White vinegar has a neutral flavor and clear color, so it will not stain or leave a lingering taste on your produce. Apple cider vinegar has a distinct fruity flavor and a brownish color. It might impart its taste to your greens or leave a slight tint. Stick with plain white vinegar for the best results.
Q4: How long can I store greens after cleaning them with vinegar? When properly cleaned and thoroughly dried, greens can stay fresh for several days, often up to a week. The exact duration depends on the type of green and your refrigerator’s conditions. Always store them in an airtight container lined with paper towels in the crisper drawer. Check them regularly and remove any leaves showing signs of spoilage to preserve the rest.
Q5: Is this method safe for all types of produce? The vinegar wash method is generally safe and effective for most leafy greens and many other firm-skinned fruits and vegetables. For delicate berries, a shorter, gentler soak is recommended. For items with porous skin, like mushrooms, a quick wipe with a damp cloth is often better than soaking. Always adjust the soaking time and agitation based on the produce’s fragility.
Q6: Does vinegar remove all pesticides from greens? Vinegar can help remove some surface pesticide residues, but it cannot remove all of them, especially those that have been absorbed into the plant’s tissues. It is more effective at dislodging surface dirt, waxes, and some water-soluble chemicals. For the most complete removal of potential contaminants, using organic produce is often recommended alongside thorough cleaning.
Conclusion
Ensuring your greens are truly clean is a vital step in preparing healthy and delicious meals. Using vinegar offers a simple, effective, and natural solution to this everyday challenge. We have explored the power of white vinegar in removing dirt, unseen contaminants, and even some pesticide residues. I have shown you how to gather your supplies, follow a clear step-by-step cleaning process, and properly dry your produce.
Remember, the right cleaning method means healthier food on your plate. You now understand how to adapt your cleaning for delicate or sturdy greens. You also know the best ways to store your freshly washed produce. This keeps them crisp and ready for use throughout the week. By avoiding common mistakes, you ensure a successful outcome every time. Taking a few extra minutes to clean your greens with vinegar makes a real difference in freshness, taste, and food safety. Embrace this natural cleaning approach in your kitchen. Your body will thank you for the clean, nutritious greens! Start enjoying the benefits of sparkling clean produce today.
- vinegar cleaning
- produce cleaning
- food safety
- vegetable wash
- natural cleaning