· Home & Garden · 17 min read
How To Clean Grow Tent
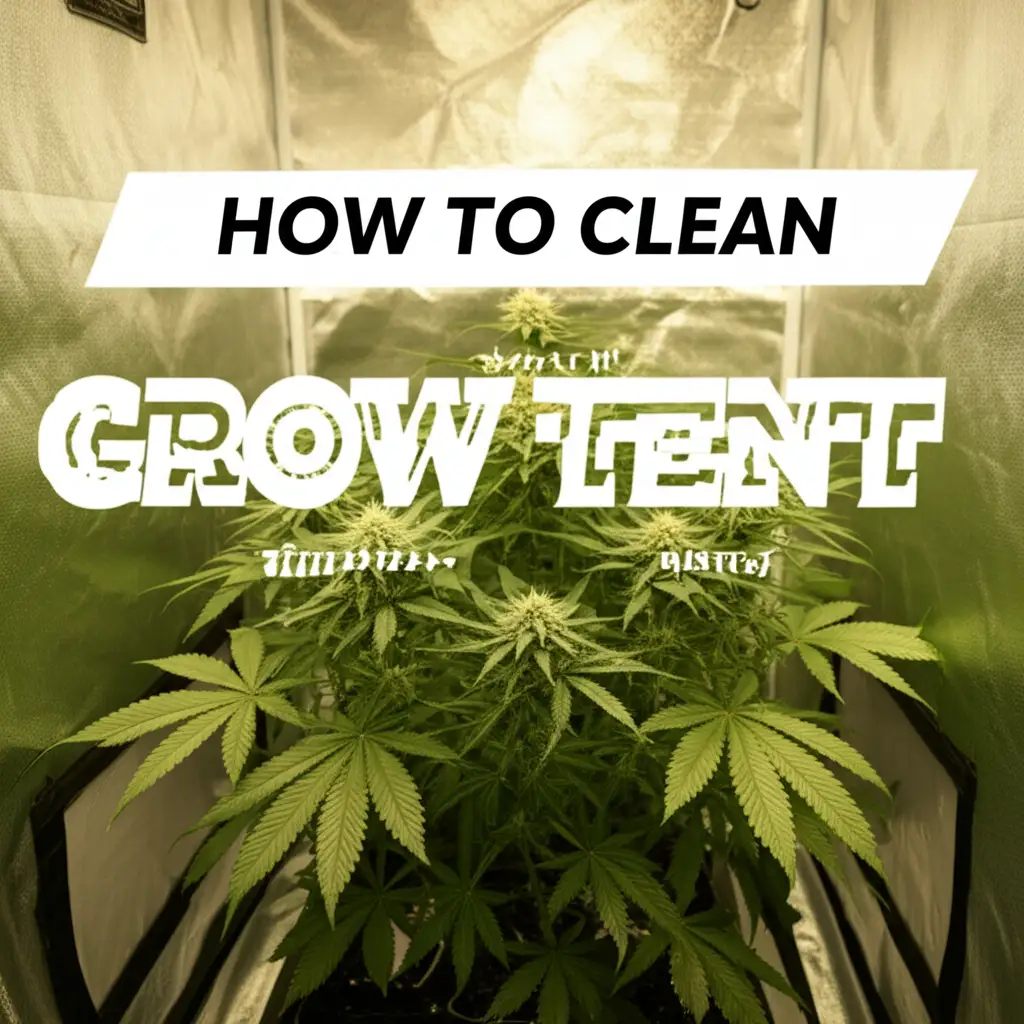
Mastering Grow Tent Cleaning: Your Guide to a Healthy Environment
Have you ever looked at your grow tent and thought, “It’s time for a refresh”? Keeping a grow tent clean is important for healthy plants. A dirty tent can hurt your plants and lower your harvest. This guide will show you how to clean grow tent spaces properly. We will cover routine tasks, deep cleaning methods, and how to deal with common problems.
Takeaway
- Regular Cleaning: Clean your grow tent often to stop problems.
- Deep Cleaning: Do a full clean between grows.
- Prevent Issues: Stop mold and pests before they start.
Cleaning your grow tent involves regularly wiping down surfaces and equipment. This removes dust, plant debris, and potential pathogens. A deep clean includes disassembling and sanitizing all components. This creates a sterile environment for new plants.
Understanding Why Grow Tent Cleaning Matters
Keeping your grow tent clean is more than just good practice. It directly affects the health and growth of your plants. A clean tent helps your plants thrive. It also makes sure you get the best possible harvest. Neglecting cleanliness can lead to many problems that hurt your efforts.
Dust and dirt build up on tent surfaces and equipment. This can block light from reaching your plants. Reflective tent walls lose their efficiency when covered in grime. Plants need good light for photosynthesis. Less light means slower growth and smaller yields. This simple fact shows why keeping surfaces clean is important.
Pests and diseases love dirty spaces. A grow tent with plant debris or stagnant water is a perfect home for bugs. Spider mites, fungus gnats, and powdery mildew can spread fast. Once they get in, they are hard to remove. Regular cleaning breaks their life cycle. It stops them from taking hold in your grow space. This proactive step saves you time and stress later.
Mold is another serious concern in humid grow tents. Mold spores float in the air. They can land on plant leaves or tent walls. Mold thrives in damp, dark places. It can damage plants and even harm your health. A clean tent reduces mold growth. It protects both your plants and you. Knowing how to clean mold off walls is a valuable skill for any grower.
A clean grow tent lasts longer. Dirt and grime can degrade the tent material over time. Zippers get stuck, and fabric can tear. Equipment like fans and lights work harder when covered in dust. This shortens their lifespan. Regular grow tent maintenance protects your investment. It ensures your equipment runs smoothly for many cycles.
Overall, cleaning your grow tent creates a stable growing environment. It removes stress factors for your plants. It supports strong, healthy growth from start to finish. I always feel better knowing my plants are in a clean, safe space. This focus on cleanliness pays off in better harvests and happier plants.
Essential Tools and Solutions for Grow Tent Cleaning
Before you start cleaning your grow tent, gather all your supplies. Having the right tools makes the job easier and more effective. Using safe and proper cleaning solutions is also very important. You want to clean the tent without harming its material or your plants. Let’s look at what you will need.
First, you need basic cleaning tools. A good vacuum cleaner with attachments is a must. This helps remove loose dirt, dust, and plant debris from all corners. A soft-bristled brush can help dislodge stubborn bits. You will also need several microfiber cloths. These cloths are gentle and absorb well. They will not scratch the reflective surfaces inside your tent. A bucket for mixing solutions is also useful.
Next, consider your cleaning solutions. For most routine cleaning, simple warm water works well. For tougher grime or sanitizing, a mild soap is often enough. Dish soap without strong perfumes can be effective. Many growers prefer natural cleaners. White vinegar is a popular choice. It is a natural disinfectant and helps kill mold spores. Learning how to clean mold with vinegar is a great skill for grow tent care. You can dilute vinegar with water for general cleaning.
Another option is a dilute bleach solution. Bleach is a powerful sanitizer. However, use it with caution. It can be harsh on some materials and needs good ventilation. Make sure to rinse surfaces very well if you use bleach. Some growers use hydrogen peroxide. It is also a good disinfectant. Like bleach, it breaks down quickly and leaves no residue. Always dilute it according to product instructions.
For cleaning plastic components, you might consider specific cleaners. Grow tents have plastic parts, like trays or ducting. Knowing how to clean plastic shower materials can give you ideas. The same principles often apply. Use gentle cleaners to avoid damaging the plastic. Avoid abrasive scrubbers that could scratch the surface.
Safety gear is also essential. Wear gloves to protect your hands from chemicals and dirt. Safety glasses are a good idea to protect your eyes. A mask can prevent you from breathing in dust or cleaning fumes. Good ventilation in the room where you are cleaning is also important. Open windows or use a fan. Preparing your supplies before you start saves time and ensures a thorough clean.
Routine Grow Tent Cleaning: Keeping Your Space Pristine
Regular maintenance is key to a healthy grow tent. You do not need to do a full deep clean every week. But daily or weekly routine tasks prevent big problems. These small efforts add up. They keep your grow space clean and ready for optimal growth. I find that a little bit of cleaning often makes a huge difference.
Start by checking your grow tent daily. Look for any spilled water, loose leaves, or signs of pests. Catching issues early makes them easier to handle. Wipe up spills right away to prevent moisture build-up. This stops mold from starting. Remove any dead leaves or plant debris. These can harbor pests or diseases. I often use a small hand vacuum for this.
On a weekly basis, give your grow tent a more thorough wipe-down. First, unplug any electrical equipment to be safe. Remove any movable items like trays or pots. Use a damp microfiber cloth to wipe down the inside walls. Pay special attention to the corners and seams. Dust and dirt collect there. You can use a solution of warm water and a few drops of mild soap. This helps remove any sticky residue.
Clean the floor of your grow tent. Many tents have a removable floor liner. If yours does, take it out and wash it separately. You can scrub it in a sink or shower. Use a soft brush and soapy water. Rinse it thoroughly and let it dry completely before putting it back. If your tent floor is fixed, vacuum it first. Then wipe it down with your cleaning solution. Make sure there is no standing water left behind.
Don’t forget your equipment during routine cleaning. Wipe down light fixtures and ballasts to remove dust. A dusty light can run hotter and provide less light. Clean fan blades with a damp cloth. Dirty fans do not move air as well. They can also create noise. This regular cleaning keeps your equipment running at its best. It also helps with air circulation and light efficiency.
Checking the filters is also part of routine care. If you have an air filter, check it for blockages. Dust and debris can clog carbon filters. This reduces their ability to remove odors. Clean or replace filters as needed. These regular steps prevent small issues from becoming big problems. They keep your grow tent in top shape between full deep cleans.
Deep Cleaning Your Grow Tent: A Comprehensive Guide
A deep clean of your grow tent is important between growing cycles. This process thoroughly sanitizes your space. It removes any lingering pests, pathogens, or residues. This ensures a fresh, clean start for your next batch of plants. I consider this a critical step for successful indoor growing.
First, remove everything from your grow tent. This includes plants, pots, trays, lights, fans, and ducting. Take out anything that is not permanently attached. This gives you full access to all surfaces. Once empty, use a vacuum cleaner to remove all loose debris. Get into every corner and crevice. Use attachments to reach high spots and under any remaining bars.
Next, it’s time to clean the tent fabric. You can use a mild cleaning solution. A mix of warm water and a small amount of dish soap works well. For stronger sanitization, consider a diluted solution of hydrogen peroxide or a very diluted bleach solution. Always test the solution on a small, hidden part of the tent first. This ensures it does not damage the material. Dip a clean microfiber cloth into the solution. Wring it out so it is damp, not dripping wet.
Wipe down all interior surfaces of the tent. Pay extra attention to the reflective walls. Work from top to bottom. Clean the ceiling, then the side walls, and finally the floor. Do not forget the zippers and seams. Dirt and mold can hide in these areas. If you find any mold, you can use a solution of white vinegar. Knowing how to clean shower with vinegar can give you tips. Vinegar is excellent for killing mold spores. After cleaning, use a separate clean cloth dampened with plain water to rinse all surfaces. This removes any cleaning solution residue.
While the tent is empty, clean all your removable equipment. Wipe down light fixtures, ballasts, and timers. Clean the blades of your fans. Use a soft cloth for these items. For plastic components like trays or drip pans, you can wash them separately. A good scrub with soapy water and a rinse will work. If they show signs of mold, cleaning mold off plastic is important. You can use a diluted bleach solution or vinegar for this. Ensure everything is thoroughly rinsed and completely dry before reassembling.
Finally, allow the tent to air dry completely. Open all vents and flaps. You can use a fan to speed up the drying process. Do not put anything back inside until the tent is bone dry. Moisture can lead to new mold growth. A deep clean takes time and effort. But it provides a fresh, sterile home for your next plants. This effort keeps your grow tent healthy and productive for many cycles.
Targeting Common Grow Tent Issues: Mold, Pests, and Odors
Even with regular cleaning, specific issues like mold, pests, and strong odors can appear. Dealing with these problems quickly is important. It prevents them from harming your plants or grow environment. Each issue needs a targeted approach to ensure effective removal and prevention.
Mold is a frequent problem in humid grow tents. It often looks like fuzzy white, black, or green spots. Mold thrives in damp, still air. To fight mold, first reduce humidity levels if possible. Improve airflow with fans. For existing mold, a white vinegar solution is very effective. Mix equal parts white vinegar and water. Spray the affected area. Let it sit for a few minutes. Then wipe it clean with a microfiber cloth. For stubborn mold, a stronger vinegar solution may be needed. Remember, proper drying after cleaning is crucial. You can find more tips on how to clean mold in shower which are similar.
Pests can also infest your grow tent. Common pests include spider mites, fungus gnats, and aphids. If you spot pests, isolate affected plants if possible. Thoroughly clean the tent immediately. Vacuum all surfaces to remove any visible bugs or eggs. Wipe down walls and floors with a mild cleaning solution. A neem oil solution is a natural pesticide. Spray it on tent surfaces. This deters pests. Regularly inspect your plants for early signs of infestation. Prevention is the best strategy. Keep your tent free of plant debris. This reduces hiding spots for pests.
Odors can build up in a grow tent over time. This is often due to stagnant air, plant decay, or nutrient spills. The first step to odor control is improved ventilation. Make sure your exhaust fan is working well. Check your carbon filter. If it’s old or clogged, replace it. A good carbon filter removes most plant-related odors. Clean up any spills immediately. Old plant matter should be removed promptly. These steps address the source of the smell.
Sometimes odors persist even after cleaning. This might mean the tent material itself has absorbed smells. After a deep clean, you can try air fresheners specifically designed for grow rooms. Some growers place bowls of activated charcoal inside the tent. This absorbs odors naturally. Remember, a clean tent with good airflow is your best defense against bad smells. I always prioritize good ventilation to keep odors at bay. Addressing these issues proactively helps maintain a healthy and discreet grow space.
Maintaining Optimal Reflectivity and Airflow in Your Grow Tent
The reflective interior of your grow tent and efficient airflow are vital for plant growth. Dust, grime, and debris can reduce reflectivity. They also hinder air movement. Keeping these aspects optimal ensures your plants receive maximum light and fresh air. This directly affects their health and yield.
Reflectivity is crucial for your plants. The interior walls of a grow tent are designed to bounce light back to your plants. This ensures all parts of the plant get light, even lower leaves. When dust, dirt, or water spots cover these surfaces, light gets absorbed instead of reflected. This means less light for your plants. To maintain reflectivity, gently wipe down the walls with a damp microfiber cloth. Use plain warm water or a very mild soap solution. Avoid harsh chemicals or abrasive scrubbers. These can damage the reflective coating.
During cleaning, pay close attention to the reflective material. Some tents use Mylar, while others have a diamond pattern or a white coating. Each requires careful handling. Ensure no scratches occur, as scratches can reduce reflectivity. After wiping, use a separate dry cloth to remove any moisture. Any remaining water spots can also reduce reflection. A perfectly clean and dry reflective surface maximizes light distribution. I always make sure these surfaces sparkle to get the most out of my grow lights.
Airflow is equally important. Proper air circulation prevents hot spots, reduces humidity, and provides fresh CO2 for your plants. Fans and ducting are key components. Over time, dust and debris build up on fan blades and inside ductwork. This buildup makes fans work harder and move less air. It also creates a breeding ground for pests.
To maintain airflow, regularly clean your fans. Unplug them first. Use a soft brush or a vacuum cleaner to remove dust from fan blades and motor casings. Wipe down the blades with a damp cloth. For exhaust fans and ducting, check for any obstructions. Ensure the ducting is clear of kinks or tears. If you have an inline fan, you might need to open it up occasionally to clean the impeller blades. Make sure to follow the manufacturer’s instructions for this.
Your carbon filter is also part of the airflow system. It removes odors but can get clogged with dust. Check it regularly. If the airflow through the filter seems reduced, it might be time to clean or replace the pre-filter sleeve. For the carbon filter itself, you usually replace it rather than clean it. A good, clean filter ensures fresh air is always circulating. By focusing on reflectivity and airflow during your cleaning routine, you create a perfect growing environment. This helps your plants reach their full potential.
Post-Cleaning Protocol and Future Prevention
After you have put in the hard work to clean your grow tent, the job is not quite done. A proper post-cleaning protocol ensures your effort pays off. It also prepares your tent for its next use. More importantly, establishing habits for future prevention will save you time and trouble down the road. This helps maintain a healthy grow space consistently.
First, ensure everything is completely dry. This is a crucial step after deep cleaning. Any lingering moisture is an invitation for mold and mildew to grow. Open all tent vents and doors. Use a fan inside the tent to circulate air and speed up drying. You can also place a dehumidifier in the room. Wait until the tent fabric, floor, and all cleaned equipment are bone dry. This might take several hours or even a full day. Patience here prevents future problems.
Once dry, reassemble your grow tent. Put all your cleaned equipment back in place. Double-check all connections for lights, fans, and ducting. Make sure wires are neatly tucked away and safe. Power on your equipment briefly to ensure everything is working correctly. Before bringing in new plants, let the tent run for an hour or two. This allows any residual cleaning smells to air out. It also lets the environment stabilize.
Now, let’s talk about future prevention. Establishing a routine cleaning schedule is key. I recommend quick daily checks and a more thorough weekly wipe-down. Mark these tasks on your calendar. Consistency is your best friend in grow tent hygiene. This proactive approach stops issues before they become major problems.
Controlling humidity and airflow are critical prevention steps. Use a hygrometer to monitor humidity levels. Keep them within the ideal range for your plants. Ensure your fans are always running, providing good air circulation. Consider adding an oscillating fan inside the tent. This moves air around plants. This constant air movement helps prevent mold growth. It also strengthens plant stems.
Always remove dead leaves and plant debris immediately. These are prime spots for pests and mold. Inspect your plants regularly for any signs of pests or diseases. Catching issues early means you can treat them fast. Keep the area around your grow tent clean too. If your tent sits on a dusty floor, that dust will find its way inside. A clean surrounding area supports a clean grow tent.
Finally, think about footwear and clothing. If you move between different growing areas, you might track in pests or spores. Consider having a specific pair of shoes for your grow room. This simple step can prevent many problems. By following these post-cleaning steps and prevention tips, you ensure your grow tent remains a sterile and healthy environment for your plants. This dedication leads to consistently successful harvests.
FAQ Section
How often should I clean my grow tent?
You should perform light cleaning daily or weekly. This includes wiping spills and removing plant debris. A deep clean is best done between each growing cycle. This thoroughly sanitizes the space for new plants.
What is the best cleaning solution for grow tents?
For most cleaning, warm water with a mild soap is effective. White vinegar diluted with water is excellent for mold. Hydrogen peroxide is also a good disinfectant. Always test any new solution on a small area first.
Can I use bleach to clean my grow tent?
Yes, you can use a highly diluted bleach solution for sanitizing. However, use it sparingly and with caution. Bleach can be harsh on materials and requires excellent ventilation. Rinse surfaces very thoroughly afterward to remove all residue.
How do I prevent mold in my grow tent?
Prevent mold by controlling humidity levels and ensuring good airflow. Use exhaust fans and oscillating fans. Remove dead plant material promptly. Regularly wipe down surfaces to prevent moisture buildup.
What should I do if I find pests in my grow tent?
If you find pests, remove affected plants if possible. Vacuum the tent thoroughly. Wipe down all surfaces with a mild cleaning solution. Consider using natural pest deterrents like diluted neem oil spray on tent surfaces.
Is it necessary to disassemble the grow tent for deep cleaning?
You do not always need to fully disassemble the tent. You should remove all movable equipment and plants. This allows you to access and clean all interior surfaces. For some tents, partial disassembly makes cleaning easier.
Conclusion
Keeping your grow tent clean is essential for successful indoor gardening. We have covered why cleaning matters. We also went over the tools you need and how to perform both routine and deep cleaning. Addressing issues like mold, pests, and odors quickly is important. Maintaining optimal reflectivity and airflow further boosts your plants’ health.
By following these tips on how to clean grow tent spaces, you create a safe home for your plants. Regular maintenance prevents problems. It ensures your plants grow strong and produce abundant harvests. A clean grow tent is a happy grow tent. Start your cleaning routine today. Your plants will thank you for it with healthier growth and better yields. Take action now to make your grow tent a shining example of cleanliness.
- grow tent cleaning
- grow tent maintenance
- mold prevention
- indoor growing
- grow room hygiene

