· Home Cleaning · 16 min read
How To Clean Hard Water From Shower Head
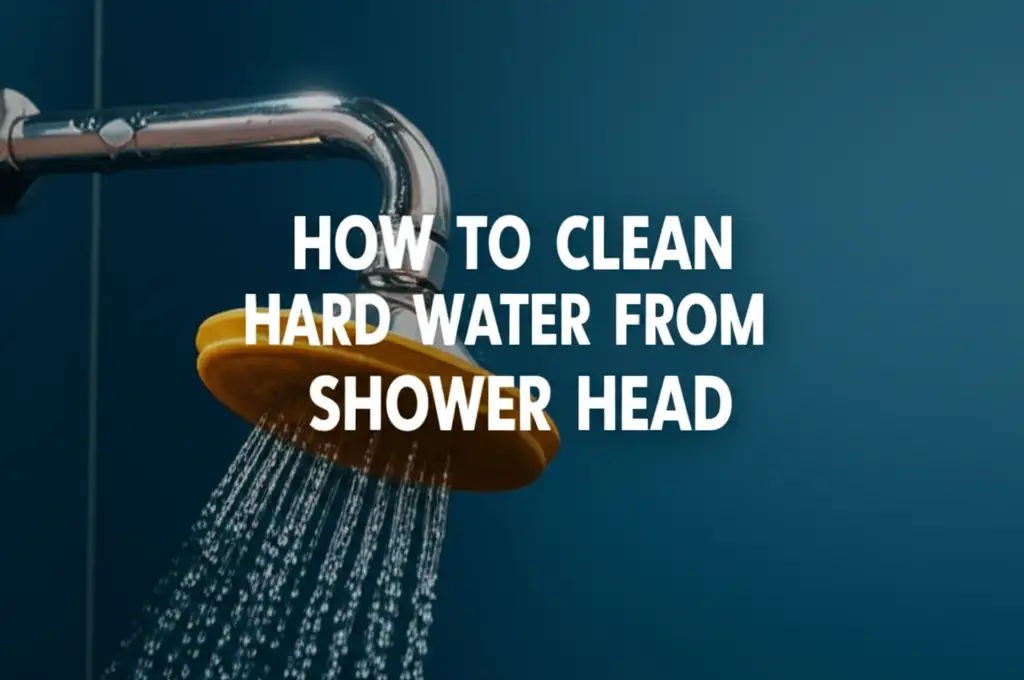
Best Ways to Clean Hard Water From Shower Head
Do you feel frustrated when your shower head barely sprinkles water? Many homeowners face reduced water flow and unsightly mineral buildup. Hard water causes this common household problem. It leaves behind mineral deposits like calcium and magnesium. These deposits clog shower head nozzles. This impacts your daily shower experience. You will learn how to clean hard water from shower head effectively today. This guide provides simple, proven methods. We will cover natural solutions and maintenance tips. Your shower head will deliver strong, clean water again.
Takeaway
- Soak with Vinegar: Submerge the shower head in white vinegar overnight for best results.
- Apply Paste: Use a baking soda and vinegar paste for stubborn, localized buildup.
- Mechanical Clean: Gently scrub nozzles with a brush or toothpick to dislodge particles.
- Rinse Thoroughly: Flush the shower head with hot water after cleaning to remove loosened debris.
- Prevent Future Buildup: Regularly wipe the shower head and consider water softeners.
To clean hard water from a shower head, soak it in white vinegar for several hours or overnight. Vinegar’s acetic acid dissolves mineral deposits like limescale. For stubborn buildup, combine vinegar with baking soda. Gently scrub the nozzles. This method restores water flow and improves your shower’s performance.
Understanding Hard Water Buildup on Shower Heads
Hard water is a common issue in many homes. It contains high levels of dissolved minerals. These minerals include calcium and magnesium. When this water dries, these minerals remain behind. They form a crusty, white or off-white deposit. This deposit is called limescale. On shower heads, limescale builds up inside and outside the nozzles.
This buildup has negative effects. It restricts water flow. Your shower spray may become weak or uneven. Some nozzles might stop working entirely. The shower head also looks dirty and unsightly. Over time, these mineral deposits can cause permanent damage. They can block internal components. This makes your shower head less efficient. Understanding the cause helps you clean it better. Recognizing the problem early prevents more serious issues. Cleaning addresses both appearance and function.
Hard water mineral deposits are not just annoying. They affect water pressure directly. The small holes in your shower head become smaller. Water struggles to pass through these narrowed openings. This means less water comes out. Your shower experience becomes less enjoyable. You might notice the water spraying in odd directions. This happens when only some nozzles are clogged. Cleaning helps clear these blockages. It restores the original water flow pattern. We aim to return your shower to its best condition.
Ignoring hard water buildup can lead to bigger problems. The mineral deposits can corrode metal parts. They can also damage rubber seals. This shortens the lifespan of your shower head. Replacing a shower head is more costly than cleaning it regularly. Regular maintenance saves money. It also keeps your bathroom looking clean. Cleaning hard water stains requires specific methods. It differs from cleaning general dirt. This guide focuses on tackling these mineral deposits effectively. It will help you prolong your shower head’s life. Many people also struggle with how to clean hard water stains on shower glass, which uses similar principles.
Essential Tools and Supplies for Shower Head Cleaning
Before you begin cleaning your shower head, gather all necessary tools. Having everything ready makes the process smoother. You do not want to stop halfway through. Most items are common household products. You might already own them. Preparation is a key step. It ensures an efficient cleaning session.
Here is a list of what you will need:
- White Vinegar: This is your primary cleaning agent. Its acetic acid dissolves mineral deposits. You can buy large bottles cheaply.
- Baking Soda (Optional but Recommended): Baking soda creates a gentle abrasive paste. It boosts vinegar’s cleaning power. It helps tackle tougher stains. You can learn more about how to clean with vinegar and baking soda for various cleaning tasks.
- Large Plastic Bag: A sturdy plastic bag is perfect for soaking the shower head. Make sure it has no holes. A gallon-sized freezer bag works well.
- Rubber Band or Zip Tie: This secures the plastic bag around the shower head. It holds the bag in place during the soaking process.
- Old Toothbrush or Small Scrub Brush: A brush helps scrub away loosened deposits. Its bristles can reach into small nozzles.
- Toothpick or Pin: These tools are excellent for clearing individual clogged nozzles. They can poke out stubborn mineral pieces.
- Microfiber Cloth or Soft Rag: Use this for wiping down the shower head after cleaning. It helps polish the surface and remove residues.
- Adjustable Wrench (Optional): You might need this if you plan to detach the shower head. Some shower heads twist off by hand. Others need a wrench.
- Safety Glasses and Gloves: Always protect your eyes and hands. Vinegar is acidic. It can irritate skin or eyes.
Make sure you have enough ventilation. Open a window or turn on the exhaust fan. While vinegar is natural, its fumes can be strong. Good airflow ensures a comfortable cleaning environment. Gathering these simple items will set you up for success. You are now ready to tackle that hard water buildup.
The Vinegar Soak Method: A Natural Solution
The vinegar soak method is highly effective. It uses the natural acidity of white vinegar. This acid breaks down limescale and other mineral deposits. It is a safe and environmentally friendly approach. You can clean your shower head without harsh chemicals. This method works for both attached and detached shower heads.
First, decide if you will detach your shower head. Detaching it allows for a more thorough soak. Unscrew the shower head counter-clockwise. You might need an adjustable wrench if it is tight. Place the detached shower head into a bucket or a large bowl. Ensure it is fully submerged in white vinegar. If your shower head is not removable, use a plastic bag. Fill the plastic bag with enough white vinegar to cover the shower head. Secure the bag around the shower head. Use a strong rubber band or zip tie. Make sure the bag is snug and does not leak.
Allow the shower head to soak for several hours. For light buildup, two to three hours may be enough. For heavy deposits, let it soak overnight. The longer it soaks, the more time the vinegar has to work. You will see bubbles forming as the vinegar reacts with the minerals. This indicates the cleaning process is underway. The mineral deposits are dissolving. Check the shower head periodically. Ensure it remains fully submerged.
After soaking, remove the shower head from the vinegar. Use an old toothbrush or a small scrub brush. Gently scrub the nozzles and the entire surface. This helps remove any remaining loosened deposits. Pay special attention to the individual spray holes. Use a toothpick or a pin to poke out any stubborn bits. This ensures all passages are clear. Once you finish scrubbing, rinse the shower head thoroughly. Use warm water to flush out all vinegar and loosened minerals. Reattach the shower head if you removed it. Turn on the hot water for a few minutes. This flushes out any internal debris. Your shower head should now have improved water flow.
Baking Soda and Vinegar Paste for Targeted Cleaning
Sometimes, a full soak is not practical. Or, you might have specific areas with very stubborn buildup. In these cases, a baking soda and vinegar paste offers a powerful solution. This method allows for targeted application. It is especially useful for the outer parts of the shower head. It can also help with fixed shower heads.
To make the paste, you need baking soda and white vinegar. Start with a small amount of baking soda in a bowl. Gradually add white vinegar, a little at a time. Mix the ingredients until you get a thick paste consistency. The mixture will fizz and bubble. This is a normal chemical reaction. It means the ingredients are activating. The fizzing helps to lift and break down mineral deposits. Aim for a consistency similar to toothpaste. It should stick to the shower head without dripping off.
Apply the paste directly onto the areas with hard water buildup. Use your fingers or an old toothbrush for application. Spread a generous layer over the clogged nozzles and any visible mineral crust. Let the paste sit on the shower head for at least 30 minutes. For very heavy buildup, leave it on for an hour or more. The paste works by providing prolonged contact with the cleaning agents. The baking soda offers a gentle abrasive action. This helps loosen the deposits.
After the paste has worked its magic, scrub the shower head. Use an old toothbrush or a small scrub brush. Work the paste into the affected areas. The gentle scrubbing action helps to dislodge the softened minerals. You will see the white deposits breaking away. Rinse the shower head thoroughly with warm water. Ensure all paste residue and loosened minerals wash away. Turn on the shower to full pressure. Let it run for a few minutes. This flushes out any remaining debris from inside the nozzles. This method is effective for localized cleaning. It complements the soaking method for comprehensive results. You can use similar baking soda and vinegar techniques for cleaning other areas, such as when you clean a dishwasher with vinegar and baking soda.
Mechanical Cleaning and Scrubbing Techniques
After soaking or applying a paste, some stubborn mineral deposits might remain. This is where mechanical cleaning becomes crucial. Mechanical cleaning involves physical action. It removes the softened or loosened hard water buildup. This step ensures every nozzle is clear. It restores optimal water pressure.
First, inspect your shower head closely. Look at each individual nozzle. Identify any that are still blocked or partially blocked. Even after soaking, tiny pieces of limescale can cling on. These small blockages impact the spray pattern. They reduce the overall water flow. Your goal is to clear every single one. This ensures an even and strong shower stream.
Use an old toothbrush for initial scrubbing. Its bristles can reach into the small crevices. Gently scrub the entire surface of the shower head. Focus on the nozzles. Apply moderate pressure. The toothbrush helps dislodge softened mineral deposits. You will see the white crust breaking apart and falling off. If you used the paste method, the toothbrush helps work the paste in. It also aids in its removal.
For extremely stubborn clogs, use a toothpick or a small pin. Carefully insert the toothpick into each blocked nozzle. Gently twist and poke to dislodge the mineral piece. Be very careful not to damage the nozzle itself. Plastic or silicone nozzles are delicate. Avoid using metal objects if your shower head has these. A plastic toothpick or a sturdy plastic bristle from a brush works best here. This precise action clears even the most resistant blockages. It ensures water can flow freely from every opening.
Finally, flush the shower head. Turn on the hot water to full pressure. Let the shower run for several minutes. This forces water through all the newly cleared nozzles. It washes away any remaining debris. You might see small particles coming out at first. This is normal. Continue flushing until the water runs clear. The spray pattern should now be even and strong. This completes the cleaning process. Your shower head is ready for use. This detailed mechanical approach ensures thorough cleaning. It improves your shower experience significantly. You can apply similar scrubbing techniques for other hard water problems, like how to clean hard water stains from stainless steel sink areas.
Commercial Descalers and When to Use Them
Sometimes, hard water buildup is severe. Natural methods like vinegar may not fully clear it. In such cases, commercial descalers become a good option. These products contain stronger acids or chemicals. They are specifically designed to dissolve limescale and mineral deposits. They offer a powerful alternative for tough jobs.
When choosing a commercial descaler, read the label carefully. Products vary in strength and composition. Look for descalers designed for bathroom use. Check if they are safe for your shower head’s material. Some descalers are too harsh for certain finishes. Follow the manufacturer’s instructions precisely. They will specify dilution ratios and application times. Always wear protective gloves and eye protection. Ensure the area is well-ventilated. Open windows and turn on exhaust fans. Commercial cleaners can produce strong fumes. Inhaling these fumes can be harmful.
Applying a commercial descaler often involves soaking. You might need to detach the shower head. Submerge it in the descaling solution as per instructions. Some products are sprays or gels. You apply these directly to the affected areas. Allow the product to work for the recommended time. Do not leave it on longer than specified. Over-exposure can damage your shower head. The chemicals are potent.
After the recommended time, thoroughly rinse the shower head. Flush it with plenty of clean water. Ensure no chemical residue remains. Use a brush or toothpick to clear any remaining stubborn particles. Just like with vinegar, a final flush with hot water is important. This ensures all internal passages are clear. Commercial descalers should be a last resort. Always try natural methods first. They are gentler on your fixtures and the environment. Use commercial products when natural solutions fail. Proper safety measures are paramount with these chemicals. This strong approach tackles the most challenging hard water problems effectively.
Preventing Future Hard Water Buildup
Cleaning your shower head solves the immediate problem. However, hard water is a continuous issue. Implementing preventative measures saves you time and effort in the long run. Regular maintenance keeps your shower head clear. It also extends its lifespan. Prevention is always better than cure.
Here are key strategies to prevent future hard water buildup:
- Regular Wiping: Make it a habit to wipe down your shower head after each use. Use a soft cloth or towel. This removes water droplets before minerals can dry and form deposits. This simple step is highly effective. It prevents the initial buildup of limescale. It requires minimal effort.
- Weekly Quick Clean: Once a week, give your shower head a quick clean. Spray it with a solution of half water, half white vinegar. Let it sit for a few minutes. Then, wipe it down. This light treatment keeps mineral accumulation at bay. It makes deep cleaning less frequent.
- Consider a Water Softener: A whole-house water softener changes hard water minerals. It replaces them with less problematic ions. This prevents hard water buildup on all your plumbing fixtures. It is an investment but offers comprehensive protection. This solution addresses the root cause of hard water issues.
- Install a Shower Head Filter: If a whole-house softener is not feasible, consider a shower head filter. These filters attach between your shower arm and the shower head. They reduce minerals and chlorine in your shower water. This reduces the amount of hard water reaching your shower head. It offers localized protection.
- Annual Deep Clean: Even with prevention, some buildup can occur. Plan an annual deep cleaning session. Use the vinegar soak method described earlier. This proactive approach ensures your shower head remains in top condition. It helps maintain optimal water pressure throughout the year.
- Use Soft Water When Possible: If you manually fill tubs or buckets for cleaning, use softened water if available. This reduces mineral introduction.
- Maintain Bathroom Ventilation: Good ventilation reduces humidity. Less moisture means less drying water on surfaces. This subtly helps reduce mineral residue. Proper ventilation also prevents issues like how to clean soap scum from glass shower doors and mold growth.
By adopting these preventative steps, you will enjoy a cleaner shower head. You will also experience consistent water pressure. Regular care saves you from frustration. It keeps your bathroom looking its best. Think about your shower head like any other appliance. Regular maintenance ensures its longevity and performance. Addressing water quality issues, even in parts like a water inlet valve on a washing machine, can impact overall appliance health.
Frequently Asked Questions
How often should I clean my shower head for hard water?
You should clean your shower head for hard water every 1-3 months. This frequency depends on your water hardness. If your water is very hard, clean it monthly. Regular cleaning prevents severe buildup. It maintains good water pressure. Consistent maintenance is key to a functional shower head.
Can I use bleach to clean hard water from my shower head?
No, do not use bleach to clean hard water from your shower head. Bleach does not dissolve mineral deposits. It is effective for mold and mildew but not limescale. Bleach can also damage finishes on some shower heads. It can produce harmful fumes when mixed with other cleaners.
What if the hard water buildup is very severe?
For severe hard water buildup, start with an overnight vinegar soak. If that does not fully work, try the baking soda and vinegar paste method. For extremely stubborn cases, consider a commercial descaler. Always follow product instructions carefully for severe buildup. You might also need to use mechanical cleaning more vigorously.
Will cleaning improve water pressure?
Yes, cleaning your shower head will improve water pressure. Hard water deposits clog the nozzles. This restricts water flow. Cleaning removes these blockages. Clear nozzles allow water to flow freely. This restores your shower head’s original water pressure and spray pattern.
Is it safe to mix vinegar and baking soda directly in the shower head?
No, do not mix vinegar and baking soda directly in the shower head. When mixed, they create a fizzy reaction. This reaction produces carbon dioxide gas. This gas can build pressure if contained. It is safer to make the paste in a separate bowl. Apply it to the shower head.
Can hard water damage my shower head permanently?
Yes, hard water can damage your shower head permanently over time. Constant mineral buildup can corrode metal parts. It can also damage rubber seals and internal mechanisms. This leads to leaks or reduced functionality. Regular cleaning and prevention extend your shower head’s lifespan.
Conclusion
Tackling hard water buildup on your shower head is a manageable task. You now have practical steps to restore its performance. We explored various methods. These include the simple yet effective vinegar soak. We also covered the targeted baking soda and vinegar paste. Mechanical scrubbing ensures every nozzle is clear. You know when to consider stronger commercial descalers. Finally, we looked at how to prevent future issues. This ensures lasting results.
Regular cleaning of your shower head offers many benefits. It restores strong, consistent water pressure. This improves your daily shower experience. It extends the life of your fixture. You avoid costly replacements. Understanding how to clean hard water from shower head empowers you. You can maintain a vital part of your bathroom. I encourage you to apply these tips. Start today to enjoy a powerful, refreshing shower. A clean shower head is a small step towards a more comfortable home.
- hard water
- shower head
- cleaning tips
- limescale
- vinegar
- mineral deposits