· HVAC Care · 13 min read
How To Clean Heat Pump Coils

Clean Heat Pump Coils: A Comprehensive Guide
Your heat pump works hard all year. It cools your home in summer and warms it in winter. Over time, dirt and debris build up on its coils. This buildup reduces efficiency and increases your energy bills. Knowing how to clean heat pump coils can save you money and keep your home comfortable.
A clean heat pump runs better and lasts longer. This guide will walk you through each step. I will show you what tools you need and how to clean both the outdoor and indoor coils safely. You will learn easy tips for maintaining your system. Let us make your heat pump work its best.
Takeaway
- Regular cleaning of heat pump coils boosts system efficiency.
- Always turn off power to the unit before starting any cleaning.
- Use specialized coil cleaners and soft brushes for best results.
- Clean both outdoor condenser and indoor evaporator coils.
- Proper maintenance saves energy and extends your heat pump’s life.
To clean heat pump coils, first, turn off all power to the unit. Next, remove loose debris with a brush or vacuum. Then, spray a suitable coil cleaner onto the coils. Allow the cleaner to work as directed. Finally, rinse the coils gently with water. This process applies to both outdoor and indoor coils.
Why Cleaning Heat Pump Coils Matters for Your Home
Your heat pump is a vital part of your home comfort system. It moves heat, not creates it, making it very energy efficient. However, dirt and debris collect on the coils over time. This acts like an insulating blanket. It makes your heat pump work harder to move heat.
A dirty heat pump uses more electricity. This leads to higher utility bills each month. I have seen this issue many times in different homes. Dirty coils also put strain on the compressor. This can shorten the overall life of your unit.
Regular cleaning helps your unit maintain its original efficiency. Clean coils allow for good heat transfer. This means your heat pump cools and heats your home more effectively. It also prevents premature system failures. Keeping your heat pump coils clean is a simple step with big benefits for your comfort and wallet.
Think of your heat pump like a car engine. It needs regular maintenance to run smoothly. Dirt affects its performance just like grime affects an engine. By keeping the coils clear, you ensure proper airflow. Good airflow is key for optimal heat pump performance. It also helps the system extract or dissipate heat efficiently.
You want your home to stay warm in winter and cool in summer. A clean heat pump helps achieve this goal. It does its job quietly and efficiently. My own experience shows that a few hours spent cleaning can save hundreds on energy costs. This simple task ensures your heat pump runs as it should.
Safety First: Preparations Before You Clean Heat Pump Coils
Safety must always come first when working with any appliance. Heat pumps use electricity and have moving parts. Ignoring safety steps can cause injury or damage the unit. I always begin by cutting power to the unit.
Locate the electrical disconnect box near your outdoor heat pump unit. This box usually looks like a small gray box mounted on the wall. Flip the circuit breaker switch inside the box to the “OFF” position. For indoor units, turn off the furnace or air handler at the main breaker panel. Do not rely only on the thermostat setting.
Next, wear proper protective gear. Gloves will protect your hands from dirt and cleaning solutions. Safety glasses shield your eyes from debris and chemical splashes. A dust mask is good if you are sensitive to dust or mold. I always recommend these basic items.
You should also clear the area around the unit. Remove any leaves, twigs, or other garden debris. This creates a safe workspace. It also helps prevent new dirt from immediately collecting on the coils. Make sure no children or pets are near the work area.
Finally, ensure you have stable footing. If you need a ladder, use one that is secure. Never stand on unstable objects. Taking these safety precautions prevents accidents. It ensures you can complete the cleaning task without worry.
Gather Your Tools: What You Need to Clean Heat Pump Coils
Having the right tools makes the cleaning process easier and more effective. You do not need many special tools. Most items are common household supplies. I keep these ready before I start any coil cleaning.
First, you need a good quality coil cleaner. Look for a no-rinse, self-foaming coil cleaner. These types often work best for HVAC coils. They lift dirt without needing excessive scrubbing. You can buy these at hardware stores or HVAC supply shops.
Next, gather brushes. A soft-bristle brush is good for general cleaning. You might also want a fin comb. This tool helps straighten bent fins on the coils. Bent fins restrict airflow. They can reduce your heat pump’s efficiency.
You will need a garden hose with a spray nozzle. This helps rinse the coils gently. Avoid high-pressure nozzles, as strong streams can damage delicate fins. A vacuum cleaner with a brush attachment is also helpful. It picks up loose dirt and debris.
For access, a screwdriver (Phillips or flathead, depending on your unit) is often needed. You might need to remove a few screws to take off protective grates. A bucket of warm soapy water is useful for general wiping down of exterior surfaces. Lastly, make sure you have paper towels or rags for cleanup.
Having these tools ready prevents interruptions. It allows you to focus on the cleaning task itself. My personal toolkit for this job always includes these items. Preparing ahead of time makes the job simple.
Cleaning the Outdoor Unit: Condenser Coils Step-by-Step
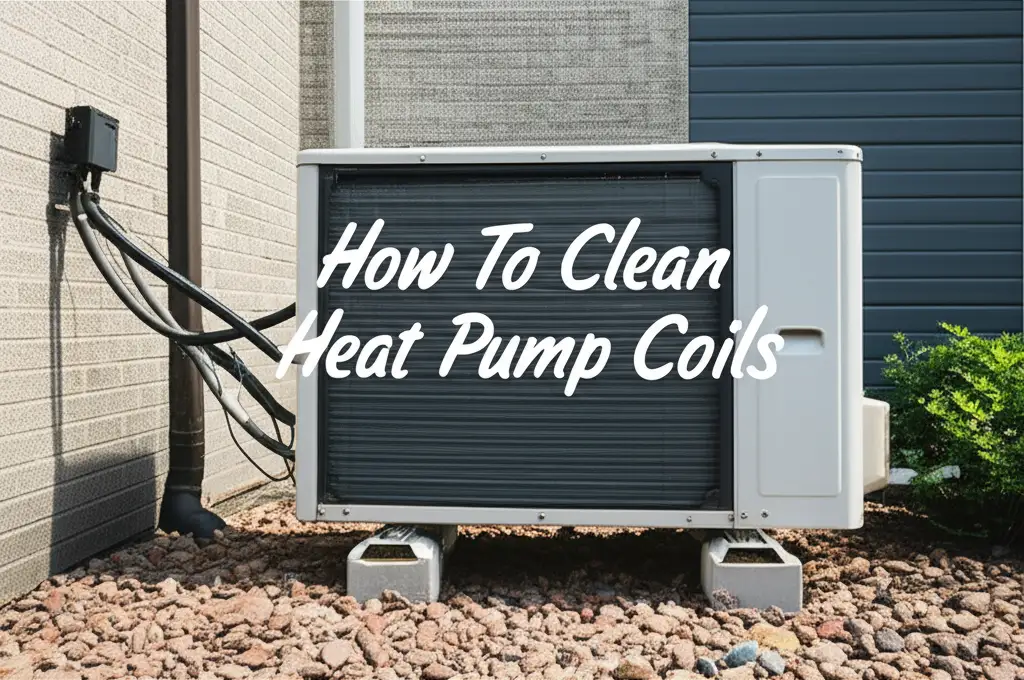
Cleaning your outdoor unit, also known as the condenser, is often the first step. This part of your heat pump gets exposed to all sorts of weather and debris. A dirty condenser coil significantly impacts your heat pump’s performance.
First, ensure the power is off at the disconnect switch. I always double-check this safety step. Next, remove any protective grates or covers. You may need a screwdriver for this. Set the screws aside in a safe place.
Once the grates are off, begin by removing loose debris. Use your hands to pull out leaves, grass clippings, and twigs from inside the unit. A vacuum cleaner with a brush attachment can help here. This step gets rid of the big stuff. You can also compare this process to cleaning condenser coils on a fridge as the concept of removing trapped dirt for better heat exchange is similar.
After removing large debris, spray the coil cleaner onto the condenser coils. Follow the product’s instructions carefully. Many cleaners foam up and then drain away, carrying dirt with them. Let the cleaner sit for the recommended time, usually 5-10 minutes.
Finally, gently rinse the coils with your garden hose. Start from the top and work your way down. Ensure the water pressure is low to avoid bending the delicate fins. Rinse until the water runs clear. Allow the unit to dry completely before replacing the covers and restoring power. You might also find similar approaches useful when cleaning coils on a window AC unit, as the principles of gentle cleaning apply across different types of cooling coils.
Tackling the Indoor Unit: Evaporator Coils Cleaning Guide
Cleaning the indoor unit, specifically the evaporator coils, is also important. These coils cool or heat the air that circulates inside your home. They can collect dust, pet dander, and even mold. Keeping them clean helps maintain indoor air quality.
First, turn off the power to your indoor unit at the main electrical panel. The indoor unit is usually part of your furnace or air handler. Accessing these coils can be tricky. Refer to your heat pump’s owner manual for specific instructions. You may need to remove a panel on the furnace.
Once you find the evaporator coils, you will likely see a layer of dust. Use a soft brush or a vacuum cleaner with a brush attachment to remove this loose dirt. Be very gentle as these coils are more delicate than outdoor ones. Do not bend the fins.
Next, apply a specialized evaporator coil cleaner. These cleaners are often no-rinse. They break down grime and evaporate, leaving the coils clean. Spray evenly over the coil surface. Let the cleaner work as directed by the manufacturer. If you find mold in the drain pan or on the coils, consider addressing it with specific solutions, similar to how one might clean mold with vinegar in other areas.
You should also clean the drain pan located underneath the evaporator coil. This pan collects condensation. It can become a breeding ground for mold and mildew if left dirty. Pour a small amount of bleach solution (1 cup bleach to 1 gallon water) into the pan, or use an HVAC drain pan tablet. This helps prevent clogs and odors. Once done, replace all access panels and restore power to the unit.
Advanced Tips and Common Mistakes to Avoid When Cleaning Heat Pump Coils
Cleaning heat pump coils is a straightforward task. However, a few advanced tips can improve your results. Also, knowing common mistakes helps you avoid them. My goal is to make your cleaning efficient and effective.
First, consider the cleaning frequency. I recommend cleaning your outdoor coils at least once a year. If you live in a dusty area or have many trees, twice a year is better. Indoor coils might need cleaning less often, perhaps every two to three years, or if you notice reduced airflow. Regular checks are always good.
Avoid using high-pressure washers. The delicate fins on the coils bend easily. Bent fins block airflow. This reduces efficiency. A standard garden hose with a gentle spray is enough. Too much pressure can also force water into electrical components.
Do not use harsh chemicals. Bleach or strong degreasers can damage coil coatings. Stick to cleaners designed for HVAC coils. These are formulated to be safe for your unit. Always read product labels before use.
Another mistake is forgetting the air filter. A dirty air filter restricts airflow to the indoor unit. This makes the evaporator coils work harder and get dirty faster. Change your air filter monthly or as recommended by the manufacturer. This simple step protects your coils.
If you are unsure or find significant issues like refrigerant leaks, call a professional. Some parts of a heat pump system are best left to experts. For instance, charging refrigerant or repairing electrical faults requires specialized knowledge. DIY cleaning covers basic maintenance. It does not replace a professional HVAC tune-up.
Maintaining Optimal Heat Pump Performance Year-Round
Regular cleaning of your heat pump coils is a great start. However, year-round maintenance goes beyond just coils. Taking a few more steps ensures your heat pump runs at its best all the time. These actions improve efficiency and comfort.
First, check your air filter regularly. I emphasize this because it is so important. A clogged filter restricts airflow. This forces your heat pump to work harder. It also impacts indoor air quality. Change it every 1-3 months. If you have pets or allergies, change it more often.
Keep the area around your outdoor unit clear. Make sure there are no plants, shrubs, or fences too close to the unit. Maintain at least two feet of clearance on all sides. This allows for proper airflow to the condenser coils. It also makes future cleaning easier.
Inspect the drain line on your indoor unit. This line carries condensation away from the evaporator coils. If it gets clogged, water can back up and cause damage. Pour a cup of distilled vinegar down the drain line a few times a year. This helps prevent algae and mold growth.
Listen to your heat pump. Unusual noises like grinding, squealing, or banging indicate a problem. Do not ignore these sounds. They can signal a failing part. Addressing issues early can prevent more expensive repairs later.
Consider scheduling a professional HVAC tune-up once a year. A technician can perform checks that you cannot do yourself. They can test refrigerant levels, check electrical connections, and inspect the compressor. This professional service complements your DIY cleaning efforts. It ensures your system operates at peak efficiency.
FAQ Section
How often should I clean heat pump coils? You should clean outdoor heat pump coils at least once a year. If your home is in a dusty area or near many trees, consider cleaning them twice a year. Indoor evaporator coils need cleaning less often, perhaps every 2-3 years, or when you notice performance drops. Regular inspection helps determine the exact need.
Can I use a regular garden hose to clean heat pump coils? Yes, you can use a regular garden hose. Use it with a gentle spray nozzle. Avoid high-pressure settings, as strong water streams can bend the delicate fins on the coils. Gentle rinsing helps remove dirt and cleaner residue without causing damage.
What happens if I do not clean my heat pump coils? Dirty heat pump coils reduce system efficiency significantly. They act as insulation, making the heat pump work harder to transfer heat. This leads to higher energy bills. It also puts strain on the compressor, which can shorten the unit’s lifespan and cause expensive breakdowns.
Is it okay to clean heat pump coils myself? Yes, cleaning heat pump coils yourself is generally safe and recommended for basic maintenance. Always turn off power to the unit first. Wear protective gear like gloves and safety glasses. If you encounter complex issues or prefer professional help, call an HVAC technician.
What type of coil cleaner should I use? Use a coil cleaner specifically designed for HVAC systems. Look for a no-rinse, self-foaming variety. These cleaners are formulated to be safe for your heat pump’s materials. They effectively lift dirt and grime without needing extensive scrubbing. Avoid harsh household chemicals like bleach or strong degreasers.
How do I know if my heat pump coils are dirty? You can usually see dirt and debris on the outdoor condenser coils. For indoor evaporator coils, signs include reduced airflow from vents, your system running longer cycles, higher energy bills, or a musty odor. A visual inspection after safely turning off power can confirm dirt buildup.
Conclusion
Cleaning your heat pump coils is a simple yet impactful maintenance task. It ensures your heating and cooling system works efficiently. This regular care saves you money on energy bills. It also extends the life of your heat pump. By following the steps I shared, you can complete this job safely and effectively.
Remember to prioritize safety by turning off power first. Use the right tools and a gentle approach for both outdoor and indoor coils. Regular maintenance, including air filter changes, keeps your heat pump running smoothly all year. Make coil cleaning a part of your home maintenance routine. You will enjoy a more comfortable home and lower energy costs. Your heat pump will thank you.
- heat pump coils
- HVAC maintenance
- coil cleaning
- energy efficiency
- DIY cleaning
- home heating
- home cooling


