· Kitchen Maintenance · 14 min read
How To Clean Igniter On Gas Stove

Restore Your Spark: How to Clean Your Gas Stove Igniter
Imagine standing in front of your gas stove, ready to cook, but the burner refuses to light. That familiar click happens, but no flame appears. It feels very frustrating. Often, a dirty igniter is the cause of this common problem. Food spills, grease, and grime build up over time. This stops the igniter from doing its job correctly.
Learning how to clean an igniter on a gas stove is a simple skill. It saves you from constant frustration and keeps your kitchen running smoothly. This guide will walk you through the entire process. We will cover safety, tools, step-by-step cleaning, troubleshooting common issues, and preventative care. Get ready to bring that spark back to your cooking.
Takeaway:
- Prioritize Safety: Always unplug your stove and turn off the gas supply before you begin.
- Be Gentle: Use soft tools like a toothbrush or cotton swab to avoid damaging the delicate igniter.
- Dry Thoroughly: Ensure the igniter is completely dry before reassembling and testing to prevent sparking issues.
- Preventative Care: Regular, light cleaning prevents future igniter problems and keeps your stove working well.
Clear, Concise Answer:
Cleaning a gas stove igniter involves disconnecting power and gas, removing burner components, gently scrubbing the ceramic igniter tip with a dry brush or cotton swab, and using isopropyl alcohol for stubborn grease. Allow it to dry completely before reassembly and testing to restore proper sparking.
Understanding Your Gas Stove Igniter and Its Importance
Your gas stove igniter is a small but vital part of your cooking setup. This component creates the spark needed to light the gas coming from your burners. Without it, your stove simply will not work. It ensures you can cook meals quickly and safely.
An igniter is typically a ceramic piece with a metal electrode sticking out. When you turn a burner knob, it sends an electrical current to this electrode. This current creates a small spark that ignites the gas. Think of it like a tiny lightning bolt right at your burner. This process repeats as long as you hold the knob down or until the gas lights.
Over time, food particles, grease, and moisture can build up on the igniter’s tip. This residue acts like a barrier. It stops the spark from reaching the gas. You might notice your igniter clicks continuously but the burner does not light. Or, the spark might seem weak. Sometimes, you see no spark at all. These are signs your igniter needs cleaning.
Cleaning the igniter ensures a reliable spark. It helps your stove light instantly every time. A clean igniter also means your stove works more efficiently. You use less gas trying to get a flame. It also prevents potential safety issues from unlit gas. Taking care of this small part helps keep your entire stove in good working order. Regular cleaning extends the life of your appliance. It also keeps your kitchen safer.
Beyond the igniter, other parts of your gas stove also need attention. For instance, cleaning the entire burner assembly makes a big difference. You can learn more about how to clean burners on gas stove for a complete approach. Proper maintenance of all gas stove components helps prevent cooking delays and ensures your meals are always ready on time.
Safety First: Essential Preparations Before Cleaning
Safety must be your top priority before you start any cleaning job on a gas appliance. Working with gas and electricity carries risks. Taking proper precautions protects you and your home. Never skip these critical first steps. They are simple to do and keep everyone safe.
First, disconnect the power supply to your stove. Find the power cord and unplug it from the wall outlet. If your stove is hardwired, locate its circuit breaker in your home’s electrical panel. Then, switch it to the “off” position. This removes any electrical current from the stove. It prevents accidental shocks while you work.
Next, you must turn off the gas supply. Look for the gas shut-off valve behind the stove. It often has a handle that turns perpendicular to the gas line when closed. If you cannot find it, turn off the main gas supply valve to your home. This valve is usually near your gas meter. Shutting off the gas prevents any leaks during the cleaning process. It removes the risk of fire or gas exposure.
Allow the stove to cool completely if you have used it recently. Hot surfaces can cause burns. Give it at least 30 minutes to cool down. Once cooled, gather all your cleaning tools. You will need items like a flashlight, rubber gloves, a small stiff-bristled brush (like a toothbrush), cotton swabs, isopropyl alcohol, and a dry, clean cloth. Having everything ready saves time and makes the process smoother.
Finally, ensure your kitchen is well-ventilated. Open windows or turn on your range hood. This helps clear any fumes from cleaning products. It also dissipates any trace gas that might be present. Following these safety steps ensures a secure environment for cleaning. Taking the time for preparation helps you avoid accidents. Remember, safety always comes first when working with gas appliances. Proper handling of gas appliances, like knowing how to clean a pilot light on a gas fireplace, also requires similar safety measures.
Step-by-Step Guide: How to Clean Igniter on Gas Stove
Cleaning your gas stove igniter is a straightforward process. Follow these steps carefully to ensure a thorough and safe clean. Patience and a gentle touch are key to getting your igniter sparking like new. I find that breaking it down into smaller steps makes the job feel much easier.
Removing Burner Components
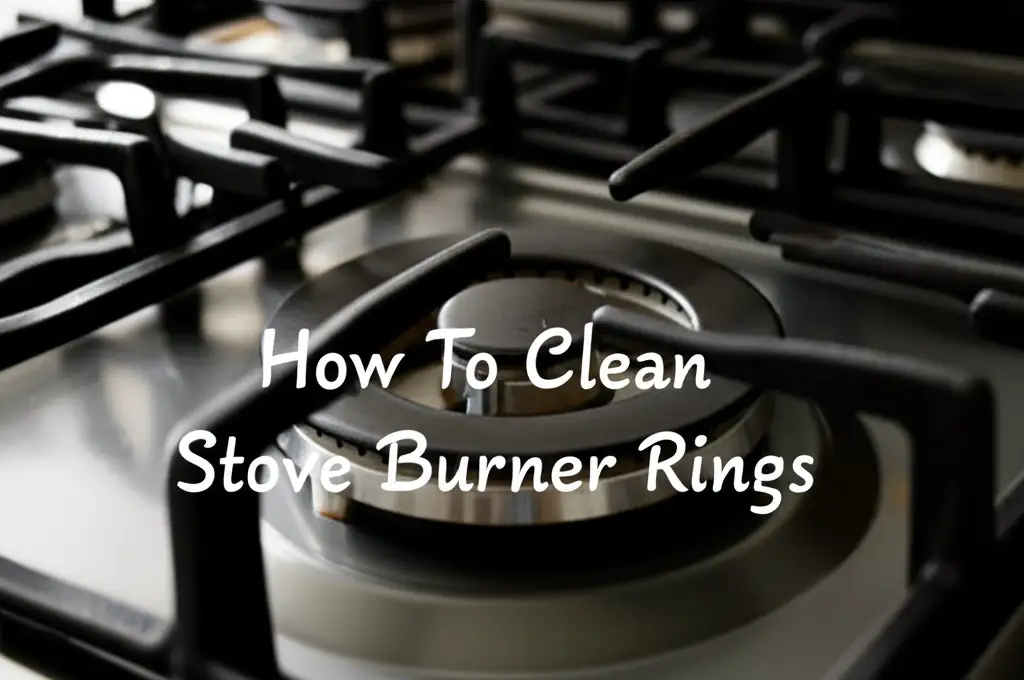
Begin by removing all removable parts from the stove top. This includes the burner grates, which are the metal supports for your pots and pans. Then, lift off the burner caps. These are the flat or slightly domed pieces covering the burner heads. Next, remove the burner heads themselves. These are usually circular metal pieces. They often have small holes around the edge where the gas comes out. Place all these components aside in a safe place. You can also clean them separately if needed. Remember the position of each part. This makes reassembly simpler later on.
Locating and Inspecting the Igniter
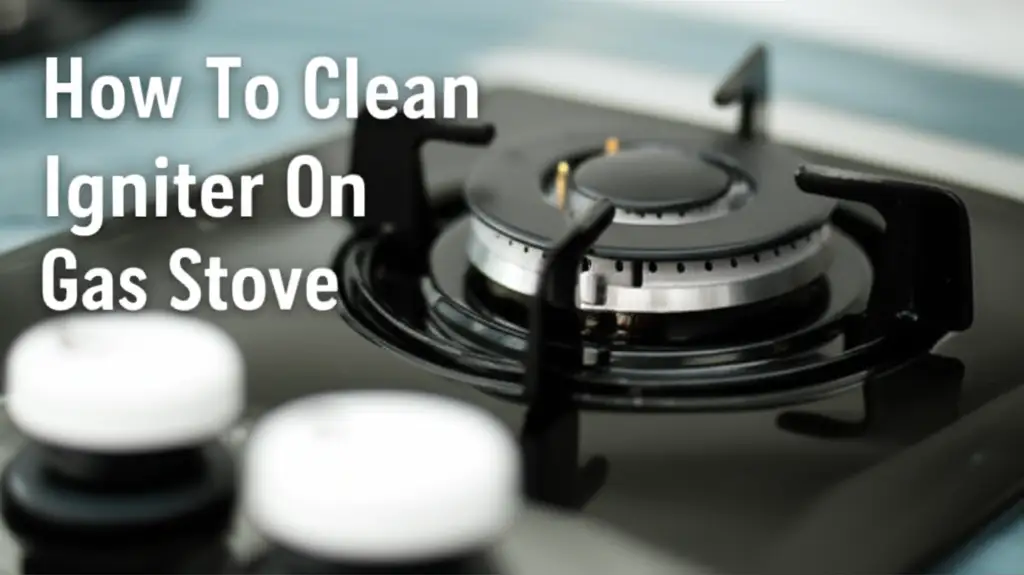
With the burner components removed, you will see the igniter. It stands next to the gas opening on the burner base. The igniter looks like a small, cream-colored ceramic rod with a metal probe or tip. This probe is what creates the spark. Carefully examine the igniter. Look for any visible grime, food particles, or grease buildup on the ceramic and metal tip. You might see charred bits or dried-on spills. These are the culprits preventing a good spark. Make sure the ceramic body is not cracked. Cracks can indicate a more serious problem.
Gentle Cleaning Methods
Now, it is time to clean the igniter. Use a dry, soft-bristled brush, like an old toothbrush, to gently brush away any loose debris. Do not scrub hard. The igniter is fragile. For stubborn grime or dried-on grease, dampen a cotton swab with isopropyl alcohol. Carefully wipe the ceramic tip and the metal probe. The alcohol helps dissolve grease without leaving residue. Avoid saturating the igniter with liquid. Use only enough to moisten the swab. Do not use water or harsh chemical cleaners directly on the igniter. These can damage it or leave conductive residue. Ensure you do not bend or twist the metal electrode. Any damage can stop it from sparking. I always take my time with this part.
Drying and Reassembly
After cleaning, allow the igniter to air dry completely. Isopropyl alcohol evaporates quickly. Still, it is important to ensure no moisture remains. Moisture can prevent the igniter from sparking or cause continuous clicking. You can use a clean, dry cloth to lightly blot the area if needed. Once dry, reassemble your stove. Put the burner head back in place, ensuring it sits correctly over the igniter and gas tube. Then, replace the burner cap, making sure it is properly aligned. Finally, put the burner grates back on. Turn on your gas supply and plug the stove back in. Test the burner to confirm the igniter now sparks properly. Cleaning other stove parts like grates can also improve overall function. Consider learning how to clean gas stove grates in a dishwasher for easier maintenance. If you have cast iron grates, specific care is also important. Knowing how to clean cast iron stove grates ensures their longevity and appearance.
Troubleshooting Common Igniter Issues After Cleaning
Sometimes, even after a thorough cleaning, your gas stove igniter still does not work perfectly. Do not worry. Many issues have simple solutions. It helps to understand what might be causing the problem. I have faced these situations myself.
One common issue is the igniter clicks, but the burner does not light. This means the igniter is producing a spark, but the gas is not igniting. First, check if the burner cap is aligned correctly. If it is crooked, the spark might not reach the gas flow. Remove the cap and reseat it properly. Also, inspect the small holes around the burner head. These are the gas ports. If they are clogged with food or grease, gas cannot flow out. Use a thin wire or paperclip to clear these holes gently. Ensure no debris falls inside.
A weak spark is another problem. You might see a faint spark or a delayed ignition. This often happens if the igniter is still slightly dirty or has some residual moisture. Even a tiny film can reduce the spark’s strength. Go back and re-clean the igniter tip with isopropyl alcohol. Make sure it is completely dry afterward. Sometimes, a weak spark indicates the igniter itself is failing. If it is old, it might be losing its ability to create a strong charge.
Continuous clicking after the burner lights is usually a moisture issue. If water or cleaning solution got into the igniter assembly, it can cause the igniter to keep sparking. Let the stove air dry for several hours. You can even use a hairdryer on a low, cool setting to help. This usually resolves the problem. If it persists, it might mean the igniter wires are wet or damaged.
If cleaning does not solve the issue, and you have checked all connections, the igniter might be faulty. Igniters do wear out over time. If the ceramic is cracked, or the metal electrode is damaged, replacement is the next step. However, if you smell gas at any point or feel uncomfortable with a repair, always call a qualified appliance technician. Do not try to fix gas issues yourself if you are unsure. Sometimes, spills on the stove can lead to stubborn marks. Knowing how to clean burnt water off glass stove top can address related cleaning challenges that might indirectly impact igniter performance due to residue buildup. Similarly, dealing with other tough spills, like learning how to clean burnt milk from stove, helps maintain overall stove hygiene.
Preventative Measures: Keeping Your Gas Stove Igniter Clean
A little prevention goes a long way in keeping your gas stove igniter in top shape. Regular care means you will face fewer issues with your stove. It also extends the life of your appliance. Think of it as investing a small amount of time now to save bigger headaches later. I know how much easier it is to prevent problems than to fix them.
The most effective preventative measure is immediate cleanup of spills. Whenever food or liquid boils over, wipe it up as soon as the stove cools down. This stops spills from drying onto the igniter or burner components. Dried-on food becomes much harder to remove later. Use a damp cloth to wipe the stove top and surrounding burner areas after each cooking session. This removes fresh grease and food debris before it hardens.
Proper placement of burner caps is also very important. Each burner cap is designed to sit perfectly on its burner head. An improperly seated cap can block the gas flow or misdirect the igniter’s spark. When you clean the caps or put them back after removing them, ensure they click firmly into place. They should sit level and not wobble. This guarantees gas flows correctly and the spark meets it where it should.
Consider a deep cleaning schedule for your gas stove. Every three to six months, perform a more thorough cleaning of the burners and igniters. This involves removing all parts, giving them a good scrub, and checking the igniters. This regular deep cleaning catches small issues before they become major problems. It prevents layers of grime from building up.
Using appropriate cookware can also help. Pans that are too large for the burner can cause heat and spills to spread excessively. This makes it easier for food to reach the igniter. Using the right size pan for each burner minimizes boil-overs and splatter. These small habits make a big difference in maintaining a clean igniter. Regular wiping down of the stove top keeps everything tidy. For different stove top materials, you might need specific cleaning methods. For instance, knowing how to clean a glass stove top with vinegar or how to clean a black enamel stove top helps you care for the entire surface, reducing residue that could migrate to the igniter.
Beyond the Igniter: Comprehensive Gas Stove Maintenance
Maintaining your gas stove goes beyond just cleaning the igniter. A truly well-kept stove needs attention to all its parts. This comprehensive approach ensures peak performance, efficiency, and safety. It also makes your kitchen look much better. I always feel good when my entire stove shines.
Start with the burner heads. These are the metal rings where the gas comes out. Over time, the small holes, or ports, can become clogged with grease or food. Clogged ports lead to uneven flames, weak flames, or no flame at all. After removing them (as you would for igniter cleaning), soak them in warm, soapy water. Use a thin wire or a paperclip to clear out each hole. Rinse them thoroughly and ensure they are completely dry before putting them back. Clean burner heads provide a consistent, blue flame.
Next, focus on the grates and drip pans. Grates are the heavy metal supports on top of the burners. Drip pans sit underneath the burner heads to catch spills. These parts often collect significant amounts of grease and burnt-on food. Many grates and drip pans can be soaked in hot, soapy water. Some modern grates are even safe for the dishwasher. For stubborn grime, a non-abrasive scrub pad can help. Make sure to dry them completely to prevent rust.
Wiping down the stove top surface is also crucial. This includes the area around the burners, the control knobs, and the front panel. Use a gentle kitchen cleaner or a solution of warm water and dish soap. Wipe away grease, dust, and food splatters. For tough stains, you might need specific products. A clean stove top prevents spills from spreading and reaching the igniters. It also keeps your kitchen hygienic.
Finally, do not forget to visually check the gas lines. While you should never attempt to repair gas lines yourself, a quick visual inspection can alert you to potential issues. Look for any kinks, damage, or signs of leaks (like a faint gas smell). If you suspect a gas leak, turn off the main gas supply and call a professional immediately. Regular professional servicing of your gas stove is also a wise idea. This ensures all components work safely and efficiently. Maintaining a clean and well-functioning stove improves your cooking experience. It also makes your kitchen a safer place to be. This overall approach benefits every part of your stove, from the grates to the igniter.
FAQ Section
How often should I clean my gas stove igniter?
You should clean your gas stove igniter whenever you notice it struggles to spark. A good rule of thumb is to check and clean it during your monthly stove top wipe-down. If you cook often or have frequent boil-overs, clean it more frequently. Regular spot cleaning after spills also helps.
What if my igniter clicks but does not spark?
If your igniter clicks but does not spark, first ensure the burner cap is seated correctly. Then, check the small gas ports on the burner head for clogs. Use a thin wire to clear them gently. If the problem continues, the igniter might be wet, dirty, or faulty. Re-clean it thoroughly and let it dry.
- gas stove igniter cleaning
- stove repair
- appliance maintenance
- kitchen cleaning tips
- igniter not sparking


