· Home Improvement · 8 min read
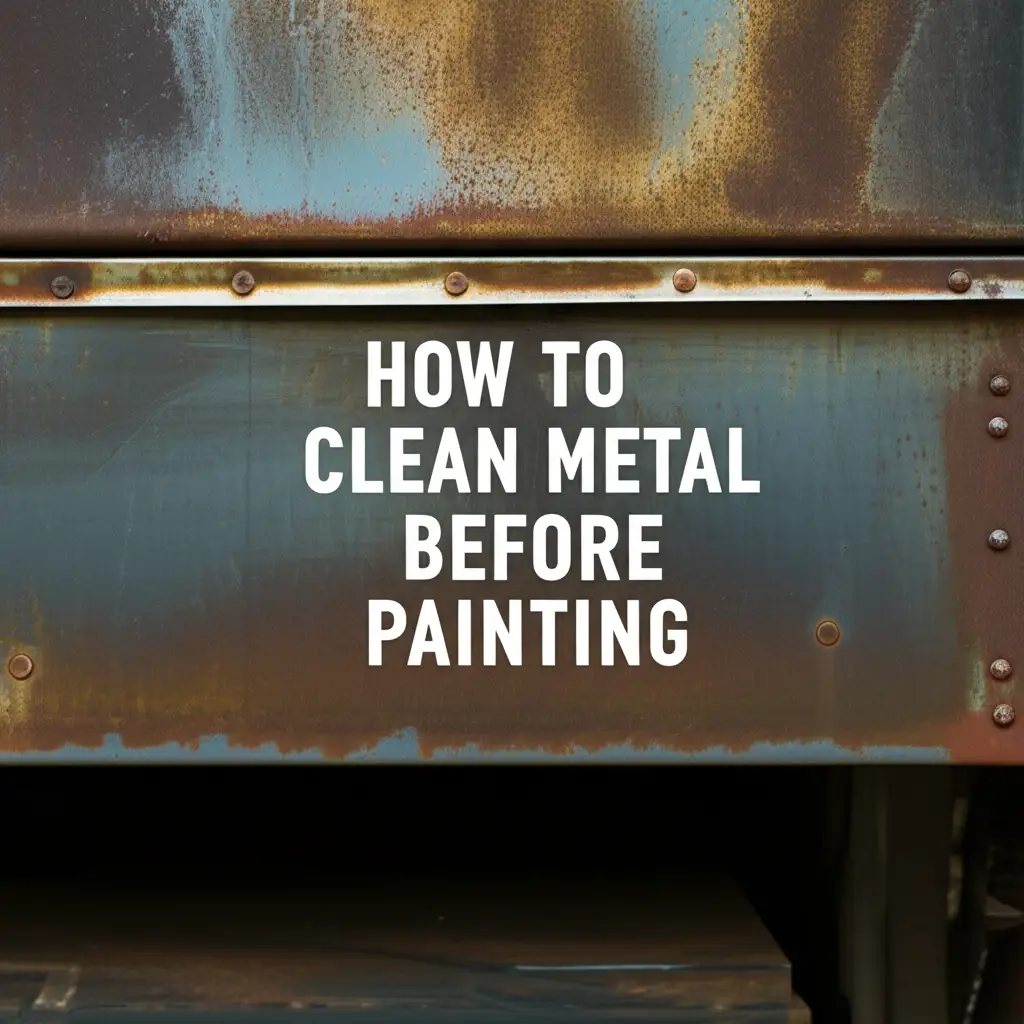
How To Clean Kitchen Cabinets Before Painting

The secret to a flawless cabinet paint job isn’t just in the paint you choose—it’s in the preparation. Properly cleaning your kitchen cabinets before painting is arguably the most critical step in the entire process, determining whether your fresh paint adheres properly or begins peeling within months. As someone who has transformed countless kitchens, I can tell you that this prep work makes all the difference between amateur-looking results and a professional-quality finish that lasts for years.
Kitchen cabinets accumulate layers of grease, food residue, and grime over time, creating a barrier that prevents paint from bonding correctly. In this comprehensive guide, we’ll walk through the exact process professionals use to clean kitchen cabinets before painting, from selecting the right degreasers to proper techniques that ensure your paint job stands the test of time.
Why Proper Cleaning Before Painting Is Essential
Before diving into the how-to, let’s understand why thorough cleaning is non-negotiable when painting kitchen cabinets:
- Paint Adhesion: Grease, dirt, and residue prevent paint from properly bonding to cabinet surfaces
- Finish Quality: Particles caught under paint create bumps and imperfections in your final finish
- Longevity: Poorly cleaned cabinets often result in premature peeling, chipping, and flaking
- Time & Cost Efficiency: Doing proper prep work the first time prevents costly do-overs
Many DIYers make the mistake of rushing through the cleaning phase, eager to see color transform their space. However, professional painters know that 80% of a quality paint job is in the preparation—and cleaning is the foundation of that preparation.
Essential Supplies for Cleaning Kitchen Cabinets
Before you begin the cleaning process, gather these supplies for efficient and thorough cabinet preparation:
- Heavy-duty degreaser (TSP, Simple Green, Krud Kutter, or Dawn dish soap)
- Mild abrasive cleaner (like Barkeeper’s Friend for stubborn spots)
- Microfiber cloths (lint-free for wiping)
- Non-scratch scrub pads
- Bucket of warm water
- Protective gloves
- Safety glasses
- Drop cloths
- Painter’s tape
- Small detail brushes (for corners and crevices)
- Clean spray bottle (for rinse water)
- Box fan (for ventilation and drying)
Having everything prepared before you start will make the cleaning process much more efficient and help you avoid interruptions that might tempt you to cut corners.
Step 1: Remove Cabinet Hardware and Doors
Before cleaning, you need to:
- Remove all hardware: Take off hinges, knobs, and pulls
- Label everything: Use painter’s tape to number doors, drawers, and their corresponding locations
- Create a cleaning station: Set up a flat working surface where you can clean cabinet doors horizontally
- Protect your space: Lay down drop cloths to protect floors and countertops
Working with detached doors is significantly easier than cleaning them while attached. Plus, it gives you access to the cabinet boxes for thorough cleaning of all surfaces.
Step 2: Choose the Right Degreaser
When it comes to the best degreaser for kitchen cabinets before painting, you have several effective options:
Commercial Degreasers
TSP (Trisodium Phosphate):
- Extremely effective for heavy grease and grime
- Requires careful handling (use gloves and eye protection)
- May not be environmentally friendly
- Should be thoroughly rinsed afterward
Krud Kutter:
- Biodegradable and less harsh than TSP
- Effective on most kitchen cabinet grease
- Minimal rinsing required
- Safe for most surfaces
Simple Green:
- Environmentally friendly option
- Works well for moderate grease buildup
- Pleasant scent compared to other degreasers
- May require multiple applications for heavy grease
Household Options
Dawn Dish Soap:
- Excellent grease-cutting ability
- Safe and readily available
- Mix 2-3 tablespoons in a gallon of warm water
- Requires thorough rinsing to prevent residue
White Vinegar Solution:
- Natural option for light cleaning
- Mix equal parts with warm water
- Best for cabinets with minimal grease
- May need to follow with more powerful cleaner for heavy soiling
For most kitchen cabinets, a dedicated degreaser like Krud Kutter provides the best balance of effectiveness and safety. However, Dawn dish soap is a surprisingly effective alternative that many professional painters recommend for moderate grease situations.
Step 3: The Two-Phase Cleaning Process
For thorough cleaning, follow this two-phase approach:
Phase 1: Initial Degreasing
- Test in an inconspicuous area first to ensure your cleaner doesn’t damage the cabinet finish
- Apply degreaser according to product instructions (usually spray on or apply with cloth)
- Allow the product to sit for the recommended time (typically 1-3 minutes) to break down grease
- Scrub gently with a non-scratch pad, working in the direction of the wood grain
- Pay special attention to areas around handles and edges where hands frequently touch
For heavily soiled cabinets, you may need to repeat this process to fully remove built-up grease.
Phase 2: Detailed Cleaning
- Focus on details like carved areas, corners, and crevices using a small brush
- Clean the inside edges of doors and frames where dust and grease accumulate
- Wipe with a damp microfiber cloth to remove any loosened dirt and cleaner residue
- Inspect surfaces under good lighting to identify any missed spots
The detail cleaning phase is what separates an amateur job from professional results. Don’t rush this step—thoroughly removing all grease and cleaning solution residue is crucial for paint adhesion.
Step 4: Addressing Different Cabinet Types
Different cabinet materials require slightly different cleaning approaches:
How to Clean Wood Cabinets Before Painting
- Use gentler pressure when scrubbing to avoid damaging the wood grain
- Work in the direction of the grain when cleaning and rinsing
- Avoid excessive water, which can damage wood or cause swelling
- Allow extra drying time as wood absorbs moisture
How to Clean Laminate Cabinets Before Painting
- Check for loose edges or peeling areas before cleaning
- Use less abrasive cleaners to avoid scratching the surface
- Pay special attention to seams where grease can accumulate
- Be careful with excessive moisture around seams and edges
How to Clean Painted Cabinets Before Repainting
- Use gentler cleaners to avoid removing existing paint
- Look for chipping areas that might need special attention during preparation
- Clean around damaged areas carefully to avoid further paint lifting
- Consider light sanding after cleaning for better adhesion
Step 5: Rinse Thoroughly
Residual cleaning solutions can interfere with paint adhesion, so proper rinsing is crucial:
- Prepare a spray bottle with clean water
- Lightly mist the surface without saturating the wood
- Wipe immediately with a clean, damp microfiber cloth
- Change rinse water frequently to avoid redepositing grease
- Perform a “squeak test” by running your hand across the dried surface—it should feel smooth with slight resistance, not slippery
For cabinets cleaned with TSP, a more thorough rinse is necessary to remove all chemical residue.
Step 6: Drying Time
After cleaning:
- Position doors and drawers for maximum air circulation
- Use fans to speed up drying time
- Allow at least 24 hours for complete drying before sanding or painting
- Test for dryness by pressing a paper towel against the surface—no moisture should transfer
Rushing the drying process can trap moisture under your paint, eventually causing bubbling or peeling.
Special Situations and Solutions
How to Clean Kitchen Cabinets Before Painting Without Sanding
If you’re hoping to skip sanding:
- Use a deglosser after thorough cleaning to roughen the surface chemically
- Clean with a stronger degreaser to ensure all surface contaminants are removed
- Consider liquid sandpaper products which clean and prepare surfaces simultaneously
- Use a bonding primer specifically formulated to adhere to glossy surfaces
While this approach can work, light sanding is still recommended for optimal adhesion, especially for high-use kitchen cabinets.
How to Clean Kitchen Cabinets Before Painting White
White paint shows imperfections more readily, so:
- Clean even more thoroughly than you might for darker colors
- Use a second cleaning pass with a solution of 50% isopropyl alcohol and water
- Inspect in bright light to catch any remaining residue
- Consider extra cleaning around “touch areas” like door edges
How to Clean Cabinets After Sanding Before Painting
After sanding:
- Vacuum all surfaces using a brush attachment
- Wipe with a tack cloth to remove fine dust particles
- Follow with a microfiber cloth slightly dampened with water
- Allow to dry completely before applying primer
Common Problems and Solutions
| Problem | Solution |
|---|---|
| Stubborn grease | Apply cleaner, let sit longer (5-10 minutes), reapply if needed |
| Sticky residue after cleaning | Re-clean with a 50/50 water and white vinegar solution |
| Water spots | Dry immediately with lint-free cloth and use less water |
| Cleaner damaging finish | Switch to milder cleaner like diluted dish soap |
| Lingering odors | Use baking soda paste, rinse thoroughly |
Environmental Considerations
When cleaning cabinets, consider these eco-friendly approaches:
- Choose biodegradable cleaners when possible
- Properly dispose of cleaning solutions according to local regulations
- Use microfiber cloths instead of paper towels to reduce waste
- Consider natural alternatives like vinegar and baking soda for lighter cleaning needs
- Ventilate well to minimize indoor air pollution from cleaning products
Final Inspection Before Moving to Priming
Before you consider the cleaning phase complete:
- Run your hand over surfaces to feel for any remaining residue
- Check in different lighting to spot missed areas
- Look at surfaces from various angles to catch any shiny spots indicating grease
- Verify all crevices and detailed areas are completely clean
- Ensure everything is completely dry before proceeding
Next Steps: Moving to Priming and Painting
Once your cabinets are thoroughly cleaned and dried:
- Lightly sand surfaces with fine-grit sandpaper (220 grit)
- Remove sanding dust with tack cloth
- Apply a high-quality primer designed for kitchen cabinets
- Allow proper drying time between coats
- Finish with your chosen cabinet paint
Conclusion
Properly cleaning your kitchen cabinets before painting is the foundation of a beautiful, long-lasting finish. This crucial prep work might seem tedious, but it’s the difference between a paint job that lasts 1-2 years and one that maintains its beauty for 7-10 years or more.
By following this comprehensive guide, you’ve set yourself up for professional-quality results that will transform your kitchen and stand the test of time. Remember, when it comes to cabinet painting, patience during preparation pays off in the final result.
Whether you’re painting your cabinets white, black, or any other color, the time invested in proper cleaning will be evident in the smooth, durable finish you achieve. Happy painting!
- kitchen cabinets
- painting cabinets
- cabinet cleaning
- home improvement
- diy painting