· Home Cleaning · 14 min read
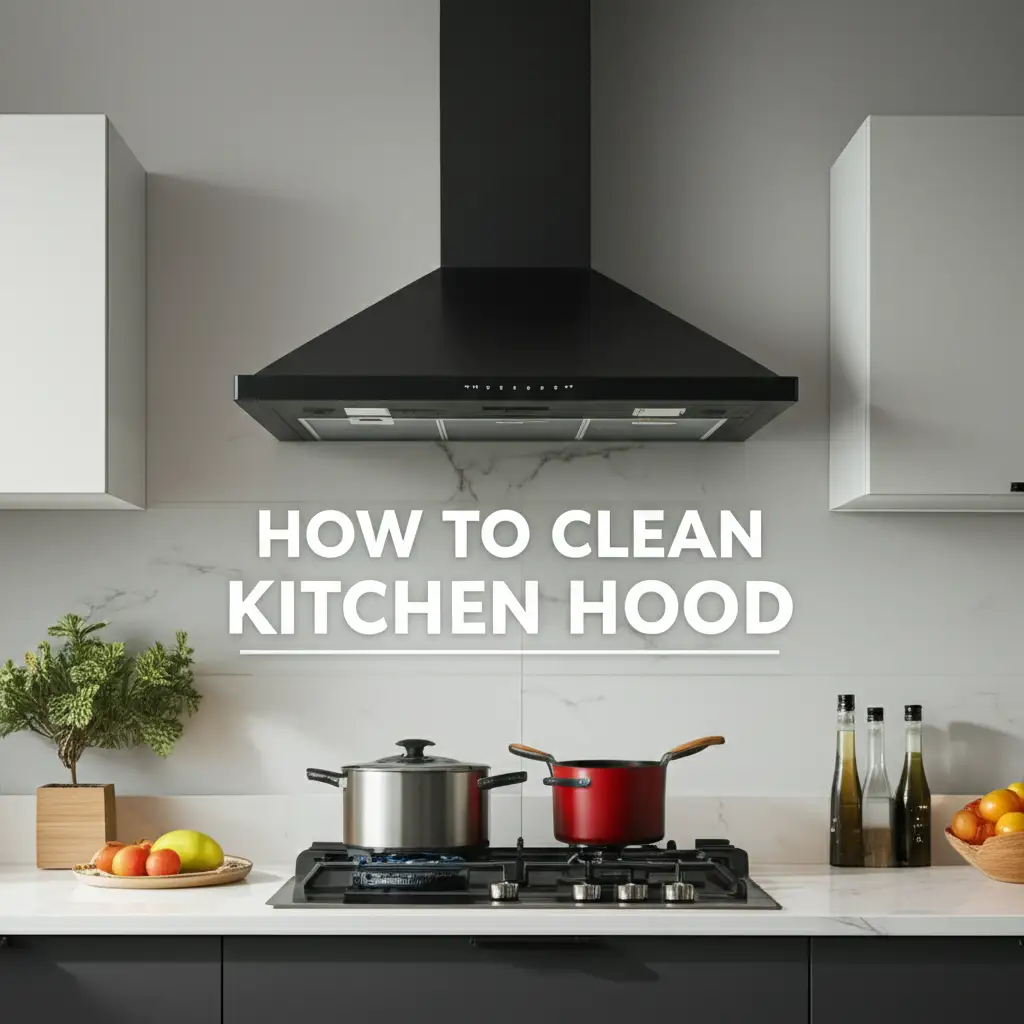
How To Clean Kitchen Hood

How to Clean Your Kitchen Hood: A Complete Guide
Cleaning your kitchen hood feels like a huge task, but it keeps your kitchen air fresh. A clean hood removes smoke, steam, and cooking odors effectively. I know how quickly grease and grime can build up, making the hood look and perform poorly. This guide helps you understand how to clean kitchen hood components thoroughly. We will cover everything from filters to the fan, making the job straightforward.
Takeaway
Cleaning your kitchen hood properly ensures a healthier cooking environment.
- Safety First: Disconnect power before you start any cleaning.
- Filter Focus: Regular filter cleaning is crucial for airflow.
- Surface Cleaning: Use appropriate cleaners for stainless steel, plastic, or painted surfaces.
- Deep Clean: Tackle interior components like the exhaust fan.
- Maintenance: Clean your hood regularly to prevent stubborn buildup.
To clean your kitchen hood effectively, first disconnect the power supply for safety. Then, remove and wash the filters using a degreasing solution or in a dishwasher. Finally, wipe down the interior and exterior surfaces with a suitable cleaner to remove grease and dirt, ensuring the hood functions well.
Why Regular Kitchen Hood Cleaning Matters for Air Quality
A kitchen hood works hard to clear your cooking space of smoke and odors. Over time, grease and cooking residues build up on all surfaces, including the filters. This buildup reduces the hood’s ability to pull air properly. A clogged hood means smoke and grease particles stay in your kitchen air. This impacts air quality and can affect your health.
Regular cleaning prevents these issues. It ensures your hood operates at peak efficiency. This keeps your kitchen smelling fresh and clean. It also protects your kitchen surfaces from excess grease buildup. A clean hood looks better too, maintaining the overall appeal of your kitchen.
Neglecting your hood can also create fire hazards. Built-up grease is highly flammable. A spark from your stovetop could ignite this grease. This makes regular cleaning a vital safety measure for your home. It extends the life of your kitchen hood system. You save money by avoiding costly repairs or replacements in the future.
Think about the longevity of your appliances. Just like an oven or a refrigerator, your range hood needs care. A well-maintained hood lasts longer and performs better. This is why I always make time for this important task. It protects my family and my home.
Essential Tools and Cleaning Supplies for Your Kitchen Hood
Before you start cleaning your kitchen hood, gather all the necessary tools and supplies. Having everything ready makes the process smoother and faster. You likely have most of these items already in your home. Some specialized cleaners might be helpful for stubborn grease.
First, you need protective gear. This includes rubber gloves to protect your hands from harsh chemicals and grease. Safety glasses are also important to shield your eyes from splashes. Newspaper or old towels can protect your countertops and stovetop from drips. I always lay down plenty of old newspaper.
For cleaning solutions, a strong degreaser is a must-have. You can find commercial degreasers specifically for kitchen grease. Alternatively, a homemade solution of hot water and dish soap works for lighter buildup. Baking soda and vinegar are also powerful natural cleaners for stubborn spots. White vinegar helps cut through grease and deodorizes.
You will also need various brushes and cloths. A non-abrasive sponge or microfiber cloth is good for surfaces. A stiffer brush, like a nylon scrub brush, helps with filters and grimy areas. An old toothbrush can reach small crevices. I find a toothbrush perfect for tight spots.
Finally, have a bucket or large basin ready for soaking filters. A spray bottle can hold your cleaning solution for easy application. Paper towels are useful for quick wipes. This complete toolkit prepares you for a successful kitchen hood cleaning.
- Protective Gear:
- Rubber gloves
- Safety glasses
- Surface Protection:
- Newspaper or old towels
- Cleaning Solutions:
- Commercial degreaser
- Dish soap
- Baking soda
- White vinegar
- Hot water
- Cleaning Tools:
- Non-abrasive sponge
- Microfiber cloths
- Nylon scrub brush
- Old toothbrush
- Bucket or large basin
- Spray bottle
- Paper towels
Safety First: Preparing for Kitchen Hood Cleaning
Safety must be your top priority before you begin to clean your kitchen hood. Working with electricity and cleaning chemicals requires careful steps. Taking these precautions protects you from injury and your home from damage. I always follow these steps myself.
First and most important, disconnect the power supply to the hood. You can do this by unplugging the hood from its outlet, if accessible. If your hood is hardwired, turn off the corresponding circuit breaker in your home’s electrical panel. This prevents accidental electrocution while you work near electrical components. Always double-check that the power is off before touching anything.
Next, clear the area around your stovetop and hood. Remove any pots, pans, or kitchen utensils from the cooking surface. Cover your stovetop and surrounding countertops with newspaper or old towels. This protects them from cleaning solutions and grease drips. I learned this lesson the hard way once!
Put on your protective gear. This means wearing rubber gloves to shield your hands from harsh chemicals and grease. Safety glasses are also essential to protect your eyes from splashes of cleaning solution or dislodged grime. These simple items provide important protection.
Ensure your kitchen is well-ventilated during the cleaning process. Open windows or turn on a fan to circulate fresh air. This helps dissipate strong fumes from degreasers. Proper ventilation makes the cleaning experience more comfortable.
- Disconnect Power: Unplug the hood or turn off its circuit breaker.
- Clear Work Area: Remove items from the stovetop and cover surfaces.
- Wear Protective Gear: Use rubber gloves and safety glasses.
- Ensure Ventilation: Open windows or use a fan.
Step-by-Step Guide: Cleaning Your Kitchen Hood Filters
Cleaning the filters is the most critical step in maintaining your kitchen hood. Filters trap grease and airborne particles, and they get very dirty. Dirty filters reduce the hood’s efficiency. I always start here because it makes the biggest difference.
First, remove the filters from the hood. Most range hood filters slide out or unclip easily. They are typically made of metal mesh. Handle them carefully as they can be greasy. Place them gently on a protected surface.
Next, choose your cleaning method. For light to moderate grease, you can wash them in the dishwasher. Place them on the bottom rack, ensuring they do not block the spray arms. Run a hot cycle with a strong detergent. This is often the easiest option. For more details on this, you can check out our guide on how to clean range hood filter.
For heavy grease buildup, a manual soak is better. Fill a large sink or bucket with very hot water. Add a generous amount of dish soap or a powerful degreaser. For extra power, you can add half a cup of baking soda. Submerge the filters completely in this solution. Let them soak for at least 15-30 minutes, or longer for very stubborn grease. I sometimes let them soak for an hour or more.
After soaking, scrub the filters using a stiff brush or a non-abrasive scrubber. Pay attention to the mesh, making sure to dislodge all trapped grease and grime. You might see the water turn murky as the grease comes off. Rinse the filters thoroughly under hot running water. Ensure no soap residue remains.
Finally, allow the filters to air dry completely before putting them back into the hood. Wet filters can cause issues. You can place them on a clean towel or drying rack. Once dry, slide them back into their original position. Your hood will immediately work better.
Deep Cleaning the Kitchen Hood Interior and Exterior Surfaces
After cleaning the filters, it is time to tackle the main body of the kitchen hood. This includes both the visible exterior and the often-neglected interior. This step removes built-up grease and grime, making your hood shine. Remember, the power should still be off from your safety preparation steps.
Start with the exterior surfaces. The material of your hood dictates the best cleaning approach. For stainless steel hoods, use a mild degreaser or dish soap solution. Spray it directly onto a microfiber cloth, not directly onto the hood. Wipe down the surface in the direction of the grain to avoid streaks. Finish with a clean, damp cloth and then dry with a separate, dry microfiber cloth for a streak-free shine. I always use a special stainless steel cleaner for the final touch.
For painted or plastic hoods, use a warm water and dish soap solution. A soft cloth or sponge is best for these surfaces. Avoid abrasive cleaners or scrubbers, as they can damage the finish. Gently wipe down the entire exterior, then rinse with a damp cloth and dry. This helps protect the hood’s appearance.
Next, focus on the interior of the hood, including the fan blades and housing. This area often collects a lot of sticky grease. You can find out more about tackling this type of grease on our page about how to clean sticky range hood. Spray a commercial degreaser onto the greasy surfaces. Allow it to sit for a few minutes to break down the grease. For really tough spots, you might need to reapply and let it soak longer.
Use a stiff brush or an old toothbrush to scrub away the loosened grease. Pay close attention to the fan blades and the inside of the hood where air passes. You will see thick, dark grease coming off. Wipe away the grime with paper towels or old rags. Finish by wiping down the interior with a clean, damp cloth to remove any remaining cleaner residue. This helps prevent future buildup. If you need to clean the exhaust fan, our article on how to clean kitchen exhaust fan grease offers more detailed steps.
Ensure all surfaces are dry before turning the power back on. This deep cleaning makes a big difference in how your kitchen looks and functions. It helps reduce odors in your kitchen too.
Tackling Stubborn Grease and Grime on Your Range Hood
Stubborn grease and grime can be a challenge on any range hood. These layers often build up over time, becoming thick and sticky. They resist simple wiping. But with the right techniques and products, you can remove even the toughest deposits. I have dealt with many of these.
One effective solution for hardened grease is a paste made from baking soda and water. Mix baking soda with a small amount of water to form a thick paste. Apply this paste directly onto the greasy areas. Let it sit for at least 15-30 minutes, or even longer for extremely stubborn spots. The baking soda helps to break down the grease bonds.
After the paste has had time to work, use a non-abrasive scrubber or a nylon brush to gently scrub the area. You will find the grease starts to loosen and lift away. For very sticky, old grease, a plastic scraper can help, but use it with extreme care to avoid scratching the surface. Always test a small, hidden area first.
Another powerful natural degreaser is white vinegar. Warm up some white vinegar slightly (do not boil it). Spray or wipe the warm vinegar onto the greasy surfaces. Let it sit for about 10-15 minutes. The acidity of the vinegar helps dissolve grease. You can then wipe it away with a damp cloth. Combining vinegar with baking soda can create a powerful fizzing action that lifts grime. Apply baking soda first, then spray with vinegar.
For commercial products, look for heavy-duty kitchen degreasers. Products containing lye or other strong alkaline agents are very effective but require extra caution. Always read the product label and follow safety instructions carefully. Ensure good ventilation when using strong chemicals. These products work quickly on stubborn layers.
After breaking down and removing the stubborn grease, make sure to wipe the area clean with a damp cloth. Then dry it thoroughly. This removes any residue and prepares the surface for regular maintenance. Regular cleaning prevents grease from becoming this difficult again. It is easier to clean often than to deep clean rarely.
Maintaining Your Kitchen Hood for Long-Term Performance
Regular maintenance extends the life and improves the efficiency of your kitchen hood. Cleaning your hood once a year is not enough. Frequent, simpler cleaning prevents major grease buildup. This makes future deep cleaning sessions much easier. I follow a simple schedule to keep my hood in top shape.
Clean your hood filters monthly, or more often if you cook frequently. If you fry foods daily, you might even clean them every two weeks. This is the most crucial step for good airflow. It prevents grease from hardening onto the filters. Remember, easy cleaning of filters is key.
Wipe down the exterior of your kitchen hood after each cooking session, especially after frying or grilling. A quick wipe with a damp cloth and a mild cleaner prevents grease from sticking. This simple habit keeps the surface shiny and clean. It stops grime from building up.
Periodically check the interior of your hood and the exhaust fan area for grease buildup. This might be every few months, depending on your cooking habits. If you see visible grease, take the time for a quick spot clean. This proactive approach saves you from extensive deep cleaning later. Consider using the tips on how to clean grease from kitchen cabinets if you see grease spreading.
Ensure your hood is properly ventilated outside. Check that the outdoor vent cover is not blocked by debris or nests. A blocked vent can force grease back into your hood. This reduces performance and increases the need for interior cleaning.
- Filters: Clean monthly or bi-weekly depending on cooking frequency.
- Exterior: Wipe down after each heavy cooking session.
- Interior: Check and spot clean every few months.
- Ventilation: Ensure outdoor vent is clear of obstructions.
- Light Bulbs: Replace light bulbs as needed to ensure good visibility.
By adopting these regular maintenance habits, your kitchen hood will operate effectively for many years. It will keep your kitchen air clean and fresh. This ongoing care makes your home a healthier place. You will enjoy cooking more in a clean environment.
FAQ Section
How often should I clean my kitchen hood?
You should clean your kitchen hood filters at least once a month, especially if you cook regularly. The exterior surfaces benefit from a quick wipe-down after each heavy cooking session. A full deep clean, including the interior and fan, is good every three to six months. This schedule prevents heavy grease buildup and keeps your hood working well.
Can I put hood filters in the dishwasher?
Yes, most metal mesh hood filters are dishwasher safe. Place them on the bottom rack, ensuring they do not block the spray arms. Use a hot water cycle with a strong detergent. For very greasy filters, pre-soaking in a degreaser solution or hot, soapy water helps before dishwashing. Always check your hood’s manual for specific instructions.
What if I have a ductless kitchen hood?
Ductless kitchen hoods use charcoal filters to trap grease and odors, recirculating air back into the kitchen. These charcoal filters are not washable and must be replaced regularly. Check your hood’s manual for the recommended replacement schedule, usually every three to six months. You still need to clean the exterior surfaces and the metal grease filters.
How do I remove old, hardened grease?
To remove old, hardened grease, create a paste of baking soda and water. Apply it to the grease and let it sit for 30 minutes to an hour. Scrub gently with a non-abrasive brush. Alternatively, use a strong commercial degreaser, following its instructions carefully. Warm white vinegar can also help break down the grease, allowing for easier removal.
What are natural cleaning solutions for kitchen hoods?
Natural cleaning solutions include hot water with dish soap for general cleaning. A paste of baking soda and water works well for scrubbing stubborn grease. White vinegar, especially when warmed, cuts through grease and helps deodorize surfaces. You can also combine baking soda and vinegar for a fizzing action that lifts grime.
Why is my kitchen hood still greasy after cleaning?
If your kitchen hood is still greasy after cleaning, you might need a stronger degreaser or more soaking time. Very old, hardened grease requires longer contact with the cleaning solution. Ensure you are scrubbing thoroughly, especially the filter mesh and interior fan areas. Also, make sure to rinse and dry properly to remove all residue and prevent a sticky feel.
Conclusion
Cleaning your kitchen hood is an important task for any home chef. It maintains air quality, ensures kitchen safety, and extends the life of your appliance. I have shown you that knowing how to clean kitchen hood components does not have to be difficult. You now have the knowledge and steps to tackle everything from the filters to stubborn interior grease.
Regular cleaning prevents harmful grease buildup and keeps your kitchen fresh. Remember to prioritize safety by disconnecting power and wearing protective gear. Use the right tools and cleaning solutions for each part of your hood. Consistent maintenance makes a big difference. Your efforts will result in a healthier, cleaner cooking space. Start your kitchen hood cleaning today for a better home.
- kitchen hood cleaning
- range hood maintenance
- grease removal
- kitchen cleaning tips
- exhaust fan cleaning


