· Home Cleaning · 12 min read
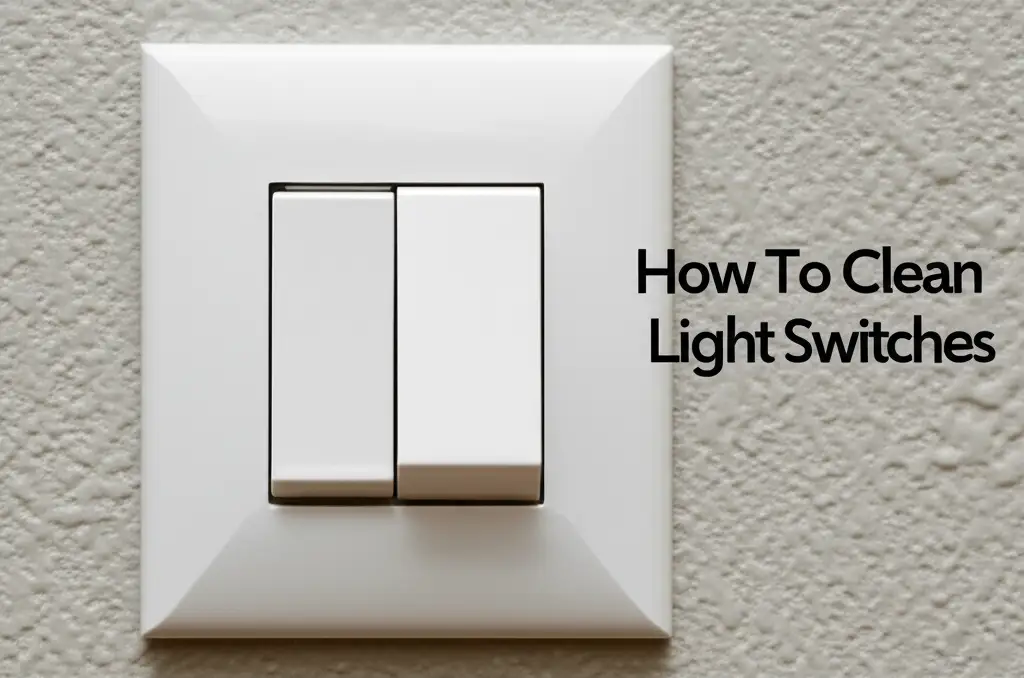
How To Clean Light Switches

Sparkling Clean Switches: How To Clean Light Switches Safely
Think about how often you touch your light switches. Every day, multiple times, our fingers meet these common household surfaces. They become a magnet for dirt, grime, and unseen germs. Learning how to clean light switches is not just about making them look better. It also helps create a healthier living space for you and your family.
Unclean light switches can harbor bacteria and viruses, spreading quickly throughout your home. A simple cleaning routine keeps these high-touch points sanitary. This article will guide you through the process. We cover essential tools, vital safety steps, and specific cleaning techniques. You will learn to clean various types of switches effectively.
Takeaway
- Always turn off power at the circuit breaker before cleaning light switches.
- Use gentle, non-abrasive cleaners and soft cloths to avoid damage.
- Wipe down switches regularly to prevent grime buildup and germ spread.
To clean light switches, first turn off the power at the circuit breaker. Then, use a slightly damp microfiber cloth with a mild cleaner or disinfectant spray. Wipe the switch plate and toggle gently. Allow the surface to air dry completely before restoring power.
The Importance of Clean Light Switches
Light switches are among the most frequently touched surfaces in any home. We use them constantly, day in and day out. This constant contact means they collect a lot of dirt, oils, and germs. Think about everyone who turns lights on and off. Each touch leaves something behind.
Regularly cleaning these high-contact areas is vital for hygiene. Studies show germs like bacteria and viruses can live on surfaces for hours or even days. An unclean light switch acts as a transfer point for these microbes. Cleaning them reduces the risk of illness. It also makes your home feel much cleaner.
Beyond hygiene, cleanliness also improves appearance. Grimy, discolored switches look unappealing. They can make an otherwise clean room seem dirty. A simple wipe-down restores their original look. This makes a noticeable difference in your home’s overall cleanliness. It helps your living space look its best.
Essential Tools and Supplies for Cleaning Light Switches
Gathering the right tools before you start cleaning makes the job easy. You do not need many special items. Most of the things you need are already in your cleaning cabinet. Having everything ready saves time and effort. It also ensures you have a safe and effective cleaning process.
First, you will need a microfiber cloth or two. These cloths are soft and absorbent. They pick up dirt well without scratching surfaces. You also need a mild all-purpose cleaner or a disinfectant spray. Choose products that are safe for plastic and metal surfaces. I often use a diluted solution of dish soap for general cleaning. For germ killing, a disinfectant spray is better.
For tougher spots, you might need cotton swabs or toothpicks. These small tools help you reach tight areas around the switch. A small bowl for mixing solutions can also be useful. Always avoid harsh chemicals, as they can damage the switch plate or electrical components. Selecting gentle yet effective products protects your switches.
- Microfiber Cloths: Use soft cloths to wipe surfaces gently.
- Mild All-Purpose Cleaner: A spray or liquid safe for plastic and painted surfaces.
- Disinfectant Spray: For germ killing, ensure it’s safe for electronics.
- Small Bowl: To mix cleaning solutions if needed.
- Cotton Swabs or Toothpicks: For detailed cleaning around edges.
- Screwdriver (optional): For removing switch plates if a deeper clean is needed.
- Flashlight (optional): To see clearly in dim areas during power-off.
Safety First: Pre-Cleaning Preparations
Before you touch any light switch with cleaning supplies, prioritize safety. Electricity is dangerous. Ignoring safety steps can lead to electric shock or damage to your home’s wiring. I always make sure to follow these precautions myself. It gives me peace of mind when cleaning around electrical components.
The most important step is to turn off the power to the light switch. Go to your home’s main electrical panel, also known as the circuit breaker box. Find the breaker that controls the room or area where the switch is located. Flip it to the “off” position. If labels are unclear, you can turn off the main breaker for the whole house. This ensures no electricity flows to the switch.
After turning off the power, test the switch. Flip the light switch to the “on” position. If the light does not turn on, you have successfully cut the power. If it does turn on, go back to the breaker box and try a different switch. Never clean a light switch with the power still on. This simple step protects you from harm. You can also refer to guides on how to clean keyboard switches for similar safety considerations with electronic components.
- Locate Your Circuit Breaker Box: Usually in a basement, garage, or utility closet.
- Identify the Correct Breaker: Look for labels that indicate rooms or areas.
- Turn Off the Breaker: Flip the switch to the “off” position.
- Test the Light Switch: Confirm the power is off by trying to turn on the light.
- Gather Your Supplies: Have everything ready before you start cleaning.
Step-by-Step Guide: How to Clean Standard Light Switches
Once safety precautions are complete, you can begin cleaning. This process is straightforward and quick. Following these steps helps ensure a thorough clean without causing damage. I find that a systematic approach works best for these tasks.
First, lightly dampen your microfiber cloth with your chosen mild cleaner. Do not soak the cloth. Excess liquid can seep into the switch mechanism and cause damage. A slightly damp cloth is enough to pick up dirt and apply cleaner. For a disinfectant spray, spray it onto the cloth, not directly onto the switch. This prevents liquid from entering the electrical components.
Gently wipe down the entire surface of the light switch plate. Pay attention to the edges and the toggle itself. Use cotton swabs for tight corners if needed. Wipe away all visible dirt and grime. After cleaning, use a dry part of your microfiber cloth to wipe the switch dry. Ensure no moisture remains. Let the switch air dry for a few minutes before restoring power. This complete process cleans and protects your switches. It also works well for cleaning adjacent surfaces like how to clean light bulbs, just remember to use a dry cloth.
- Dampen Cloth: Lightly wet a microfiber cloth with mild cleaner or disinfectant.
- Wipe Switch Plate: Gently clean the entire surface, including edges.
- Clean Toggle: Wipe the switch toggle thoroughly.
- Use Cotton Swabs: Get into tight crevices around the switch.
- Dry Thoroughly: Wipe the switch dry with a clean, dry section of the cloth.
- Allow Air Dry: Give it a few minutes to ensure all moisture evaporates.
- Restore Power: Flip the circuit breaker back to “on” after the switch is completely dry.
Tackling Stubborn Grime and Discoloration
Sometimes, light switches accumulate tough grime or become discolored over time. These stubborn spots need a bit more attention. Regular cleaning might not be enough to remove deep-set dirt or yellowing. Do not worry; there are gentle methods to restore their appearance.
For stubborn grime, a paste of baking soda and a small amount of water can work wonders. Mix a teaspoon of baking soda with a few drops of water to form a thick paste. Apply this paste onto the dirty areas with a cotton swab or a corner of your microfiber cloth. Gently rub the paste onto the grime. The mild abrasive action of baking soda helps lift away dirt without scratching. Wipe off the paste with a clean, damp cloth. Then, dry the surface completely.
If your light switches have yellowed, especially older plastic ones, vinegar can help. Mix equal parts white vinegar and water in a spray bottle. Spray this solution onto a microfiber cloth. Wipe down the yellowed switch plate. For tougher yellowing, you might need to let the solution sit for a minute before wiping. Remember to dry it well afterwards. This trick also works effectively for how to clean glass with vinegar and how to clean walls with vinegar, showing vinegar’s versatility. Always ensure power is off for this process too.
Cleaning Different Types of Light Switches and Plates
Not all light switches are the same. Different types require slightly different cleaning approaches. Understanding these differences helps you clean effectively without causing damage. I have encountered many variations in my cleaning tasks. Each type has its own small considerations.
Toggle Switches: These are the most common type. The steps mentioned earlier work perfectly for them. Just ensure you clean around the toggle itself, as grime can build up there. Use a cotton swab to get into the small gap around the lever.
Dimmer Switches: Dimmer switches often have a knob or slider. These can collect dust and finger oils. Clean the knob or slider carefully, ensuring no liquid seeps into the mechanism. Avoid twisting the knob forcefully when cleaning. Wipe around the edges and the dial with a slightly damp cloth.
Smart Switches: Smart switches are electronic and often have touchscreens or soft-touch buttons. For these, use minimal moisture. A microfiber cloth dampened with a screen cleaner or a very diluted isopropyl alcohol solution is best. Never spray liquid directly onto smart switches. Treat them like delicate electronics, similar to cleaning a phone screen.
Decorative Plates: Some light switches have decorative plates made of metal, wood, or other materials.
- Metal Plates: Wipe with a damp cloth and mild soap. Avoid abrasive cleaners that can scratch.
- Wood Plates: Use a wood-safe cleaner or a slightly damp cloth. Dry immediately to prevent water damage. For stains on wooden plates, refer to how to clean stains on wood for more specific guidance.
- Plastic Plates: Standard cleaning methods apply. For yellowed plastic, use a baking soda paste or diluted vinegar as described previously.
Maintaining Clean Light Switches: Regular Care Tips
Keeping your light switches clean does not require a deep scrub every time. Regular, quick maintenance prevents grime buildup. This saves you time in the long run. Incorporating switch cleaning into your routine helps maintain a hygienic and appealing home. I find that a little effort often prevents bigger cleaning jobs.
Make light switch cleaning a part of your regular dusting routine. When you dust furniture or wipe down countertops, give your light switches a quick wipe too. A dry microfiber cloth is often enough for daily dust and light finger smudges. For weekly or bi-weekly cleaning, use a slightly damp cloth with a mild all-purpose cleaner. This prevents dirt from becoming ingrained.
If someone in your household is sick, increase the frequency of disinfecting. High-touch surfaces like light switches become critical in preventing germ spread. A quick wipe with a disinfectant wipe (after ensuring power is off and wringing out excess liquid) can make a big difference. This proactive approach keeps your home healthier. Consistent cleaning ensures your switches always look good and remain sanitary.
- Daily Dusting: Use a dry microfiber cloth to wipe off dust and light smudges.
- Weekly Wipe-Down: Dampen a cloth with a mild cleaner for a more thorough clean.
- Post-Illness Disinfecting: Use a disinfectant wipe (squeezed dry) when someone in the house is sick.
- Check for Buildup: Regularly inspect switches for grime or discoloration, addressing it promptly.
- Teach Good Habits: Encourage family members to wash hands frequently to reduce germ transfer.
FAQ Section
Q: How often should I clean my light switches? A: You should clean your light switches regularly to maintain hygiene. A light wipe-down with a damp cloth once a week is a good practice. For a more thorough disinfection, especially in high-traffic areas or during cold and flu season, aim for every two weeks. High-touch surfaces benefit most from frequent attention.
Q: Can I use disinfectant wipes directly on light switches? A: Yes, you can use disinfectant wipes. However, ensure the power is off first. Wring out any excess liquid from the wipe to prevent moisture from entering the switch mechanism. Excess liquid can cause electrical problems or damage. After wiping, allow the switch to air dry completely before restoring power.
Q: What if my light switch is yellowed and looks old? A: Yellowed plastic light switches are common. Mix a paste of baking soda and water, or use a diluted white vinegar solution. Apply the paste with a cotton swab and gently rub. For vinegar, spray onto a cloth and wipe. Always test a small, hidden area first. This helps avoid any damage or discoloration.
Q: Is it safe to clean smart light switches? A: Cleaning smart light switches requires extra care. Turn off the power. Use a very lightly dampened microfiber cloth. For screens, a screen cleaner designed for electronics is best. Avoid direct spraying onto the switch. Smart switches are electronic devices, so treat them with the same caution as your phone or tablet.
Q: What happens if I don’t turn off the power before cleaning light switches? A: Cleaning light switches without turning off the power can be dangerous. It puts you at risk of electric shock. Water or cleaning solutions can conduct electricity, leading to serious injury. Always locate your circuit breaker and switch off the power to the specific area before starting any cleaning near electrical outlets or switches.
Conclusion
Keeping your light switches clean is a simple yet impactful part of home maintenance. It goes beyond just making your home look tidy. It creates a healthier environment by reducing the spread of germs on high-touch surfaces. I have found that a little effort in this area makes a big difference in overall home hygiene.
Remember to prioritize safety by always turning off the power at the circuit breaker before you begin. Gather your mild cleaners, soft cloths, and cotton swabs. Follow the simple steps to wipe down the switch plates and toggles. For stubborn grime or discoloration, use baking soda or diluted vinegar solutions. Adjust your cleaning method for different switch types, especially smart switches. Regular maintenance prevents heavy buildup and keeps your switches sparkling. Make cleaning light switches a regular part of your home routine. Your home will feel cleaner and healthier.
- light switch cleaning
- disinfect light switches
- electrical safety
- home hygiene
- cleaning tips
- germ removal


