· Appliance Maintenance · 15 min read
How To Clean Little Green Machine

Clean Your Little Green Machine: A Simple Guide
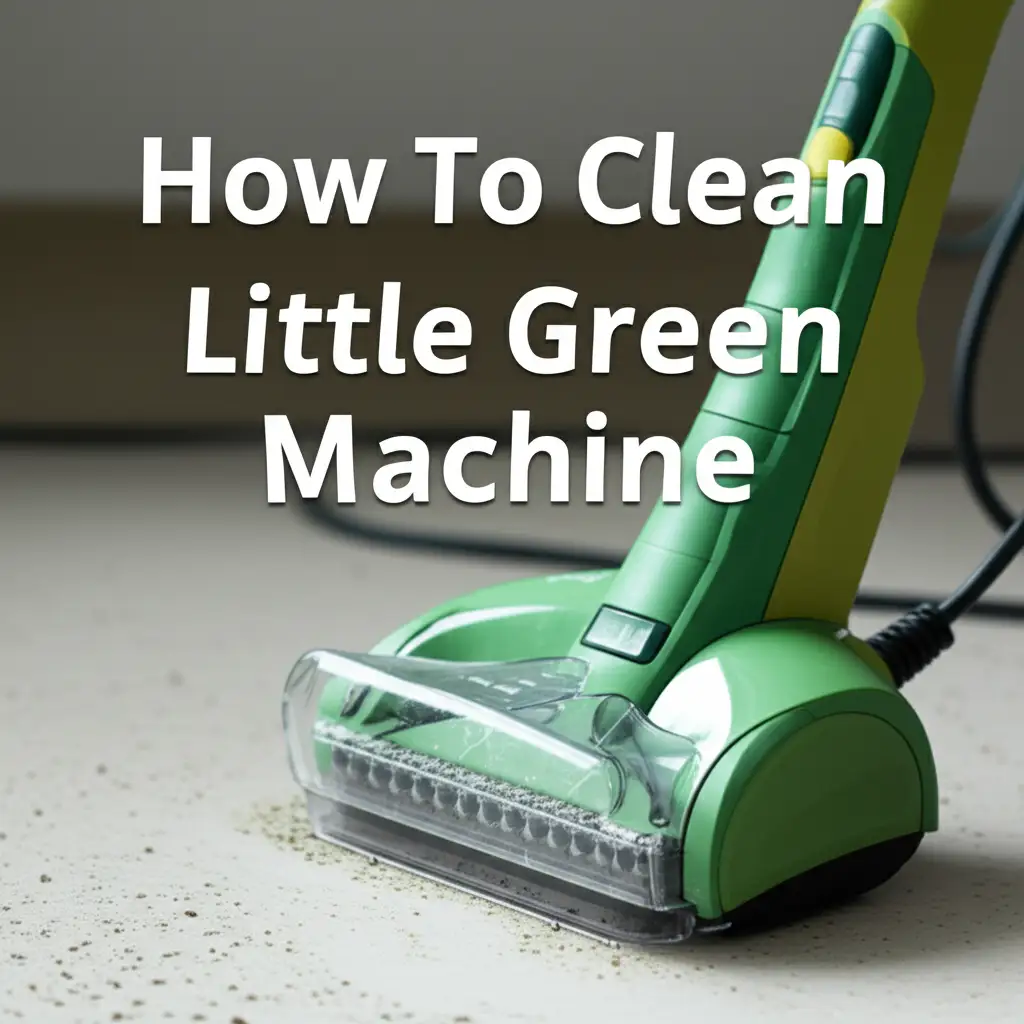
Your Little Green Machine is a powerful tool. It helps you clean spills and refresh surfaces. But like any cleaning tool, it needs cleaning itself. Learning how to clean your Little Green Machine keeps it working well. This ensures it stays ready for the next mess. A clean machine performs better and lasts longer.
I know you want your spot cleaner to always work at its best. This article shows you how to clean your Little Green Machine fully. We will cover everything from emptying tanks to deep cleaning parts. You will learn about preventing odors and solving common issues. Follow these simple steps to keep your machine in top shape.
Takeaway
- Empty and rinse tanks after every use to prevent buildup.
- Clean the nozzle and brush head to remove debris.
- Regularly check and clear hoses and filters for clogs.
- Store the machine dry and in a cool place to avoid mold.
- Perform deep cleaning every few months for best performance.
Answer to Main Query
To clean your Little Green Machine, empty dirty water and rinse both tanks. Detach and rinse the cleaning nozzle and brush head. Flush the hose and clear any clogs. Wipe down the exterior, then allow all parts to air dry completely before storing the machine. This keeps it fresh and ready.
Why Cleaning Your Little Green Machine Matters
You just finished cleaning a tough stain. Your Little Green Machine did a great job. But now, it holds dirty water and cleaning solution. If you leave these inside, problems start. Dirt and old solution can create bad smells. They can also grow mold and mildew. This makes your machine less effective over time.
A dirty machine cannot clean well. Imagine trying to wash dishes with a dirty sponge. It just spreads grime around. The same goes for your Little Green Machine. Dirty components can leave streaks or residue on your carpets and upholstery. This defeats the purpose of cleaning. Regular cleaning keeps your machine ready for action.
Cleaning your machine extends its life. Dirt and mineral deposits can clog hoses and spray nozzles. This puts extra strain on the motor. Over time, clogs lead to poor suction or spray. Parts can wear out faster. By cleaning regularly, you protect your investment. You keep your machine working for many years. A simple cleaning routine saves you money on repairs or replacements. It ensures you always have a reliable spot cleaner.
Gathering Your Cleaning Supplies
Before you start cleaning your Little Green Machine, you need a few items. These supplies make the cleaning process easy. They help you reach all the parts effectively. You likely have most of these things at home already. I always gather everything first. This saves time and stops me from running around.
First, you need fresh, clean water. This is essential for rinsing all components. Lukewarm water works best. It helps dissolve any stuck-on residue. Next, grab a soft cloth or a microfiber towel. These are good for wiping down surfaces. They absorb moisture well without scratching. You will use these to dry the parts too.
A small brush or an old toothbrush is very useful. It helps you scrub tight spots. Think about nozzle openings or crevices in the brush head. Cotton swabs are also great for tiny areas. They can reach deep into small openings. You might also want a mild dish soap or white vinegar. These are gentle cleaners that help remove odors and residue. Remember, harsh chemicals can damage your machine. Stick to gentle options. Always check your machine’s manual for specific cleaning product recommendations.
Emptying and Rinsing the Water Tanks
This step is very important. You should always empty the dirty water tank right after use. Do not let dirty water sit inside. It can cause awful smells. It can also lead to mold growth. I always take care of this immediately.
To start, disconnect the dirty water tank from the machine. Carry it carefully to a sink or toilet. Pour out all the dirty water. You will see how much grime your Little Green Machine picked up. It is often surprising! Next, rinse the tank thoroughly with clean, warm water. Swirl the water around inside. Make sure to get all sides. You want to remove any leftover dirt or foam.
Do the same for the clean water tank. Even if it only held clean solution, rinse it out. Old cleaning solution can become sticky. It can also leave residue. Pour out any remaining solution. Then, fill it with warm water and rinse well. You can add a drop of mild dish soap to either tank for a deeper clean. Swish it around, then rinse again until no soap bubbles remain. Allow both tanks to air dry completely before putting them back. I like to leave them open to the air overnight. This stops any moisture from getting trapped. It helps prevent mold and keeps the machine fresh.
Cleaning the Nozzle and Brush Head
The nozzle and brush head get the most direct contact with dirt. They need careful cleaning. This ensures your machine sprays evenly and cleans effectively. I find this step makes a big difference in performance. If these parts are clogged, your machine cannot do its job well.
First, detach the nozzle tool from the hose. Most models have a simple release button or tab. Once it is off, look closely at the spray holes. These are tiny openings where the cleaning solution comes out. Sometimes, dried solution or debris can block them. Use a small, pointed tool like a toothpick or a paperclip to clear any blockages. Be gentle so you do not damage the plastic. Then, rinse the nozzle under running warm water. Make sure water flows freely through all the holes.
Next, focus on the brush head. This is the part that scrubs the carpet or upholstery. It can collect hair, lint, and grime. Remove any visible hair or large debris by hand. You might need to pull it out carefully. Then, use an old toothbrush or a small scrubbing brush. Scrub the bristles and the surrounding plastic. Use a little warm water and mild soap if needed. This helps break down stubborn dirt. Rinse the brush head thoroughly. Ensure all soap residue is gone. Just like the tanks, let the nozzle and brush head air dry completely. You can place them on a clean towel. Ensure they are fully dry before reattaching them. A clean nozzle and brush mean better cleaning results. This process helps your machine perform like new.
Washing the Solution Tank and Filter
You have cleaned the main tanks and the tool. Now, let’s look at the solution tank and any filters. These parts are often overlooked but are important. They ensure your machine sprays clean solution and does not get clogged from the inside. Keeping them clean helps your machine work efficiently.
The solution tank holds your clean water and cleaning formula. Even though it holds clean liquid, residue can build up. Old solution can become sticky. It might even grow a bit of gunk over time. To clean it, simply empty any leftover solution. Then, rinse the tank thoroughly with warm water. You can swirl the water inside. If there is any sticky film, add a tiny drop of dish soap. Swish, then rinse until the water runs clear and no bubbles remain. Let it air dry completely, upside down if possible.
Many Little Green Machine models have small filters. These filters prevent debris from entering the pump or spray mechanism. Check your user manual to locate any filters. They are often found near the hose connection or inside the dirty water tank area. If your machine has a filter, remove it carefully. Rinse it under warm running water. Use a small brush or an old toothbrush to gently scrub away any accumulated debris or lint. Make sure water flows freely through the filter material. If the filter looks very dirty or damaged, consider replacing it. Once clean, allow the filter to air dry fully. Place it back only when completely dry. Cleaning these internal parts helps prevent clogs and ensures smooth operation. This simple step protects your machine’s pump and spray system.
Cleaning the Hose and Internal Components
The hose is where the dirty water travels from your cleaning tool to the dirty water tank. It can get very grimy inside. Over time, hair, dirt, and cleaning solution residue build up. This leads to reduced suction and unpleasant smells. Cleaning the hose is important for machine performance.
To clean the hose, fill the clean water tank with plain, warm water. You can add a small amount of white vinegar for extra cleaning power. Then, turn on your Little Green Machine. Point the cleaning tool into a sink or a bucket. Pull the trigger for about 30 seconds to flush the clean water through the hose. This action helps clear out any loose debris or residue. You should see cloudy water coming out at first. Keep flushing until the water runs clear. This indicates the hose is clean.
Some Little Green Machine models have specific instructions for cleaning the hose. Always check your manual for details. After flushing, disconnect the hose if your model allows it. Prop it up so any remaining water can drain out. You want it to air dry completely. Trapped moisture can lead to mold and mildew. This is very important for preventing future odors. You can also use a mild bleach solution if your manual allows it for sanitization, but always follow instructions carefully.
For other internal parts, focus on accessibility. Many parts are sealed, so you cannot reach them. However, you can wipe down visible internal surfaces. Use a damp cloth to clean the area where the tanks sit. Look for any debris or spills. Clean the suction slot where the dirty water enters the hose. This slot can collect lint. A cotton swab works well for tight areas. Ensuring all reachable internal components are clean helps maintain good hygiene. It also prevents smells from developing inside the machine.
Drying and Storing Your Little Green Machine
After cleaning all the parts, proper drying and storage are vital. This step prevents mold, mildew, and bad odors. It also ensures your machine is ready for its next use. Rushing this part can undo all your hard work. I always take my time to ensure everything is dry.
First, make sure every component is completely dry. This includes the clean water tank, the dirty water tank, the nozzle, the brush head, and any filters. Leave them out to air dry for several hours. You can place them on a clean towel in a well-ventilated area. If possible, leave tank lids open. This allows air to circulate inside. Sunlight can also help in the drying process and kill germs, but avoid direct, harsh sunlight for prolonged periods as it might damage plastic. You can even use a small fan to speed up drying.
Once everything is thoroughly dry, reassemble your Little Green Machine. Make sure all parts click into place correctly. Do not store the machine with any moisture inside. This is a common cause of foul smells. Now, choose a good storage location. A cool, dry place is best. Avoid damp basements or hot attics. Extreme temperatures can affect the plastic and internal components. A closet or a utility room works well.
Store the machine upright. Keep the hose neatly wrapped. If your model has a storage area for tools, use it. This keeps everything organized. Proper drying and storage protect your machine from damage. It prevents the growth of mold and keeps it fresh. This way, your Little Green Machine is always ready to tackle new messes effectively.
Troubleshooting Common Cleaning Issues
Even after cleaning, you might face some issues with your Little Green Machine. These problems often have simple solutions. Knowing how to troubleshoot helps you quickly get back to cleaning. I have learned a few tricks over time that save me headaches.
One common issue is a bad smell. This often happens if you did not dry the machine fully. Mold or mildew can grow inside the tanks or hose. To fix this, deep clean the tanks with a vinegar solution. You can mix equal parts white vinegar and warm water. Let it sit in the tanks for 30 minutes, then rinse well. For the hose, flush it with the vinegar solution too. Make sure everything air dries completely afterwards. Consider adding a small amount of an enzymatic cleaner specifically for pet odors if the smell persists. This breaks down odor-causing particles.
Another problem is weak suction or no spray. This usually points to a clog. Check the nozzle first. Clear any blocked spray holes with a toothpick. Next, check the brush head for hair or debris. Then, flush the hose as described earlier. If the suction is still weak, the dirty water tank might be full. Empty it and clean the filter inside. Sometimes, the suction slot on the cleaning tool gets clogged with lint. Use a cotton swab to clear it. Ensure all parts are securely connected. A loose connection can break the vacuum seal, leading to poor suction.
If your machine leaks, check the seals and connections. Ensure the tanks are seated properly. Look for cracks in the tanks or hoses. Sometimes, a rubber gasket might be out of place. Replace any damaged parts immediately. Always use manufacturer-approved parts. Addressing these small issues quickly prevents them from becoming bigger problems. Regular maintenance minimizes these issues.
Regular Maintenance Tips for Longevity
Cleaning your Little Green Machine after each use is great. But ongoing maintenance helps it last even longer. These simple habits keep your machine in peak condition. They ensure it works effectively for many years. Think of it as preventative care for your cleaning buddy.
First, always use the right cleaning solution. Your Little Green Machine works best with its intended formulas. Using wrong or overly foamy detergents can cause problems. They can leave residue or damage internal parts. Always dilute solutions as directed. Too much concentrated solution can clog the spray nozzle.
Second, avoid picking up very large debris. Your Little Green Machine is for liquids and light stains. Do not use it like a vacuum for big crumbs or hair. Pick up large solid pieces by hand before you start cleaning. This prevents clogs in the hose and tanks. It reduces strain on the motor.
Third, inspect the parts regularly. Every few uses, take a moment to look over the tanks, hose, and tools. Check for any signs of wear or damage. Look for cracks, kinks in the hose, or worn bristles on the brush. Catching small problems early saves you bigger repairs later. You can easily find replacement parts online. This proactive approach helps maintain performance.
Finally, consider a deep clean every few months. Even with regular rinsing, residue builds up. A deep clean includes everything we covered in this article. Take apart all removable pieces. Soak them if needed. Flush the hose extra thoroughly. This complete overhaul keeps your machine fresh. Regular maintenance ensures your Little Green Machine is always ready for action. It protects your investment and makes cleaning tasks easier.
FAQ Section
How often should I clean my Little Green Machine?
You should empty and rinse the dirty water tank and tool after every use. A more thorough cleaning, including flushing the hose and cleaning filters, is good after every 3-5 uses. A deep clean every few months helps prevent odors and clogs. This keeps your machine working well.
Can I use vinegar to clean my Little Green Machine?
Yes, you can use white vinegar to clean your Little Green Machine. It helps remove mineral deposits and eliminates odors. Mix equal parts white vinegar and warm water for rinsing tanks or flushing the hose. Always rinse thoroughly with plain water afterwards to remove the vinegar smell.
Why does my Little Green Machine smell bad?
A bad smell usually comes from mold or mildew. This grows when dirty water or cleaning solution sits inside. It also happens if parts are not dried completely before storage. Thoroughly clean all tanks, hoses, and tools. Ensure they are bone-dry before storing.
What should I do if my Little Green Machine has no suction?
If your Little Green Machine has no suction, check for clogs. Clear the nozzle and brush head of debris. Flush the hose with water. Ensure the dirty water tank is not full. Also, make sure all tanks and attachments are sealed tightly. A loose connection can break the vacuum.
Can I put cleaning solution in the dirty water tank to clean it?
No, never put cleaning solution in the dirty water tank. This tank is for collecting dirty water and debris. Putting solution there can cause excessive foam. It can also damage the machine’s components. Always use plain water for rinsing the dirty water tank.
Conclusion
Keeping your Little Green Machine clean is simple, but it makes a big difference. We have walked through every step to ensure your machine stays fresh and effective. From emptying tanks to cleaning the nozzle, each action plays a part. You now understand how to clean your Little Green Machine properly. This process helps your machine last longer. It ensures your machine always delivers a powerful clean.
A well-maintained Little Green Machine tackles spills with ease. It keeps your home looking its best. Make these cleaning steps a regular part of your routine. You will notice the difference in performance. Take action today. Give your Little Green Machine the care it deserves. It will thank you with years of powerful cleaning.
- Bissell Little Green
- Spot Cleaner Maintenance
- Carpet Cleaner Care
- Appliance Cleaning
- Home Cleaning Tips


