· Kitchen Cleaning · 13 min read
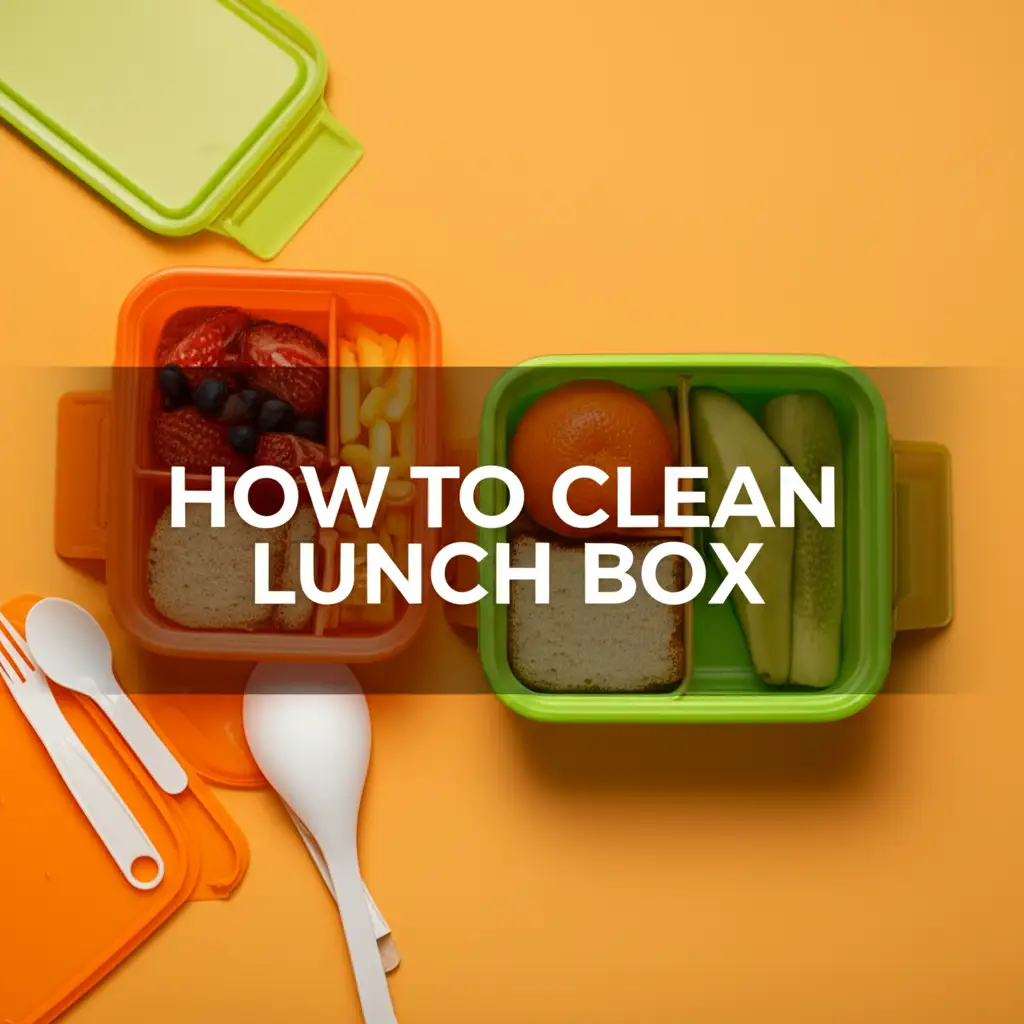
How To Clean Lunch Box
Clean Lunch Box: Keep It Fresh & Safe
Lunch boxes are daily companions. They carry our meals to school, work, or on outings. A dirty lunch box can quickly become a health hazard. Food residues invite bacteria and mold growth. Learning how to clean lunch box properly ensures food safety. It also keeps your lunch box smelling fresh.
This guide helps you master lunch box cleaning. We cover different materials and deep cleaning methods. You will learn to tackle common issues like odors and mold. Proper care extends the life of your lunch box. Let’s make your lunch box a clean and healthy container.
Takeaway
- Clean your lunch box daily to prevent germ growth.
- Choose cleaning methods based on your lunch box material.
- Use natural cleaners like baking soda and vinegar for odors and stains.
- Dry your lunch box completely before storing it.
- Inspect your lunch box regularly for signs of wear or mold.
How do you clean a lunch box?
To clean a lunch box, empty it completely. Wash it with warm, soapy water. Rinse thoroughly. For deeper cleaning, use a baking soda paste for stains or vinegar for odors and mold. Dry all parts completely before storing the lunch box to prevent mildew.
Understanding Your Lunch Box Material: A Cleaning Guide
Different lunch box materials require different cleaning approaches. Knowing your lunch box type helps you clean it correctly. This prevents damage and ensures thorough cleaning. Proper material care extends your lunch box’s lifespan. We will look at common materials next.
Cleaning Plastic Lunch Boxes
Plastic lunch boxes are common. They are lightweight and durable. Most plastic lunch boxes are dishwasher safe. Check the manufacturer’s instructions first. If handwashing, use warm, soapy water.
Food stains can linger on plastic. Tomato sauce or curry can leave orange marks. Sunlight can help fade these stains. Placing a stained plastic container outside for a few hours works well. A paste of baking soda and water also removes stains. Rub the paste on the stain, let it sit, then scrub and rinse.
Maintaining Stainless Steel Lunch Boxes
Stainless steel lunch boxes are very durable. They resist odors and stains well. Cleaning them is usually simple. Wash them with warm water and dish soap. Use a soft sponge or cloth.
Avoid abrasive scrubbers on stainless steel. They can scratch the surface. For stubborn food residue, soak the box first. A mixture of water and a little vinegar can shine the steel. Always dry stainless steel completely. Water spots can form if left to air dry.
Caring for Fabric Lunch Bags
Fabric lunch bags often have insulated linings. They keep food warm or cold. These bags cannot go into a dishwasher. Handwashing is the best method. Turn the bag inside out if possible.
Use a damp cloth with mild soap for the lining. Wipe down the exterior with the same solution. Rinse the cloth often. Air dry the bag completely. Hanging it upside down helps. You can also spot clean fabric bags. Use a small amount of laundry detergent on a specific spot. Gently scrub with a brush. This ensures your fabric lunch bags stay clean and functional. For similar items, learn how to clean insulated lunch bag or how to clean Bentgo lunch bag effectively.
The Daily Ritual: Basic Lunch Box Cleaning Steps
Daily cleaning is important. It stops food particles from drying onto surfaces. It also prevents bacteria from growing. A quick daily clean saves you from deep cleaning later. Make it a routine after every use. This simple habit keeps your lunch box hygienic.
Quick Rinse & Wipe Down
After lunch, empty all contents immediately. Do not let food sit. Rinse the lunch box and its compartments with warm water. Use a paper towel or cloth to wipe away any food residue. This first step removes loose particles. It prevents them from sticking firmly.
If you are not washing it right away, leave the lid open. This allows air circulation. It stops odors from building up inside the box. A quick rinse makes the full wash easier later. It is a good habit for all lunch box types.
Dishwasher vs. Hand Washing
Many lunch boxes are dishwasher safe. Check the bottom of your lunch box for symbols. A dishwasher safe symbol looks like a glass and fork with water drops. Place plastic items on the top rack. High heat on the bottom rack can warp plastic. Dishwashers offer convenience. They use hot water and strong detergents.
Hand washing is also very effective. It gives you more control. Use warm water and dish soap. Scrub all surfaces with a sponge or brush. Pay attention to corners and seals. These areas can trap food particles. Rinse thoroughly to remove all soap residue. Handwashing is gentler on some materials. It also helps preserve decorative elements.
Deep Cleaning Your Lunch Box: Tackling Tough Grime
Sometimes, a basic wash is not enough. Food can leave stubborn stains or sticky residue. Deep cleaning tackles these more difficult issues. It restores your lunch box to its original cleanliness. This process involves specific cleaning agents. We will explore natural options that are safe and effective.
Natural Cleaning Solutions: Vinegar & Baking Soda
Vinegar and baking soda are powerful natural cleaners. They are safe for food contact surfaces. You can use them to clean your lunch box. They are non-toxic and eco-friendly. These pantry staples work wonders.
Baking soda is a mild abrasive and deodorizer. Make a paste with baking soda and a little water. Apply it to stains or smelly areas. Let it sit for 15-30 minutes. Scrub gently with a brush or sponge. Then rinse thoroughly. This method lifts grime and neutralizes odors. It works great on plastic food containers.
White vinegar is an excellent disinfectant and odor remover. Mix equal parts white vinegar and water. Pour this solution into the lunch box. Let it sit for an hour. You can also spray the solution on all surfaces. Wipe with a clean cloth. Rinse well with water. The vinegar smell will disappear as it dries. You can use vinegar for various cleaning tasks, like how to clean a shower with vinegar. This helps maintain a fresh and hygienic environment.
Removing Stubborn Food Stains
Food stains can be a challenge. Tomato sauce, curry, and oil can leave unsightly marks. Especially on plastic, these stains can be tough. Do not despair. There are ways to remove them.
After cleaning with soap and water, apply a baking soda paste. Let the paste dry on the stain. The baking soda absorbs the color. For plastic, sunlight can also work wonders. Place the stained lunch box outside in direct sunlight. The UV rays help to break down the pigments. This might take several hours. Repeat if needed. For very stubborn stains, a small amount of hydrogen peroxide can be dabbed on. Always rinse thoroughly after using any strong agent.
Eliminating Odors & Preventing Mold in Lunch Boxes
Lunch boxes can develop unpleasant smells. This happens if food residue sits too long. Mold is another common problem. It thrives in damp, dark environments. Both odors and mold are signs of uncleanliness. They can make your food unsafe. Addressing these issues is key for a healthy lunch box.
Deodorizing Techniques
A smelly lunch box is not appealing. Odors come from trapped food particles or bacteria. Simple steps can refresh your lunch box. Start by washing it thoroughly with soap and water. Ensure no food bits remain.
For lingering smells, baking soda is your best friend. Sprinkle a generous amount of dry baking soda into the empty lunch box. Close the lid. Leave it overnight. The baking soda absorbs the odors. In the morning, simply rinse it out. For very strong odors, you can put a crumpled newspaper or activated charcoal inside. Leave it for a day or two. The newspaper also absorbs smells. Always ensure the lunch box is completely dry after any treatment.
Mold Prevention Strategies
Mold grows in moist conditions. It often appears as black or green spots. Preventing mold is easier than removing it. Always dry your lunch box completely after washing. Air drying is best. Leave the lid open. Do not seal a damp lunch box. This traps moisture.
If you find mold, act quickly. Wash the lunch box with hot, soapy water. Use a brush to scrub moldy areas. Then, create a solution of equal parts white vinegar and water. Spray or pour it into the lunch box. Let it sit for several minutes. Vinegar kills mold and mildew. Rinse thoroughly. Dry completely. For persistent mold, you may need to use a small amount of diluted bleach. Always check the lunch box material first. Use bleach only on non-porous surfaces. Rinse extremely well if using bleach. You can learn more about how to tackle mold by looking at articles on how to clean mold in shower or how to clean mold with vinegar.
Special Considerations for Different Lunch Box Types
Not all lunch boxes are the same. Some have unique designs or features. These features require special attention during cleaning. Understanding these differences ensures proper care. It also prevents damage to specialized components. We will discuss insulated bags and bento boxes.
Cleaning Insulated Lunch Bags
Insulated lunch bags keep food hot or cold. They often have a foil or plastic lining. This lining can trap spills. Spot cleaning is usually the method for these bags. Do not submerge them in water.
Turn the bag inside out if possible. Wipe the interior lining with a damp cloth and mild dish soap. Pay attention to seams and corners. Use a separate damp cloth to rinse the soap away. For the exterior fabric, use a brush or sponge with soap. Scrub gently. Blot dry with a towel. Air dry the bag completely. Hang it open to ensure all moisture evaporates. This prevents mold and mildew. Proper drying is crucial for insulated materials.
Bento Box Cleaning Tips
Bento boxes have multiple compartments. They are great for portion control. Cleaning each small compartment is important. Food can get stuck in the dividers. Most bento box inserts are removable. This makes cleaning easier.
Wash each part separately with warm, soapy water. Use a small bottle brush or a toothbrush for tight corners. These brushes reach areas a sponge cannot. If parts are dishwasher safe, load them on the top rack. Ensure all food particles are dislodged. Rinse thoroughly. Air dry all components separately. Reassemble only when fully dry. This prevents moisture from trapping between parts.
Drying and Storing Your Lunch Box for Longevity
Proper drying is as crucial as washing. A damp lunch box invites mold and bacteria. Storing it correctly also extends its life. It keeps your lunch box ready for the next use. These steps prevent odors and maintain hygiene. Make them part of your cleaning routine.
Proper Drying Methods
After washing, dry your lunch box thoroughly. Do not skip this step. Air drying is the best method. Leave all parts separated. Place them on a drying rack or a clean towel. Ensure good air circulation.
Leave the lid open. If you close a damp lunch box, it creates a sealed, moist environment. This is perfect for mold growth. For fabric bags, hang them upside down. This lets water drain out. You can also wipe down plastic and metal surfaces with a clean, dry cloth. This speeds up the drying process. Check all seams and crevices. Ensure no water remains.
Storage Best Practices
Once completely dry, store your lunch box. Store it in a clean, dry place. A pantry or cupboard works well. Do not store it in a damp area. Keep the lid open or slightly ajar. This continues to allow air circulation. It also prevents any lingering moisture from causing issues.
Stacking parts loosely helps. Avoid sealing the lid tightly if storing for a long time. This open storage prevents stale smells. It also ensures the lunch box is fresh for its next use. A well-stored lunch box remains hygienic and ready for your meals.
When to Replace Your Lunch Box: Signs of Wear
Lunch boxes are built to last, but they don’t last forever. Regular use causes wear and tear. Knowing when to replace your lunch box is important. It ensures continued food safety. It also maintains good hygiene. Look for these signs that indicate it is time for a new one.
One major sign is persistent odor. If your lunch box still smells after deep cleaning, replace it. Odors often mean bacteria are deeply embedded. This can happen with very old plastic. Another sign is visible mold. If mold keeps coming back, even after thorough cleaning, the material might be compromised. Spores can hide in microscopic cracks.
Cracks or chips are also bad signs. These small openings trap food and moisture. They create breeding grounds for germs. Cracked plastic can also leach chemicals into food. Check the seals. If the seal around the lid is worn or broken, the box won’t be airtight. This means food can spoil faster. It also causes leaks. If your lunch box looks visibly degraded, it is time for an upgrade. A new lunch box ensures freshness and safety for your meals.
FAQ Section
How often should I clean my lunch box?
You should clean your lunch box every day after use. A quick wash with soap and water prevents food residue from drying and bacteria from growing. This daily habit maintains hygiene.
Can I put my lunch box in the dishwasher?
Many plastic and stainless steel lunch boxes are dishwasher safe. Always check the manufacturer’s label. Place plastic items on the top rack to avoid warping from high heat. Hand washing is also effective.
How do I remove stubborn stains from my lunch box?
For stubborn food stains, make a paste of baking soda and water. Apply it to the stain and let it sit for a while before scrubbing. For plastic, direct sunlight can also help fade stains over several hours.
What causes mold in a lunch box and how can I prevent it?
Mold grows due to trapped moisture and food particles. To prevent mold, always dry your lunch box completely after washing. Leave the lid open for air circulation. Never seal a damp lunch box.
Are natural cleaners safe for kids’ lunch boxes?
Yes, natural cleaners like white vinegar and baking soda are safe for kids’ lunch boxes. They are non-toxic and effective at cleaning and deodorizing. Always rinse thoroughly after using them.
Can I use bleach to clean a lunch box?
It is best to avoid bleach for regular cleaning. Bleach can be harsh and may damage some materials. If using for severe mold on non-porous surfaces, dilute it heavily. Rinse the lunch box extremely well afterwards to remove all traces.
Conclusion
A clean lunch box is essential for health and freshness. We have covered the simple steps to how to clean lunch box effectively. Daily cleaning prevents germ buildup. Understanding your lunch box material helps choose the right method. Natural cleaners like vinegar and baking soda offer safe and powerful solutions.
Remember to address odors and mold promptly. Proper drying and storage are key for longevity. By following these tips, your lunch box will stay hygienic and ready for your next meal. Make lunch box cleaning a simple, regular part of your routine. This small effort provides big benefits for your well-being. Keep your food safe and delicious every day.
- lunch box cleaning
- food safety
- remove odors
- prevent mold
- eco-friendly cleaning