· Eyebrow Care · 12 min read
How To Clean Microbladed Eyebrows
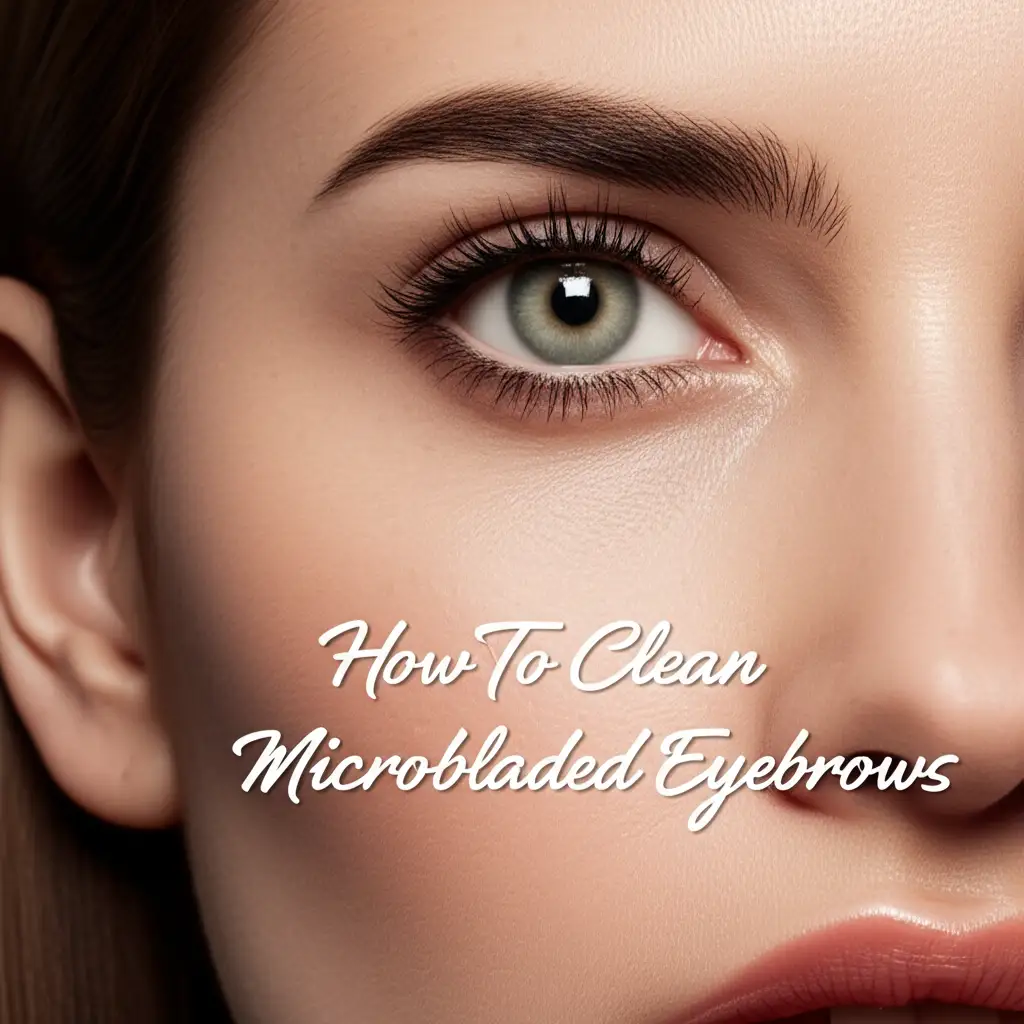
How To Clean Microbladed Eyebrows: Your Essential Guide
You just invested in beautiful microbladed eyebrows. They look perfect, framing your face exactly as you hoped. Now comes the crucial part: learning how to clean microbladed eyebrows. Proper cleaning is the most important step in the healing process. It ensures your new pigment settles beautifully and lasts for years. Neglecting aftercare or using the wrong cleaning methods can ruin your results. This guide will walk you through every step. We cover immediate aftercare, daily routines, the right products, and common mistakes. Your beautiful brows depend on it.
Takeaway
- Always clean microbladed eyebrows gently.
- Use only recommended products like sterile water or saline solution.
- Avoid harsh chemicals, rubbing, or picking scabs.
- Follow specific cleaning routines for different healing stages.
- Prioritize hygiene to prevent infection and ensure lasting results.
Cleaning microbladed eyebrows involves gentle blotting with sterile water or a specific aftercare solution, typically twice daily for the first 7-14 days. This removes excess lymph and prevents scabbing, allowing the pigment to settle properly. Always use clean hands and a light touch.
Immediate Aftercare: The First 24 Hours
The first 24 hours after your microblading appointment are critical. Your new brows are fresh wounds. They need very specific care right away. I remember feeling a bit nervous about touching mine. The artist gave me clear instructions, and sticking to them made a huge difference.
Your skin will produce lymph fluid during this time. This fluid can dry and form thick scabs. Thick scabs push out pigment, leading to faded results. Your goal is to gently remove this fluid.
Do not let your eyebrows get wet from showering or washing your face. Avoid direct water exposure entirely. Water can affect pigment retention. Use a very light touch.
Your artist will likely give you sterile wipes or a sterile cotton pad. Gently blot your eyebrows every hour or two. This removes the clear or yellowish fluid. Do this for the first 4-6 hours. After this initial period, continue blotting but less frequently. Just ensure no fluid buildup. Remember, gentle is key; you are not scrubbing.
Daily Cleaning Routine for Healing Brows (Days 2-14)
Days 2 through 14 are when most of the healing happens. During this phase, your microbladed eyebrows need consistent, gentle cleaning. This prevents scabbing and infection. My artist told me that consistency is more important than anything.
You will clean your eyebrows twice a day: once in the morning and once in the evening. Always wash your hands thoroughly with antibacterial soap before touching your brows. This prevents germs from entering the open skin.
Use sterile water or a special saline solution provided by your artist. You can also buy sterile saline solution. Dab a small amount onto a clean cotton pad or sterile wipe. Gently wipe your eyebrows in the direction of the hair growth. Do not rub or scrub.
The goal is to remove any dried lymph or old product. Do not over-cleanse. One gentle pass is enough. After cleaning, let your brows air dry for a few minutes. Then, apply a very thin layer of the aftercare ointment your artist recommended. This keeps the area moist and promotes healing. Remember, applying too much ointment can suffocate the skin. Think of it like applying a very thin veil.
Choosing the Right Cleansing Products
Selecting the correct products for cleaning microbladed eyebrows is vital. Using the wrong product can cause irritation, infection, or pigment loss. I learned quickly that what works for my face wash does not work for new microbladed brows.
Your artist will usually recommend a specific product. This is often a sterile saline solution or distilled water. Sometimes they give you small sterile wipes. These are best because they are designed for delicate, broken skin.
- Sterile Saline Solution: This is a gentle, salt-based solution. It cleans without stripping the skin or causing irritation. It is ideal for open wounds. Ensure it is a sterile, unpreserved saline solution. Look for “wound wash” saline.
- Distilled Water: If saline is not available, sterile distilled water works. Boil tap water and let it cool. This makes it sterile for use. Do not use tap water directly. Tap water contains bacteria and chlorine. These can irritate or infect the fresh wounds.
- Gentle Aftercare Cleansers: Some artists may suggest a specific, pH-balanced, gentle cleanser. This cleanser must be free of fragrances, dyes, alcohol, and harsh chemicals. It should be specifically for post-procedure skin. Avoid products like regular facial cleansers, soaps, or makeup removers. These products are too harsh. They can strip the pigment. They can also irritate the skin.
Unlike tackling tough household grime, like when you need to clean the bottom of your shower, your microbladed eyebrows demand a far more delicate touch and specialized products. Never use household cleaning agents on your skin. Always check the ingredients list. When in doubt, ask your microblading artist.
Common Mistakes to Avoid When Cleaning Microbladed Eyebrows
Making mistakes during the healing process can negatively impact your microblading results. Many people accidentally do things that harm their new brows. I know I was worried about messing up. Avoiding these common errors ensures a smooth healing journey.
- Over-cleaning: Cleaning too often or too vigorously can irritate the skin. It can also strip the pigment. Stick to the recommended twice-daily cleaning. More is not better here.
- Using Harsh Products: Avoid any products not specifically approved by your artist. This includes face washes, scrubs, toners, makeup removers, and even certain moisturizers. They contain chemicals or abrasives that damage the delicate new skin and pigment. Remember, chemicals used for heavy-duty tasks, such as removing mold off walls, are far too aggressive for your delicate skin and new pigment.
- Rubbing or Scrubbing: Your microbladed eyebrows are healing wounds. Rubbing or scrubbing them can reopen the strokes. This leads to scarring or loss of pigment. Always blot gently.
- Picking Scabs: As your brows heal, tiny scabs may form. It is crucial not to pick, scratch, or peel these scabs. Let them fall off naturally. Picking scabs pulls out the pigment. It can also cause scarring. This is perhaps the hardest rule to follow for some people.
- Letting Brows Get Soaked: Avoid long showers, swimming, saunas, and excessive sweating. Excessive moisture can dilute the pigment. It can also encourage bacterial growth. Keep showers short and avoid direct water on your face.
- Touching Brows with Unclean Hands: Always wash your hands before touching your eyebrows. This prevents bacteria from getting into the open wounds. Just as you would ensure your kitchen is spotless, learning how to clean under a refrigerator for hygiene, maintaining strict hygiene around your microbladed brows is equally vital.
Avoiding these pitfalls is as important as the cleaning itself. It helps your brows heal beautifully.
Long-Term Care for Healed Microblading
Once your microbladed eyebrows are fully healed, the strict cleaning routine changes. However, ongoing care is still important. This care ensures your pigment stays vibrant. My artist gave me tips for long-term maintenance. I follow them to protect my investment.
After the initial healing period (usually 4-6 weeks), your skin has fully closed over the pigment. You can resume your normal facial cleansing routine. Use a gentle cleanser, but avoid harsh exfoliants directly on your brows. Products containing strong acids like Retinoids, Glycolic Acid, or Salicylic Acid can fade the pigment over time. If you use these products, apply them carefully around your brows.
Sun exposure is the number one enemy of microblading pigment. UV rays break down the pigment, causing it to fade and change color. Always apply a high SPF sunscreen (SPF 30 or higher) to your brows when outdoors. Use a sun hat or sunglasses for added protection. This is a simple step, but very effective.
Regular touch-up appointments are also part of long-term care. Microblading is semi-permanent. The pigment naturally fades over time. Most people need a touch-up every 12-18 months. This keeps your brows looking fresh and defined. Neglecting touch-ups will lead to very faded, dull brows.
Even after healing, do not scrub your brows aggressively. Gentle cleansing and care extend their life. You wouldn’t scrub your brows like you might clean a ceiling with strong cleaners; gentleness is key. Consistent care, even after the healing phase, preserves your beautiful brows.
Signs of Infection and What to Do
While proper cleaning helps prevent infection, it is important to know the signs. Infections can delay healing. They can also affect your final eyebrow appearance. Recognizing problems early allows for quick action. I made sure to know what to look for, just in case.
Watch your microbladed eyebrows closely during the first two weeks. Normal healing involves some redness, mild swelling, and light scabbing. Itching is also common. These are all part of the natural healing process.
However, certain signs point to a possible infection:
- Increased Redness: If the redness spreads beyond the immediate brow area or becomes much brighter.
- Pus or Discharge: Yellow or green discharge coming from the brows. This is a clear sign of infection.
- Severe Swelling: Swelling that increases or becomes painful, especially beyond the first 24-48 hours.
- Pain: Intense or throbbing pain that gets worse, not better, over time.
- Fever: A general feeling of sickness or a fever indicates a systemic infection.
- Warmth: If the area feels hot to the touch.
If you notice any of these signs, contact your microblading artist immediately. They can advise you. More importantly, see a doctor or dermatologist right away. Do not try to treat an infection yourself with home remedies. A doctor can diagnose the problem. They can prescribe antibiotics if needed. Early treatment is crucial to prevent serious complications. An infection can ruin your microblading results. It can also cause scarring.
Maintaining Pigment Retention: Beyond Cleaning
Cleaning microbladed eyebrows correctly is a huge part of pigment retention. But other factors play a role too. Understanding these factors helps your brows stay vibrant for longer. I learned about these extra steps from my artist. They help my brows look their best between touch-ups.
- Sun Protection: As mentioned earlier, UV rays are a major enemy. Always use SPF 30+ on your brows when exposed to the sun. Wear hats or sunglasses for extra protection. This prevents fading and color changes.
- Avoid Certain Skincare Ingredients: Some common skincare ingredients can cause your microblading to fade faster. These include:
- Retinoids (Retinol, Tretinoin)
- Glycolic Acid (AHA)
- Salicylic Acid (BHA)
- Vitamin C serums (especially high concentrations)
- Physical exfoliants (scrubs) These ingredients promote skin cell turnover. This process can push out pigment over time. If you use them on your face, avoid direct application to your microbladed eyebrows. Apply them around the brow area.
- Hydration and Diet: Healthy skin retains pigment better. Drink plenty of water. Eat a balanced diet rich in vitamins and minerals. Healthy skin cells support the longevity of the pigment.
- Avoid Face Treatments: Certain professional face treatments can also affect pigment. Chemical peels, laser treatments, microdermabrasion, and even some facials can lighten or change your brow color. Always inform your aesthetician about your microblading. They can adjust the treatment to avoid your brows.
- Touch-Up Schedule: Sticking to your artist’s recommended touch-up schedule is key. This is typically every 12-18 months. Touch-ups refresh the color and redefine the strokes. They ensure your brows remain sharp and natural-looking.
By incorporating these practices, you go beyond basic cleaning. You create an optimal environment for long-lasting, beautiful microbladed eyebrows.
FAQ Section
Can I use regular soap to clean microbladed eyebrows?
No, do not use regular soap. Regular soaps contain harsh chemicals, fragrances, and dyes. These can irritate the delicate healing skin. They can also strip the newly implanted pigment. Stick to sterile water, saline solution, or a gentle cleanser recommended by your microblading artist.
How often should I clean my microbladed eyebrows?
During the initial healing phase (usually days 2-14), clean your microbladed eyebrows twice a day. Clean them once in the morning and once in the evening. In the first 24 hours, you may need to blot them more frequently to remove lymph fluid.
What if my microbladed eyebrows get wet accidentally?
If your microbladed eyebrows accidentally get wet, gently blot them immediately with a clean paper towel. Do not rub. Lightly dry the area. Avoid soaking or prolonged water exposure during the healing period, as this can affect pigment retention and increase infection risk.
How long do I need to clean them?
You need to follow a specific cleaning routine for the first 10-14 days, or until all scabbing has naturally fallen off. After this initial healing period, you can resume your normal, gentle facial cleansing routine, but continue to avoid harsh products directly on the brows.
Can I put makeup on during the healing process?
Avoid applying any makeup directly on or around your microbladed eyebrows during the initial healing period (at least 10-14 days). Makeup can introduce bacteria, leading to infection. It can also interfere with the pigment settling. Wait until your brows are fully healed before using makeup on them.
What is “dry healing” and how does it relate to cleaning?
Dry healing is an aftercare method where you avoid any cleaning or applying any products (including ointment) to your microbladed eyebrows after the initial lymph blotting. While it may reduce scabbing, many artists still recommend very gentle, minimal cleaning with sterile water or saline to promote optimal pigment retention and prevent heavy crusting.
Conclusion
Caring for your microbladed eyebrows correctly is not just about cleaning; it is about preserving your beauty investment. Learning how to clean microbladed eyebrows properly is a simple yet vital process. You now have the knowledge for each stage of healing. From the immediate aftercare to daily routines, and even long-term maintenance, every step matters.
Remember to be gentle. Use only recommended products. Avoid harsh chemicals and unnecessary moisture. By following these guidelines, you prevent infections. You also ensure your pigment heals beautifully. Your journey to perfect, lasting brows depends on this diligent care. Embrace these practices, and enjoy your stunning microbladed eyebrows for years to come.
- microblading aftercare
- eyebrow cleaning
- semi-permanent makeup
- healed microblading
- pigment retention