· Tools & Home Improvement · 7 min read
How To Clean Orbital Sander Pad?
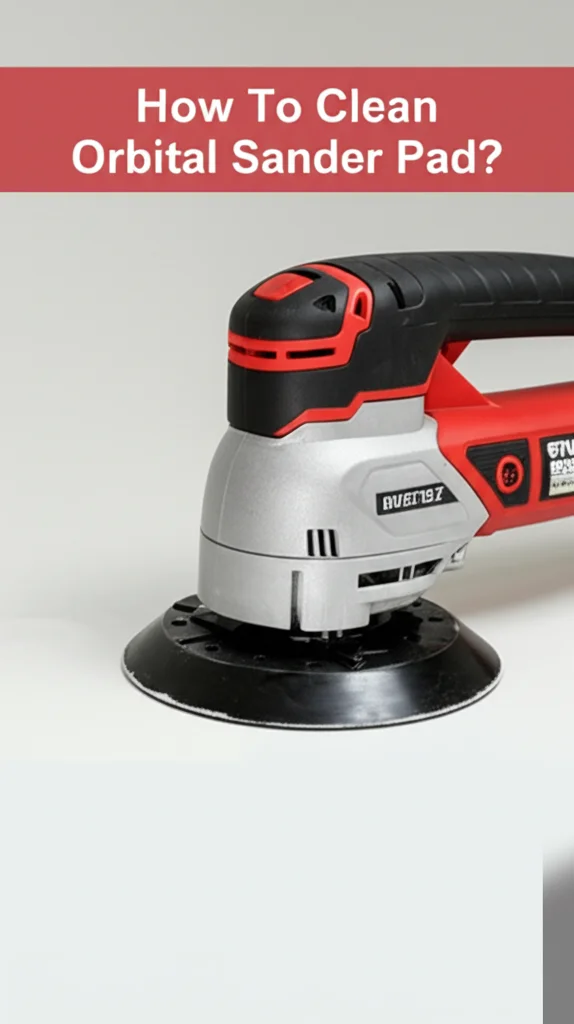
Keeping Your Sander Smooth: How To Clean An Orbital Sander Pad
Ever notice your orbital sander isn’t performing as well as it used to? A clogged sander pad is often the culprit. Dust and debris build up quickly, reducing its effectiveness and potentially damaging your workpiece. Cleaning your orbital sander pad regularly is crucial for maintaining its performance and extending its lifespan. This article will guide you through everything you need to know about cleaning your orbital sander pad, from quick daily maintenance to more thorough deep cleaning methods. We’ll cover different pad types and the best techniques for each, ensuring you get the smoothest possible sanding results.
Quick Answer: To clean an orbital sander pad, first disconnect the power. Use a brush or compressed air to remove loose dust. For sticky residue, use a rubber sanding pad cleaning block or gently scrape with a plastic putty knife. Avoid harsh chemicals and always ensure the pad is completely dry before reattaching.
Takeaway:
- Regular cleaning prevents dust buildup.
- Different pad types require different cleaning methods.
- Proper cleaning extends the life of your sander pad.
Why Cleaning Your Orbital Sander Pad Matters
Think of your orbital sander pad like a sponge – it absorbs all the sanding dust. Over time, this dust compacts, reducing the pad’s ability to grip the sandpaper and transfer energy efficiently. This leads to uneven sanding, scratches, and a generally poor finish. A clogged pad also puts extra strain on the sander motor, potentially shortening its lifespan. Regular cleaning isn’t just about performance; it’s about protecting your investment and ensuring consistent, high-quality results. Plus, a clean pad means less dust flying around your workspace, creating a healthier environment.
Understanding Different Orbital Sander Pad Types
Before diving into cleaning methods, it’s important to know what kind of pad you’re dealing with. Different materials require different approaches. Here’s a breakdown of common orbital sander pad types:
- Rubber Pads: These are the most common and durable type. They’re relatively easy to clean and can withstand a good amount of scrubbing.
- Cork Pads: Cork pads offer excellent cushioning and are ideal for delicate surfaces. They’re more susceptible to damage from harsh cleaning methods.
- Foam Pads: Foam pads are lightweight and provide good conformability. However, they’re the most delicate and require gentle cleaning to avoid tearing or crumbling.
- Hook & Loop (Velcro) Pads: These pads have a fabric surface that secures the sandpaper. They require special attention to keep the hooks clear of debris.
Knowing your pad type will help you choose the right cleaning method and avoid damaging it.
Daily Maintenance: Quick Dust Removal
The easiest way to keep your orbital sander pad in good condition is to perform quick maintenance after each use. This prevents dust from building up and becoming difficult to remove. Here’s how:
- Disconnect the Power: Always, always disconnect the sander from the power source before cleaning. Safety first!
- Brush It Off: Use a stiff-bristled brush (an old toothbrush works well) to gently brush away loose dust and debris. Pay attention to the edges and crevices.
- Compressed Air: For a more thorough cleaning, use compressed air to blow out any remaining dust. Hold the nozzle at a slight angle to avoid embedding the dust further.
- Tack Cloth: Wipe the pad with a tack cloth to pick up any lingering fine dust particles.
This quick routine takes just a few minutes and can significantly extend the life of your sander pad.
Deep Cleaning: Tackling Sticky Residue and Build-Up
Sometimes, brushing and compressed air aren’t enough. When you encounter sticky residue from adhesives, paint, or other materials, you’ll need to deep clean your orbital sander pad. Here are a few effective methods:
- Rubber Sanding Pad Cleaning Block: These blocks are specifically designed to remove residue from rubber pads. Simply rub the block across the pad surface to lift away the debris. You can find these at most hardware stores. https://www.beacleaner.com/how-to-clean-vinyl-plank-flooring/
- Plastic Putty Knife: Gently scrape away the residue with a plastic putty knife. Be careful not to gouge or damage the pad surface. Avoid using metal tools, as they can scratch the pad.
- Mild Soap and Water: For stubborn residue, mix a small amount of mild dish soap with warm water. Dip a soft cloth into the solution and gently wipe the pad. Rinse thoroughly with clean water and allow to air dry completely.
- Isopropyl Alcohol (Use with Caution): Isopropyl alcohol can dissolve some types of residue, but it can also damage certain pad materials. Test a small, inconspicuous area first. If it doesn’t cause any discoloration or damage, you can use it sparingly to clean the pad.
Cleaning Hook & Loop (Velcro) Pads
Hook & loop pads require special care to maintain their gripping ability. Dust and debris can easily get lodged in the hooks, reducing their effectiveness. Here’s how to clean them:
- Roller Lint Remover: A roller lint remover is an excellent tool for removing dust and debris from hook & loop pads. Simply roll it across the surface to pick up the particles.
- Stiff Brush: Use a stiff brush to dislodge any stubborn debris. Be careful not to damage the hooks.
- Compressed Air: Use compressed air to blow out any remaining particles.
- Avoid Soap and Water: Soap and water can damage the hook & loop material, so avoid using them.
Keeping your hook & loop pad clean will ensure a secure grip for your sandpaper, resulting in more efficient sanding.
Caring for Delicate Cork and Foam Pads
Cork and foam pads are more delicate than rubber pads and require gentle cleaning methods. Here’s how to care for them:
- Compressed Air: Use compressed air to gently blow away loose dust and debris.
- Soft Brush: Use a very soft brush to gently remove any remaining particles.
- Avoid Water and Solvents: Water and solvents can damage cork and foam pads, so avoid using them.
- Replace When Worn: Cork and foam pads tend to wear out more quickly than rubber pads. Replace them when they become significantly worn or damaged. You might also consider looking at how to clean luxury vinyl plank flooring https://www.beacleaner.com/how-to-clean-luxury-vinyl-plank-flooring/ to get an idea of gentle cleaning techniques.
Drying Your Orbital Sander Pad Properly
After cleaning your orbital sander pad, it’s crucial to ensure it’s completely dry before reattaching it to the sander. Moisture can damage the pad and potentially cause electrical hazards. Here’s how to dry it properly:
- Air Dry: Allow the pad to air dry completely in a well-ventilated area.
- Avoid Direct Heat: Do not use a hairdryer or other heat source to speed up the drying process, as this can damage the pad.
- Check for Moisture: Before reattaching the pad, carefully check for any remaining moisture. If it’s still damp, allow it to dry for a longer period.
FAQ About Cleaning Orbital Sander Pads
Q: How often should I clean my orbital sander pad?
A: It depends on how frequently you use your sander and the type of material you’re sanding. As a general rule, perform a quick cleaning after each use and a deep cleaning every few weeks or as needed.
Q: Can I use a solvent to clean my orbital sander pad?
A: Some solvents can be used, but with caution. Isopropyl alcohol can dissolve some residue, but test it on an inconspicuous area first. Avoid harsh solvents like acetone or paint thinner, as they can damage the pad.
Q: What if my hook & loop pad no longer grips the sandpaper?
A: The hooks may be clogged with debris. Try using a roller lint remover or a stiff brush to clean them. If that doesn’t work, the pad may be worn out and need to be replaced.
Q: Is it okay to use water to clean my orbital sander pad?
A: It depends on the pad type. Rubber pads can generally be cleaned with mild soap and water. However, avoid using water on cork and foam pads.
Conclusion: Maintaining a Smooth Sanding Experience
Cleaning your orbital sander pad is a simple yet essential maintenance task that can significantly improve your sanding results and extend the life of your tool. By following the tips outlined in this guide, you can keep your sander running smoothly and efficiently. Remember to choose the appropriate cleaning method based on your pad type and always prioritize safety by disconnecting the power before cleaning. Don’t forget to regularly inspect your sandpaper as well – a dull or clogged sheet will also hinder your progress. If you’re dealing with tough stains elsewhere, you might find helpful tips on how to remove mold from painted walls https://www.beacleaner.com/how-to-remove-mold-from-painted-walls/. A clean sander pad, combined with sharp sandpaper, will ensure a flawless finish every time.
- orbital sander
- sander pad cleaning
- power tool maintenance
- sanding dust removal
- tool cleaning