· Home Electronics Cleaning · 17 min read
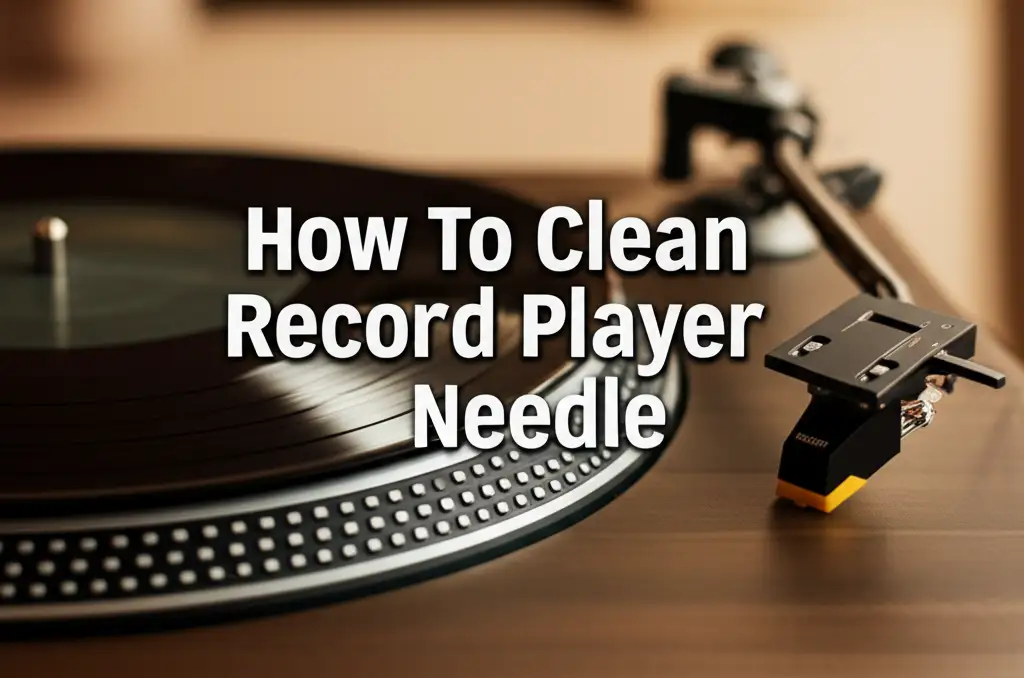
How To Clean Record Player
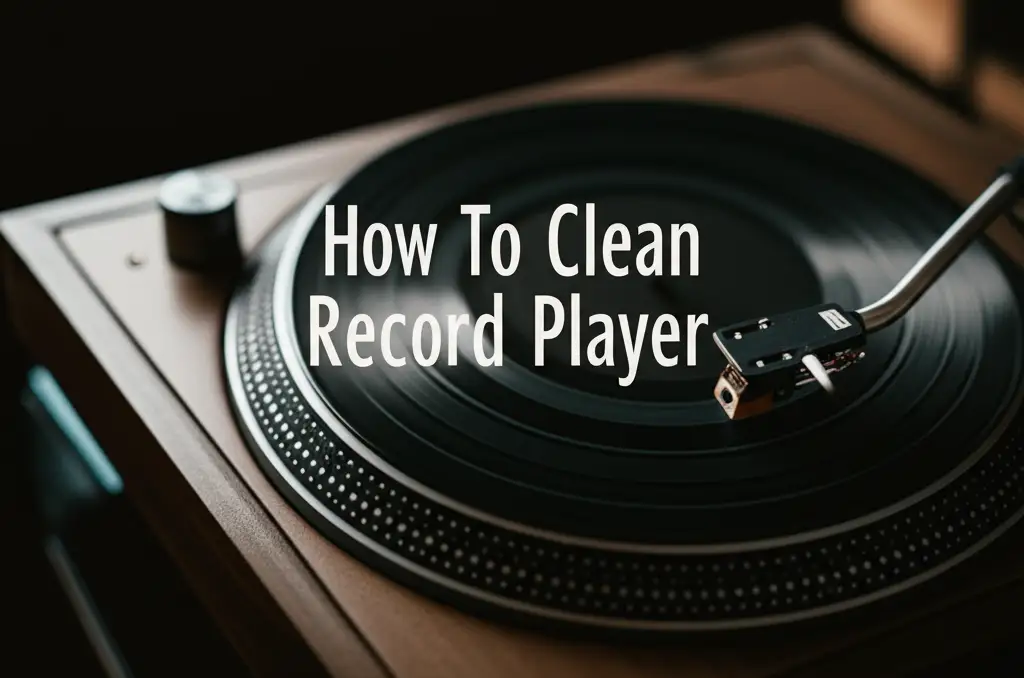
How to Clean Your Record Player for Pristine Sound
Your record player brings warm, rich sound into your home. Over time, dust and grime can build up on its delicate parts. This build-up affects sound quality and can even damage your precious vinyl records. Knowing how to clean record player components properly is essential for any music lover.
I understand the joy of dropping the needle on a favorite LP. I also know the frustration of hearing crackles and pops that should not be there. Regular cleaning keeps your turntable working its best. It extends the life of both your player and your record collection. This guide will walk you through every step. We will cover the tools you need and the careful techniques for each part of your record player. Let’s make your listening experience clearer than ever.
Takeaway:
- Regular cleaning prevents sound degradation and component damage.
- Use specific, gentle tools for each part of your record player.
- Always handle delicate parts like the stylus and tonearm with extreme care.
- A clean environment helps maintain your player’s condition.
To clean a record player, first gather specialized tools like a carbon fiber brush and stylus cleaner. Next, gently remove dust from the plinth, platter, and dust cover. Carefully clean the stylus and tonearm using specific methods. Regularly maintain your player to keep sound quality high and prevent damage.
Why Cleaning Your Record Player Matters Greatly
Keeping your record player clean is not just about looks. It deeply affects its performance and lifespan. Dust and dirt are common enemies of good sound. They can settle on various parts of your turntable. This buildup leads to many problems.
A dirty record player changes how your music sounds. Dust on the needle, also known as the stylus, makes it hard to read the grooves on your records. This causes static, pops, and muffled audio. You hear less detail in your favorite songs. Dirty components also create friction and wear. This can shorten the life of parts like the drive belt or motor. I want my music to sound its best. That is why I make cleaning a regular practice. It protects my investment in both the player and my vinyl collection. A clean player gives a clear, pure sound. It also lasts longer, giving you many more years of enjoyment.
Essential Tools and Supplies for Record Player Cleaning
Having the right tools makes record player cleaning safe and effective. You cannot just use any cloth or brush. Delicate components need specific care. Before you begin cleaning, make sure you have everything ready. This prevents stops and starts.
First, you need a soft, lint-free microfiber cloth. This is great for general dusting of the plinth and dust cover. Next, a carbon fiber record brush is important. This brush removes dust and static from your records before playing them. For the platter, you might need a separate, gentle brush. A small air blower, like one for camera lenses, is also useful. It can remove loose dust from hard-to-reach areas without touching them. I always keep these items close by. They are my first line of defense against dust. These tools protect the delicate surfaces of my player. They also make sure no new dust is introduced during cleaning.
Specialized Cleaners for Delicate Parts
Some parts of your record player require very specialized cleaning tools. The stylus, for example, is tiny and very fragile. You cannot clean it with a standard cloth. A dedicated stylus cleaning brush is necessary. This brush has very fine, soft bristles. It is designed to gently lift dirt from the needle tip. Some people also use a stylus cleaning solution. This liquid is applied sparingly to the brush, not directly to the stylus.
Another helpful item is isopropyl alcohol. Use this in a diluted form for cleaning metal parts or rubber mats, but always check your player’s manual first. Distilled water is also safe for many surfaces. Never use harsh chemicals like ammonia or abrasive cleaners. These can damage the finishes and delicate electronics. Always choose products made for audio equipment. I recommend investing in these specialized items. They ensure you clean your record player safely. Proper tools prevent accidental damage. They help maintain your player’s high performance for years to come.
Cleaning the Record Player Needle (Stylus)
The record player needle, or stylus, is the most crucial part for sound quality. It is also the most delicate. Dirt on the stylus causes poor sound and can damage your records. Cleaning it requires extreme care and the right tools. Do not rush this step.
First, power off your record player. Then, gently lift the tonearm and secure it in its rest. You need a specialized stylus brush. These brushes have very fine bristles. They are made for this exact purpose. Always brush the stylus from back to front. Imagine the direction a record spins under the needle. You want to brush along that path. Never brush side to side or front to back. This can bend or break the delicate cantilever that holds the stylus. I use a few gentle strokes to remove dust. Sometimes, a tiny drop of stylus cleaning solution can help with stubborn grime. Apply it to the brush, then brush the stylus. Do not apply liquid directly to the stylus. Cleaning the stylus frequently is a must. It keeps your records safe and your sound clear. This small step makes a big difference in your listening experience. You can find more detailed instructions here: how to clean record player needle.
Addressing Stubborn Stylus Grime
Sometimes, simple brushing is not enough for a very dirty stylus. Over time, a hardened build-up of vinyl residue and dust can form. This grime severely impacts sound and harms your records. When this happens, you need a more focused approach. However, continue to be extremely gentle.
You can use a stylus cleaning fluid specifically designed for this task. These fluids contain agents that dissolve stubborn residue without harming the stylus or cartridge. Apply one tiny drop of the fluid to your stylus brush. Then, gently brush the stylus from back to front, as described before. Repeat this a few times until the grime lifts. Some audiophiles also use a special gel or “magic eraser” for stylus cleaning. You gently dip the stylus into the gel or touch it to the eraser. The sticky surface pulls off debris. Always follow the product instructions carefully. Remember, the stylus is very fragile. Any incorrect motion can cause permanent damage. A clean stylus ensures the best sound. It also protects your valuable record collection from wear.
Cleaning the Platter and Mat
The platter is the large, rotating disc where you place your records. The mat sits on top of the platter. Both can collect dust and static, which then transfers to your records. Cleaning these parts ensures a stable, clean surface for your vinyl. This leads to better sound reproduction.
Start by removing the record mat from the platter. Give the mat a good shake outdoors to remove loose dust. If your mat is felt, use a lint roller or a sticky brush to pick up fibers and dust. If it is rubber, you can wipe it with a damp microfiber cloth using a mild soap solution. Make sure it is completely dry before placing it back. Next, focus on the platter itself. Many platters are metal or acrylic. Use a soft, dry microfiber cloth to wipe down the platter. Work in a circular motion. If there is stubborn grime, a very slightly damp cloth with distilled water can work. Always ensure the platter is completely dry before reassembling. Cleaning the platter and mat removes potential sources of static and dust. It also provides a clean surface. This helps your records sound their best.
Maintaining Your Platter’s Surface
The platter’s surface needs regular attention to prevent dust buildup. Dust on the platter can create static. It can also transfer to the underside of your records. This leads to unwanted noise. A clean platter provides a solid, stable base for playback.
After cleaning the mat, gently wipe the platter with a dry microfiber cloth. Pay attention to the edges and any grooves. If your platter is metal, avoid using abrasive cleaners. These can scratch the finish. For acrylic platters, special acrylic cleaners can remove fingerprints and smudges without scratching. Always apply cleaner to the cloth, not directly to the platter. This prevents liquid from seeping into mechanical parts. I make sure my platter is spotless every few weeks. This routine keeps my records pristine. It also prevents static electricity from building up. A well-maintained platter helps your record player perform optimally. This small effort provides a noticeable improvement in sound quality.
Cleaning the Tonearm and Cartridge Body
The tonearm holds the cartridge and stylus. It is a very sensitive part of your record player. The cartridge body, which houses the stylus, can also collect dust. Cleaning these parts requires a light touch and attention to detail. Any forceful handling can cause misalignment or damage.
Begin by gently securing the tonearm in its rest. Use a soft, dry artist’s brush or a very fine, clean paintbrush. Gently brush away any dust from the tonearm tube. Brush from the pivot point towards the cartridge. Be extremely careful around the wires leading to the cartridge. Do not tug or pull on them. For the cartridge body, use the same soft brush. Lightly sweep away dust from the top and sides. Avoid touching the stylus directly during this step. I always work slowly and deliberately here. The tonearm balance is very delicate. Even a slight bump can affect tracking force. This careful cleaning helps the tonearm move freely. It also ensures the cartridge functions correctly. Maintaining these parts keeps your record player playing beautifully.
Precision Cleaning of Tonearm Components
Some parts of the tonearm assembly are even more intricate. The anti-skate mechanism, the counterweight, and the tonearm lift can gather dust. These components are vital for accurate tracking of your records. A buildup of grime can hinder their smooth operation.
Use a small air blower to gently dislodge dust from these tight spots. A cotton swab, very lightly dampened with distilled water, can clean small crevices. Be careful not to leave any cotton fibers behind. Do not use cleaning solutions on any part of the tonearm unless the manufacturer specifically recommends it. Liquid can seep into bearings or electrical contacts. I inspect these areas closely during my cleaning routine. Keeping them clean allows for precise adjustments. Proper tonearm function is key to good sound. It also reduces wear on your stylus and records. This attention to detail ensures your record player performs at its peak.
Cleaning the Dust Cover and Plinth (Base)
The dust cover and plinth make up the main exterior of your record player. While they do not directly affect sound, their cleanliness contributes to the overall protection and aesthetics. A dirty dust cover lets dust settle on internal components. A clean exterior also makes your record player look great.
For the dust cover, if it is acrylic, use a soft microfiber cloth. You can slightly dampen the cloth with a mixture of distilled water and a tiny bit of mild dish soap. Wipe gently to remove fingerprints and dust. Always wipe in a straight line, not circles, to prevent swirl marks. If it is glass, you could use a very mild glass cleaner applied to the cloth first, not directly to the cover. Never use abrasive cleaners, as they will scratch acrylic. For the plinth, which is the base, simply wipe it down with a dry or slightly damp microfiber cloth. Make sure all surfaces are completely dry afterward. I clean my dust cover weekly. It acts as the first line of defense against dust. A clean plinth also shows pride in my audio setup. These simple steps keep your record player looking good. They also help protect its delicate inner workings from environmental dust.
Caring for Your Record Player’s Exterior
The exterior of your record player, including the plinth and control knobs, faces daily dust and fingerprints. Regular care here is simple but effective. It prevents dirt from migrating to more sensitive internal parts. A well-maintained exterior reflects a well-cared-for machine.
Use a soft, dry microfiber cloth for daily dusting of the plinth. If your plinth has a wood finish, use a wood-safe cleaner or polish specifically designed for electronics. Apply it to the cloth, then wipe. For metal or plastic parts, a lightly damp cloth followed by a dry one works well. For control knobs and buttons, use a cotton swab to get into crevices. Be gentle. Avoid spraying liquids directly onto the player. This prevents moisture from seeping into electronics. I make sure to wipe down my player’s exterior every few days. This keeps dust from settling on the internal parts. It also ensures my record player always looks its best. A clean exterior complements the clean sound it produces.
Deep Cleaning and Advanced Tips for Your Turntable
Beyond regular dusting, sometimes your record player needs a deeper clean. This might involve cleaning parts you do not access often. It also includes addressing specific issues like static or old lubrication. These steps can significantly improve performance and extend life.
Consider cleaning the drive belt if your player uses one. Over time, belts can gather dust or degrade, affecting speed stability. Carefully remove the platter to access the belt. Wipe the belt with a clean, lint-free cloth. You can also wipe the motor pulley. If the belt looks stretched or cracked, replace it. Another tip is to clean the RCA output jacks and cables. Use a contact cleaner specifically made for electronics. Apply it to a cotton swab and gently clean the jacks. This ensures a good signal path. I check these hidden areas periodically. They can hold surprising amounts of grime. A deep clean can bring out the best in your turntable. It often makes a noticeable difference in sound clarity and playback stability.
Addressing Static Electricity and Lubrication
Static electricity is a common problem for record player owners. It causes clicks and pops and attracts more dust. Proper cleaning can help, but other steps are also useful. Lubrication, though less frequent, is vital for some moving parts.
To reduce static, ensure your record player is properly grounded. Use anti-static record sleeves. You can also use anti-static record brushes before playing. For the record player itself, a clean environment helps. Dry air contributes to static. Using a humidifier in your listening room can help. Regarding lubrication, some older turntables have parts that need a tiny drop of specialized oil or grease. This is often in the platter bearing or motor. Check your player’s manual for specific lubrication points and types. Do not over-lubricate. Too much can attract dust. I keep an eye on static buildup, especially in dry seasons. Adding a humidifier has helped me. Proper lubrication, if needed, ensures smooth operation. These advanced steps keep your record player running smoothly. They contribute to a quiet, enjoyable listening experience.
Preventative Maintenance for Long-Term Record Player Care
The best way to keep your record player clean is to prevent it from getting dirty in the first place. Good habits and a proper environment make a big difference. Preventative maintenance saves you time and effort in the long run. It also protects your investment.
Always use your dust cover when the record player is not in use. This simple action stops dust from settling on the platter, tonearm, and stylus. Store your records in proper sleeves. This prevents dust and grime from transferring to your player. Clean your records before every play. A carbon fiber brush removes surface dust and static. I always wipe down my records before I put them on. This small step protects my stylus from unnecessary wear. It also keeps my player cleaner overall. A tidy listening area also helps. Dust and pet hair often come from the surroundings. Keeping your room clean reduces airborne particles. These routine steps add up. They ensure your record player stays in top condition. They also keep your music sounding its best for years to come.
Creating an Optimal Environment
The environment where your record player sits plays a huge role in its cleanliness and performance. Avoiding certain conditions can reduce dust buildup and prolong component life. Think about where your player lives in your home.
Place your record player away from direct sunlight. Sunlight can warp records and degrade rubber parts like belts. Avoid placing it near heat sources like radiators or vents. These can also cause material degradation. Keep it away from high-traffic areas where dust stirs up easily. Pet hair is a big enemy for record players. If you have pets, consider a dedicated cover. Regularly vacuum your listening area. This reduces the amount of dust that settles on your player. I try to keep my listening space tidy. It helps my record player stay clean. A stable, clean environment ensures your player performs consistently. It also means less frequent deep cleaning. Protecting your player from environmental factors is smart. It helps you enjoy your music without interruption.
FAQ Section
How often should I clean my record player?
Clean your record player based on use. Wipe the dust cover and plinth weekly. Clean your stylus and records before each play. A deeper clean of the platter and tonearm every few months is good. This schedule keeps dust from building up. It maintains sound quality.
Can I use household cleaners on my record player?
No, avoid most household cleaners. They often contain harsh chemicals that can damage delicate electronics, plastic, or finishes. Stick to specialized record player cleaners or mild solutions like distilled water with a tiny bit of dish soap for exteriors. Always apply cleaner to a cloth, not directly to the player.
What is the most important part of my record player to keep clean?
The stylus (needle) is the most important part to keep clean. It directly touches your records. A dirty stylus causes poor sound and can damage vinyl grooves. Always use a dedicated stylus brush and clean it gently from back to front.
How does cleaning my record player improve sound quality?
Cleaning your record player removes dust and grime from the stylus, platter, and records. A clean stylus tracks grooves better, reducing static and pops. A clean platter provides a stable base. This results in clearer, more accurate, and enjoyable sound.
What happens if I don’t clean my record player?
If you do not clean your record player, dust will build up. This leads to muffled sound, increased static, and record wear. The stylus can clog, damaging both itself and your records. Overall, neglecting cleaning shortens your record player’s lifespan and degrades your listening experience.
Can a dirty record player damage my vinyl records?
Yes, a dirty record player can damage your vinyl records. A stylus covered in dust or grime can scratch the record grooves. This creates permanent noise and reduces the record’s lifespan. Always ensure your stylus and records are clean before playing.
Conclusion
Cleaning your record player is a simple act of care that brings big rewards. It is not just about keeping the surface shiny. It is about protecting sensitive components. It ensures your beloved vinyl collection sounds its very best. We have walked through cleaning every part, from the delicate stylus to the robust plinth.
Remember, consistent, gentle cleaning prevents dust buildup and extends your player’s life. Use the right tools, especially for the fragile needle. I know that putting in the effort to clean my record player makes a noticeable difference. It brings me closer to the music. Now, it is your turn. Take these steps to maintain your turntable. Enjoy crystal-clear sound from every record. Keep your record player performing beautifully for years to come. Your ears, and your records, will thank you.
- record player cleaning
- turntable maintenance
- vinyl care
- stylus cleaning
- audio equipment