· Home Maintenance · 19 min read
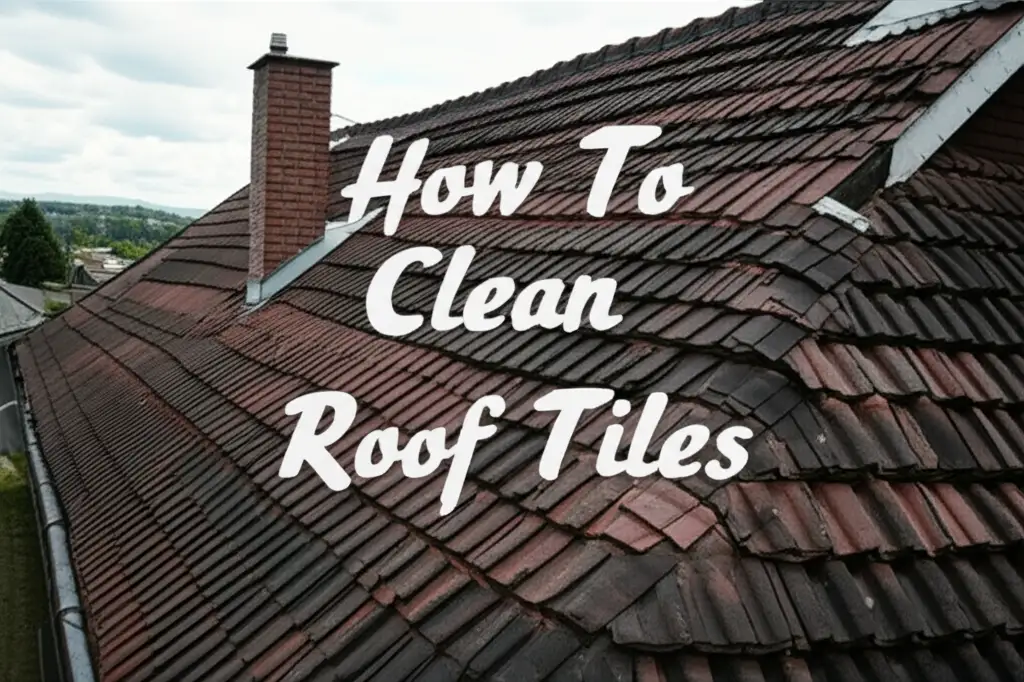
How To Clean Roof Tiles
Transform Your Home: How To Clean Roof Tiles Effectively
Does your roof look dull or discolored? Are unsightly green patches of moss taking over your roof tiles? Cleaning roof tiles is a task many homeowners overlook. Yet, a clean roof does more than just boost curb appeal. It protects your home’s structure and prolongs the life of your roofing materials. I understand the challenge of a dirty roof. This guide will walk you through the entire process, making it simple and manageable. We will cover safety, cleaning methods, and maintenance tips. By the end, you will know exactly how to clean roof tiles for a healthier, more attractive home. Let’s get your roof sparkling again!
Takeaway
- Prioritize safety with proper gear and ladder stability before starting any roof work.
- Choose the correct cleaning method based on your tile type and the extent of grime.
- Use gentle, low-pressure washing or appropriate chemical solutions to avoid damage.
- Regular maintenance helps prevent moss, algae, and lichen from returning quickly.
- Consider professional help for very steep roofs or extensive contamination.
To clean roof tiles, first assess the roof’s condition and gather safety gear. Then, select a suitable cleaning method, such as soft washing with a specialized cleaner or a gentle DIY solution. Apply the solution, allow it to work, and rinse thoroughly with low pressure, always working downwards to prevent water damage and ensure effective grime removal.
Why Cleaning Your Roof Tiles Matters: Benefits Beyond Looks
A dirty roof is not just an eyesore. It can also cause real damage to your home. Organic growth like moss, algae, and lichen holds moisture against your roof tiles. This constant dampness can lead to several problems. It can cause tiles to become brittle, crack, or even lift. Over time, this damage can lead to costly repairs or even a full roof replacement.
I have seen many roofs suffer from neglect. Moss roots can penetrate the tile surface, weakening its integrity. Algae often creates dark streaks, which absorb more heat and can increase your home’s energy costs. Lichen forms a strong bond with the tile, making it difficult to remove without proper techniques. Cleaning roof tiles prevents these issues. It helps maintain the protective layer of your roof.
Beyond protecting your home, cleaning your roof tiles significantly boosts curb appeal. A clean, vibrant roof makes your entire property look well-maintained and inviting. This can be a huge advantage if you plan to sell your home. A sparkling roof also reflects sunlight better, potentially lowering your attic temperature and cooling costs during hot months. It preserves your investment in your home. Regular cleaning protects your roof, saves money on future repairs, and keeps your home looking its best.
Safety First: Essential Precautions for Cleaning Roof Tiles
Cleaning roof tiles involves working at heights. This means safety must be your absolute top priority. I cannot stress this enough: a fall from a roof can cause serious injury or worse. Always take precautions before you even think about stepping onto your roof. Do not work alone. Have someone spot you and assist if needed. They can also hand you tools or call for help in an emergency.
Start by inspecting your ladder. Ensure it is sturdy and placed on firm, level ground. Extend it at least three feet above the roofline. Secure the ladder to the house if possible. Wear appropriate non-slip footwear. Roofing shoes or soft-soled boots offer the best grip. Avoid walking on wet, mossy areas directly, as these are extremely slippery. If your roof has a steep pitch, consider hiring professionals or using a safety harness system.
Check the weather forecast. Do not clean your roof on windy days, during rain, or when ice is present. A dry, calm day is ideal for the job. Also, disconnect any power to nearby electrical lines or outdoor fixtures. Protect your eyes with safety glasses and your hands with sturdy gloves. Consider a long-sleeved shirt and pants to protect your skin from chemicals and debris. Your safety ensures the job gets done right. Always prioritize your well-being over speed.
Choosing the Right Method: Cleaning Solutions for Your Roof Tiles
Selecting the correct method for cleaning roof tiles is crucial. Different types of tiles and varying degrees of grime require specific approaches. You want to clean effectively without causing damage. High-pressure washing is generally not recommended for roof tiles. It can strip granules, force water under tiles, and shorten your roof’s lifespan. Instead, focus on softer methods that rely on effective cleaning solutions.
For general dirt and light algae, a simple rinse with a garden hose might be enough. For more stubborn growth, you will need a specialized cleaning solution. These solutions work by killing organic matter like moss and algae. This allows them to detach and wash away naturally over time. Understanding your tile type, such as concrete, clay, or slate, helps you choose the gentlest yet most effective cleaner.
Some solutions are ready-to-use, while others require dilution. Always read product labels carefully. They provide specific instructions and safety warnings. Test any solution on an inconspicuous area of your roof first. This checks for discoloration or adverse reactions. Choosing the right product protects your tiles and ensures a successful cleaning outcome.
Soft Washing Techniques for Gentle Cleaning
Soft washing is the preferred method for cleaning roof tiles. It uses low-pressure water combined with a cleaning solution. This method gently removes grime and organic growth without damaging your roof. A soft wash system typically includes a pump that applies the solution at garden hose pressure. The solution does the work, not the force of the water.
This method is especially effective for removing widespread moss, algae, and lichen. The chemicals in the soft wash solution penetrate the growth, killing it at its root. This prevents immediate regrowth. You apply the solution evenly over the affected areas. Allow it to sit for the recommended time, usually 15-30 minutes. This dwell time lets the solution break down the contaminants.
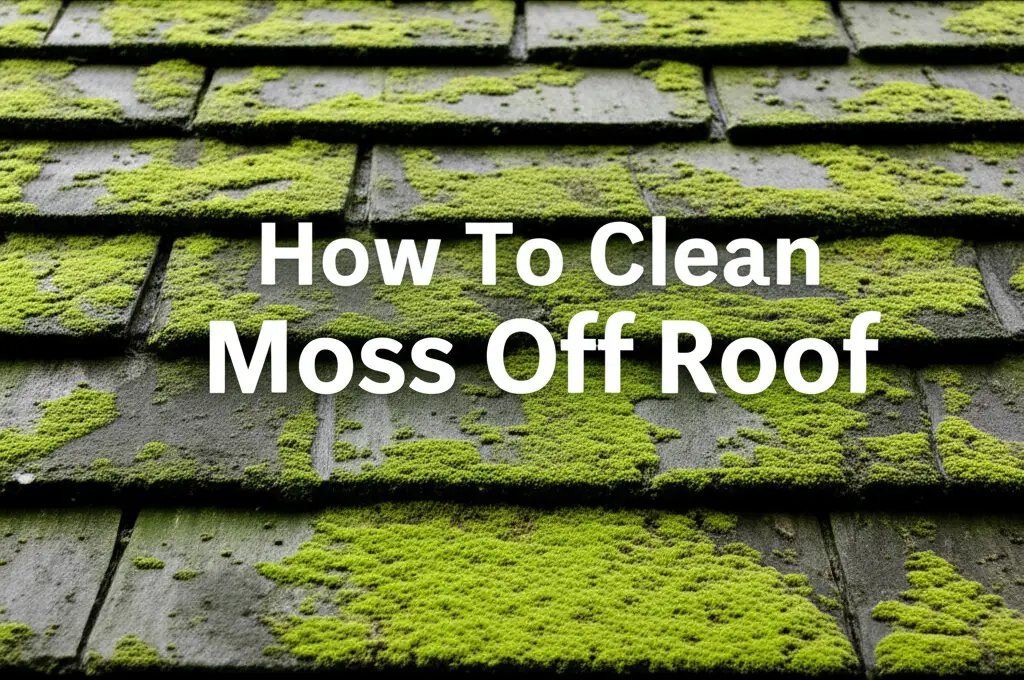
After the solution has worked, rinse the roof thoroughly with low-pressure water. Make sure to direct the water downwards, following the natural flow of the tiles. This prevents water from getting underneath them. Soft washing extends the life of your roof by removing damaging organisms without aggressive force. It offers a gentle yet powerful clean for your tiles. For more detailed information on removing stubborn growth, you can read about how to clean moss off roof effectively.
DIY Cleaning Solutions: Bleach vs. Vinegar
Many homeowners prefer using DIY cleaning solutions for roof tiles. Two common options are bleach and vinegar. Both have pros and cons. Bleach-based solutions (sodium hypochlorite) are very effective at killing moss, algae, and mildew. A common mix is one part household bleach to one part water. You can add a small amount of dish soap to help it stick to the tiles.
Bleach works quickly. However, it can be harsh on surrounding vegetation. Always pre-wet plants and shrubs around your home. Rinse them thoroughly after the roof cleaning. Bleach can also lighten colored tiles if used too strong or left on too long. Always test it on a small, hidden area first. Use proper ventilation and personal protective equipment.
Vinegar is a more natural, eco-friendly option. White vinegar (acetic acid) can kill some types of mold and mildew. A solution of equal parts white vinegar and water can work for light stains or maintenance. Vinegar is less aggressive than bleach. It may require more scrubbing or multiple applications for heavy growth. It is safer for plants but takes longer to show results. You can learn more about using vinegar for cleaning various surfaces, including how to clean shower with vinegar. This can give you general principles for using vinegar as a cleaning agent.
When using either, apply with a garden sprayer. Let it sit, then rinse thoroughly. Always consider the environmental impact and choose the solution that best suits your needs and comfort level.
When to Call the Professionals
While DIY roof tile cleaning is possible, there are times when calling a professional is the best choice. Steep roofs present a major safety risk. Professional roof cleaners have specialized safety equipment and training for working on challenging pitches. They can access areas you might not reach safely. This ensures a thorough clean without putting yourself in danger.
Extensive moss or lichen growth can also indicate a need for professional help. Heavy infestations may require stronger, commercial-grade solutions or specialized equipment. Professionals understand the different types of roof tiles. They know which cleaning methods are safe and effective for each material. They can remove deep-seated organic matter without causing damage.
Lack of proper equipment is another reason. Professional cleaners use specific soft washing systems. These deliver the right pressure and mixture for optimal results. They also have the necessary personal protective equipment. If you are unsure about any part of the process, or if you simply do not feel comfortable on a ladder, a professional service offers peace of mind. They ensure your roof tiles are cleaned correctly and safely, preserving your home’s value. For cleaning other exterior areas, like an asphalt shingle roof, similar considerations apply. See our guide on how to clean asphalt shingle roof for more insights on professional vs. DIY options.
Step-by-Step Guide: How to Clean Roof Tiles Effectively
Cleaning roof tiles involves more than just spraying them down. A systematic approach ensures a thorough and safe job. I always follow these steps to achieve the best results. Proper preparation is key. It protects your property and makes the cleaning process smoother. Then, applying the cleaner correctly allows it to do its job. Finally, careful rinsing finishes the task without causing new problems.
Always remember safety. Work slowly and methodically. Never rush when working at heights. This step-by-step guide will simplify the process for you. You will know exactly what to do from start to finish. Get ready to transform your roof.
Preparing Your Roof and Surroundings
Before you begin cleaning roof tiles, prepare the area. First, clear any loose debris from the roof. Use a soft brush or leaf blower to remove leaves, twigs, and pine needles. This helps the cleaning solution reach the tile surface directly. Also, inspect your gutters. Make sure they are clear of debris. Clogged gutters can overflow during rinsing, leading to water issues.
Next, protect your landscaping. Cover plants, shrubs, and flowers around your home with tarps or plastic sheeting. This prevents damage from cleaning solutions that might drip or runoff. Pre-wetting your plants with water before you start also offers an extra layer of protection. If using bleach-based cleaners, this step is critical.
Turn off nearby electrical power sources. This includes outdoor outlets and lighting. It prevents accidental shocks. Close all windows and doors securely. You want to prevent cleaning solutions from entering your home. Remove any outdoor furniture, decorations, or delicate items from the immediate vicinity. These precautions ensure a safe and mess-free cleaning experience.
Applying Cleaning Solutions
Once your roof and surroundings are prepared, it is time to apply the cleaning solution. Use a garden sprayer for this step. A pump sprayer allows for even distribution and controlled application. Fill the sprayer with your chosen cleaning solution. If you are using a concentrated product, dilute it according to the manufacturer’s instructions.
Start applying the solution from the highest point of your roof. Work your way downwards. Apply it evenly over the entire surface of the tiles. Do not saturate the roof; a consistent, light coating is usually sufficient. Pay extra attention to areas with heavy moss, algae, or lichen growth. You may need a slightly heavier application in these spots.
Allow the solution to dwell on the tiles for the recommended time. This time varies depending on the product, usually between 15 and 30 minutes. The solution needs this time to penetrate and break down the organic growth. Do not let the solution dry on the roof. If it starts to dry, mist it lightly with water. This keeps it active.
Rinsing and Final Touches
After the cleaning solution has had enough dwell time, it is time to rinse. Use a garden hose with a low-pressure nozzle for rinsing. Avoid using a pressure washer at high settings, as this can damage your tiles. Start rinsing from the top of the roof and work your way down. This helps gravity carry the loosened grime and solution away.
Direct the water flow downwards, following the natural slope of the tiles. This prevents water from being forced underneath the tiles, which could lead to leaks or moisture damage. Rinse thoroughly. Make sure all traces of the cleaning solution are removed from the tiles. Also, rinse any plants or surfaces that might have come into contact with the runoff.
After rinsing, inspect your roof tiles. Look for any remaining stubborn spots. You can gently brush these areas with a soft-bristled brush. Be careful not to dislodge tiles. In some cases, very heavy growth might require a second application or some manual scrubbing. Once clean, allow the roof to air dry completely. Remove all tarps and restore your landscaping. Your roof tiles will look much cleaner, enhancing your home’s appearance.
Tackling Specific Issues: Moss, Algae, and Lichen Removal
Moss, algae, and lichen are common problems on roof tiles. Each requires a slightly different approach for effective removal. Moss appears as fuzzy green patches. It holds a lot of moisture, which is bad for tiles. Algae often creates black streaks or a green film. It can make tiles very slippery. Lichen looks like crusty, grayish-green growths. It sticks very tightly to the tile surface.
Knowing what you are dealing with helps you choose the right product and technique. Some commercial cleaners target specific types of growth. Others are broad-spectrum. Always aim to kill the growth, not just blast it off. Killing it prevents rapid regrowth. Removing these growths extends the life of your roof.
Specialized Treatments for Persistent Growths
For stubborn moss, algae, and lichen, specialized treatments are often necessary. Many commercial products are designed specifically for these growths. These often contain algaecides or mossicides that break down the organisms. Apply these products directly to the affected areas. Always follow the product’s specific instructions for application and dwell time.
For thick moss beds, you might need to manually remove some of the bulk first. Use a soft brush or a plastic scraper. Be extremely gentle to avoid damaging the tiles. After removing the bulk, apply your chosen cleaning solution. This allows the solution to work directly on the remaining roots and spores. For more in-depth guidance on this, check out our article on how to clean moss off roof. This offers specific techniques for dealing with moss.
Lichen is particularly difficult. It has a strong bond with the tile surface. Often, a longer dwell time for the chemical solution is needed. Some solutions require several hours or even days to loosen lichen’s grip. After application, many of these growths will turn white or brown. They will then naturally detach and wash away with rain over time. Patience is key with these persistent growths.
Preventing Regrowth and Maintaining Cleanliness
After you have cleaned your roof tiles, prevention is crucial. You want to keep them clean for as long as possible. Regular maintenance is far easier than another deep clean. One simple prevention method is to trim overhanging tree branches. Leaves and debris from trees provide food for moss and algae. They also create shade, which keeps the roof damp. More sunlight on the roof helps it dry faster.
Consider installing zinc or copper strips along your roof ridge. As rain washes over these metals, it carries microscopic amounts of metal particles down the roof. These metals are toxic to moss, algae, and lichen. This creates a natural, long-term deterrent for organic growth. These strips are a low-maintenance solution.
Regularly inspect your roof for any signs of new growth. Catching small patches early makes them much easier to treat. A light spray with a preventative solution once a year can also help. Many commercial products offer “moss and algae killer” that also prevents regrowth. Applying these after a thorough cleaning can greatly extend the time before another deep clean is needed. Protecting your roof now saves you work later.
Common Mistakes to Avoid When Cleaning Roof Tiles
Cleaning roof tiles can be rewarding, but making common mistakes can lead to damage or injury. I want you to avoid these pitfalls. Knowing what not to do is as important as knowing what to do. High-pressure washing is the biggest mistake. Using the wrong chemicals or neglecting safety can also cause significant problems.
These errors can shorten your roof’s life or compromise its integrity. They can also create new, more costly issues. Learn from common missteps. This helps you protect your roof and yourself. Let’s make sure your roof cleaning project is a success.
Using High-Pressure Washers on Roof Tiles
This is perhaps the most common and damaging mistake homeowners make. Using a high-pressure washer on roof tiles is generally a bad idea. While it might seem like the quickest way to blast away grime, it comes with severe risks. Roof tiles, especially asphalt shingles or older clay tiles, are delicate. High pressure can strip away the protective granules on shingles. These granules reflect UV light and protect the asphalt layer. Losing them greatly shortens the shingle’s lifespan.
For clay or concrete tiles, high pressure can erode the surface, making them more porous. This leaves them vulnerable to water absorption and damage. It can also lift or dislodge tiles. This breaks the seal against water. When water gets under tiles, it can lead to leaks, wood rot, and structural damage to your roof deck.
Instead, always opt for a soft wash system. This applies cleaning solutions at low pressure, often similar to a garden hose. The chemicals do the cleaning, not the force of the water. This gentler approach is much safer for your roof. It cleans effectively without causing harm. Protect your roof by avoiding high-pressure cleaning.
Neglecting Safety Precautions
Ignoring safety is a critical mistake when cleaning roof tiles. Working at heights is inherently dangerous. Many accidents happen because people underestimate the risks. Not wearing proper footwear is a common error. Regular shoes do not provide enough grip on a sloped, potentially wet roof. Always use non-slip, soft-soled shoes designed for roofing work.
Another major mistake is not securing your ladder properly. An unstable ladder can slip, leading to a fall. Ensure your ladder is on level ground. Extend it at least three feet above the roofline. Tie it off at the top for added stability. Working alone is also risky. If you fall or get into trouble, no one is there to help. Always have a spotter or someone nearby.
Finally, neglecting personal protective equipment (PPE) is a huge error. Skipping safety glasses can lead to eye irritation from cleaning solutions or debris. Not wearing gloves can harm your skin. Failing to use a safety harness on steep roofs puts your life at risk. Your health is more important than a clean roof. Prioritize safety every time you work at heights.
Choosing the Wrong Cleaning Chemicals
Using unsuitable cleaning chemicals is another common mistake. Different roof tile materials react differently to various substances. Applying the wrong cleaner can cause discoloration, etching, or long-term damage to your tiles. For example, some harsh acidic cleaners might be too aggressive for certain types of clay or concrete tiles. They can erode the surface.
Always know your roof tile material first. Then, select a cleaner specifically designed for roof tiles. Avoid household cleaners not intended for outdoor use or roofs. Some can leave residues that attract more dirt or foster new growth. Bleach, while effective, needs careful handling. Undiluted bleach can strip color or damage nearby plants. If you’re concerned about mold, ensure the product you use is safe for your roof material. You can find general advice on mold removal from different surfaces, like how to clean mold off walls, but always prioritize roof-specific products.
Always read product labels thoroughly. Follow dilution instructions precisely. Test the cleaner on a small, inconspicuous area of your roof first. This helps you check for any adverse reactions before applying it to the entire roof. The right chemical ensures an effective clean without damaging your valuable roof.
Frequently Asked Questions About Cleaning Roof Tiles
How often should I clean my roof tiles?
You should clean your roof tiles every 1-3 years. This depends on your climate and surrounding environment. Areas with high humidity or many trees might need more frequent cleaning. Regular cleaning prevents heavy buildup of moss, algae, and lichen. This helps prolong the life of your roof.
Can I use a regular pressure washer on my roof tiles?
No, you should not use a regular high-pressure washer on roof tiles. High pressure can strip protective granules from shingles or damage other tile types. It can also force water underneath tiles, leading to leaks or structural damage. Use a low-pressure soft washing system instead.
What is the best time of year to clean roof tiles?
The best time to clean roof tiles is during a dry, mild period. Spring or fall often provide ideal conditions. Avoid cleaning in extreme heat, freezing temperatures, or windy conditions. A dry roof surface helps cleaning solutions work better and reduces slip hazards.
Will cleaning my roof tiles damage my landscaping?
Cleaning solutions can damage landscaping if not protected. Always cover plants, shrubs, and flowers with tarps or plastic sheeting. Pre-wetting them with water before starting and rinsing them thoroughly afterward also helps. Choose eco-friendly cleaners when possible.
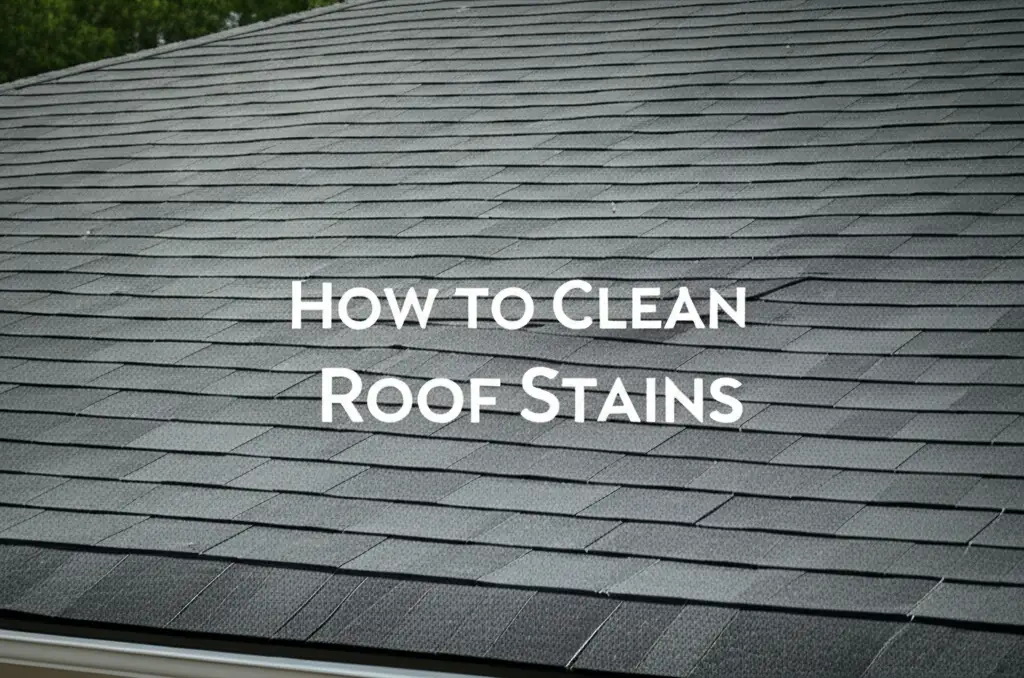
How do I remove black streaks from my roof tiles?
Black streaks on roof tiles are usually caused by a type of algae called Gloeocapsa magma. You can remove them with a soft wash solution containing bleach or a specialized algaecide. Apply the solution evenly, allow it to dwell, and then rinse with low pressure.
Conclusion
Cleaning roof tiles is a vital part of home maintenance. It goes beyond just making your house look good. By regularly removing moss, algae, and lichen, you protect your roof’s integrity and extend its lifespan. I have covered the importance of safety, choosing the right cleaning methods, and avoiding common pitfalls. Remember to always prioritize your well-being with proper gear and precautions.
Whether you choose a DIY approach with gentle solutions or decide to call in professionals, the goal remains the same: a clean, healthy roof. A well-maintained roof protects your entire home. It saves you money on future repairs. Now you have the knowledge to confidently approach the task of how to clean roof tiles. Start today and enjoy a sparkling, long-lasting roof.
- roof cleaning
- tile maintenance
- moss removal
- exterior cleaning
- home improvement