· Kitchen Cleaning · 13 min read
How To Clean Silicone Baking Mat
Mastering the Art: How To Clean Silicone Baking Mat Effectively
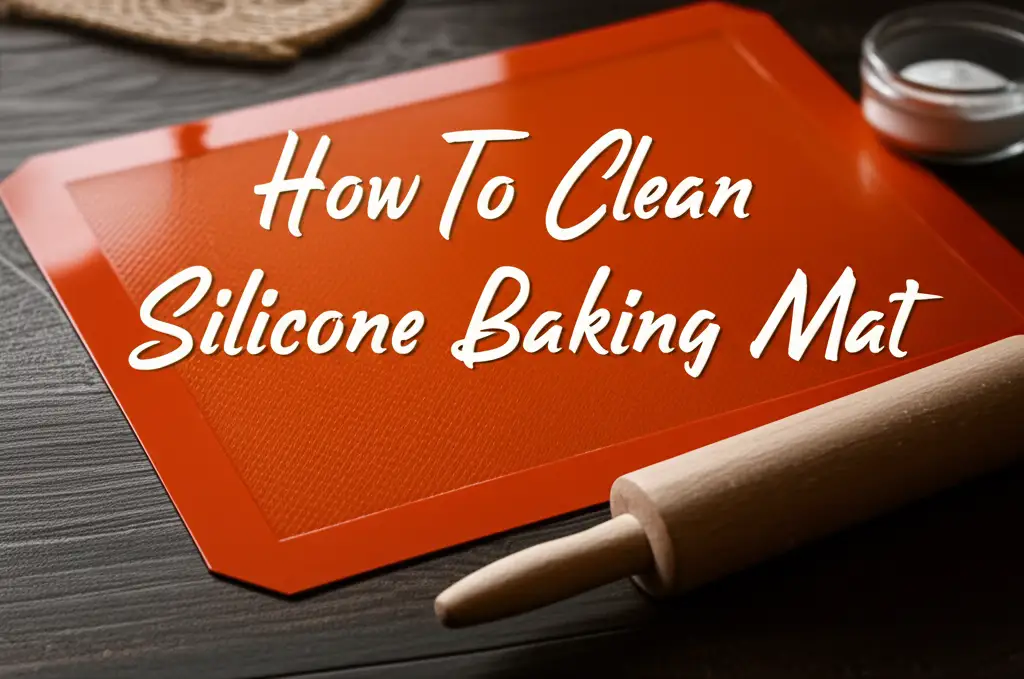
When you love to bake, a silicone baking mat becomes your best friend in the kitchen. These non-stick wonders make baking easy and cleanup simpler. However, over time, even the best silicone mats can accumulate grease, residue, and odors. Knowing how to clean silicone baking mat properly ensures it lasts longer and performs its best.
I often get questions about sticky mats or persistent stains. It is a common problem for many home bakers. This article gives you a full guide on cleaning your silicone baking mat. We will explore simple daily cleaning routines. We will also cover deep cleaning methods for tough stains. You will learn how to remove sticky residue, banish odors, and keep your mat looking new. Let’s make sure your baking mats stay perfectly non-stick and ready for every batch of cookies or pastries.
Takeaway:
- Wash your silicone mat after each use with warm, soapy water.
- Use baking soda and vinegar for deep cleaning sticky residue and stubborn grease.
- Air dry completely or use a clean towel to prevent water spots and mildew.
- Store your mat flat or rolled to maintain its shape and prevent creases.
- Avoid harsh chemicals or abrasive scrubbers that can damage the silicone surface.
To clean a silicone baking mat effectively, wash it immediately after use with warm water and a small amount of dish soap. For stubborn grease or sticky residue, create a paste of baking soda and water, spread it on the mat, let it sit for 15-30 minutes, then scrub gently and rinse thoroughly.
Understanding Your Silicone Baking Mat
Silicone baking mats are kitchen essentials. They offer a reusable, non-stick surface for baking cookies, pastries, and more. Understanding how they work helps with cleaning. Silicone is a flexible material. It resists high temperatures and food sticking. This non-stick quality makes them a popular choice over parchment paper.
However, silicone can attract oils and grease. Over time, these can build up. This leaves a sticky or dull surface. This happens even with regular use. The sticky feeling does not mean your mat is ruined. It usually means it needs a good cleaning. The material itself is durable. It needs specific care to maintain its non-stick properties. Knowing this helps you choose the right cleaning methods.
Your silicone mat handles high heat in the oven. This means it might absorb some oils. These oils can become baked on. Regular washing often does not remove these completely. This is why deep cleaning methods become important. It helps restore the mat to its original condition. A clean mat performs better. It ensures your baked goods do not stick. It also prevents unwanted flavors transferring.
Many people think their mat is sticky due to detergent residue. Often, it is baked-on oil. This oil feels sticky when cool. Proper cleaning removes these oils. It keeps your mat truly non-stick. The texture of silicone can also feel slightly tacky by nature. This is different from a greasy stickiness. Knowing the difference helps in choosing your cleaning approach.
Everyday Cleaning: The Basics for Your Silicone Mat
Keeping your silicone baking mat clean after each use is simple. This prevents grease and residue buildup. Regular washing makes deep cleaning less frequent. I always wash my mats as soon as they cool down. This stops food from drying on the surface.
Start by wiping off any loose crumbs or food particles. You can use a paper towel or a soft cloth. Then, fill your sink with warm water. Add a few drops of dish soap. Make sure to use a gentle dish soap. Harsh detergents are not needed for daily cleaning.
Submerge your silicone baking mat in the soapy water. Use a soft sponge or a non-abrasive cloth. Gently scrub both sides of the mat. Focus on areas with visible residue or oil. The warm water helps to loosen any fresh grease. This makes it easier to wipe away.
Rinse the mat thoroughly under running warm water. Ensure all soap residue is gone. Soap can leave a film if not rinsed well. A clean rinse helps maintain the mat’s non-stick quality. After rinsing, shake off excess water. You can then let it air dry completely. Alternatively, wipe it with a clean, lint-free towel. This basic routine keeps your mat fresh for every bake.
Deep Cleaning Stubborn Stains on Silicone Baking Mats
Sometimes, daily washing is not enough. Your silicone baking mat might develop stubborn stains or a sticky feel. This often means baked-on grease. It is time for a deep clean. This method works well for many silicone items. For example, it helps when you clean silicone ice trays.
Baking soda and vinegar are your best allies here. They form a powerful, natural cleaning combination. First, sprinkle a generous amount of baking soda over the entire surface of your mat. Make sure to cover all stained or sticky areas. Baking soda helps absorb oils and lift stains.
Next, make a paste. Add a small amount of water to the baking soda on the mat. Mix it to form a thick paste. Alternatively, you can spray white vinegar over the baking soda. The reaction will create fizzing. This fizzing action helps to loosen grime. For persistent issues, I often recommend using both. You can learn more about how these agents work together by checking out how to clean with vinegar and baking soda.
Let the baking soda paste sit on the mat for 15-30 minutes. For very tough stains, you can let it sit for an hour or two. This gives the paste time to work. After waiting, use a soft brush or a non-abrasive sponge. Gently scrub the entire surface of the mat. You will see the stains and stickiness begin to lift away. Rinse the mat thoroughly under warm water until all paste and residue are gone. This deep cleaning process will restore your mat’s look and feel.
Tackling Greasy Residue and Oil Buildup
Greasy residue is the most common complaint with silicone baking mats. This sticky film builds up over time from oils and fats used in baking. It can make your mat feel unpleasant and affect its performance. Tackling this requires specific approaches. I know how frustrating this sticky layer can be.
One effective method is a hot water soak. Fill your sink with very hot water. Add a generous amount of dish soap. Place your greasy silicone mat into the hot, soapy water. Let it soak for at least 30 minutes, or even a few hours. The hot water helps to melt and dissolve the hardened grease. The soap then emulsifies it.
After soaking, scrub the mat with a non-abrasive sponge or cloth. You will find the grease comes off much easier. For particularly stubborn spots, you can make a thick paste of baking soda and a small amount of dish soap. Apply this paste directly to the greasy areas. Let it sit for 10-15 minutes. Then, scrub gently. Baking soda is excellent at absorbing oils and can be useful for cleaning pots with baking soda too.
Another trick for severe grease is a hot oven treatment. Place your greasy mat on a baking sheet in a cold oven. Heat the oven to 350°F (175°C). Turn off the oven once it reaches temperature. Leave the mat inside for about 10-15 minutes as the oven cools. The heat will cause the absorbed oils to loosen and even bead up on the surface. Once cool enough to handle, wash the mat immediately with hot, soapy water. This method can sometimes draw out deeply embedded grease. Always ensure proper ventilation when using this method.
Restoring Shine and Removing Odors
Beyond grease and stains, silicone baking mats can sometimes lose their initial shine or absorb odors. This is common if you bake a variety of items. I have faced mats that smelled faintly of garlic bread long after making savory dishes. Restoring them is quite simple.
For odors, white vinegar is incredibly effective. After cleaning your mat, wipe it down with undiluted white vinegar. You can also soak the mat in a solution of equal parts white vinegar and water for 30 minutes. Vinegar is a natural deodorizer. It breaks down odor-causing compounds. After soaking or wiping, rinse the mat thoroughly with warm water. Ensure no vinegar smell remains. This trick works well for a range of smells, just like when you clean mold off silicone.
To restore a bit of shine, proper drying is key. After washing and rinsing, air dry your mat completely. You can hang it over a drying rack or lay it flat on a clean towel. Avoid stacking it wet. Moisture can lead to dullness or even mildew over time. A completely dry mat feels smoother and looks clearer.
If your mat still feels a little tacky after cleaning, it is likely due to microscopic oil residues. You can try a final wipe with a clean, lint-free cloth dampened with rubbing alcohol. Alcohol evaporates quickly. It helps remove any lingering oily films. Do this sparingly, as excessive alcohol could dry out the silicone over time. Always ensure a final rinse with water after using alcohol, then air dry. These steps bring your mat back to its best.
Preventing Buildup and Extending Your Mat’s Lifespan
Prevention is always easier than cure when it comes to cleaning. You can significantly extend your silicone baking mat’s life and performance. This means less frequent deep cleaning. I always follow a few simple rules in my kitchen.
First, always wash your mat immediately after each use. Do not let food or grease dry onto the surface. The longer residue sits, the harder it is to remove. A quick wash with warm, soapy water is usually enough for daily maintenance. This stops the sticky film from forming.
Second, avoid using sharp objects on your silicone mat. Knives or metal spatulas can cut or scratch the surface. These cuts create tiny grooves. Grease and food particles can get trapped in these areas. This makes cleaning much more difficult. Always use silicone, plastic, or wooden utensils.
Third, store your silicone mats properly. Do not fold them sharply. Folding can create permanent creases. These creases can weaken the silicone over time. They also make the mat uneven for baking. Instead, roll your mats loosely. You can store them in a drawer or stand them upright in a container. Some people lay them flat in a large drawer. This helps maintain their smooth, even surface.
Fourth, consider a quick pre-bake wash. If you have baked particularly greasy foods, give the mat a hot water rinse before it cools completely. This helps some of the oil to run off before it solidifies. Finally, inspect your mat regularly. Look for tears, heavy discoloration, or permanent stickiness. These are signs that your beloved mat might need replacing. Proper care ensures your mat serves you for many years of happy baking.
When to Consider Replacing Your Silicone Baking Mat
While silicone baking mats are durable, they do not last forever. Knowing when to replace your mat is important for safety and performance. I pay close attention to the condition of my mats. Using a damaged mat can affect your baking results. It might even be unhygienic.
One clear sign is extensive discoloration. While some staining is normal, a mat that has turned very dark brown or black in large areas might be past its prime. This often indicates excessive baked-on carbonized grease. It is nearly impossible to remove. This residue can transfer flavor to your food. It also reduces the non-stick effectiveness.
Another major red flag is stickiness that persists after deep cleaning. If your mat constantly feels tacky or greasy, even after thorough washes with baking soda and vinegar, it means the silicone has absorbed too much oil. This deeply embedded oil makes the mat less non-stick. Your cookies will start to stick. This compromises the mat’s primary function. It might also mean the silicone is breaking down.
Look for physical damage. Tears, cuts, or excessive fraying along the edges are signs of wear. These openings can harbor food particles and bacteria. They also make the mat less reliable. Small cracks can grow larger over time. The mat might also feel brittle or hard in spots. This indicates the silicone is degrading. Good silicone remains flexible.
Finally, if your baked goods consistently stick to the mat, it is time for a new one. The non-stick property is why we use them. If that is gone, the mat no longer serves its purpose. Replacing a worn-out mat ensures food safety and guarantees perfect baking every time.
FAQ Section
Q: Can I put my silicone baking mat in the dishwasher? A: Yes, most silicone baking mats are dishwasher safe. However, hand washing is often more effective for removing stubborn grease and residue. Dishwashers may not always get rid of the sticky film that can build up. Hand washing ensures a thorough clean and helps maintain the mat’s non-stick quality over time.
Q: Why does my silicone mat feel sticky after washing? A: A sticky feeling after washing usually means there is baked-on oil or grease residue. Silicone can absorb oils from food during high-temperature baking. Regular dish soap might not remove these completely. Deep cleaning with baking soda and vinegar helps break down and lift this stubborn residue, restoring the mat’s smooth, non-stick surface.
Q: How do I remove burnt food from a silicone mat? A: For burnt food, let the mat cool completely. Scrape off as much burnt residue as possible with a non-abrasive spatula. Then, soak the mat in hot, soapy water. For tough spots, apply a paste of baking soda and a little water directly to the burnt area, let it sit, then scrub gently with a soft brush.
Q: Is it safe to use abrasive cleaners or scrubbers on silicone? A: No, it is not safe. Abrasive cleaners and scrubbers can damage the smooth surface of your silicone mat. They can create tiny scratches. These scratches make the mat less non-stick. They also create places where food and grease can get trapped. Always use soft sponges, cloths, or silicone brushes for cleaning.
Q: How often should I clean my silicone baking mat? A: You should clean your silicone baking mat after every single use with warm, soapy water. This prevents food and grease buildup. For a deeper clean to remove sticky residue or odors, aim to do it every few uses or whenever you notice a sticky feeling or a persistent smell.
Q: Can silicone mats go in the oven at high temperatures? A: Yes, silicone baking mats are designed for oven use at high temperatures. They typically withstand temperatures up to 500°F (260°C). Always check your specific mat’s manufacturer guidelines for maximum temperature. This heat resistance makes them perfect for baking without sticking, but it also means they can absorb oils.
Conclusion
Keeping your silicone baking mat clean is simple when you know the right techniques. We have explored everything from daily washes to tackling stubborn grease and odors. By consistently cleaning your silicone baking mat, you ensure it stays non-stick and performs perfectly. I hope these methods give you confidence in maintaining your kitchen tools.
Remember, a little care goes a long way. Regular washing and occasional deep cleaning will extend the life of your mat. You will keep your baking adventures enjoyable and mess-free. Do not let sticky residue ruin your baking fun. Follow these steps, and your silicone mats will serve you for many years to come. Get ready for perfectly baked goods every time!
- silicone mat cleaning
- baking mat care
- kitchen cleaning
- grease removal
- non-stick surfaces

