· Home Maintenance · 18 min read
How To Clean Sink Trap
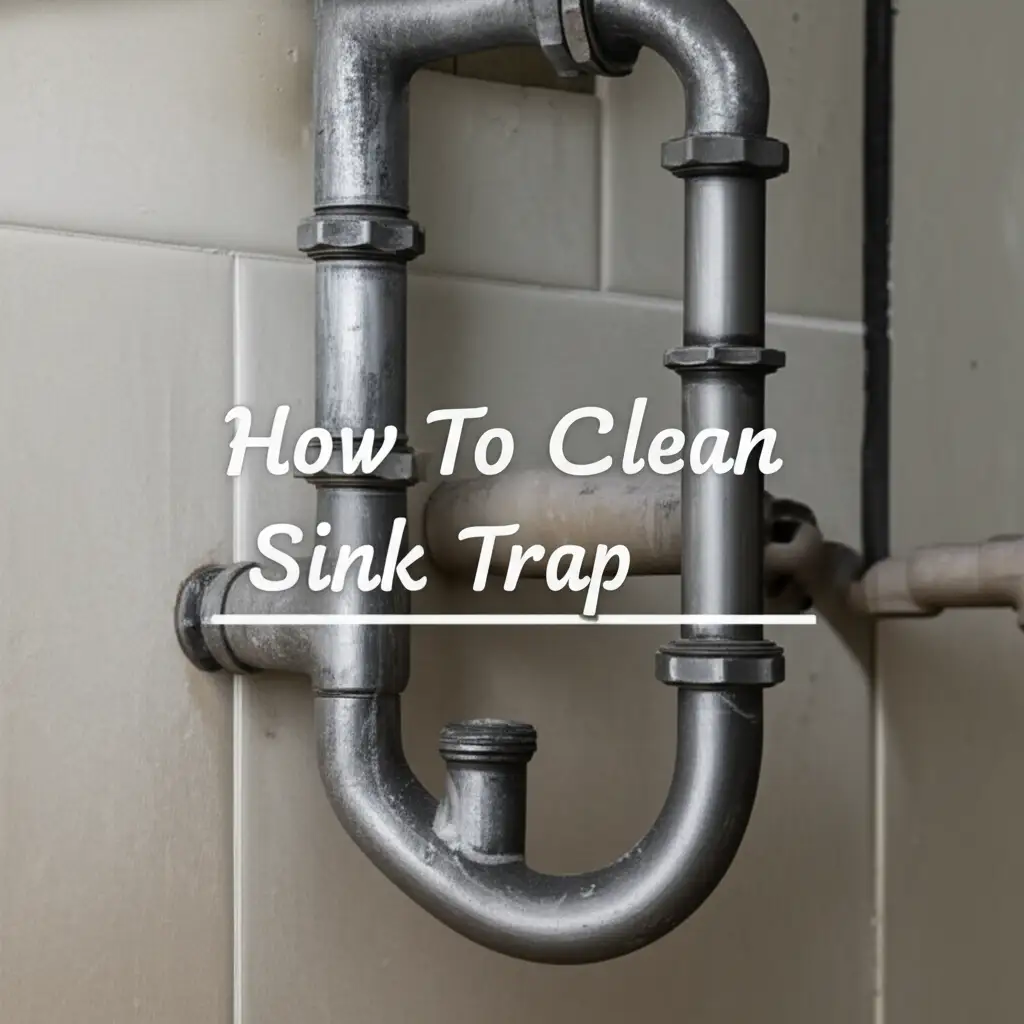
Cleaning Your Sink Trap: A Simple Guide
Is a foul odor coming from your kitchen or bathroom sink? Are you noticing slow drainage after doing dishes or brushing your teeth? Chances are, your sink trap needs a good cleaning. The sink trap, often called a P-trap, is the curved pipe located directly under your sink. Its main job is to hold a small amount of water. This water creates a seal, stopping sewer gases from entering your home. Over time, hair, grease, food scraps, and soap scum build up inside this trap. This buildup causes clogs and unpleasant smells.
Cleaning your sink trap is a vital part of home maintenance. It ensures proper drainage and keeps your home smelling fresh. Many people think this job is messy or hard. I assure you it is not. You can easily do it yourself with a few basic tools. This guide will walk you through the process step-by-step. We will cover why cleaning your trap matters, what tools you need, and various cleaning methods. I will also share tips to prevent future clogs and odors. Get ready to enjoy a cleaner, fresher sink!
Takeaway
- Remove Odors and Clogs: Clean your sink trap to eliminate foul smells and restore fast drainage.
- Prevent Future Buildup: Regular maintenance stops grease, hair, and soap scum from causing problems.
- Save Money: DIY cleaning prevents costly professional plumbing calls.
- Maintain Home Hygiene: A clean trap means a healthier and more pleasant living space.
To clean a sink trap effectively, first place a bucket under the trap to catch water and debris. Next, use pliers or a wrench to loosen the slip nuts on both ends of the trap. Carefully remove the trap, empty its contents, and clean it thoroughly using a brush and soapy water. Reattach the trap, ensuring all connections are tight.
Why Your Sink Trap Needs Regular Cleaning
Your sink trap works hard every day. It catches a lot of debris that goes down the drain. This debris includes food particles, hair, soap scum, and grease. If left untouched, these materials build up inside the trap. This buildup creates problems.
One common issue is slow drainage. Water takes a long time to go down the drain. Sometimes, it stops completely. This is a sign of a partial or full clog in the trap. Another major problem is bad smells. The organic matter trapped inside the pipe starts to decompose. This process releases unpleasant sewer gas odors into your home. You might notice a rotten egg smell or a general stale odor.
Regular cleaning helps prevent these issues. It keeps water flowing freely. It also stops nasty smells from bothering you. Ignoring the trap can lead to bigger problems. A severe clog might require professional help. This can be expensive. A leaky trap, due to corrosion from trapped chemicals, could cause water damage under your sink. I clean my sink traps every few months. This simple habit saves me time and money. It also keeps my home smelling nice. It is a smart thing to do for any homeowner.
Essential Tools and Materials You Will Need
Before you start cleaning your sink trap, gather all your supplies. Having everything ready makes the job smoother. You do not want to stop in the middle of a messy task. I always lay out my tools first.
Here is a list of what you will need:
- Bucket or Basin: A small bucket or basin is essential. You will place it under the sink trap. This catches any water and debris that comes out when you loosen the trap. A two-gallon bucket usually works well.
- Pliers or Adjustable Wrench: These tools help loosen the slip nuts on the trap. Slip nuts can be tight. An adjustable wrench is versatile. Channel lock pliers also work well.
- Rubber Gloves: I always wear rubber gloves for this job. It keeps your hands clean. It also protects them from any grime or old water.
- Old Towels or Rags: Place these under the bucket. They catch any spills. They also protect your cabinet floor.
- Wire Brush or Pipe Brush: A specialized brush is great for scrubbing the inside of the trap. It reaches all the nooks and crannies. An old toothbrush can work for smaller areas.
- Dish Soap or Degreaser: You will use this with warm water to clean the removed trap. It helps break down grease and scum.
- Flashlight (Optional but Recommended): A flashlight helps you see better under the sink. It ensures you find all connections. It also helps you inspect the pipes.
Having these items ready saves you from rushing around. It makes the cleaning process much simpler. You will be done before you know it.
Step-by-Step Guide to Manual Sink Trap Cleaning
Cleaning your sink trap by hand is the most effective method. It ensures all clogs and grime are physically removed. I find this method very satisfying. It gives me peace of mind that the trap is truly clean. This process might seem daunting at first. But it is quite straightforward.
Here are the steps I follow:
- Prepare the Area: First, clear out everything from the cabinet under your sink. This gives you space to work. Place your bucket or basin directly under the sink trap. Lay old towels around the bucket. This catches any drips.
- Loosen Slip Nuts: Locate the slip nuts on both ends of the trap. These are large, threaded rings. Use your adjustable wrench or pliers to turn them counter-clockwise. They can be tight. Apply steady pressure. Be careful not to strip the plastic. Some traps have hand-tightened nuts; check first.
- Remove the Trap: Once the nuts are loose, carefully pull the trap downwards. Some water and gunk will spill into your bucket. Have your bucket ready. Tilt the trap to empty all its contents.
- Clean the Trap: Take the trap to another sink or outside. Use your pipe brush or wire brush to scrub the inside of the trap. You will be surprised by what comes out. Rinse the trap with hot, soapy water. Use dish soap or a degreaser to cut through grease and grime. Ensure all visible gunk is gone. If your trap connects to a garbage disposal, also inspect and clean the disposal’s drain opening for any debris or buildup. Learn How to Clean Sink Disposal for a complete cleaning solution.
- Check Drain Pipes: While the trap is off, look into the drain pipe leading into the wall. Use your flashlight. If you see any obvious blockages, try to reach them. A wire hanger bent straight can help.
- Reassemble the Trap: Place the trap back into position. Hand-tighten the slip nuts first. Then, use your wrench or pliers to tighten them a quarter turn more. Do not overtighten. This can crack plastic pipes. Ensure the rubber gaskets are correctly seated. These gaskets prevent leaks.
- Test for Leaks: Turn on the water slowly. Let it run for a minute or two. Check carefully for any drips or leaks around the slip nuts. If you see a leak, tighten the nuts slightly more. If leaks persist, you may need to replace the gaskets or the trap itself. This manual method offers the most thorough cleaning. It leaves your trap free of clogs and odors.
Cleaning Sink Trap Without Disassembly
Sometimes, you might face a minor clog or a slight odor. You might not want to disassemble your sink trap yet. There are methods you can try first. These methods use common household products. They are often effective for light issues. I use these between my deeper cleanings.
Here are some ways to clean your sink trap without taking it apart:
- Baking Soda and Vinegar: This is a popular and effective natural cleaner. I find it works wonders for minor clogs and odors.
- Pour half a cup of baking soda down the drain.
- Follow it with half a cup of white vinegar.
- You will hear a fizzing sound. This is a chemical reaction.
- Let it sit for 20-30 minutes. The mixture works to break down grease and grime.
- Flush the drain with hot water. I usually boil a kettle of water for this. The hot water helps wash away the loosened debris. For detailed steps on this method, refer to How to Clean Sink Drain with Vinegar.
- Boiling Water: For very minor grease clogs, sometimes hot water is enough.
- Boil a large pot of water.
- Carefully pour the boiling water down the drain. Do this slowly.
- Repeat if necessary. This method works best for fresh grease buildup. Do not use boiling water on PVC pipes if your sink has a garbage disposal, as it might damage the plastic or the disposal.
- Plunger: A plunger creates suction to dislodge clogs.
- Fill the sink with a few inches of water. This helps create a seal.
- Place the plunger firmly over the drain opening.
- Pump the plunger up and down vigorously for 15-20 seconds.
- Pull the plunger off quickly.
- Repeat this a few times. This can push clogs through the trap.
- Commercial Drain Cleaners (Use with Caution): Chemical drain cleaners can be powerful. They contain harsh chemicals. These chemicals dissolve organic matter. However, I advise using them sparingly. They can damage pipes over time. They are also harmful to the environment. If you do use one, follow the product instructions carefully. Ensure the area is well-ventilated.
These methods can solve simple issues. They save you the trouble of disassembling the trap. For stubborn clogs, manual cleaning remains the best approach.
Tackling Stubborn Clogs and Foul Odors
Sometimes, a simple baking soda and vinegar mix is not enough. You might have a really stubborn clog or a persistent bad smell. These situations need a more direct approach. I have faced these myself. It can be frustrating. But there are ways to fix them.
For stubborn clogs:
- Drain Snake (Auger): A drain snake is a long, flexible tool. It has a corkscrew end. You push it down the drain. It can break up or retrieve clogs.
- Feed the snake down the drain opening.
- Push it until you feel resistance.
- Rotate the snake handle. This allows the corkscrew to grab onto the clog.
- Pull the snake back out slowly. You might pull out a lot of hair or debris.
- Run hot water to flush the drain. Drain snakes are very effective for hair clogs. They can reach past the trap into the drain pipe.
- Wet/Dry Vacuum: A wet/dry vacuum can create powerful suction. This can pull out clogs.
- Ensure the vacuum is set to wet mode.
- Seal the drain opening around the vacuum hose. Use a wet towel for a tight seal.
- Turn on the vacuum. The strong suction can pull the clog out of the trap. This method can be messy. Be ready for the contents of the trap to come into the vacuum.
For persistent foul odors:
- Deep Cleaning After Disassembly: If odors persist after basic methods, a full manual clean is essential. The smell often comes from organic matter clinging to the trap walls. Only thorough scrubbing removes this.
- Check for Leaks and Mold: A bad smell could also signal a leak. Moisture under the sink can lead to mold growth. Mold has a distinct musty odor. If you suspect mold, you need to address it. Learn How to Clean Mold Under Sink. Address any leaks immediately.
- Enzyme Drain Cleaners: Unlike chemical cleaners, enzyme cleaners use beneficial bacteria. These bacteria digest organic matter in the pipes. They are slower acting but safer for pipes and the environment. I use them for maintenance. They help prevent future buildup and odors. Pour them in before bed. Let them work overnight.
Addressing stubborn issues takes more effort. But it provides lasting solutions. Do not give up until your sink drains freely and smells fresh.
Preventing Future Sink Trap Clogs and Odors
An ounce of prevention is worth a pound of cure. This saying holds true for your sink trap. Regular maintenance can save you a lot of trouble. You can avoid frequent disassemblies and stubborn clogs. I have learned this through experience. Simple habits make a big difference.
Here are my top tips for preventing future issues:
- Use Drain Screens: Place a drain screen or strainer over your sink drain. These simple devices catch food scraps, hair, and other debris. They prevent these items from entering the trap. Clean the strainer regularly. It is much easier to empty a strainer than to clean a trap.
- Scrape Plates Before Rinsing: Before rinsing dishes, scrape all food waste into the trash can. Do not let large food particles go down the drain. Even small bits add up over time. If you have a garbage disposal, use it properly. Avoid putting coffee grounds, grease, or fibrous foods down it.
- Avoid Pouring Grease Down the Drain: Grease solidifies as it cools. It sticks to the inside of your pipes. This creates a sticky layer that catches other debris. This is a major cause of clogs. Pour used cooking grease into an old can or jar. Let it cool and solidify. Then, throw it in the trash.
- Flush with Hot Water Regularly: After using the sink, especially the kitchen sink, run hot water for 30-60 seconds. This helps flush down any small particles. It can also melt minor grease accumulation before it hardens.
- Baking Soda and Vinegar Maintenance: Once a month, use the baking soda and vinegar method. This helps break down minor buildup. It also neutralizes odors. I do this as part of my regular cleaning routine for my kitchen sink. For more general kitchen sink cleaning tips, check out How to Clean Kitchen Sink.
- Regular Deep Cleanings: Even with preventive measures, some buildup is inevitable. Plan to manually clean your sink trap once or twice a year. This prevents minor issues from becoming major problems. Mark it on your calendar.
- Consider an Enzyme Drain Cleaner: For ongoing maintenance, pour an enzyme-based drain cleaner down the drain periodically. These products use natural bacteria to consume organic matter. They keep pipes clear without harsh chemicals.
By adopting these habits, you will keep your sink trap clean and functional. You will enjoy clear drains and a fresh-smelling home. Prevention is truly the best strategy here.
When to Call a Professional Plumber
While cleaning your sink trap is a DIY task, sometimes you need expert help. Knowing when to call a professional plumber saves you time and prevents further damage. I understand the desire to fix everything yourself. But some issues are beyond simple home remedies.
Here are signs it is time to call a plumber:
- Persistent Clogs: You have tried all DIY methods, including disassembling and cleaning the trap. You have used a drain snake. Yet, the clog remains. This suggests the blockage is deeper in your plumbing system. It might be beyond the P-trap.
- Multiple Drains Clogged: If more than one sink, toilet, or shower drain in your home is clogged, this indicates a main line issue. A problem in the main sewer line affects all connected fixtures. This needs professional diagnosis and equipment.
- Foul Odors from Multiple Drains: Persistent sewer gas smells from various drains can also point to a main sewer line problem. It could be a vent pipe issue or a serious blockage.
- Water Backing Up: If water backs up into another fixture when you use a different one, it is a sign of a significant blockage in the main drain line. For example, water from the washing machine might back up into the kitchen sink.
- Bubbling or Gurgling Sounds: Unusual sounds from drains or toilets when water is running elsewhere can signal air trapped behind a clog. This indicates a more complex drainage issue.
- Standing Water in Your Yard: If you notice standing water or sewage smells in your yard, it could mean a broken or clogged main sewer line. This is a serious issue that needs immediate professional attention.
- Lack of Proper Tools or Expertise: You might not have the right tools, like a heavy-duty auger. Or, you might feel uncomfortable attempting complex plumbing tasks. It is always better to call a professional if you are unsure.
- Trap Damage or Leakage: If your sink trap is cracked, corroded, or continues to leak after reassembly, it might need replacing. A plumber can correctly install a new trap.
A professional plumber has the tools, experience, and knowledge to diagnose and fix complex plumbing problems safely. Do not hesitate to call them when needed. It protects your home and prevents costly future repairs.
Maintaining a Clean and Odor-Free Drain System
Beyond just cleaning the sink trap, a holistic approach keeps your entire drain system healthy. Think about all parts working together. Regular care prevents issues from spreading. I like to keep my whole system in good shape.
Here are ways to maintain a clean and odor-free drain system:
- Hot Water Flush: Make it a daily habit. After you finish using a sink, let hot water run for about 30 seconds. This helps flush away small bits of food, soap, and grease. It prevents them from sticking to pipe walls and building up.
- Avoid Harsh Chemicals: While tempting for quick fixes, harsh chemical drain cleaners can damage pipes over time. They are corrosive. They can also harm septic systems. Opt for natural solutions or manual cleaning instead. If you prefer a chemical solution, choose an enzyme-based one.
- Proper Garbage Disposal Use: If you have a garbage disposal, use it wisely. Always run cold water before, during, and after grinding food waste. Avoid putting fibrous vegetables, grease, coffee grounds, or large bones down the disposal. These items can clog it or damage the unit. If you encounter issues, consider How to Clean Sink Disposal.
- Regular Drain Treatment: Every month, use a natural drain treatment. This could be the baking soda and vinegar mix. Or, use an enzyme drain cleaner. These treatments break down organic matter before it becomes a problem. They also help keep drains smelling fresh.
- Inspect Drain Vents: Your plumbing system has vent pipes. These vents allow air into the drain lines. This helps water flow smoothly. If a vent is blocked, it can cause slow drains and gurgling sounds. Clearing vent blockages usually requires professional help.
- Check for Leaks: Periodically check under your sinks for any signs of leaks. Even small drips can lead to moisture buildup. This causes mold and musty odors. Address any leaks immediately. A leak can cause severe damage.
- Clean Sink Surfaces: Do not forget the sink basin itself. Regularly clean your entire sink. This includes the drain opening, faucet, and basin. A clean sink means fewer particles enter the drain. For example, knowing How to Clean Stainless Steel Sink or your specific sink material helps maintain overall cleanliness.
By following these maintenance practices, you are not just cleaning a trap. You are caring for your entire home’s plumbing. This proactive approach saves you from future headaches and ensures your home remains fresh and functional.
FAQ Section
How often should I clean my sink trap?
You should clean your sink trap at least once or twice a year. If you notice slow drainage or foul odors more frequently, increase the cleaning schedule. For kitchen sinks, which handle more grease and food particles, a quarterly check is beneficial. Bathroom sinks collect more hair and soap scum, also needing regular attention.
What causes foul odors from a sink trap?
Foul odors typically come from the buildup of organic matter inside the trap. Food particles, grease, hair, and soap scum get trapped. As these materials decompose, they release unpleasant gases. The water seal in the trap stops sewer gases. But the decaying gunk inside the trap itself is often the source of the smell.
Can I use bleach to clean my sink trap?
I do not recommend using bleach to clean your sink trap. Bleach can be corrosive to some pipes, especially older ones. It also does not effectively break down clogs. Mixing bleach with other cleaners, like ammonia, creates toxic fumes. Stick to safer alternatives like baking soda and vinegar or manual cleaning.
What if my sink trap is leaking after reassembly?
If your sink trap leaks after reassembly, first ensure all slip nuts are tight. Do not overtighten, especially on plastic pipes. Check that the rubber gaskets are properly seated and undamaged. Misaligned or worn-out gaskets are common causes of leaks. If the leak persists, replace the gaskets or the entire trap.
Is it hard to remove a sink trap?
No, removing a sink trap is not hard. It looks intimidating, but it is a simple process. You only need a few basic tools like pliers or a wrench. The key is to have a bucket ready for water and debris. Most traps use slip nuts that are easy to loosen and tighten. I encourage everyone to try it.
Can a clogged sink trap affect other drains?
A clog specifically within the sink trap usually only affects that one sink. However, if the clog extends past the trap into the main drain line, or if the main line itself is partially blocked, it can affect other drains connected to that line. Water might drain slowly or back up in multiple fixtures.
Conclusion
Cleaning your sink trap is a fundamental part of maintaining a healthy home. It helps you prevent slow drains, eliminate unpleasant odors, and avoid costly plumbing repairs. I hope this guide gives you the confidence to tackle this task yourself. You have learned the importance of the sink trap, the tools required, and detailed steps for both manual and non-disassembly cleaning. We also covered handling stubborn clogs and, importantly, proactive prevention.
Regular maintenance and smart habits make a big difference. By regularly cleaning your sink trap and adopting preventive measures, you ensure smooth-running drains. You also create a fresher, more pleasant environment in your kitchen and bathrooms. Do not let a smelly or slow sink bother you. Take action today. A clean sink trap is a small effort with a big reward. Take control of your home’s plumbing. Your nose and wallet will thank you.
- sink trap cleaning
- unclog drain
- plumbing maintenance
- remove drain odor
- DIY cleaning