· Home Maintenance · 16 min read
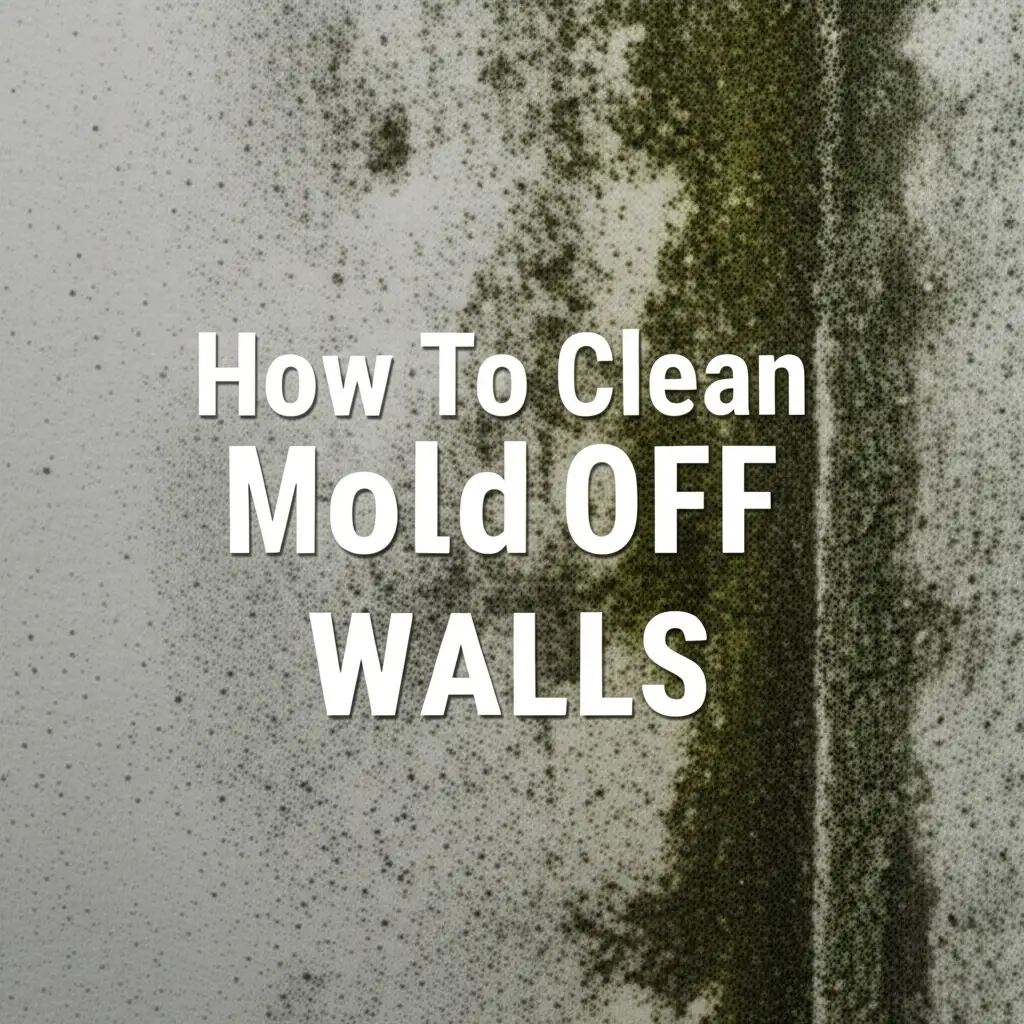
How To Clean Soot Off Walls

Clean Soot Off Walls: Your Complete Restoration Guide
Soot stains on walls are a frustrating sight. These dark marks leave your home looking neglected. You might wonder how to effectively clean soot off walls. I understand the challenge this presents to homeowners like you.
Soot is a byproduct of incomplete combustion. It results from fires, candles, or even furnace malfunctions. This sticky residue coats surfaces quickly. It also carries a distinct, unpleasant odor. Removing it requires careful steps and the right approach. Otherwise, you risk spreading the damage further. This article will show you how to clean soot off walls. We will cover preparation, cleaning methods, and safety measures. Get ready to restore your walls to their original cleanliness.
Takeaway:
- Prioritize safety with proper personal protective equipment.
- Start with dry cleaning methods to remove loose soot.
- Transition to wet cleaning for stubborn, greasy stains.
- Neutralize odors and seal surfaces for lasting results.
- Know when to seek professional help for extensive damage.
To effectively clean soot off walls, begin by dry vacuuming loose particles with a HEPA filter. Next, gently wipe with a dry chemical sponge to lift more residue. For persistent stains, use a specialized soot cleaner or TSP substitute, testing first and working from bottom to top, followed by thorough rinsing and drying.
Understanding Soot: Types and Challenges
Soot forms from the incomplete burning of organic matter. This includes wood, oil, and candles. It is primarily composed of carbon particles. Soot often carries various chemicals and compounds. This makes it a health hazard in your home.
Soot adheres strongly to surfaces. It can be very challenging to remove. The type of soot depends on what burned. This affects your cleaning strategy. Knowing the soot type helps you choose the right cleaning method.
Dry Soot vs. Greasy Soot
We categorize soot into two main types. Dry soot comes from wood, paper, or natural gas fires. It is a fine, powdery substance. This type of soot is usually easier to clean. It often responds well to dry cleaning methods.
Greasy soot results from burning plastics, oil, or kitchen fires. It is sticky and smudgy. This soot contains oils and resins. Greasy soot smears easily and requires wet cleaning. Understanding these differences helps you clean more effectively. You can learn more about specific soot challenges by reading about how to clean black soot from inside fireplace.
Why Immediate Action Matters
Soot can cause permanent damage if left untreated. It etches into surfaces over time. This makes removal much harder later on. The acidic nature of some soot types can also corrode materials. This includes paint and wallpaper.
Soot also carries a strong, lingering odor. This smell permeates fabrics and porous materials. Quick action helps prevent deeper damage. It also reduces the spread of odors. Addressing soot promptly saves time and money on larger repairs.
Essential Tools and Safety Precautions
Before you begin cleaning, gather all necessary tools. Safety must be your top priority. Soot contains harmful particles. These particles can cause respiratory issues. They can also irritate your skin and eyes.
I always recommend wearing personal protective equipment. This ensures your safety throughout the cleaning process. Proper ventilation is also key. This helps clear the air of airborne particles. Do not underestimate the risks involved.
Tools You Will Need
You need specific tools for effective soot removal. A HEPA-filtered vacuum is essential. It captures fine soot particles without recirculating them. Dry chemical sponges, often called soot sponges, lift loose soot effectively. Microfiber cloths are good for wet cleaning. You will also need two buckets, one for cleaner and one for rinse water.
Look for specialized soot cleaners. You can also use a TSP (Trisodium Phosphate) substitute. Heavy-duty degreasers also work well for greasy soot. Painter’s tape and plastic sheeting protect areas not being cleaned. A soft brush can help with initial dusting.
Safety Gear You Must Use
Protecting yourself is crucial. Wear a respirator with a P100 filter. This prevents inhaling harmful soot particles. Standard dust masks are not enough. Put on thick rubber gloves to protect your hands from cleaners and soot.
Safety glasses or goggles shield your eyes. Wear old clothes that you can discard or wash thoroughly. Do not track soot to other parts of your home. You should also consider shoe covers. Your health is more important than anything else.
Preparing Your Workspace for Soot Removal
Proper preparation saves you from spreading soot. It also protects your belongings. Cleaning soot is a dirty job. You must contain the mess to the affected area. This step ensures a more efficient cleaning process.
I always take my time to prepare the room thoroughly. Rushing this stage often leads to more work later. My goal is to prevent cross-contamination. This means keeping soot localized.
Isolate the Affected Area
First, close doors to unaffected rooms. Turn off your HVAC system. This prevents soot particles from circulating through your ventilation. Place towels under closed doors. This creates a barrier.
Cover any air vents in the room. Use plastic sheeting and painter’s tape. This stops soot from entering the ducts. Keeping the area isolated protects your entire home. It makes cleanup more manageable.
Protect Furniture and Floors
Remove all movable furniture from the room. If items are too large, push them to the center. Cover them completely with plastic sheeting. Use painter’s tape to secure the plastic. This creates a protective barrier.
Cover the entire floor with plastic sheeting or old tarps. Overlap the seams to prevent gaps. Tape the edges to the baseboards. This protects your flooring from soot and cleaning solutions. Protecting your belongings prevents further damage.
Ensure Good Ventilation
Open windows in the affected room. Place a box fan in one window, facing out. This creates negative pressure. It pulls air and soot particles outside. Place a second fan in another window, facing in. This helps circulate fresh air.
Make sure the fan drawing air out is clean. It should not pull soot back into the house. Good ventilation helps dissipate odors. It also makes the air safer to breathe. Do not clean in a closed-off, unventilated space.
Step-by-Step Guide to Dry Soot Removal
Dry cleaning methods are your first line of defense. They remove loose soot without smearing it. This is a critical initial step. Wet cleaning directly on dry soot can embed it deeper. Always start with these gentle approaches.
I find that patience is key here. You need to work slowly and methodically. This prevents spreading the soot around. It also helps you see your progress clearly. This step minimizes the need for harsh chemicals later.
Vacuuming Loose Soot
Begin by using a HEPA-filtered vacuum cleaner. A shop vacuum with a HEPA filter attachment works best. Use a brush attachment or crevice tool. Do not use your regular household vacuum. It might lack the proper filtration.
Hover the vacuum nozzle just above the soot. Do not let the nozzle touch the wall. This pulls the loose soot into the vacuum. Start at the top of the wall and work your way down. Overlap your passes slightly. This ensures thorough removal. Avoid scrubbing with the vacuum attachment. This can spread the soot or press it into the surface.
Using a Dry Chemical Sponge (Soot Sponge)
After vacuuming, use a dry chemical sponge. These sponges are unique. They are designed to absorb soot. They do not smear it. You can buy them at hardware stores or online.
Gently wipe the wall with the sponge. Use light, even strokes. Wipe in one direction. Do not scrub back and forth. As the sponge picks up soot, it will turn black. Cut off the dirty portion. Use a fresh, clean section of the sponge. Repeat this process until no more soot comes off onto the sponge. This method is effective for dry soot, like that from how to clean candle smoke off walls.
Initial Inspection and Repeat
Once you finish dry cleaning, inspect the wall. Look for any remaining loose soot or light smudges. You might need to repeat the vacuuming or sponging. Continue until no more dry soot lifts off. The goal is to remove as much dry soot as possible.
This step prepares the wall for wet cleaning. It makes the subsequent steps easier. It also reduces the chances of smearing. Do not rush this stage. A good dry cleaning job sets you up for success.
Tackling Greasy Soot and Stubborn Stains
Once dry methods have done their part, you will face the stubborn greasy soot. This type of soot often requires liquid cleaners. It sticks firmly to surfaces. Wet cleaning demands more caution. You must choose the right cleaner. You also need to follow proper techniques.
I always recommend testing cleaners first. This avoids damaging your wall paint. Work systematically to prevent streaks. This part of the cleaning takes more effort. However, it delivers the most dramatic results.
Choosing the Right Cleaning Solution
For greasy soot, you need a strong degreaser. Specialized soot removers are available. These products are formulated to break down soot. You can also use a TSP (Trisodium Phosphate) alternative. TSP is very effective but needs careful handling. Follow product instructions precisely.
For lighter greasy films, a strong dish soap solution can work. Mix a few drops of dish soap with warm water. Ensure the solution is not too sudsy. Some people use a mixture of mild detergent and water. Always avoid harsh abrasives. They can damage your wall finish.
Testing and Application Technique
Always test your cleaning solution first. Choose an inconspicuous area. This could be behind furniture or inside a closet. Apply a small amount of cleaner. Let it sit for a few minutes. Wipe it off. Check for discoloration or damage.
For cleaning, use two buckets. Fill one with your cleaning solution. Fill the second with clean rinse water. Dip a clean microfiber cloth into the cleaning solution. Wring out excess liquid. The cloth should be damp, not dripping.
Work in small sections. Start at the bottom of the wall. Work your way up. This prevents dirty solution from dripping onto uncleaned areas. This also prevents streaks. Gently wipe the wall surface. Apply light pressure. Do not scrub hard. You want to lift the soot, not rub it in.
Rinsing and Drying the Walls
After cleaning a section, immediately rinse it. Dip a second clean microfiber cloth into the clear rinse water. Wring it out well. Wipe the cleaned area. This removes any cleaner residue. It prevents streaks and soap buildup. Change your rinse water often. It will become dirty quickly.
Immediately dry the wall with a third clean, dry microfiber cloth. Do not let the wall air dry. Air drying can leave water marks or streaks. Pay attention to how to clean painted walls without leaving streaks. This is particularly important for a smooth finish. Proper rinsing and drying ensure a spotless result. This method helps you clean walls without removing paint.
Post-Cleaning: Neutralizing Odors and Preventing Future Stains
Cleaning soot removes visible stains. However, the odor often lingers. Soot particles embed themselves in porous surfaces. This releases a persistent smoky smell. Neutralizing these odors is crucial. It ensures your home truly feels clean.
I also believe in taking steps to prevent future soot issues. This involves maintenance and awareness. Proper post-cleaning actions protect your efforts. They also maintain a fresh living environment.
Eliminating Lingering Soot Odor
After cleaning, ventilate the room thoroughly. Continue running fans for several hours. Place bowls of activated charcoal or white vinegar around the room. These absorb odors naturally. Change them every few days. You can also use commercial odor neutralizers. Spray them according to product directions.
For very strong odors, consider renting an ozone generator. Use ozone generators with extreme caution. No people or pets should be in the room when it operates. Ozone can harm lungs. Follow all safety guidelines strictly. Air purifiers with HEPA and activated carbon filters can also help. They remove airborne particles and odors. For related issues, you might find tips on how to clean yellow walls from smoke.
Sealing and Repainting for Prevention
Sometimes, the soot stain or odor is too deep. Even after cleaning, a faint shadow might remain. Or a lingering smell persists. In such cases, a specialized primer is necessary. Use a shellac-based or oil-based stain-blocking primer. These primers create a barrier. They seal in any remaining soot and odors.
Apply the primer evenly over the affected wall area. Let it dry completely. Then you can repaint your walls. Choosing an odor-blocking paint can also add an extra layer of protection. This step ensures that the soot will not bleed through. It also helps prevent future smell issues.
Preventing Future Soot Buildup
Regular maintenance prevents future soot problems. If you have a fireplace, clean it regularly. Ensure the flue is open and working correctly before use. Use dry, seasoned wood. Avoid burning trash or green wood.
When using candles, trim wicks before each use. Avoid placing candles near drafts. Good ventilation helps disperse any smoke. Ensure your furnace undergoes regular inspection. This prevents malfunctions that produce soot. Being proactive keeps your walls clean.
When to Call the Professionals
Cleaning soot yourself is often possible. However, some situations demand professional help. Extensive fire damage is one such scenario. If the soot covers large areas, or if it is very thick, DIY efforts may fall short. Knowing when to call experts saves you time, effort, and further damage.
I advocate for professional intervention in complex cases. They have specialized tools and training. Their expertise ensures a thorough and safe cleanup. They can address issues beyond surface cleaning.
Extensive Fire Damage
If your home experienced a significant fire, professional help is necessary. Fire damage often involves more than just soot. It can include structural damage, water damage from firefighting, and pervasive odors. Professionals assess the full extent of the damage. They create a comprehensive restoration plan.
Attempting to clean extensive fire damage yourself is risky. It can lead to health hazards. It can also cause more damage to your home. Restoration companies have the equipment to handle large-scale cleanups. They restore your home safely and effectively.
Health and Safety Concerns
Soot can contain carcinogens and other toxic compounds. If you have respiratory conditions, like asthma, avoid cleaning soot. Exposure can worsen your symptoms. If you experience irritation, dizziness, or nausea during cleaning, stop immediately. These are signs that you need professional help.
Professionals have industrial-grade respirators and protective gear. They use specialized air filtration systems. These systems capture fine particles. They ensure a safe working environment. They protect you and your family from harmful exposure.
Persistent Odors or Damage
You might clean the walls thoroughly. But a lingering smoky odor remains. Or you notice the soot bleeding through fresh paint. This indicates deeper soot penetration. Professional odor removal techniques might be necessary. They use advanced equipment like ozone generators or hydroxyl generators.
They also have access to powerful sealants and primers. These products are not always available to the public. Professionals ensure complete odor elimination. They guarantee that stains will not reappear. They restore your home to pre-loss condition.
Specialized Equipment Needed
Soot restoration requires specific equipment. This includes powerful HEPA vacuums. It also involves air scrubbers and thermal foggers. These tools are expensive to buy or rent. They also require specialized training to operate correctly.
Professionals own and operate this equipment regularly. They know how to use it for maximum effectiveness. Their experience ensures all soot is removed. They also address hidden soot in ventilation systems. This prevents future problems.
Frequently Asked Questions
Can I paint over soot?
Painting over soot is not recommended without proper cleaning and priming. Soot can bleed through layers of new paint. This leaves yellowish or brown stains. It also allows the smoky odor to persist. Always clean the soot first. Then, apply a shellac-based or oil-based stain-blocking primer. This creates a barrier. It seals in any remaining soot and odors.
What cleans soot best?
For dry soot, a HEPA-filtered vacuum and dry chemical sponges work best. For greasy soot, specialized soot removers or a TSP (Trisodium Phosphate) substitute are most effective. Strong degreasers also work well. Always test any cleaner on an inconspicuous area first. This ensures it does not damage your wall surface or paint.
Is soot dangerous?
Yes, soot can be dangerous. It consists of fine particles and can contain carcinogens. Inhaling soot can cause respiratory problems. It can also irritate eyes and skin. Soot particles can enter your bloodstream. Long-term exposure to soot is linked to health issues. Always wear appropriate personal protective equipment when cleaning.
How long does it take to clean soot?
The time it takes to clean soot varies. It depends on the extent of the damage. It also depends on the type of soot. Small, localized dry soot stains might take an hour or two. Extensive greasy soot covering multiple rooms could take days. Proper preparation also adds to the time. Be patient for the best results.
Can baking soda clean soot?
Baking soda can help with light soot or smoke residue. It is a mild abrasive and odor absorber. Make a paste with baking soda and water. Apply it gently to the stain. Let it sit, then wipe it away. For heavy or greasy soot, baking soda alone will not be enough. You will need stronger cleaners for those types of stains.
How to prevent soot stains?
Preventing soot involves good maintenance. If you use a fireplace, clean it regularly. Burn only seasoned wood. Trim candle wicks before lighting them. Do not place candles in drafty areas. Ensure your furnace is serviced annually. Good ventilation also helps prevent soot buildup. These steps reduce the chances of future soot stains.
Conclusion
Cleaning soot off walls may seem like a daunting task. However, with the right approach, it is entirely manageable. I have walked you through the essential steps. We covered understanding soot types, gathering tools, and ensuring safety. You now know how to tackle both dry and greasy soot. We also discussed crucial post-cleaning steps. These steps involve odor neutralization and stain prevention.
Remember, patience and thoroughness are your allies. Start with dry methods to avoid smearing. Move to wet cleaning for stubborn residues. Always prioritize your safety. Wear proper protective gear. Take action quickly to prevent permanent damage. If the damage is too great, or if health concerns arise, do not hesitate to call professionals. They have the expertise and equipment to restore your home fully. With these tips, you can confidently clean soot off walls. You will bring your living space back to a fresh, clean state. For more cleaning tips and solutions, explore other resources on BeaCleaner.com.
- soot removal
- wall cleaning
- smoke damage
- DIY cleanup