· Cleaning Guides · 17 min read
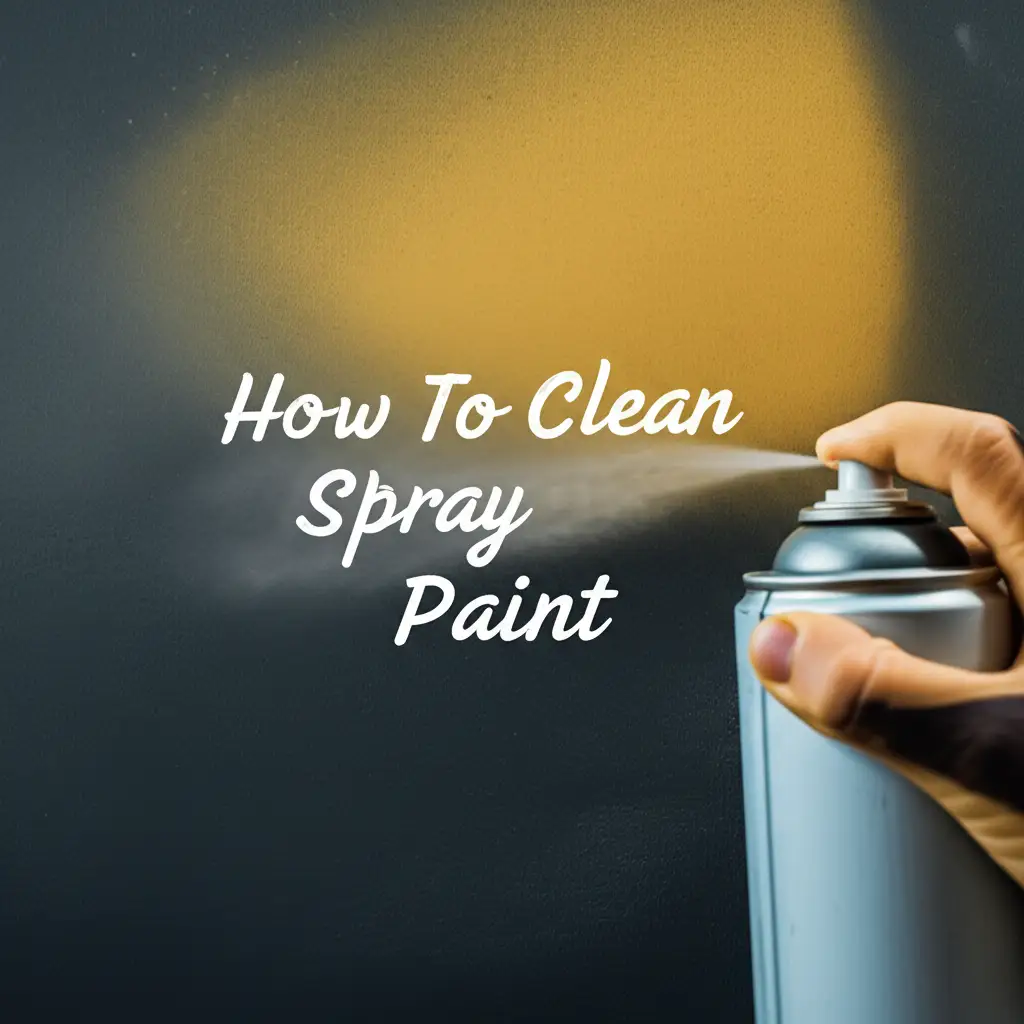
How To Clean Spray Nozzle
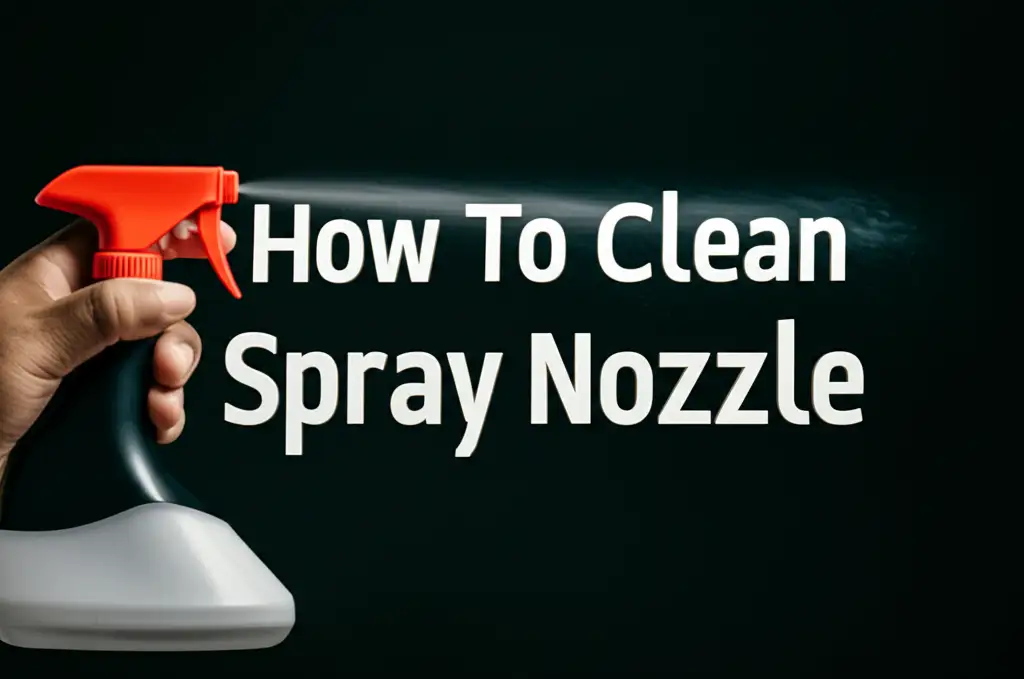
Unlock Perfect Flow: How to Clean Any Spray Nozzle
A clogged spray nozzle can quickly stop your cleaning or gardening work. You might face frustrating drips, uneven sprays, or no spray at all. Learning how to clean a spray nozzle properly saves you money. It also ensures your tools work well every time. Many people throw away items with clogged nozzles, but a simple clean often fixes the problem.
This article provides clear, actionable steps to restore your spray nozzles. We will discuss different nozzle types and their common clogging issues. We will then cover basic cleaning methods and deeper solutions for stubborn clogs. You will also learn about useful tools and how to prevent clogs in the future. I want to help you keep all your sprayers working like new. Let’s get your nozzles spraying perfectly again.
Takeaway
- Identify your spray nozzle type and its common clogging agents.
- Use simple soaking and flushing for minor clogs.
- Apply stronger solutions like vinegar and fine tools for stubborn blockages.
- Always rinse nozzles after use to prevent future clogs.
To clean a spray nozzle, first identify its type and the substance causing the clog. For general blockages, soak the nozzle in warm soapy water or vinegar. Use a small brush or needle to dislodge any debris. For tough buildup, disassemble the nozzle if possible and flush its parts thoroughly. Regular rinsing after each use helps prevent future clogging, ensuring a consistent spray pattern.
Understanding Your Spray Nozzle: Types and Common Clogs
Spray nozzles come in many forms, and each type can clog differently. Knowing your specific nozzle helps you clean it more effectively. Some nozzles spray cleaning solutions, while others handle water or paint. Residue builds up inside these nozzles over time. This buildup is the main cause of clogs.
Household cleaning product nozzles often clog with dried soap or chemical residue. Garden hose nozzles can get mineral deposits from hard water or dirt. Spray paint nozzles clog fast due to dried paint inside. Each material requires a slightly different approach to cleaning. Understanding the source of the clog is the first step to fixing it.
Common Nozzle Types and Their Vulnerabilities
- Household Sprayers: These are found on window cleaners, bathroom cleaners, or even hairspray bottles. They often clog from dried product or mineral buildup from the solution itself. Solutions can dry out and form crystals, blocking the small opening. This makes the spray weak or causes it to stream instead of mist.
- Garden Hose Nozzles: Garden nozzles face dirt, mineral deposits from hard water, and rust. Over time, these particles collect in the fine openings. This affects spray patterns for watering plants or washing cars. A faulty spray can damage plants or waste water.
- Kitchen Faucet Spray Heads: These nozzles deal with hard water minerals and food particles. They get calcium and lime buildup, which reduces water pressure. You might notice an uneven spray or water splashing everywhere. Cleaning these is important for hygiene and proper kitchen use. Cleaning a kitchen faucet spray head can restore its full function quickly.
- Spray Paint Nozzles: These are highly prone to clogging because paint dries quickly. Dried paint within the nozzle makes it unusable. Proper cleaning immediately after use is crucial for these. If you need to clean spray paint from a surface, that is a different task, but cleaning the nozzle prevents that mess.
- Specialty Sprayers (e.g., Spray Foam Guns, Bug Spray Applicators): These nozzles handle specific materials like expanding foam or pesticides. They clog with dried product very easily. Cleaning a spray foam gun requires special solvents due to the nature of the foam. For bug spray applicators, residue can dry and block the tiny hole. If you accidentally get bug spray on the floor, cleaning the applicator itself prevents future spills.
Identifying what your nozzle sprays helps you pick the right cleaning method. Water-based solutions might clean some clogs, but stronger solvents work better for others. Always check the type of substance that typically passes through the nozzle. This knowledge guides your cleaning process.
Basic Steps to Clean a Clogged Spray Nozzle
Most clogged spray nozzles respond well to simple cleaning steps. You do not always need special tools or harsh chemicals. Often, a bit of warm water and patience will do the trick. These basic methods are safe for most nozzle types. They help clear minor blockages and improve spray performance.
I always start with the least invasive method first. This approach prevents damage to the nozzle. It also saves time and effort. Many common clogs are just dried residue or small particles. Gentle cleaning removes these blockages easily.
Initial Rinse and Soaking
Start by removing the nozzle from its container, if possible. Rinse it thoroughly under warm, running water. This can flush out loose debris. If the clog remains, prepare a small bowl of warm water with a few drops of dish soap.
Place the nozzle into the soapy water. Let it soak for 15-30 minutes. The warm water and soap help soften and dissolve common residues. This step often loosens dried product or minor mineral buildup. Soaking is a very gentle and effective first approach.
Gentle Scrubbing Techniques
After soaking, remove the nozzle from the water. Use a soft brush, like an old toothbrush or a small bottle brush. Gently scrub the outside of the nozzle. Pay attention to the spray opening and any grooves. This helps remove softened residue.
For the tiny spray hole, a toothpick or a fine needle works well. Carefully insert it into the opening to dislodge any remaining blockage. Do not push too hard, as this can damage the nozzle. Once you clear the opening, rinse the nozzle again under warm water. Test the spray by reattaching it or by flushing water through it.
Deep Cleaning Methods for Stubborn Nozzle Clogs
Sometimes, basic cleaning is not enough. Stubborn clogs, like hard water mineral deposits or dried paint, need stronger methods. These methods might involve common household cleaners like vinegar or small specialized tools. Always exercise caution when using stronger cleaning agents. Ensure good ventilation and wear gloves if needed.
I find that patience is key when dealing with tough clogs. Repeating a step can often achieve better results than forcing the issue. Using the right solution for the right type of clog makes a big difference. Let’s explore more intensive cleaning solutions.
Vinegar Soaks for Mineral Deposits
White vinegar is excellent for dissolving mineral deposits like calcium and lime. If your nozzle sprays water, especially in hard water areas, vinegar is your friend. Detach the nozzle and place it in a bowl of undiluted white vinegar. Let it soak for several hours, or even overnight. The acid in the vinegar slowly breaks down the mineral buildup.
After soaking, remove the nozzle and rinse it thoroughly under running water. Use a small brush or needle to clear any remaining softened debris. Vinegar is safe for most plastics and metals. It is a powerful, natural cleaner that also helps remove odors. You can use similar vinegar methods to clean your shower or even clean glass with vinegar.
Using Fine Tools to Clear Orifices
For very stubborn clogs lodged deep inside the nozzle opening, fine tools are necessary. A thin wire, a sewing needle, or a specialized nozzle cleaning tool works well. Carefully insert the tool into the spray hole. Twist it gently to break up or push out the blockage. Do not force the tool or enlarge the hole, as this can ruin the spray pattern.
Sometimes, compressed air can help dislodge particles after using a tool. Hold the nozzle firmly and blast a short burst of air through the opening. Always point the nozzle away from your face and others. This combination of mechanical action and air pressure often clears the toughest clogs.
When to Consider Disassembly
Some nozzles, especially those on garden hoses or kitchen faucets, can be disassembled. If cleaning the outer parts does not work, carefully take the nozzle apart. Many models have screws or twist-off sections. This allows you to access internal components. Clean each part individually.
Soak the internal parts in warm soapy water or vinegar, depending on the clog type. Use small brushes or pipe cleaners to scrub inside channels and screens. Reassemble the nozzle once all parts are clean and dry. Always remember how you took it apart. Take pictures if it helps you remember. Disassembly provides the most thorough cleaning.
Specific Nozzle Cleaning Scenarios
Different spray nozzles need tailored cleaning methods. What works for a garden hose might not work for a kitchen sprayer. Understanding these specific scenarios helps you clean effectively and safely. Each type of nozzle encounters unique materials. Therefore, their clogs require specific solutions.
I have found that paying attention to the material sprayed through the nozzle is key. This helps choose the right solvent or tool. Treating all nozzles the same can lead to damage or ineffective cleaning. Let’s look at some common special cases.
Kitchen Faucet Spray Heads
Kitchen faucet spray heads often get mineral buildup and food particles. First, unscrew the spray head from the faucet hose. Many models twist off easily. Check for a rubber washer; keep it safe. Submerge the spray head in a bowl of white vinegar overnight. This dissolves hard water deposits.
In the morning, use an old toothbrush or a small wire brush to scrub the small holes. You might see a mesh screen inside; clean this separately. Rinse the head thoroughly under hot water. Reattach it to the faucet, ensuring the washer is in place for a tight seal. A clean kitchen faucet spray head restores proper water flow and pressure.
Garden Hose Nozzles
Garden hose nozzles face dirt, mineral deposits, and rust. Detach the nozzle from the hose. Inspect the rubber washer inside the coupling; replace it if damaged. Soak the nozzle in a solution of equal parts white vinegar and water for several hours. This helps break down mineral and rust buildup.
Use a small brush or a thin piece of wire to clear the spray holes. For stubborn internal clogs, remove the nozzle tip if possible. Flush it with strong water pressure. You can also use compressed air for a quick blast. Proper cleaning ensures even watering for your plants.
Cleaning Bug Spray Applicators
Bug spray applicators can clog with dried pesticide residue. Many of these chemicals are oil-based or sticky when dry. Do not use water or vinegar if the product is oil-based. Instead, check the bug spray product label for cleaning instructions. Some suggest using mineral spirits or a specific solvent.
If the label gives no advice, try soaking the nozzle in rubbing alcohol for a short period. Use a fine needle to clear the spray hole. Always wear gloves and work in a well-ventilated area. Dispose of any cleaning solutions safely. Cleaning these applicators prevents future malfunctions. You certainly do not want to find bug spray residue on your floor due to a faulty sprayer.
Tools and Supplies for Effective Nozzle Cleaning
Having the right tools makes cleaning spray nozzles much easier. You do not need a lot of specialized equipment. Many effective cleaning tools are already in your home. Some are inexpensive items you can buy at any hardware store. The key is to select tools appropriate for the size and type of nozzle you are cleaning.
I keep a small cleaning kit ready for such tasks. This helps me address clogs immediately. Quick action often prevents permanent damage to a nozzle. Let’s look at the essential items you will need.
Essential Cleaning Supplies
- Warm Water: The simplest and safest solvent for most common clogs. It helps soften dried residues. Always start your cleaning process with warm water.
- Dish Soap: A few drops of dish soap added to warm water boosts its cleaning power. It helps break down grease and sticky residues. Dish soap is gentle enough for almost all nozzle materials.
- White Vinegar: This is a natural acid excellent for dissolving mineral deposits. It is a must-have for hard water clogs. Always use plain white vinegar, not apple cider or balsamic.
- Small Brushes: Old toothbrushes, pipe cleaners, or specialized nozzle cleaning brushes are perfect. They help scrub away softened debris. Choose brushes with bristles that can fit into small spaces.
- Fine Tools: Sewing needles, paper clips (straightened), or thin wires are vital for clearing tiny spray holes. Be gentle when using these tools to avoid damage. A small pin or safety pin also works well for this purpose.
- Compressed Air: Canned compressed air can blast out stubborn particles from within the nozzle. Use short bursts to avoid damaging delicate parts. Always wear eye protection when using compressed air.
- Safety Gear: Gloves protect your hands from cleaning solutions. Eye protection shields your eyes from flying debris or chemical splashes. Always prioritize safety during cleaning tasks.
Having these items on hand ensures you are prepared for any clogged spray nozzle. You can tackle most clogs with this basic kit. Remember, proper tool use prevents damage to the nozzle. It also keeps you safe during the cleaning process.
Preventing Future Spray Nozzle Clogs
Cleaning a clogged spray nozzle is important, but preventing clogs is even better. Regular maintenance saves time and extends the life of your sprayers. Simple habits can keep your nozzles clear and functioning perfectly. Many clogs happen because of dried-on residue or improper storage. A few proactive steps can make a big difference.
I have found that a little prevention goes a long way. It stops frustration before it starts. Consistent care ensures your tools are always ready when you need them. Let’s discuss easy ways to keep your nozzles clog-free.
Regular Rinsing After Use
The most effective way to prevent clogs is to rinse your nozzle immediately after each use. If you use a sprayer with cleaning solutions, run warm, clean water through it. Spray the clean water for about 10-15 seconds. This flushes out any remaining product that could dry and clog the nozzle. For garden hose nozzles, simply spraying clean water for a moment helps. This removes dirt and loose particles before they settle.
For spray paint or foam nozzles, use the appropriate solvent immediately. Do not let paint or foam dry in the nozzle. This quick rinse or flush is often enough to keep the nozzle clear. It prevents most clogs from forming.
Proper Storage Practices
How you store your spray nozzles also affects their lifespan and performance. Store nozzles in a clean, dry place. Protect them from extreme temperatures. Leaving nozzles exposed to direct sunlight or freezing temperatures can damage materials. This damage can lead to cracks or weakened parts, making them more prone to clogging.
For bottles with attached nozzles, ensure the cap or nozzle is tightly closed. This prevents the product inside from drying out and clogging the nozzle. For detachable nozzles, store them in a way that prevents dust and debris from entering the spray hole. A small plastic bag or container works well for this.
Using Filtered Water
If you often clean nozzles used with water, consider using filtered water. Hard water contains minerals that build up over time. These minerals are a common cause of clogs. A water filter reduces mineral content. This reduces the risk of mineral deposits forming inside your nozzles.
Using filtered water is especially useful for appliances with small spray jets. These include dishwashers or washing machines. While this may not apply to all spray nozzles, it is a good tip for certain applications. For example, if you fill a hand sprayer with tap water often, cleaning your water filter can ensure better water quality. This, in turn, helps keep your nozzles cleaner.
Troubleshooting Persistent Nozzle Issues and When to Replace
Sometimes, despite your best cleaning efforts, a spray nozzle still does not work. This can be frustrating. It means the clog might be too severe, or the nozzle itself is damaged. Knowing when to keep trying and when to replace is important. This saves you time and prevents further frustration.
I understand the desire to fix things. However, some problems are beyond simple repair. Recognizing these signs helps you make a practical decision. Let’s look at common persistent issues and when it is time to get a new nozzle.
Signs of Permanent Clogging or Damage
- No Spray After Thorough Cleaning: If you have soaked, scrubbed, poked, and flushed the nozzle multiple times, and still no liquid comes out, the clog might be permanent. This happens if debris hardens too much or if the internal pathways are completely blocked.
- Distorted Spray Pattern: A nozzle might spray, but the pattern is uneven, spits, or squirts wildly. This often means the internal parts are damaged or warped. It could also mean one part of the spray opening is clear, but others remain blocked. Cleaning may not fix a physically deformed opening.
- Leaking: If the nozzle leaks around the trigger or connections, it likely has internal cracks or worn seals. Cleaning will not fix this. Leaking reduces pressure and wastes product. This issue usually requires a replacement.
- Visible Cracks or Breaks: Any visible damage to the plastic or metal body of the nozzle makes it unreliable. Cracks can spread, causing more leaks or affecting spray performance. A broken nozzle cannot be repaired.
When to Consider Replacement
You have tried every cleaning method. The nozzle still fails to perform correctly. This is usually the time to consider a replacement. Nozzles are often inexpensive, especially for common household items. Replacing a faulty nozzle is more efficient than endlessly trying to fix it. This is true for garden hose nozzles, spray bottle tops, and kitchen sprayer heads.
For larger or more expensive equipment, like specialty spray guns, consult the manufacturer. They might offer replacement parts or professional repair services. However, for most everyday spray nozzles, a new one is the quickest and most cost-effective solution. Do not let a broken nozzle slow down your cleaning or gardening tasks.
Frequently Asked Questions
Q: Can I use bleach to clean a spray nozzle?
A: Using bleach to clean a spray nozzle is generally not recommended. Bleach can react with certain materials, especially metals, causing corrosion. It can also be dangerous if mixed with residues from other cleaning products. Stick to safer options like warm water, dish soap, or vinegar for most nozzles.
Q: How often should I clean my spray nozzle?
A: Clean your spray nozzle immediately after each use, especially with thick or sticky liquids. For water-based nozzles, a quick flush with clean water after every use is good. Deep clean monthly or as soon as you notice a reduced or irregular spray pattern. This helps prevent major clogs.
Q: What if my nozzle is permanently clogged?
A: If your nozzle remains clogged after multiple attempts with soaking, scrubbing, and using fine tools, it is likely permanently blocked or damaged. In such cases, the most practical solution is to replace the nozzle or the entire spray bottle. Nozzles are often inexpensive to replace.
Q: Is vinegar safe for all nozzles?
A: Vinegar is safe for most plastic and metal nozzles. It is excellent for dissolving mineral deposits. However, always test a small, hidden area first if you are unsure. Avoid using vinegar on nozzles that have come into contact with bleach, as this can create harmful fumes.
Q: Can I clean a spray paint nozzle?
A: Yes, you can clean a spray paint nozzle, but you must do it immediately after use. Use a solvent recommended by the paint manufacturer, often mineral spirits or paint thinner. Invert the can and spray until only clear propellant comes out. This pushes paint out of the nozzle.
Conclusion
A clean spray nozzle is essential for effective and efficient work. We have explored simple yet powerful methods to tackle any clog. From basic soap and water soaks to targeted vinegar treatments, you now possess the knowledge to restore proper function. Understanding different nozzle types and their specific cleaning needs is key. Proper tools and a bit of patience make the job easy.
Remember that prevention is your best ally. A quick rinse after each use and proper storage practices go a long way. Do not let a clogged nozzle stop your productivity. Embrace these tips to clean spray nozzle blockages and maintain optimal performance. Keep your sprayers ready for any task. Enjoy the consistent, reliable spray you deserve!
- spray nozzle cleaning
- clogged nozzle
- nozzle maintenance
- DIY cleaning
- household tips
- cleaning hacks