· Home Cleaning Tips · 14 min read
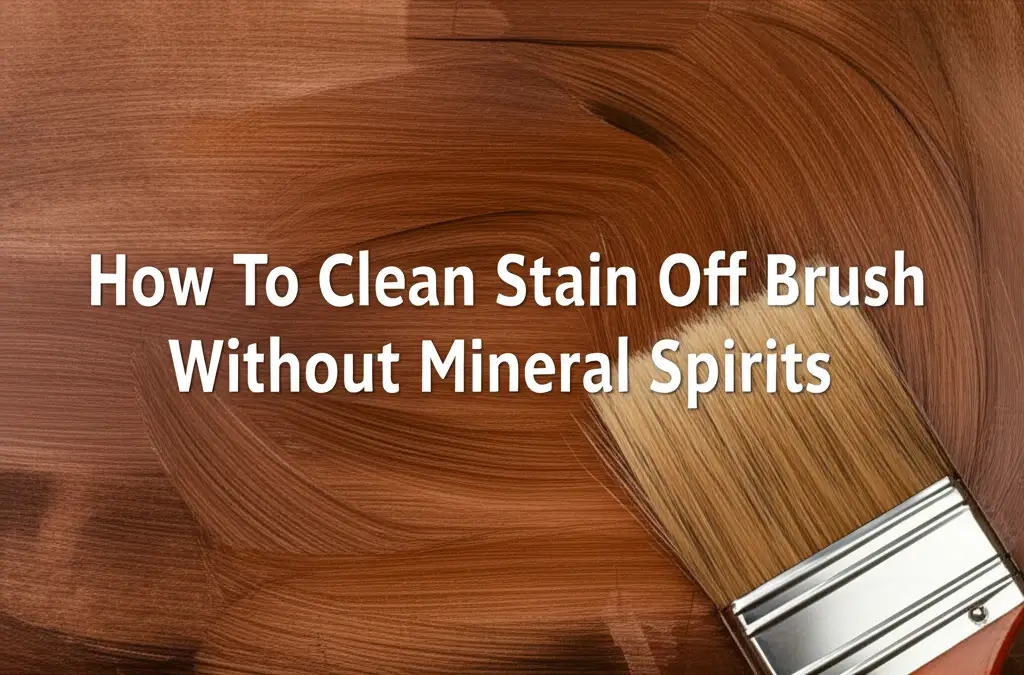
How To Clean Stain Off Brush Without Mineral Spirits
Clean Stains Off Brushes Without Mineral Spirits
Have you ever finished a painting or staining project and then faced the daunting task of cleaning your brushes? It often feels like a bigger job than the project itself. Many people reach for mineral spirits to tackle stubborn stains, but what if you prefer not to use harsh chemicals? Maybe you want an eco-friendlier option, or perhaps you just ran out of spirits. I understand that feeling of wanting to preserve your tools without compromising your health or the environment.
Cleaning stained brushes without mineral spirits is entirely possible. You can use common household items that are effective and gentle. This article will show you practical ways to clean various types of brushes. We will cover water-based and oil-based stains. I will guide you through simple steps using soap, water, vinegar, and more. Get ready to give your brushes a new life without the harsh fumes.
Takeaway
- Use dish soap and warm water for fresh, water-based stains.
- Apply fabric softener for dried water-based paints.
- Pre-treat oil-based stains with vegetable oil before washing.
- Combine vinegar and baking soda for powerful, natural cleaning.
- Condition brushes after cleaning to keep them soft and durable.
To clean stain off a brush without mineral spirits, use readily available household items. For water-based stains, warm water and dish soap are effective. For oil-based stains, pre-treat bristles with vegetable oil or use a citrus-based cleaner. A vinegar and baking soda solution also helps remove stubborn residue from your brushes.
Understanding Brush Types and Stain Challenges
Before you begin cleaning, it helps to know your brush. Different brushes handle different types of stains. Understanding this distinction makes your cleaning process easier. This knowledge also protects your brushes from damage.
Paint brushes come in various bristle types. Some bristles are natural, while others are synthetic. Natural bristles often come from animal hair. They are good for oil-based paints and stains. Synthetic bristles are made from nylon or polyester. They work best with water-based products. Knowing your brush type guides your cleaning choices.
Water-Based Paint & Stain Brushes
Water-based paints and stains are easy to clean. They dissolve in water. Latex paint is a common water-based product. Acrylic paints are also water-based. These products are less challenging to remove from brushes.
When the stain is fresh, a quick rinse under warm water often works. If the stain has dried, it sticks more firmly. You might need a gentle soap to loosen it. This type of stain typically does not require strong solvents. My experience shows that prompt cleaning prevents a lot of hassle.
Oil-Based Paint & Stain Brushes
Oil-based paints and stains are more difficult. They do not dissolve in water. Products like oil-based primers, varnishes, and some stains fall into this category. They are known for durability and a smooth finish. However, they are tough on brushes.
These stains contain oils and resins. They cling to brush bristles. Mineral spirits traditionally break down these components. Without spirits, you need a different approach. Natural oils or powerful degreasers can help. It requires more effort but is definitely achievable.
Eco-Friendly Solutions for Water-Based Stains
Cleaning water-based stains does not need harsh chemicals. Many household items work well. These methods are gentle on your brushes and the environment. I find these solutions simple and effective for my own cleaning tasks.
Prompt cleaning makes a big difference. If you clean your brushes right after use, you prevent stains from drying. This saves you time and effort. It also keeps your brushes in better condition for longer.
Dish Soap and Warm Water Method
This is a classic and reliable method. Dish soap cuts through grease and grime. It also works wonders on water-based paints and stains. I always start with this method when my brushes are fresh from a project.
First, rinse the brush under warm, running water. Remove as much visible stain as possible. Then, pour a small amount of dish soap into your palm. Work the soap into the brush bristles. Gently massage the bristles with your fingers. This helps dislodge the stain particles. Rinse the brush again until the water runs clear. Repeat if necessary. This method is effective for a variety of cleaning needs, similar to how you might clean a dishwasher with vinegar and baking soda for a deep clean.
Fabric Softener Soak
Fabric softener might seem unusual for brushes, but it works. It breaks down dried water-based paint and softens bristles. This trick is great for brushes that you forgot to clean right away. It helps revive stiff brushes.
Mix one part fabric softener with two parts warm water in a container. Submerge the brush bristles completely. Let the brush soak for several hours. For very stubborn stains, let it soak overnight. The softener works its magic, loosening the dried stain. After soaking, rinse the brush thoroughly under warm water. You can also work in some dish soap to remove any remaining residue. This method will leave your brushes feeling soft and clean, much like the process of cleaning a washing machine with baking soda and vinegar revitalizes the machine itself.
Natural Alternatives for Oil-Based Stains
Oil-based stains are tougher, but natural solutions exist. You do not need harsh solvents. These methods use common household products. They break down the oil without damaging your brush bristles.
Patience is key with oil-based stains. These substances are designed to be durable. They require a bit more time and elbow grease to remove. But the results are worth it, protecting your valuable tools.
Vegetable Oil or Linseed Oil Pre-Treatment
This method sounds counterintuitive, but it is effective. Oil dissolves oil. Vegetable oil or linseed oil can break down the oil-based stain on your brush. This step acts as a natural solvent.
Pour a small amount of vegetable oil (like canola or olive oil) into a shallow dish. Dip the brush bristles into the oil. Work the oil into the bristles using your fingers. You will see the stain begin to transfer into the oil. Wipe off the excess oil and stain onto a paper towel. Repeat this process until most of the stain is gone. This pre-treatment significantly reduces the amount of stain remaining. It is similar to how a tough burnt grease stain can be removed from frying pans with appropriate methods.
All-Natural Citrus Cleaners
Citrus-based cleaners contain d-limonene, a powerful natural solvent. This compound comes from orange peels. It is excellent at breaking down oils and greases. Many commercial citrus cleaners are available. You can also make your own.
Apply a small amount of citrus cleaner directly to the brush bristles. Work it in thoroughly. Let it sit for a few minutes. The cleaner will start dissolving the oil-based stain. Then, rinse the brush under warm water. Follow up with dish soap to remove all traces of the cleaner and stain. Always check the cleaner’s label for specific instructions. Citrus cleaners are great for tough jobs, much like specialized methods are needed to clean pen ink out of a dryer.
The Vinegar and Baking Soda Approach
Vinegar and baking soda are a powerful cleaning duo. They create a fizzy reaction that lifts dirt and grime. This combination is especially good for stubborn stains on brushes. It is a natural and effective way to deep clean.
I often use this method when other simple solutions fall short. It works on a variety of cleaning challenges. It also helps neutralize odors that might linger on your brushes from certain stains.
Vinegar Soak for Deep Cleaning
White vinegar is a mild acid. It breaks down many types of residue. It also helps loosen dried paint or stain. A vinegar soak is a strong next step if simple soap and water did not work completely.
Fill a container with white vinegar. Submerge the brush bristles. Let the brush soak for an hour or two. For very dried-on stains, you can let it soak overnight. The vinegar will penetrate the stain. After soaking, remove the brush. Work a small amount of dish soap into the bristles. Scrub gently to remove the loosened stain. Rinse thoroughly with warm water. You might be surprised at how much stain comes off.
Baking Soda Paste for Stubborn Residue
Baking soda is a mild abrasive and an excellent deodorizer. It can help scrub away stubborn bits of stain. When combined with vinegar, it becomes even more potent. This paste gives you extra scrubbing power.
After a vinegar soak or initial wash, mix baking soda with a little water. Create a thick paste. Apply this paste directly to any remaining stain on the bristles. Gently rub the brush against a hard surface or use your fingers. The baking soda helps abrade the stain without damaging the bristles. Rinse the brush completely to remove all paste and stain residue. This method is effective for tough spots, similar to how a baking soda paste cleans stainless steel pans.
Restoring and Conditioning Your Clean Brushes
Cleaning your brushes is only half the battle. Proper drying and conditioning are crucial. These steps keep your brushes soft, shaped, and ready for your next project. Neglecting this part can shorten their lifespan.
A well-maintained brush performs better. It applies stain more smoothly. It also saves you money by extending the life of your tools. I always take these extra steps to care for my brushes.
Thorough Rinsing and Shaping
After cleaning, rinse your brushes thoroughly. Make sure no soap or cleaning solution remains in the bristles. Residual cleaner can stiffen the brush or interfere with future stain applications. Hold the brush under running warm water. Squeeze the bristles gently to ensure all soap is out.
Once clean, reshape the bristles. Gently pull them into their original form. If the brush has a chisel edge, reform that edge. If it is a round brush, make sure it stays round. This step prevents the bristles from drying splayed out. A well-shaped brush maintains its precision.
Proper Drying Techniques
Drying brushes correctly prevents water damage to the handle and ferrule. The ferrule is the metal band connecting bristles to the handle. If water sits in the ferrule, it can loosen the glue. This leads to bristles falling out.
Hang brushes bristles-down if possible. Many brush racks allow this. If you do not have a rack, lay them flat on a clean towel. Avoid standing them bristles-up in a container. This allows water to seep into the ferrule. Let them air dry completely. Do not use heat, as it can damage bristles. Complete drying takes time, so plan accordingly.
Conditioning for Longevity
Conditioning keeps brush bristles pliable and smooth. It prevents them from becoming brittle over time. This step is especially important for natural bristle brushes. It extends the life of your tools significantly.
After drying, apply a small amount of brush conditioner. You can find brush conditioners at art supply stores. Alternatively, a small amount of hair conditioner or even a drop of linseed oil can work. Work the conditioner into the bristles. Rinse it out lightly or leave a tiny amount in, depending on the product instructions. This extra step keeps your brushes feeling new.
Tips for Preventing Future Stain Build-Up
Prevention is always better than cure. Taking a few simple steps can dramatically reduce stain buildup on your brushes. This saves you time and effort in the long run. It also helps your brushes last longer.
I have found that small habits make a big difference. These practices become second nature over time. They are easy to incorporate into your painting or staining routine.
Clean Brushes Promptly
The most important rule is to clean your brushes immediately after use. Fresh stain is much easier to remove than dried stain. Do not let stain dry on your brush. Even a few minutes can make a difference.
If you take a break, put your brush in water (for water-based stains) or wrap it in plastic (for oil-based stains). This keeps the stain from drying on the bristles. As soon as your project is complete, head straight to the sink. This simple act saves you from tough cleaning jobs later.
Store Brushes Correctly
Proper storage protects your clean brushes. It prevents bristles from bending or getting damaged. It also keeps dust and dirt from accumulating. Good storage ensures your brushes are ready for the next job.
Store brushes flat or bristles-up in a container if they are completely dry. If you use a brush roll, store them flat. Avoid cramming brushes into tight spaces. This can warp the bristles permanently. Keeping them organized also helps you find the right brush faster.
Tackling Dried-On Stains on Brushes
Sometimes, despite best efforts, stain dries hard on a brush. This can feel like a lost cause. But do not give up yet. There are methods to revive even deeply stained brushes. It just takes a bit more time and persistence.
I have brought many brushes back from the brink. It requires patience and a gentle approach. Aggressive scrubbing can damage bristles. Focus on soaking and gradual removal.
Extended Soaking Methods
For truly stubborn, dried-on stains, an extended soak is often necessary. The goal is to rehydrate and soften the dried stain. This allows it to break down and release from the bristles.
For water-based stains, a long soak in warm water with a generous amount of fabric softener can work wonders. Change the water and fabric softener mixture every few hours. For oil-based stains, a prolonged soak in vegetable oil followed by a dish soap wash is effective. You might need to soak the brush for 24 hours or even longer. This persistent soaking helps loosen the most resistant residue. Think of it like loosening tough hard water stains on shower glass through extended application of cleaning agents.
Gentle Mechanical Removal
Once the stain has softened from soaking, you can use gentle mechanical action. This helps dislodge the softened bits. Avoid harsh scrubbing pads or wire brushes, as these will damage the bristles.
Use a comb or a stiff-bristled brush (like a toothbrush) to gently comb through the wet bristles. This helps pull out the softened stain particles. You can also use your fingernails or a plastic scraper to carefully pick off larger chunks of dried stain. Always work with the grain of the bristles. Rinse the brush frequently during this process to wash away removed stain. Continue soaking and gently scrubbing until the brush is as clean as possible. This careful removal is similar to how you might clean stubborn crud off a cast iron skillet without scratching.
FAQ Section
Can I use rubbing alcohol to clean my brushes?
Yes, rubbing alcohol can clean some stains. It works best on shellac-based stains or some types of inks. Apply it to the bristles and work it in. Rinse thoroughly with water afterward. Rubbing alcohol can dry out bristles, so condition your brush after use.
Is dish soap enough for all types of stains?
Dish soap is excellent for fresh, water-based stains. It struggles with dried water-based stains and most oil-based stains. For tougher stains, you will need the other methods described, like oil pre-treatment or vinegar. Dish soap is a good final rinse step for all brushes.
How do I prevent bristles from splaying during cleaning?
To prevent splaying, clean and rinse brushes gently. Do not scrub too aggressively. When drying, reshape the bristles immediately. You can also use a brush guard or wrap the bristles tightly in paper once they are clean and reshaped.
Can I clean brushes used for wood stain?
Yes, you can clean brushes used for wood stain. The cleaning method depends on whether the stain is water-based or oil-based. Follow the instructions for water-based or oil-based stains in this article. Prompt cleaning is especially important for wood stains, as they can dry quickly.
What if my brush is very old and stiff?
For very old and stiff brushes, try an extended fabric softener soak (for water-based) or multiple vegetable oil treatments (for oil-based). You can also try a vinegar soak. It might take several days of repeated soaking and gentle cleaning. Some brushes may be beyond full recovery.
How often should I condition my brushes?
Condition your brushes every time you deep clean them. If you use your brushes frequently, or if they start to feel stiff, condition them more often. Conditioning helps maintain bristle softness and flexibility. This extends the working life of your valuable tools.
Conclusion
Cleaning stain off brushes without mineral spirits is not only possible but also beneficial. You protect your health and the environment by choosing natural alternatives. We covered a range of effective methods. You learned to tackle both water-based and oil-based stains. From simple dish soap to powerful vinegar and baking soda, many household items can revive your painting tools.
Remember, prompt cleaning is your best defense against stubborn stains. Always dry and condition your brushes properly after cleaning. This ensures they last longer and perform beautifully. Taking good care of your brushes means they are always ready for your next creative project. Give these methods a try and see how easy it is to keep your brushes in top shape. Your brushes, and the planet, will thank you.
- natural brush cleaner
- paint brush care
- eco-friendly cleaning