· Home Care & Cleaning · 15 min read
How To Clean Stains On Plastic
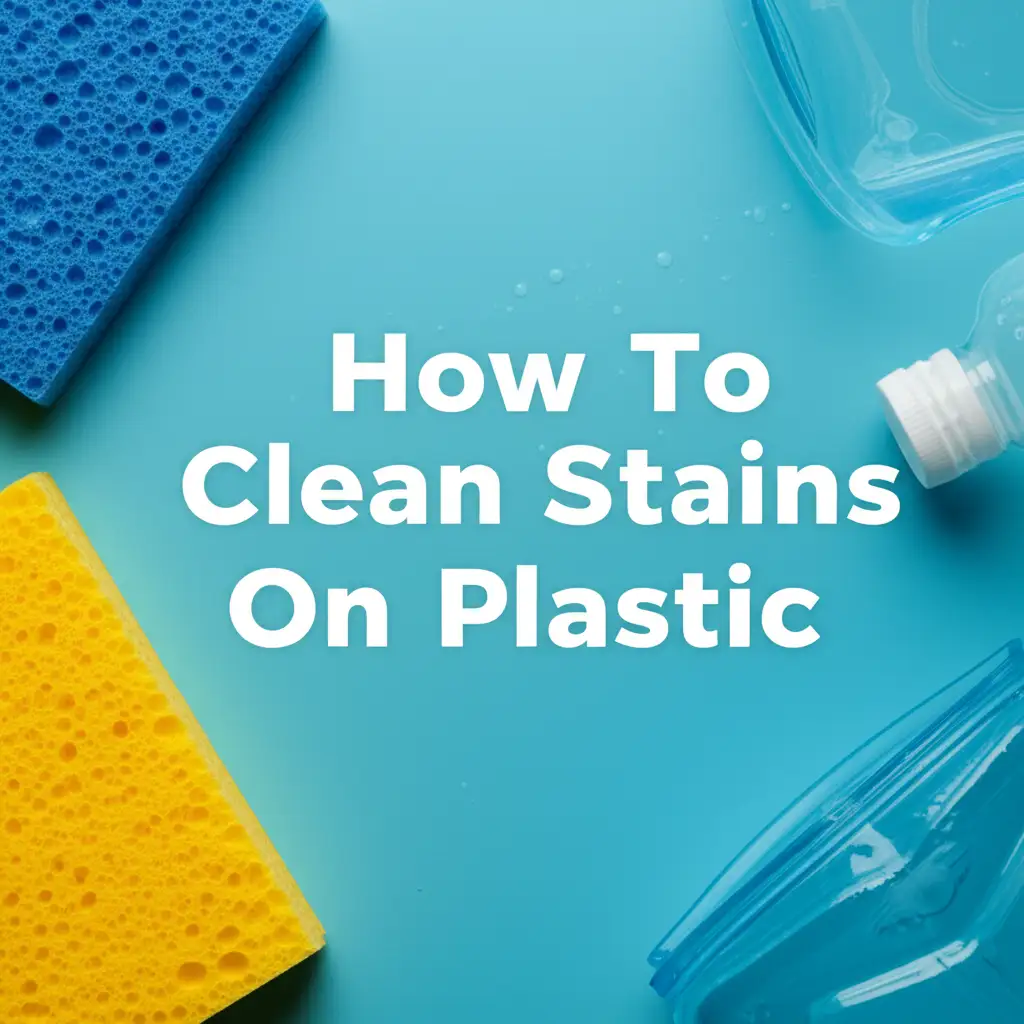
Easily Clean Stains On Plastic and Restore Its Shine
We all have plastic items around our homes. They are durable and useful. Sometimes, these items develop unsightly stains. From food residue on containers to ink marks on furniture, plastic stains are common. Knowing how to clean stains on plastic effectively saves you time and money. This guide helps you tackle various types of plastic stains. We provide simple, proven methods. You can restore your plastic items to their original condition. Let’s make your plastic look new again.
Takeaway:
- Identify the type of plastic and the stain.
- Start with the gentlest cleaning method first.
- Use household items like dish soap, baking soda, and vinegar.
- Test stronger solutions in a hidden spot.
- Prevent future stains with proper care.
How to clean stains on plastic? You can clean stains on plastic by starting with mild dish soap and warm water. For tougher marks, use a paste of baking soda and water or a diluted vinegar solution. Specific stains like ink or mold require targeted cleaners such as rubbing alcohol or hydrogen peroxide for best results.
Understanding Plastic Types and Stain Challenges
Plastic is a common material. It comes in many forms. Different types of plastic react differently to stains and cleaners. Knowing your plastic helps you clean it safely. Some plastics are porous, meaning they have tiny holes. These pores absorb colors and liquids easily. This makes cleaning stains on plastic more challenging.
For instance, polypropylene plastics, common in food containers, can absorb oils and food dyes. Acrylics, often used in clear screens or furniture, are smoother but can scratch easily. PVC, found in pipes or outdoor furniture, is durable but can yellow with sun exposure. A stain’s type also matters. A coffee stain acts differently than an ink mark. The age of the stain also impacts removal. Fresh stains are always easier to clean. Understanding these factors guides your cleaning approach. We aim to protect your plastic while removing the stain.
Gentle Cleaning Methods for Common Stains
Many everyday stains on plastic respond to simple, gentle methods. It’s always best to start mild. This prevents damage to the plastic surface. Most common food stains, dirt, and general grime fall into this category. You already have these cleaning agents at home.
Dish Soap & Water
This is your first line of defense. Dish soap is excellent at breaking down grease and food residue. I use this method for my lunch containers. It works most of the time.
- Mix Solution: Add a few drops of mild dish soap to warm water.
- Apply and Scrub: Dip a soft cloth or sponge into the soapy water. Gently wipe the stained area. For tougher spots, let the solution sit for a few minutes. You can also use a soft-bristled brush for textured plastic.
- Rinse and Dry: Rinse the plastic item thoroughly with clean water. Dry it completely to prevent water spots. This method is safe for almost all plastic types. It helps remove fresh food stains and general dirt.
Vinegar Solution
White vinegar is a natural cleaner and deodorizer. It works well on many organic stains. Its mild acidity helps break down mineral deposits and some food stains.
- Prepare Solution: Mix equal parts white vinegar and water.
- Soak or Wipe: For small items, you can soak them in the solution for 30 minutes. For larger surfaces, spray or wipe the solution onto the stain. Let it sit for 15-30 minutes.
- Scrub and Rinse: Lightly scrub with a soft brush or cloth. Rinse well with clean water. Vinegar can also help remove mild odors from plastic. If you are cleaning food containers, this is a great option. It avoids harsh chemicals on items that touch food.
For removing stains from plastic cutting boards, which often see heavy food use, you can apply similar gentle methods. How to clean cutting board plastic offers more specific advice.
Tackling Tougher Stains: Baking Soda & Hydrogen Peroxide
When gentle methods aren’t enough, it is time for slightly stronger solutions. Baking soda and hydrogen peroxide are powerful tools for deeper stains. They can address discoloration and set-in marks. These methods use a mild abrasive or an oxidizer.
Baking Soda Paste
Baking soda is a mild abrasive. It gently scrubs away stains without scratching most plastics. It also absorbs odors. I find this especially useful for stubborn coffee or tea stains inside mugs or food containers.
- Make a Paste: Mix baking soda with a small amount of water. Create a thick paste. The consistency should be like toothpaste.
- Apply and Let Sit: Apply the paste directly onto the stain. Cover the entire discolored area. Let the paste sit for 30 minutes to a few hours. For very tough stains, leave it overnight.
- Scrub and Rinse: Use a soft cloth or sponge to scrub the paste into the stain. Scrub in small circular motions. Rinse thoroughly with warm water. The mild abrasive action helps lift the stain.
Hydrogen Peroxide Soak
Hydrogen peroxide is an excellent oxidizer. It breaks down organic stains and can help with yellowing. It is often used for brighter, whiter results. It works especially well on light-colored plastics.
- Prepare Solution: Use 3% hydrogen peroxide, which is common in drugstores. You can use it undiluted for severe stains.
- Apply Method:
- Soaking: For small items, soak them in a basin of hydrogen peroxide. Ensure the item is fully submerged.
- Compress: For larger items or non-submersible plastics, soak cotton balls or paper towels in peroxide. Place them directly on the stain. Cover with plastic wrap to prevent evaporation.
- Exposure Time: Let it sit for several hours or overnight. For yellowed plastic, placing the item in sunlight while soaking can accelerate the whitening process. This method helps reactivate the peroxide.
- Rinse: Rinse the plastic item completely with water after treatment.
Removing Ink, Dye, and Marker Stains from Plastic
Ink, dye, and marker stains are notoriously stubborn on plastic. These often contain strong pigments that penetrate surfaces. Fortunately, certain solvents can break them down. It is important to test any solvent in an inconspicuous area first. This prevents accidental damage or discoloration to your plastic.
Rubbing Alcohol (Isopropyl Alcohol)
Rubbing alcohol is a common household solvent. It works well on many ink and marker stains. It evaporates quickly. I always have a bottle of this on hand for tricky spots.
- Dampen Cloth: Pour a small amount of rubbing alcohol onto a clean cloth or cotton ball.
- Blot and Wipe: Gently blot the stained area. Avoid rubbing too hard initially, as this can spread the stain. Wipe in one direction to lift the ink. Repeat with a fresh part of the cloth until the stain fades.
- Clean Residue: Once the stain is gone, wipe the area with a damp cloth and then dry.
For specific instructions on removing marker stains, you might find valuable insights in our article on how to clean sharpie off plastic. Similarly, if you have children, crayon marks are a common issue. You can learn more about tackling those stubborn waxy stains by reading how to clean crayon off plastic.
Nail Polish Remover (Acetone-Free)
Acetone-free nail polish remover can be effective for certain dye or ink stains. Acetone-based removers are too harsh for most plastics. They can melt or cloud the surface. Always check the label for “acetone-free.”
- Test First: Apply a tiny amount to a hidden spot. Wait a few minutes to ensure no damage occurs.
- Apply Carefully: If safe, dampen a cotton swab or a corner of a cloth with the acetone-free remover.
- Dab and Lift: Gently dab at the stain. Do not rub vigorously. Lift the stain rather than spreading it.
- Rinse: As soon as the stain lifts, wipe the area with a clean, damp cloth.
Addressing Mold, Mildew, and Rust Stains on Plastic
Plastic items, especially those in damp environments, can develop mold, mildew, or rust stains. These require specific treatments. Mold and mildew are living organisms. Rust is an oxidation of metal that transfers to plastic. Knowing the right approach makes removal simple.
Bleach for Mold and Mildew
Diluted bleach is very effective against mold and mildew on non-porous plastics. It kills the organisms and removes their dark stains. Always use bleach in a well-ventilated area. Wear gloves to protect your skin.
- Prepare Solution: Mix 1 part household bleach with 10 parts water. For example, 1 cup of bleach to 10 cups of water.
- Apply: For small items, submerge them in the solution for 15-30 minutes. For larger plastic surfaces, apply the solution with a sponge or spray bottle. Let it sit for 10-15 minutes.
- Scrub and Rinse: Gently scrub any remaining residue. Rinse the plastic thoroughly with clean water. Dry completely.
If you are dealing with mold on larger plastic surfaces like shower walls, a more detailed guide might be helpful. Our article on how to clean mold off plastic offers comprehensive steps for effective mold removal. For plastic shower walls specifically, you can find further information on how to clean plastic shower walls.
Lemon Juice & Salt or Cream of Tartar for Rust
Rust stains often come from metal items left on plastic. Acidic solutions combined with a mild abrasive work well here. Lemon juice is a natural acid.
- Make a Paste: Mix lemon juice with a small amount of salt or cream of tartar. Create a thick paste.
- Apply and Wait: Apply the paste directly onto the rust stain. Let it sit for several hours. The acid in the lemon juice dissolves the rust. The salt or cream of tartar provides a gentle scrubbing action.
- Scrub and Rinse: Gently scrub the paste into the stain using a soft brush or cloth. Rinse the area thoroughly with clean water. Repeat if necessary.
Specialized Stains and Sticky Residues
Sometimes you encounter more unusual stains or sticky messes on plastic. These can include glue, adhesive residue, or melted plastic. Each needs a specific approach to avoid damaging the surface. It is important to be patient and use the correct cleaner.
Removing Adhesive and Glue Residue
Adhesive residue from stickers or labels can be incredibly frustrating. Different types of glue respond to different solvents. Always test on an inconspicuous area first.
- Oil-Based Products: For many sticky residues, a small amount of cooking oil (like olive or vegetable oil) or peanut butter can work wonders. Apply it to the residue. Let it sit for 5-10 minutes. The oil helps break down the sticky bond.
- Rubbing or Scraping: Gently rub the area with a cloth. The residue should start to roll off. For stubborn spots, carefully use a plastic scraper or an old credit card to lift the softened adhesive.
- Clean Up: Once the residue is gone, clean the oily spot with dish soap and water.
For a deeper dive into removing sticky substances, you can check out our guides on how to clean glue off plastic and how to clean adhesive off plastic. These provide detailed steps for various adhesive types.
Dealing with Melted Plastic Stains
Melted plastic is a tough problem. This usually happens when plastic comes into contact with a hot surface. It bonds to that surface. If the melted plastic is on another plastic item (e.g., a plastic container that melted onto a plastic counter), proceed very carefully. If it’s a small, hard spot of melted plastic on your item, you might try:
- Cooling: Ensure the melted plastic is completely cool and hard.
- Gentle Scraping: Use a plastic scraper or a dull knife blade to gently try to chip away the hardened plastic. Be extremely careful not to scratch the underlying surface. This method is often difficult.
- Solvent Caution: Strong solvents might soften the melted plastic, but they can also damage the underlying plastic item. Test tiny amounts in a hidden spot if you choose this route. Options could include mineral spirits or specialized plastic cleaners, but extreme caution is advised.
Often, melted plastic into another plastic item causes permanent damage. Prevention is key here.
Restoring Yellowed or Discolored Plastic
Over time, many types of plastic, especially light-colored or clear ones, can yellow. This is often due to exposure to UV light (sunlight) and oxidation. Restoring yellowed plastic requires a bit more effort. It is a common issue for old electronics, outdoor furniture, or headlight covers.
Hydrogen Peroxide & UV Light Method (Retrobrighting)
This method is popular for restoring vintage plastics. Hydrogen peroxide combined with UV light (sunlight) acts as a powerful whitener. It reverses the chemical yellowing process.
- Prepare: Clean the plastic item thoroughly first. Make sure it is free of dirt and grime.
- Apply Peroxide: Generously apply 3% (or higher, e.g., 12% crème peroxide from beauty supply stores) hydrogen peroxide to the yellowed areas. For larger items, you can soak paper towels or cloths in peroxide and adhere them to the plastic.
- Seal and Expose: Cover the peroxide-soaked areas with plastic wrap. This prevents the peroxide from evaporating. Place the item in direct sunlight for several hours. Rotate the item to ensure even exposure. Alternatively, you can use a UV lamp indoors.
- Monitor and Repeat: Check the progress every few hours. The plastic should start to whiten. You might need to reapply peroxide and expose it to sunlight for several days for severely yellowed items.
- Rinse: Once the desired whiteness is achieved, thoroughly rinse the plastic with clean water and dry it.
Polishing Clear Plastic
Clear plastics, like those on headlights or boat windows, can become cloudy or yellowed. Polishing helps restore clarity.
- Clean First: Wash the plastic surface with soap and water to remove dirt.
- Sanding (Optional for severe cases): For deeply scratched or heavily yellowed clear plastic, you might need fine-grit sandpaper (e.g., 600, 1000, 2000 grit) used wet. Always follow up with finer grits. This creates a uniform surface for polishing.
- Apply Plastic Polish: Use a dedicated plastic polishing compound. Apply a small amount to a clean microfiber cloth.
- Polish: Rub the polish into the plastic in small circular motions. Apply moderate pressure. Continue until the cloudy appearance diminishes and clarity improves.
- Buff: Use a separate clean microfiber cloth to buff the surface to a shine.
For specific guidance on restoring clarity to clear plastic components on vehicles, our article on how to clean plastic headlight covers provides detailed instructions.
Preventing Future Stains on Plastic
Preventing stains is always easier than cleaning them. A few simple habits can keep your plastic items looking good longer. Proactive care extends the life and appearance of your plastic. I always try to wipe down surfaces immediately.
- Clean Spills Immediately: Do not let spills sit. Wipe up food, drink, or any colored liquid spills on plastic right away. This prevents them from setting in.
- Avoid Heat Exposure: High heat can make plastic more porous. It can also cause dyes to set permanently. Do not put hot items directly on plastic. Avoid placing plastic items in direct sunlight for long periods, especially dark-colored plastics that absorb heat.
- Use Protectors: For frequently used plastic surfaces, consider using placemats or coasters. These create a barrier against stains and scratches.
- Proper Storage: Store plastic food containers without lids. This prevents trapped moisture and odors. If storing colored liquids, use glass containers instead of plastic when possible.
- Regular Cleaning: Clean your plastic items regularly, even if they don’t look dirty. A quick wipe with soap and water prevents grime buildup. This helps maintain the plastic’s surface integrity.
- UV Protection: For outdoor plastic furniture or items exposed to sun, use a UV protectant spray. These sprays form a barrier that slows down yellowing and degradation from sunlight. Reapply periodically as directed by the product.
Frequently Asked Questions
Q: Can I use bleach on all types of plastic to remove stains? A: No, use bleach with caution. Diluted bleach is safe for many common plastics like polypropylene and PVC for short periods. However, it can damage or discolor some delicate plastics, such as acrylic or clear plastics. Always test bleach solution in an inconspicuous area first. Rinse thoroughly after use.
Q: How do I remove yellow stains from clear plastic containers? A: For yellow stains on clear plastic, a hydrogen peroxide soak is effective. Submerge the container in 3% hydrogen peroxide, or apply it to the stain. Place the item in direct sunlight for several hours or even a few days. The combination of peroxide and UV light helps reverse the yellowing.
Q: Is it safe to use abrasive cleaners on plastic? A: Generally, avoid harsh abrasive cleaners or scouring pads. They can scratch the plastic surface, making it appear dull and more prone to future staining. Mild abrasives like baking soda paste are usually safe. Always test a small, hidden area first to ensure it does not scratch.
Q: What is the best way to remove old, set-in food stains from plastic? A: For old, set-in food stains, start with a baking soda paste. Apply it thickly and let it sit overnight. Scrub gently and rinse. If the stain remains, a hydrogen peroxide soak combined with sunlight can often lift stubborn food dyes. Repeat applications may be necessary for deep stains.
Q: How can I prevent plastic items from becoming sticky over time? A: Plastic can become sticky due to chemical breakdown, often from oils or cleaning products. To prevent this, avoid harsh chemical cleaners. Clean plastic regularly with mild soap and water. If a plastic item becomes sticky, try wiping it with rubbing alcohol. This can sometimes remove the sticky residue.
Q: Can hot water damage plastic during cleaning? A: While warm water is generally safe and effective for cleaning, very hot water can sometimes warp or soften certain types of plastic. It can also cause some stains to set more permanently. Always use warm, not boiling, water for cleaning plastic items to ensure safety and prevent damage.
Conclusion
Cleaning stains on plastic does not have to be a difficult chore. By understanding the type of plastic you are cleaning and the nature of the stain, you can choose the most effective method. From simple dish soap to more targeted solutions like hydrogen peroxide or rubbing alcohol, you have many options. Always start with the gentlest method. Test any new cleaner in a hidden spot. Regular maintenance and quick action on spills keep your plastic items looking their best. You can maintain clean, bright plastic surfaces throughout your home. Apply these tips and restore the beauty of your plastic.
- plastic cleaning
- stain removal
- household stains
- plastic care
- cleaning tips