· Home Cleaning · 14 min read
How To Clean Subfloor From Pet Urine
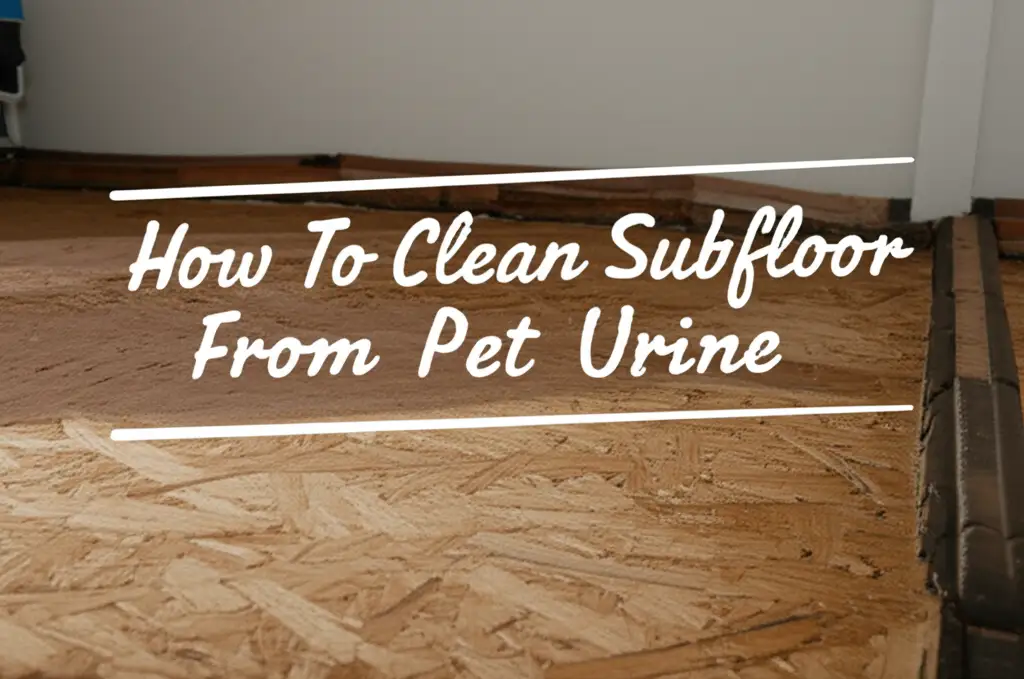
Restore Your Home: Deep Cleaning Pet Urine from Subfloors
That faint, unwelcome smell of pet urine can truly make a house feel less like a home. You might clean the visible mess, but the odor persists, especially on humid days. This often means the urine soaked right through your carpet or flooring and into the subfloor beneath. Ignoring this issue does not make it go away; the problem can get worse over time.
I understand how frustrating this can be. Pet urine on the subfloor poses a deep-seated challenge for homeowners. It creates stubborn odors and can cause significant damage if left untreated. This comprehensive guide helps you tackle this tough cleaning task. We will explore how to locate hidden stains, apply proper cleaning methods, neutralize lingering odors, and seal your subfloor effectively. Get ready to reclaim a fresh, clean living space.
Takeaway
- Identify all affected areas using a UV blacklight.
- Use a high-quality enzyme-based cleaner to break down urine at a molecular level.
- Allow proper dwell time and ensure thorough extraction of cleaning solutions.
- Seal the subfloor with an odor-blocking primer after cleaning and drying.
- Implement strategies to prevent future pet accidents indoors.
Pet urine deeply penetrates subfloors, causing persistent odors and potential damage. To clean subfloor from pet urine, locate stains using a UV light, saturate with an enzyme-based cleaner, allow it to dry completely, and then seal the treated area to prevent lingering odors and future issues.
Understanding the Problem: Why Pet Urine Damages Subfloors
Pet accidents are part of living with furry friends. However, when urine soaks into your subfloor, it creates a much bigger problem than a simple surface stain. This liquid can seep deep into wood, concrete, or OSB materials. I have seen how quickly it spreads once it gets past the flooring layers.
Urine contains various components. It has urea, which breaks down into ammonia. This ammonia creates that sharp, distinct urine smell. Over time, uric acid crystals form, becoming very difficult to remove with standard cleaners. These crystals re-activate with humidity, releasing the odor again and again. This explains why the smell seems to return on damp days. The moisture in the air rehydrates the crystals, making them release their potent smell.
Different subfloor materials react uniquely to urine. Plywood and OSB (Oriented Strand Board) are very porous. They absorb urine like a sponge. This leads to swelling, warping, and eventual rot. Concrete subfloors are less porous but can still absorb urine into their pores. This traps odors deeply. The moisture from the urine, combined with organic matter, can also encourage mold growth. Mold causes its own health issues and adds another layer to the foul odor. Simply cleaning the visible stain on the floor above does not address the deeply absorbed urine. You must reach the subfloor to eliminate the source of the smell. This deep penetration requires specific methods to truly clean subfloor from pet urine.
Gathering Your Arsenal: Essential Tools and Supplies
Before you begin the cleaning process, you need the right tools. Having everything ready saves time and ensures a thorough job. I always make sure I have all my gear laid out before I start. This proactive approach helps the cleaning go smoothly.
Safety comes first. You will be working with strong cleaners and potentially harmful biological matter. Wear protective gloves to protect your hands from chemicals and contaminants. An N95 respirator mask helps you avoid inhaling strong odors and airborne particles. Eye protection shields your eyes from splashes. Do not skip these steps.
The most critical tool for finding invisible urine stains is a UV blacklight. Urine fluoresces under UV light, making hidden spots glow in the dark. This tool helps you pinpoint every affected area, even those you cannot see or smell directly. For cleaning, an enzyme-based pet urine cleaner is essential. These cleaners contain special enzymes that break down uric acid crystals and other organic compounds in urine. They do not just mask the smell; they eliminate the source. Make sure you get a product specifically designed for pet urine.
You will also need a wet/dry vacuum or a shop vac. This powerful vacuum helps you extract cleaning solutions and saturated urine from the subfloor. Standard household vacuums are not strong enough and can get damaged. Scrub brushes with stiff bristles help agitate the cleaner into the subfloor material. Rags and sponges are useful for wiping and applying solutions. Finally, you will need an odor-neutralizing primer or sealer. This step helps encapsulate any remaining odors and provides a barrier against future issues. For natural options, you can use vinegar and baking soda for initial surface cleaning, though enzyme cleaners are critical for deep subfloor penetration. Consider fans and dehumidifiers to aid in drying.
Locating the Invisible: Finding Hidden Pet Urine Stains
You might think you know where the accidents happened, but pet urine has a way of spreading. It can soak under baseboards or along floor joists, creating hidden pockets of odor. I have seen many people miss crucial spots because they only rely on their eyes or nose during the day. This is why a special detection tool is so important.
The most effective way to find all affected areas is with a UV blacklight. Turn off all the lights in the room, making it as dark as possible. Then, slowly scan the subfloor, walls, and baseboards with the blacklight. Urine stains will glow a dull yellow or greenish color under the UV light. This visual identification helps you see exactly where the urine has spread, even if it looks dry to the naked eye. I recommend outlining these spots with chalk or painter’s tape. This way, you have a clear map of the areas that need treatment.
While the blacklight is key, also conduct a thorough visual inspection. Look for any discoloration, staining, or swelling on the subfloor material. These visible signs often indicate older, more saturated urine spots. Finally, get down on your hands and knees and use your nose. Sometimes, your sense of smell can pick up faint odors that the blacklight might miss, especially in high-humidity areas. Combining these detection methods ensures you identify every single spot that needs treatment. Missing even a small area can mean the odor persists, making all your hard work less effective. Proper identification is the first critical step to effectively clean subfloor from pet urine.
The Deep Clean Process: Eliminating Pet Urine from Subfloor
Now comes the serious work of removing the urine. This process involves several steps, and each one is important for success. Do not rush any part of this. My own experience shows that patience here pays off.
First, you must remove any existing flooring over the affected subfloor. This means lifting carpets, removing padding, pulling up laminate, or breaking up tile. You need direct access to the subfloor material. Once the subfloor is exposed, use a wet/dry vacuum to remove any loose debris, dust, or hair. This creates a clean surface for treatment.
Next, saturate the identified urine stains with a high-quality enzyme-based pet urine cleaner. Follow the product instructions carefully. I pour enough cleaner to allow it to penetrate as deeply as the urine did. For wood subfloors, this might mean a generous application. The enzyme cleaner needs time to work. Allow it to dwell for the recommended period, often 10 to 30 minutes, or even longer for severe stains. This dwell time allows the enzymes to break down the uric acid crystals and other organic components in the urine. For similar challenges on general wood surfaces, understanding how to clean cat urine from wood floor or how to clean dog urine from hardwood floors can provide helpful context on urine penetration and treatment.
After the dwell time, use your wet/dry vacuum to extract the cleaning solution and the urine it has loosened. Pass over the area multiple times to remove as much liquid as possible. Do not just let it air dry; active extraction is key to pulling out the contaminants. For severe stains, you might need to repeat the enzyme cleaner application and extraction process multiple times. Each repetition helps to remove more of the deeply embedded urine. Finally, allow the subfloor to air dry completely. Use fans or a dehumidifier to speed up drying. Ensure the area is bone dry before proceeding to the next step. This prevents mold growth and prepares the surface for sealing.
Neutralizing Lingering Odors and Preventing Mold
Even after a thorough cleaning with enzyme solutions, some residual odor can remain. This section focuses on eliminating those stubborn smells and preventing potential mold growth. I always make sure the area is completely dry before moving on, as moisture is mold’s best friend.
Enzyme cleaners are powerful because they contain beneficial bacteria. These bacteria produce enzymes that literally “eat” the organic matter in pet urine. They break down urea, uric acid, and other compounds into harmless, odorless substances like carbon dioxide and water. This is why enzyme cleaners are superior to simple deodorizers, which only mask odors. For tough spots, you can apply a light dusting of baking soda over the dried, enzyme-treated areas. Baking soda is a natural absorbent and deodorizer. Let it sit for several hours or overnight, then vacuum it up. It helps absorb any remaining microscopic odor particles.
Pet urine introduces moisture and organic material into your subfloor. This creates an ideal environment for mold and mildew to grow. If you notice any signs of mold – fuzzy patches, discoloration, or a musty smell – you need to address it. For light mold on wood, a mixture of water and a small amount of bleach can work, but an enzyme cleaner designed for mold can also be effective. Always ensure adequate ventilation when dealing with mold. The most important step to prevent mold is ensuring complete dryness. After cleaning, use powerful fans aimed at the treated area. A dehumidifier also helps pull moisture from the air and the subfloor. I run fans for at least 24-48 hours, or longer if needed, until the subfloor feels completely dry to the touch. You might also consider checking out how to clean mold off of wood furniture for additional insights on tackling mold on wood surfaces, as the principles of moisture control and proper treatment are similar. Do not cover the subfloor until it is absolutely dry. Any trapped moisture will lead to future problems and odor return.
Sealing the Deal: Protecting Your Subfloor
After all your hard work cleaning and drying the subfloor, the final critical step is sealing. This creates a barrier that locks in any remaining microscopic odor molecules and protects the subfloor from future damage. This is a step I never skip, as it ensures all your effort truly pays off.
Why is sealing so important? Even after thorough cleaning, some stubborn urine crystals can persist deep within the subfloor material. An odor-blocking primer or sealer encapsulates these remaining particles. It prevents them from wicking up through new flooring or releasing odors into your home. This barrier also provides an extra layer of protection against future accidents, making it harder for new urine to penetrate deeply. Sealing essentially gives your subfloor a fresh, clean slate.
Choosing the right primer is crucial. You need a product specifically designed for stain and odor blocking. Oil-based primers like Zinsser B-I-N Shellac-Base Primer or Kilz Restoration are excellent choices. They are known for their superior odor-blocking capabilities and quick drying times. Water-based primers generally do not offer the same level of odor encapsulation. Apply the primer evenly across all the treated areas. Use a roller for large areas and a brush for edges and corners. Follow the manufacturer’s instructions for application and drying times. I often apply two thin coats for maximum effectiveness, especially in heavily soiled areas. Allow each coat to dry completely before applying the next. Proper ventilation is essential during this stage, as these primers have strong fumes. Once the primer is fully cured, your subfloor is protected, and you are ready for new flooring. This final layer helps you successfully clean subfloor from pet urine and ensures it stays that way.
Preventing Future Accidents and Maintaining Your Home
Cleaning pet urine from your subfloor is a big job. The last thing you want is for it to happen again. Preventing future accidents involves addressing your pet’s behavior and taking protective measures within your home. This proactive approach saves you time, effort, and money in the long run.
First, consider why your pet is having accidents indoors. A trip to the veterinarian is always a good starting point. Medical issues like urinary tract infections or kidney problems can cause increased urination. Rule out any health concerns first. If it is a behavioral issue, consult a professional dog trainer or a pet behaviorist. They can offer strategies like more frequent potty breaks, crate training, or anxiety management techniques. Never punish your pet for accidents, as this can worsen the problem. Instead, focus on positive reinforcement for appropriate elimination.
While you work on behavioral training, take steps to protect your newly cleaned subfloor. Place waterproof pet mats or old rugs in areas where accidents are most likely to occur. These act as a first line of defense. Ensure your pet has easy access to outdoors or a designated litter box. Clean up any new accidents immediately and thoroughly. For fresh urine on top of your new flooring, use a paper towel to blot as much as possible. Then, use an enzymatic cleaner specifically for surface stains. Regular cleaning of your floors helps prevent minor issues from becoming major ones. Keep your pet’s bedding clean.
Sometimes, despite your best efforts, the problem might be too extensive. If the subfloor damage is severe, or the odor persists even after following all these steps, it might be time to call a professional. Professional restoration companies have industrial-grade equipment and stronger chemicals. They can assess the extent of the damage and offer specialized treatments. For extensive issues, replacing sections of the subfloor might be the only way to fully resolve the problem. However, for most situations, these comprehensive cleaning and prevention steps will help you maintain a fresh and clean home environment.
FAQ Section
Q1: Can I just paint over pet urine on subfloor?
Simply painting over pet urine on your subfloor does not work. Paint does not contain the necessary chemicals to neutralize the odors. The paint might temporarily mask the smell, but the odor will eventually return, especially with changes in humidity. You must clean and seal the subfloor first.
Q2: How long does pet urine smell last in subfloor?
Pet urine smell can last indefinitely in subfloor if not properly treated. The uric acid crystals in urine can re-activate with humidity, releasing odors for years. Proper cleaning with enzyme solutions and sealing are essential to truly eliminate the smell, not just mask it.
Q3: Is professional help necessary for subfloor urine?
Professional help might be necessary for severe or extensive subfloor urine contamination. If the subfloor is heavily saturated, or if mold growth is extensive, a professional restorer has specialized equipment and stronger products. They can also replace sections of damaged subfloor if needed.
Q4: Can enzyme cleaners damage my subfloor?
Enzyme cleaners are generally safe for most subfloor materials like wood and concrete when used as directed. They are designed to break down organic matter, not to corrode surfaces. Always test the cleaner on a small, inconspicuous area first. Avoid over-saturating wood subfloors.
Q5: What if the smell comes back after cleaning?
If the smell returns, it means some urine was missed or not fully neutralized. Recheck the area with a UV blacklight to identify missed spots. You might need to repeat the enzyme cleaning process. Ensure the subfloor is completely dry before sealing, as trapped moisture reactivates odors.
Q6: How to stop a pet from peeing indoors?
Stopping indoor accidents involves ruling out medical issues with a vet visit. Then, address behavioral training with more frequent potty breaks, consistent routines, and positive reinforcement. Crate training can also be effective. Clean all accidents immediately to remove scent markers.
Conclusion
Tackling pet urine on your subfloor can feel like a daunting task, but it is entirely manageable with the right approach. We have walked through every crucial step, from identifying those hidden stains to finally sealing your subfloor. You now understand the science behind pet urine odors and how to effectively combat them. By using specialized enzyme cleaners and applying an odor-blocking sealer, you are not just masking smells; you are eliminating them at their source.
Remember, thoroughness is key. Do not cut corners, especially when it comes to detection and drying. Your dedication to following these steps will transform your home. You will reclaim a fresh, clean, and healthy living environment for everyone, including your beloved pets. Get started today, and enjoy the satisfaction of a truly clean home where pet odors are a thing of the past.
- pet urine
- subfloor cleaning
- odor removal
- stain removal
- home restoration
- pet odor
- urine smell