· Home Cleaning · 15 min read
How To Clean Unlacquered Brass
Unlock the Shine: How to Clean Unlacquered Brass
Do you own beautiful unlacquered brass pieces that have lost their luster? Maybe your antique lamp looks dull or your door handles show dark spots. Unlacquered brass is stunning, but it tarnishes over time. This natural process adds character for some, but many prefer a bright, shiny appearance. I know the feeling of wanting to restore that original gleam.
Cleaning unlacquered brass requires specific steps. You need to understand its unique properties before you begin. This guide helps you bring back the shine without causing damage. We will cover gentle everyday cleaning, natural home remedies, and stronger solutions for tough tarnish. You will learn how to clean unlacquered brass items effectively. By the end, your brass will look its best.
Takeaway
- Assess Tarnish: Determine if tarnish is light, moderate, or heavy to choose the right cleaning method.
- Start Gentle: Always begin with the least abrasive cleaning solution.
- Natural Remedies: Use household items like lemon and salt for effective tarnish removal.
- Rinse and Dry: Thoroughly rinse all brass items after cleaning and dry them completely.
- Maintain Regularly: Polish your unlacquered brass often to prevent heavy tarnish buildup.
How do you clean unlacquered brass?
To clean unlacquered brass, start by wiping off dust. For light tarnish, use warm soapy water. For moderate tarnish, apply a paste of lemon juice and salt or vinegar and flour. Rub gently, then rinse and dry thoroughly. For heavy tarnish, consider a commercial brass cleaner or stronger acidic solutions, always testing in an unseen spot first.
Understanding Unlacquered Brass and Its Patina
Unlacquered brass is pure brass without a protective clear coating. This means the metal directly touches the air. When brass mixes with oxygen and moisture, it oxidizes. This oxidation process creates tarnish. Tarnish appears as dark spots or a dull, brownish-green layer on the surface.
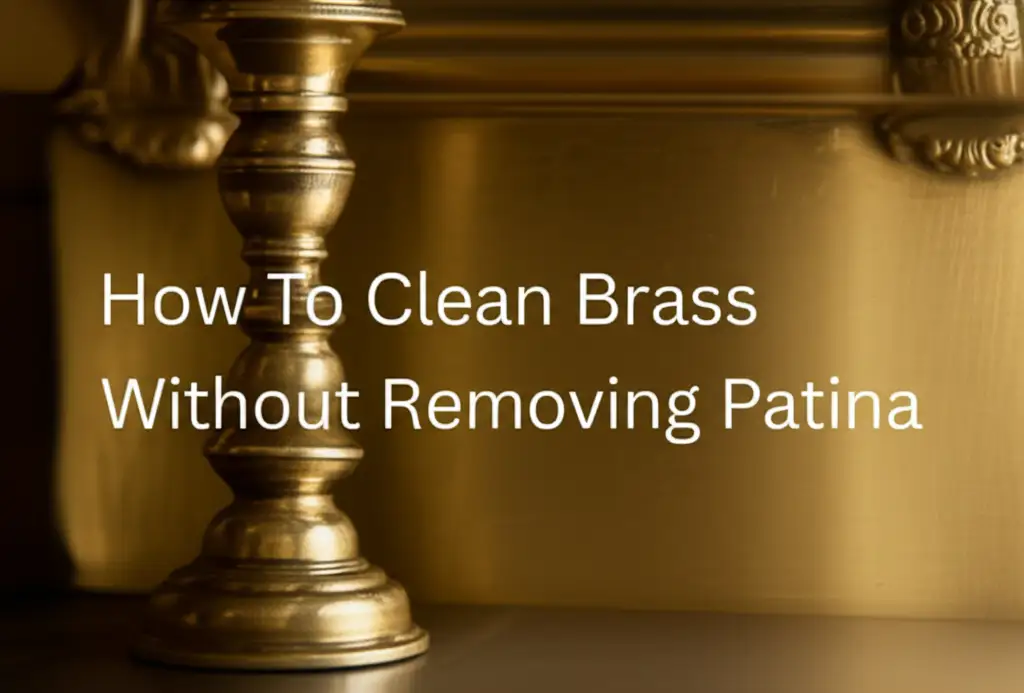
This tarnish is also known as patina. Some people love the aged look of a natural patina. It can add charm and history to antique items. Other people prefer their brass to be bright and shiny. If you want a gleaming finish, you must clean it regularly. Cleaning unlacquered brass removes this tarnish. This helps restore its original golden color.
Lacquered brass acts differently. It has a clear coating that prevents tarnish. If lacquered brass tarnishes, its coating is damaged. You would clean lacquered brass differently. For unlacquered brass, direct contact with cleaning agents is necessary. This ensures you remove the tarnish layer.
Knowing your brass is unlacquered is key. You can test it with a magnet. Brass is not magnetic. If a magnet sticks, your item might be plated steel. You can also look for flaking or peeling clear coatings. If you see none, it is likely unlacquered.
Gathering Your Cleaning Supplies for Brass
Before you begin cleaning your unlacquered brass, gather all necessary supplies. Having everything ready saves time. It also makes the cleaning process smoother. You will need basic items that are likely in your home.
Here is a list of essential supplies:
- Soft cloths: Microfiber cloths or old cotton T-shirts work well. These prevent scratches.
- Warm water: Use regular tap water.
- Mild dish soap: A gentle, non-abrasive soap is best.
- Gloves: Protect your hands from cleaning solutions.
- Soft brush: An old toothbrush can reach small details.
- Drying towels: Use clean, soft towels to dry items thoroughly.
For different cleaning methods, you might also need:
- Lemons: Fresh lemon juice is an excellent natural acid.
- Salt: Fine table salt works as a gentle abrasive.
- White vinegar: Another common household acid.
- Flour: Mixes with acid to form a paste.
- Ketchup: Yes, how to clean brass with ketchup is a real method for some tarnish.
- Commercial brass cleaner: Choose one specifically for unlacquered brass.
- Brass polish: Helps restore shine after cleaning.
Always work in a well-ventilated area. Protect your workspace with old towels or newspaper. This keeps your surfaces clean. Now you have your tools, and you are ready to start.
Gentle Cleaning for Light Tarnish
For unlacquered brass with light tarnish, a simple method works best. This approach is gentle and effective for everyday dirt and minimal discoloration. Starting with the least abrasive option is always a good idea. This prevents any unnecessary wear on your brass item.
First, dust the brass item thoroughly. Use a soft, dry cloth to wipe away any loose dirt. This step prevents scratching the surface during wet cleaning. Next, prepare a mild soap solution. Mix a few drops of gentle dish soap with warm water in a basin. Do not use harsh detergents or abrasive cleaners. These can damage the brass.
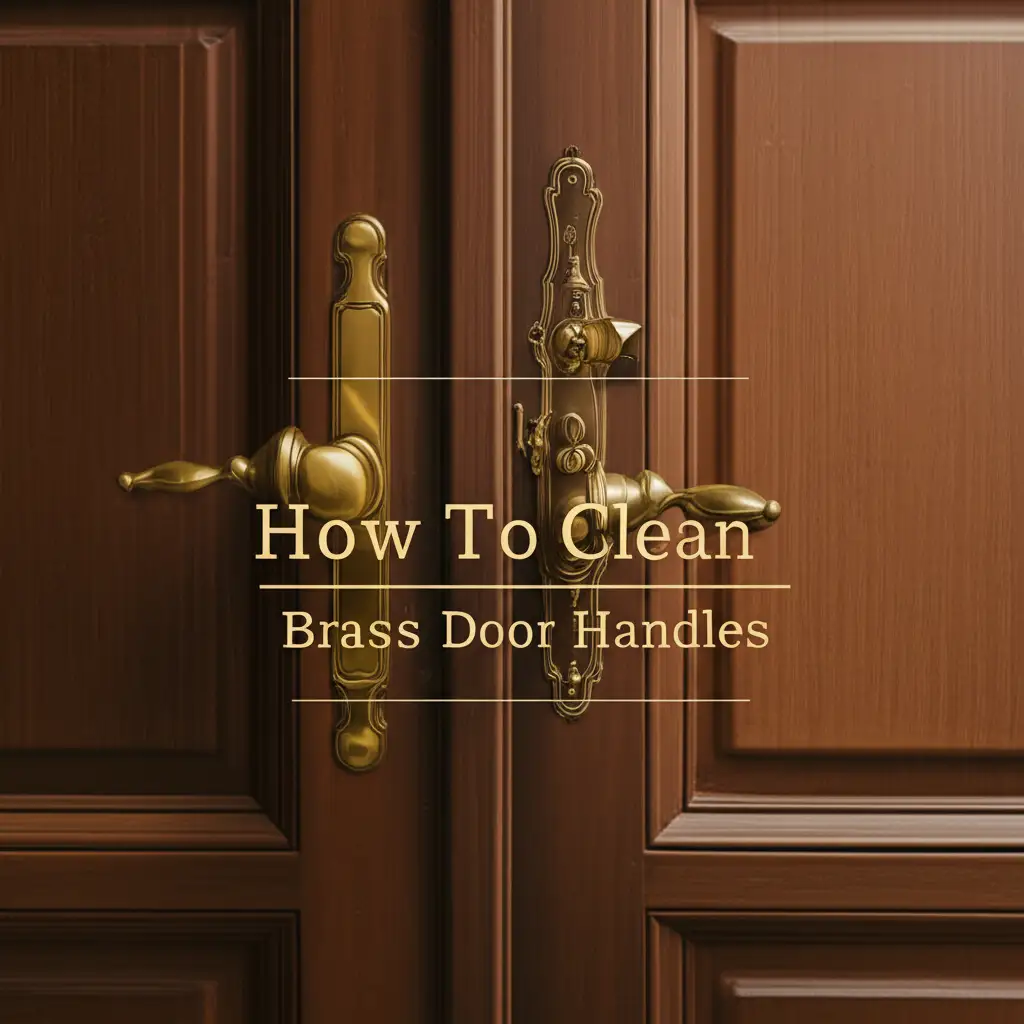
Dip a soft cloth into the soapy water. Wring out excess liquid. You want the cloth to be damp, not dripping wet. Gently wipe down the brass surface. For intricate parts, use a soft-bristled brush, like an old toothbrush. Lightly scrub the areas with tarnish. You should see the dirt and light discoloration begin to lift. This method works well for cleaning brass door handles or regularly handled items.
After scrubbing, rinse the brass item thoroughly. Use clean, clear water. Make sure to remove all soap residue. Soap left on the brass can cause new spots or dullness. Finally, dry the brass immediately and completely. Use a clean, soft towel. Leaving water on unlacquered brass can lead to water spots or new tarnish. This gentle method is perfect for frequent maintenance.
Natural DIY Cleaners for Moderate Tarnish
When your unlacquered brass has moderate tarnish, you need a bit more power. Luckily, common household items can do the job. These natural solutions are often effective and safe. They use mild acids to break down the tarnish. I have found these methods work wonders for many brass pieces.
Lemon and Salt Paste
This is one of my favorite methods. Lemon juice provides the acid, and salt acts as a gentle abrasive.
- Mix: Squeeze the juice from half a lemon into a small bowl. Add enough fine table salt to create a thick paste. It should resemble toothpaste.
- Apply: Use a soft cloth or your fingers to apply the paste to the tarnished areas.
- Rub: Gently rub the paste onto the brass. Do not scrub hard, as the salt can scratch if too much pressure is applied. You should see the tarnish start to lift.
- Wait: For stubborn spots, let the paste sit for 5-10 minutes.
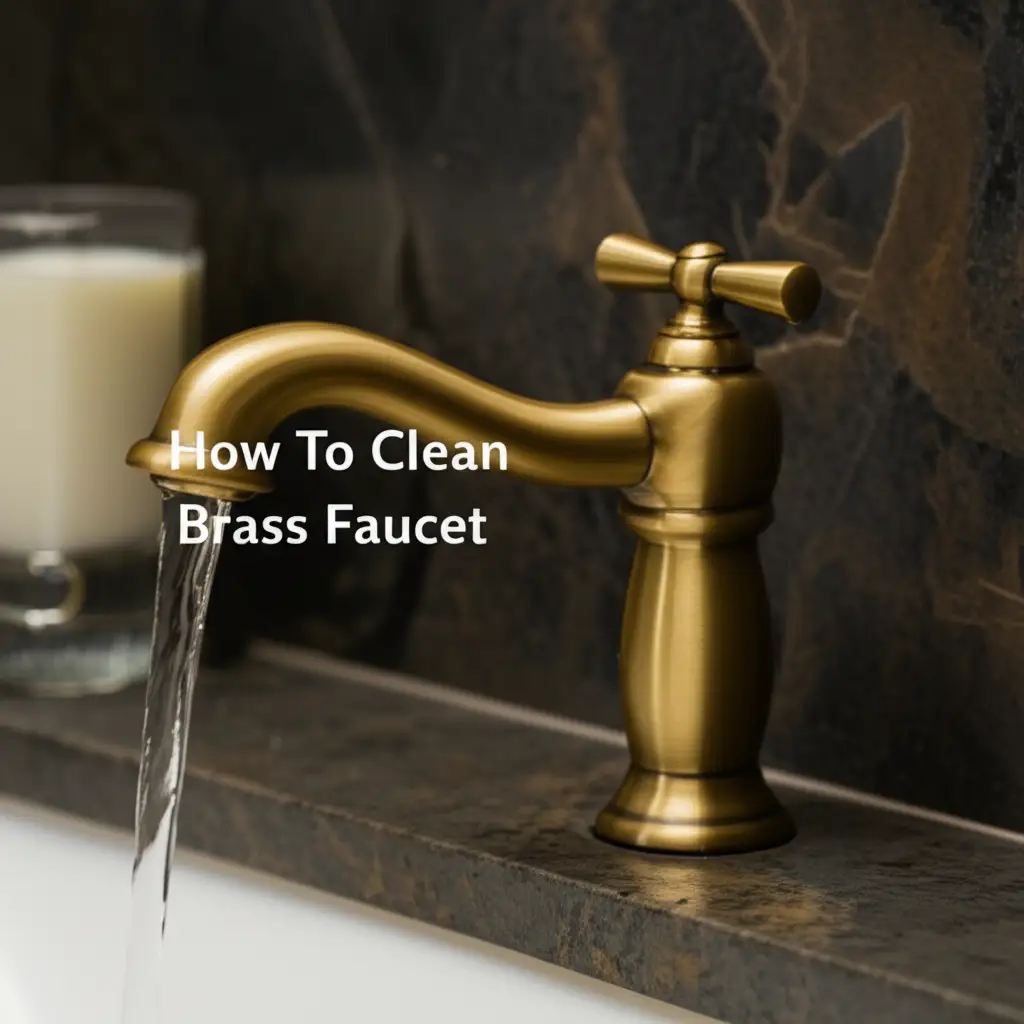
- Rinse and Dry: Rinse the brass thoroughly with clean water. Dry it immediately with a clean, soft cloth. This method is great for a how to clean brass faucet or other fixtures.
Vinegar and Flour Paste
This paste is another effective option, especially for larger surfaces.
- Mix: Combine 1/2 cup white vinegar, 1 tablespoon salt, and enough flour to make a thick paste. The flour helps the paste stick to the brass.
- Apply: Spread a generous layer of the paste over the unlacquered brass.
- Wait: Let the paste sit for at least 10 minutes, or up to an hour for heavy tarnish.
- Rub: Gently rub the paste off with a soft cloth.
- Rinse and Dry: Rinse thoroughly with warm water. Dry completely with a soft towel to prevent new water spots or tarnish. This method is excellent for cleaning brass candlesticks and similar items.
Ketchup or Tomato Paste
The acids in tomatoes can also remove tarnish.
- Apply: Spread a thin layer of ketchup or tomato paste over the tarnished brass.
- Wait: Let it sit for 15-30 minutes, or even longer for very dark tarnish.
- Rub: Use a soft cloth to rub the ketchup off. The tarnish should come away with it.
- Rinse and Dry: Rinse the brass well with warm water. Dry it completely. This is a surprisingly effective and simple trick. If you want to know more about this unique method, check out the guide on how to clean brass with ketchup.
Always test any natural cleaner on a small, unseen area first. This ensures it does not cause discoloration or damage. These methods provide safe and efficient ways to revive moderately tarnished unlacquered brass.
Tackling Stubborn Tarnish and Corrosion
Sometimes, unlacquered brass develops very heavy tarnish or even corrosion. This looks like black patches or thick green buildup. Natural DIY methods may not be strong enough for these situations. You might need to use a commercial brass cleaner or a slightly more aggressive approach. Always proceed with caution.
Commercial Brass Cleaners
Many commercial brass cleaners are available. Look for products specifically designed for unlacquered brass. Read the product label carefully. Some cleaners are abrasive. Others contain strong chemicals.
- Test: Always test the cleaner on a small, hidden area first. This prevents unexpected damage.
- Apply: Follow the product instructions precisely. Usually, you apply the cleaner with a soft cloth.
- Rub: Rub gently in small sections. The tarnish should begin to lift.
- Rinse: Rinse the item thoroughly with water.
- Dry: Dry it completely with a clean cloth.
Commercial cleaners can be very effective at cleaning brass that has turned black or heavily corroded brass. They often contain polishing agents too.
Stronger Acidic Solutions (Use with Caution)
For extremely heavy corrosion, you might consider stronger acids. This includes diluted white vinegar or lemon juice applied with more intensity. However, this is a last resort. Strong acids can strip too much metal or leave an uneven finish.
- Dilute: If using vinegar or lemon juice, you can try applying it undiluted.
- Soak (briefly): For very small, severely tarnished items, a very brief soak (a few minutes) might work. Never leave brass soaking for long periods.
- Scrub (gentle): Use a non-abrasive scrubber like a soft brush or nylon pad. Scrub carefully to remove the corrosion.
- Neutralize: After using strong acids, it’s a good idea to neutralize the acid. You can do this by rinsing thoroughly and then wiping the brass with a baking soda solution (1 tablespoon baking soda in 1 cup water), then rinsing again with plain water.
- Rinse and Dry: Rinse immediately and dry completely.
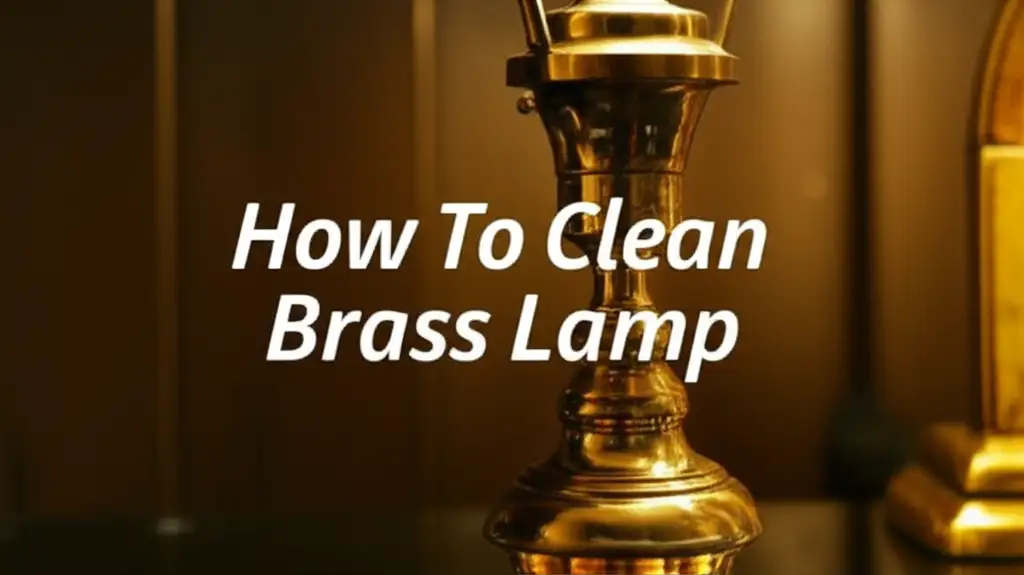
Remember, unlacquered brass can be delicate. Excessive scrubbing or strong chemicals can cause irreparable damage. If you have an antique or valuable piece, consider professional cleaning. For general items like a how to clean brass lamp that is heavily tarnished, these methods can be a lifesaver.
Polishing and Restoring Shine
After removing tarnish from your unlacquered brass, the next step is to polish it. This step brings out the true luster and shine of the metal. Polishing enhances the appearance, making your brass look new again. This is where you see the real transformation.
You have several options for polishing.
Commercial Brass Polish: Many brands offer brass polish. These products are formulated to give a high shine.
- Apply: Put a small amount of polish onto a clean, soft cloth.
- Rub: Gently rub the polish onto the brass surface in small circular motions. You will see the polish turn black as it lifts microscopic tarnish and dirt.
- Buff: Use a separate clean, dry soft cloth to buff the brass to a high shine. Continue buffing until no residue remains and the surface gleams.
Natural Polishing: You can also use natural methods for polishing.
- Olive Oil: After cleaning, a tiny amount of olive oil on a cloth can help bring out a subtle shine. This also provides a very thin, temporary protective layer. Apply a drop or two to a clean cloth and buff the brass. Wipe off any excess.
- Cornstarch and Water: A paste of cornstarch and water, applied and allowed to dry, then buffed off, can also achieve a good shine. Mix cornstarch with a little water to form a paste, apply, let dry, then buff off with a clean cloth.
Wax for Protection (Optional): For items you want to keep shiny for longer, you can apply a thin coat of clear wax. Museum wax or Renaissance wax are good choices.
- Apply: Use a soft cloth to apply a very thin, even layer of wax.
- Cure: Let the wax dry according to product instructions.
- Buff: Buff with a clean, soft cloth to a gentle sheen. This step creates a barrier. It slows down the tarnishing process. This helps maintain the newly polished look.
Remember, consistent buffing is key to achieving a brilliant shine. The more you buff, the brighter the brass will become.
Maintaining Unlacquered Brass
Once you have cleaned and polished your unlacquered brass, you will want to keep it looking good. Unlacquered brass will naturally tarnish over time. This is unavoidable. However, you can slow down the process. Regular maintenance helps prevent heavy tarnish buildup. This makes future cleaning much easier.
Here are some tips for maintaining your unlacquered brass:
- Regular Dusting: Dust your brass items often. Dust can hold moisture and accelerate tarnishing. A soft, dry cloth is usually enough for this.
- Wipe Down: For items handled often, like door handles or faucets, wipe them down regularly. Use a slightly damp cloth with mild soap, then dry immediately. This removes oils from hands and light dirt before it becomes tarnish. Remember the advice on how to clean a brass faucet for consistent upkeep.
- Control Environment: Brass tarnishes faster in humid environments. If possible, keep unlacquered brass items in drier areas. For smaller items, you can store them in airtight bags with anti-tarnish strips.
- Avoid Harsh Chemicals: Do not use abrasive cleaners, steel wool, or harsh chemicals. These can scratch the brass surface or cause irreparable damage. Stick to the gentle methods or brass-specific cleaners.
- Gentle Polishing: For items you want to keep shiny, polish them periodically. How often depends on how quickly they tarnish. You can use a mild brass polish or one of the natural methods mentioned earlier. This keeps the shine without needing heavy tarnish removal each time. This also aligns with methods for cleaning antique brass hardware.
- Apply Protective Wax (Optional): As mentioned, a thin layer of clear wax can offer protection. It creates a barrier that slows oxidation. This means you will not have to clean as often. Reapply wax as needed, typically every few months.
By following these maintenance tips, you can enjoy your beautiful unlacquered brass for years. You will spend less time on deep cleaning and more time admiring its natural beauty.
When to Seek Professional Help
Sometimes, DIY cleaning is not enough or not advisable. There are situations where professional help becomes the best option. Recognizing these situations saves you time and prevents potential damage to your valuable brass items. I always recommend caution with truly precious pieces.
- Valuable Antiques: If your unlacquered brass item is a valuable antique, consult a professional conservator. They have specialized knowledge and tools. They can clean the item without harming its historical value or delicate features. Trying to clean these yourself could reduce their worth.
- Intricate Designs: Items with extremely intricate designs, small crevices, or delicate components are hard to clean thoroughly. Professionals have methods to reach all areas without causing damage. They prevent broken parts or uneven cleaning results.
- Severe Corrosion or Pitting: Heavy corrosion might have eaten into the brass. This creates pits or uneven surfaces. Cleaning these requires special techniques to avoid making the damage worse. A professional can assess the damage and use appropriate restoration methods. This includes specific processes like those used in how to clean copper and brass when corrosion is severe.
- Unknown Brass Type: If you are unsure whether your item is solid unlacquered brass, plated, or another metal, a professional can identify it. Different metals and finishes require different cleaning agents. Misidentification can lead to permanent damage.
- Desire to Preserve Patina (Selectively): If you want to clean some areas but preserve the patina in others, a professional can achieve this. They have the skill to clean selectively and apply specific treatments. This ensures the item retains its desired aged appearance while still looking cared for.
Professional cleaning ensures your unlacquered brass receives the best care. It protects its value and extends its lifespan. For everyday items, DIY is fine. For special pieces, consider the experts.
FAQ Section
How often should I clean unlacquered brass?
How often you clean unlacquered brass depends on its exposure and desired look. For a consistently bright shine, clean it every few weeks or months. If you prefer a slight patina but no heavy tarnish, clean it every 6-12 months. Items in high humidity or frequently touched will tarnish faster.
Can I use vinegar to clean unlacquered brass?
Yes, you can use white vinegar to clean unlacquered brass. It is an effective natural acid for removing tarnish. You can mix it with flour and salt to create a paste. Apply the paste, let it sit for a short time, then rinse and dry thoroughly. Always test on a small area first.
Will cleaning unlacquered brass remove its antique value?
Cleaning unlacquered brass does not inherently remove its antique value. However, overly aggressive cleaning or polishing that removes all natural patina can sometimes decrease value for collectors who prefer the aged look. If an item has historical significance, consult a professional conservator before cleaning.
What causes unlacquered brass to tarnish?
Unlacquered brass tarnishes due to a natural chemical reaction. When brass is exposed to oxygen and moisture in the air, it oxidizes. This process creates a thin layer of copper oxide, which appears as a dull, often dark or greenish film on the surface. This is also called patina.
How do I prevent unlacquered brass from tarnishing quickly?
You cannot stop unlacquered brass from tarnishing completely, but you can slow it down. Regular dusting and gentle wiping help. Storing items in drier environments or airtight containers with anti-tarnish strips is effective. Applying a thin coat of museum wax after cleaning also creates a protective barrier.
Is unlacquered brass more durable than lacquered brass?
Unlacquered brass itself is very durable. Its surface can be re-polished many times. Lacquered brass has a clear coating that protects the surface from tarnish. However, if this lacquer gets scratched or chipped, tarnish can form underneath, which is harder to remove without stripping the lacquer. Unlacquered brass allows for direct cleaning.
Conclusion
Cleaning unlacquered brass can seem daunting at first. With the right tools and techniques, you can easily restore its original beauty. I hope this guide helps you feel confident in tackling any tarnished brass piece. Remember to start with the gentlest methods. Progress to stronger cleaners only when necessary. Always prioritize the safety of your brass items.
Whether you are dealing with light smudges or heavy corrosion, you now have the knowledge. You can use simple soap and water. You can apply natural pastes like lemon and salt. For tough jobs, commercial cleaners are an option. Always rinse well and dry completely after cleaning. Regular maintenance is key to keeping your unlacquered brass gleaming. Embrace the process, and enjoy the renewed shine of your brass treasures.
- unlacquered brass
- brass cleaning
- polish brass
- tarnish removal
- brass care