· Hair Care · 16 min read
How To Clean Wet Brush
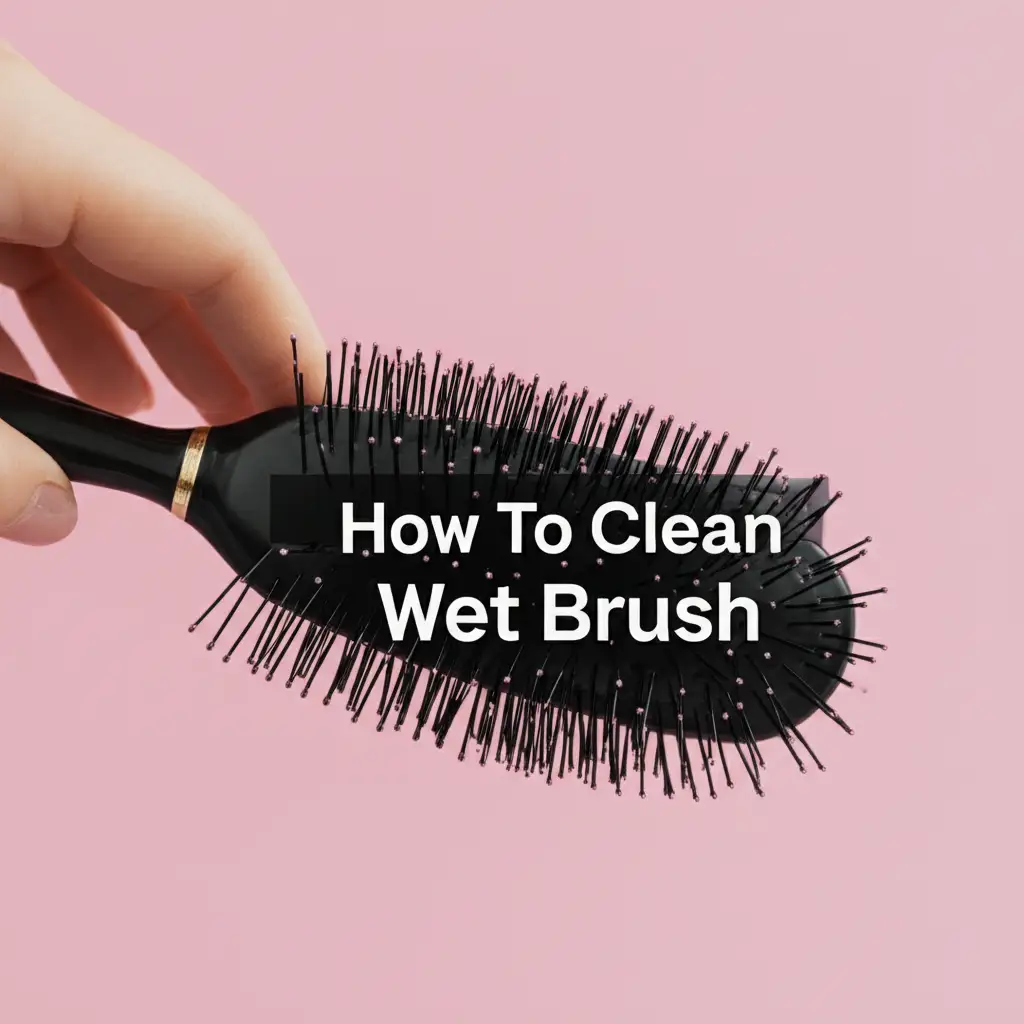
Unlock a Fresh Start: How To Clean Your Wet Brush
Have you ever looked at your favorite detangling brush and wondered how much gunk is stuck in there? Your Wet Brush, a daily hero for tangle-free hair, can collect a surprising amount of hair, dust, and product residue. This buildup impacts its performance and your hair’s health. Knowing how to clean Wet Brush properly extends its life and ensures every stroke is effective.
A dirty Wet Brush can spread oils and dirt back onto your clean hair. It also becomes less efficient at detangling. Regularly cleaning your Wet Brush keeps it hygienic and working at its best. This article provides a comprehensive guide. We will cover why cleaning matters, what tools you need, a step-by-step cleaning process, and tips for maintaining your brush. Get ready to refresh your hair routine with a sparkling clean Wet Brush.
Takeaway
- Regularly clean your Wet Brush to remove hair, dust, and product buildup.
- Use a simple cleaning solution of warm water and mild soap for best results.
- Avoid harsh chemicals or excessive heat, which can damage the bristles.
- Dry your Wet Brush thoroughly after cleaning to prevent mold and mildew.
- Consider replacing your Wet Brush every 6-12 months for optimal performance.
To effectively clean your Wet Brush, first remove all loose hair using a comb or your fingers. Then, gently scrub the bristles with a solution of warm water and mild soap. Rinse thoroughly, ensure no soap remains, and allow it to air dry completely with the bristles facing down.
Why Cleaning Your Wet Brush Matters for Hair Health
Your Wet Brush is a staple in your hair care routine. It helps you untangle knots without pulling or breaking strands. However, with daily use, your brush collects more than just hair. It gathers dead skin cells, natural oils, dust, and residues from hair products. This mixture forms a film on the bristles and cushion.
A dirty brush can re-distribute this grime back onto your scalp and hair. This makes your hair feel greasier faster. It can also cause scalp irritation or even block hair follicles. A clean brush supports healthier hair growth and a cleaner scalp environment. I always make sure my brush is clean to avoid these issues.
Beyond hygiene, cleanliness affects your brush’s performance. The flexible bristles of a Wet Brush are designed to glide through tangles. When covered in buildup, they lose their flexibility and effectiveness. This means your brush struggles more, potentially causing more tugging and damage to your hair. Keeping it clean ensures it detangles as intended, protecting your hair from breakage.
Finally, proper cleaning extends the lifespan of your Wet Brush. Buildup can weaken the bristles or even the cushion over time. Regular washing removes these damaging elements. This allows you to use your favorite brush for a longer period. Investing a few minutes in cleaning saves you money in the long run. Learn more about maintaining other hair tools in our guide on how to clean a blow dry brush.
Gathering Your Cleaning Arsenal: Essential Tools and Solutions
Before you begin the actual cleaning process, it helps to gather all your supplies. Having everything ready makes the cleaning job much smoother and quicker. You likely have most of these items around your home already. We focus on gentle yet effective tools to protect your Wet Brush. You do not want to damage its delicate bristles.
First, you will need a fine-tooth comb or a pair of tweezers. These tools are perfect for removing trapped hair from the brush bristles. A regular comb works well, but a tail comb’s thin end can get into tight spaces. Tweezers are excellent for grasping stubborn strands deep within the brush. This step is crucial for an effective clean.
Next, prepare your cleaning solution. A mild shampoo or gentle liquid hand soap works best. Avoid harsh detergents or strong chemicals. These can degrade the plastic bristles and the cushion. Fill a basin or sink with lukewarm water. Add a few drops of your chosen mild soap to create a gentle, soapy solution. This mixture will lift away dirt and product buildup without causing damage.
Finally, you might want a small brush, like an old toothbrush. This tool is perfect for scrubbing the bristles and getting into the base of the brush. A soft cloth or towel is also useful for drying the brush afterwards. Make sure you have a clean, dry surface ready for the brush to air dry completely. Preparing these items in advance ensures a successful and efficient cleaning session for your Wet Brush.
Step-by-Step Guide: Basic Wet Brush Cleaning
Cleaning your Wet Brush does not need to be complicated. Following these simple steps will leave your brush fresh and ready for use. This basic method is perfect for regular maintenance. It helps prevent heavy buildup over time. Let’s get your Wet Brush sparkling clean.
Step 1: Remove Loose Hair. This is the first and most important step. Use a fine-tooth comb, a pair of scissors, or even your fingers. Carefully slide the comb through the bristles from the base to the tips. This action will lift out the tangled hair. You can also use scissors to cut any deeply embedded hair strands into smaller pieces. This makes them easier to pull out. Collect all removed hair and discard it. This ensures the brush is free of major debris before washing.
Step 2: Prepare Your Soapy Solution. Find a clean basin or your sink. Fill it with lukewarm water, not hot water. Hot water can warp the plastic or damage the adhesive in your brush. Add a small amount of mild shampoo or gentle liquid hand soap to the water. Swirl the water around to create some suds. The water should be just enough to submerge the bristles of your brush.
Step 3: Gentle Scrubbing. Dip your Wet Brush into the soapy water, making sure only the bristles get wet. Avoid submerging the entire cushion if possible, especially if your brush has a vent hole. You can use an old, clean toothbrush or your fingers to gently scrub the bristles. Focus on loosening any dirt, oils, or product residue clinging to the brush. Pay attention to the base of the bristles, where buildup often collects. We have more tips on tackling stubborn grime in our guide on how to clean buildup on a hair brush.
Step 4: Rinse Thoroughly. Hold your Wet Brush under cool, running water. Ensure all soap suds are completely rinsed away from the bristles. It is important that no soap residue remains. Leftover soap can make your hair feel sticky or attract more dirt. Gently shake off excess water from the brush.
Step 5: Air Dry. Place your Wet Brush on a clean towel with the bristles facing down. This position helps water drain out of the cushion. Allow the brush to air dry completely. This might take several hours or overnight. Do not use a hairdryer or direct heat to speed up the process. Heat can damage the plastic and bristles. A completely dry brush prevents mildew growth.
By following these simple steps, your Wet Brush will be clean and ready for continued use. I find this routine keeps my brush performing at its best.
Deep Cleaning Your Wet Brush: Tackling Stubborn Buildup
Sometimes, your Wet Brush needs more than a quick wash. Stubborn product buildup or accumulated grime can cling to the bristles and base. This requires a deeper approach. Deep cleaning helps restore your Wet Brush to its original efficiency. It also ensures optimal hygiene for your hair.
Begin by performing the basic hair removal step as usual. Use a comb or scissors to meticulously clear all visible hair from the bristles. This initial step is critical. It allows your cleaning solution to access the actual dirt and residue. Do not skip this part.
For more stubborn buildup, a slightly stronger but still gentle solution is needed. Instead of just mild soap, consider a mix of warm water and a small amount of baking soda. Baking soda is a natural abrasive and deodorizer. It helps to break down greasy residues and absorb odors. Mix about a teaspoon of baking soda into a basin of lukewarm water. Stir until it dissolves. Alternatively, a small amount of clarifying shampoo can also work wonders. Clarifying shampoo is designed to remove product buildup from hair, making it effective for your brush too.
Submerge only the bristles of your Wet Brush into this solution. Allow it to soak for about 5-10 minutes. This soaking time gives the solution time to loosen the hardened grime. After soaking, use an old toothbrush or a small scrubbing brush. Gently scrub the bristles, paying close attention to the base and the spaces between individual bristles. You will often see the residue lift away. This targeted scrubbing is key for a thorough clean.
Once scrubbing is complete, rinse the brush under cool running water until all traces of the cleaning solution are gone. Ensure no soapy film remains. Shake off excess water. Place the brush bristles down on a clean towel. Let it air dry completely in a well-ventilated area. This deep cleaning method brings your Wet Brush back to its prime condition. It ensures it continues to detangle effectively. For similar cleaning challenges, you might find our guide on how to clean a Tangle Teezer brush helpful, as these brushes share similar design principles.
Drying and Maintaining Your Clean Wet Brush
Once you have meticulously cleaned your Wet Brush, proper drying is crucial. Incorrect drying can lead to several problems. These include mildew growth, unpleasant odors, and even damage to the brush’s cushion or bristles. Proper drying ensures your brush stays hygienic and performs well for longer. It is the final, essential step in the cleaning process.
After rinsing your Wet Brush, gently shake off any excess water. You can also lightly tap the brush against a clean towel. This helps dislodge any remaining water droplets. The goal is to remove as much surface water as possible before air drying begins. This speeds up the drying process.
Place your Wet Brush on a clean, dry towel. Position the brush with the bristles facing downwards. This specific orientation helps water drain out of the cushion and away from the base of the bristles. If water sits in the cushion, it can foster mold or mildew, especially in humid environments. I always position my brush this way to ensure proper drainage.
Allow the brush to air dry completely. This process can take several hours, or even overnight, depending on humidity levels. Avoid using direct heat sources like a hairdryer or placing the brush near a radiator. High heat can warp the plastic body of the brush or melt the delicate bristles. It can also degrade the cushion material. Patience is key here. A fully dry brush means no dampness for bacteria or mildew to thrive.
For ongoing maintenance, try to remove loose hair from your Wet Brush after every use. This simple habit prevents significant hair accumulation. It reduces the frequency of deep cleaning. Store your Wet Brush in a dry, well-ventilated area. Avoid leaving it in a damp shower or bath caddy for extended periods. This simple care routine helps your Wet Brush stay clean, fresh, and effective for many uses. Proper maintenance of other hair tools like a Revlon brush also follows similar principles for drying and care.
Common Mistakes to Avoid When Cleaning Your Wet Brush
While cleaning your Wet Brush seems straightforward, some common pitfalls can damage your brush. Avoiding these mistakes ensures your brush remains in optimal condition. It helps you get the most out of its detangling capabilities. I have learned these lessons over time and want to share them with you.
One major mistake is using excessively hot water. Hot water can warp the plastic components of your Wet Brush. It can also degrade the adhesive that holds the bristles in place. This leads to loose or damaged bristles. Always use lukewarm or cool water for cleaning. This protects the integrity of the brush material.
Another common error is using harsh chemicals or abrasive cleaners. Bleach, strong detergents, or rubbing alcohol can be too aggressive for your Wet Brush. These substances can dry out the plastic, making it brittle. They can also strip away protective coatings. Stick to mild soaps like gentle shampoo or liquid hand soap. These are effective without causing damage. When cleaning other brush types, like a face brush, similar gentle cleaning agents are recommended.
Submerging the entire brush, especially the cushion, for too long is another pitfall. Wet Brushes, like many paddle brushes, have a small vent hole in their cushion. This hole allows air to circulate and water to drain. If you fully submerge the brush for extended periods, water can get trapped inside the cushion. This leads to mildew growth and unpleasant odors that are difficult to remove. Focus on cleaning the bristles and avoiding prolonged soaking of the cushion.
Finally, incorrect drying methods can ruin your brush. Using a hairdryer or placing the brush in direct sunlight can cause the plastic to melt or deform. It can also make the bristles brittle. Always air dry your Wet Brush. Place it bristles down on a towel. This allows gravity to help drain any residual water from the cushion. Avoid these mistakes to keep your Wet Brush performing like new.
When to Replace Your Wet Brush
Even with the best cleaning and maintenance, your Wet Brush will not last forever. Knowing when to replace it is just as important as knowing how to clean it. Replacing your brush at the right time ensures you maintain optimal hair health and styling effectiveness. It is a simple step to keep your hair care routine fresh.
One clear sign it is time for a new Wet Brush is when the bristles show significant wear. Look closely at the tips of the bristles. Are they bent, frayed, or missing? The signature Intelliflex bristles of a Wet Brush are designed to be flexible and gentle. If they lose their shape or become stiff, they lose their detangling power. This can lead to more pulling and breakage during brushing. A new brush has perfect, intact bristles.
Another indicator is a compromised cushion. The cushion of your Wet Brush provides flexibility and comfort during brushing. If you notice cracks, tears, or a general breakdown of the cushion material, it is time for a replacement. A damaged cushion cannot provide the necessary give, making brushing less effective and potentially harsher on your scalp. Sometimes, despite cleaning, persistent odor or discoloration indicates irreversible mildew or bacterial growth within the cushion. This is a clear sign to get a new brush.
Generally, a Wet Brush lasts about 6 to 12 months with regular use and proper care. However, this lifespan can vary. Factors like hair type, frequency of use, and product buildup can impact how quickly your brush wears out. If you use a lot of styling products, you might need to replace your brush more often. If you notice your hair is not detangling as easily, or you feel more tugging, consider a new brush. It might be subtle, but your hair will thank you for the upgrade. Replacing your brush ensures your hair continues to receive the gentle care it deserves. For other brush types, like a Dyson brush head, replacement guidelines might be provided by the manufacturer.
FAQ Section
How often should I clean my Wet Brush?
You should remove loose hair from your Wet Brush after every use. For a light wash with soap and water, aim for once a week or every two weeks. If you use a lot of styling products, or if your hair gets greasy quickly, clean it more frequently. A deep clean is recommended monthly or as needed when buildup becomes visible.
Can I use shampoo to clean my Wet Brush?
Yes, using a mild shampoo is an excellent choice for cleaning your Wet Brush. It is gentle enough for the plastic bristles and cushion. Shampoo is designed to break down hair product residue and natural oils, making it very effective. Avoid using harsh detergents or dish soaps, as they can be too strong.
What if bristles fall out after cleaning?
A few lost bristles after cleaning can be normal, especially if the brush is older. However, if many bristles are falling out, it suggests the adhesive or plastic is degrading. This indicates it might be time to replace your Wet Brush. Ensure you are using lukewarm water and gentle soap to prevent damage during cleaning.
Is it okay to soak my Wet Brush?
It is best to avoid fully soaking your Wet Brush, especially the cushion area. The cushion has a vent hole, and water can get trapped inside. This leads to mildew and odors. Instead, just submerge the bristles in your soapy water solution. You can allow the bristles to soak for 5-10 minutes for deep cleaning.
How do I remove hair from a Wet Brush easily?
The easiest way to remove hair is to use a fine-tooth comb. Slide the comb through the bristles from the base to the tip. This will lift out most of the tangled hair. For stubborn strands, use a pair of scissors to carefully cut through the hair near the base. Then, pull the smaller pieces out.
Can I use a dishwasher to clean my Wet Brush?
No, you should not use a dishwasher to clean your Wet Brush. The high heat from a dishwasher can melt or warp the plastic. It can also damage the bristles and the cushion. Always opt for hand washing with lukewarm water and mild soap to protect your brush.
Conclusion
Keeping your Wet Brush clean is a simple but vital part of your hair care routine. We have covered the straightforward steps needed to refresh your essential detangling tool. From removing loose hair to gentle washing with mild soap and proper air drying, each step ensures your brush stays hygienic and performs optimally. Remember, a clean brush not only promotes healthier hair by preventing the re-distribution of dirt and oils, but it also extends the lifespan of your favorite Wet Brush.
Avoiding common mistakes like using hot water or harsh chemicals is key to protecting your brush’s integrity. Also, recognizing when it is time to replace your Wet Brush ensures you always have an effective tool for tangle-free hair. By incorporating these cleaning and maintenance habits into your routine, you are investing in the longevity of your brush and the health of your hair. Take action today! Start your routine to clean Wet Brush thoroughly and enjoy the benefits of a fresh, effective hair tool.
- Wet Brush cleaning
- hair brush maintenance
- detangling brush hygiene
- clean hair tools