· Appliance Maintenance · 14 min read
How To Clean Window Ac Unit
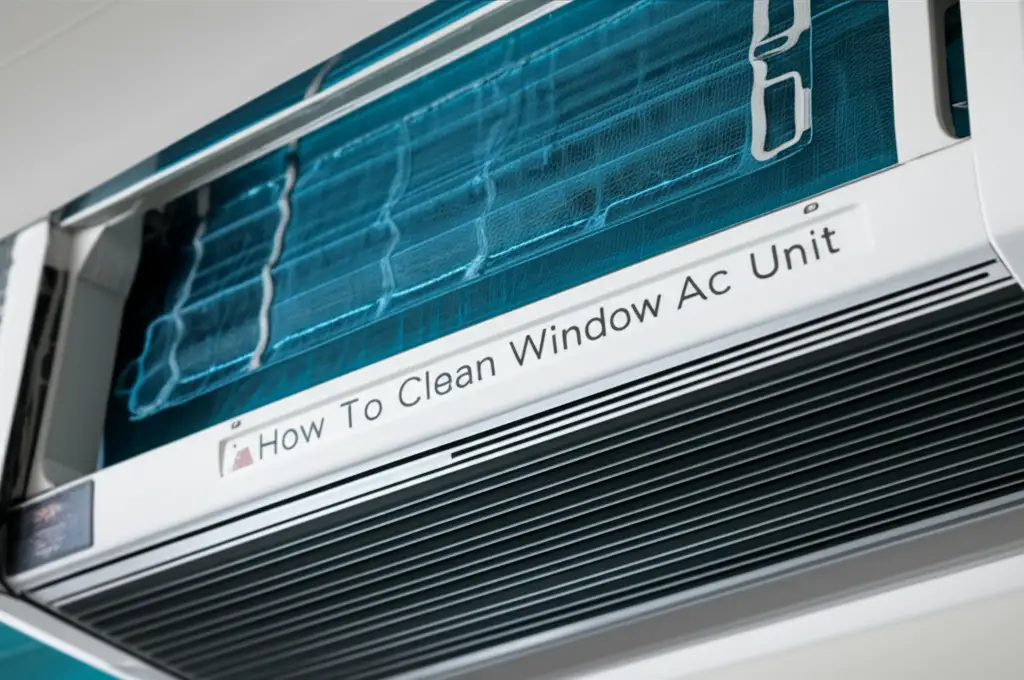
Clean Your Window AC Unit for Better Air & Cooling
A hot summer day makes us all crave the cool, comforting breeze from our air conditioner. But what happens when that breeze feels less than fresh, or the unit struggles to cool your room? Often, the problem is a dirty window AC unit. Over time, dust, pollen, and even mold build up inside. This reduces efficiency and can spread unhealthy particles into your home.
Learning how to clean window AC unit components is simple and truly pays off. A clean unit works better, saves energy, and improves the air you breathe. This comprehensive guide will walk you through every step. I will show you which tools you need, how to stay safe, and how to clean each part. We will cover filters, coils, and even how to handle mold. Get ready to give your window AC unit the refresh it needs for a cooler, healthier home.
Takeaway:
- Regularly clean your window AC unit to improve air quality and cooling.
- Always disconnect power before you start cleaning.
- Focus on the filter, coils, and drain pan for best results.
- Address mold immediately with proper cleaning solutions.
To clean a window AC unit, first, disconnect power for safety. Then, remove and wash the filter with warm, soapy water. Use a coil cleaner and soft brush on the evaporator and condenser coils. Clean the drain pan, fan blades, and housing with a damp cloth and mild detergent. This removes dirt and mold, improving air quality and unit efficiency.
Why Clean Your Window AC Unit? Benefits You Can’t Ignore
Keeping your window AC unit clean offers many important benefits. Many people overlook this simple task. But a clean unit means a healthier home and lower energy bills. I always tell my friends to prioritize this maintenance.
First, air quality improves greatly. Your AC unit pulls in air from your room. It then cools that air and pushes it back out. If the unit is dirty, it collects dust, allergens, and even mold spores. When the fan runs, it circulates these particles throughout your home. This can trigger allergies, cause respiratory issues, or just make your air feel stale. Regular cleaning removes these harmful elements. You get to breathe cleaner, fresher air. This is especially important for anyone with allergies or asthma.
Second, a clean AC unit operates with much higher efficiency. Dirt and dust act as insulation on the coils. This makes it harder for the unit to transfer heat. It has to work harder to reach your desired temperature. This extra effort uses more electricity. You will see this reflected in higher utility bills. A clean unit cools your room faster and uses less energy. It saves you money in the long run.
Third, cleaning extends the life of your AC unit. When the unit struggles due to dirt, its parts wear out faster. The motor might overheat, or the coils could freeze. These issues lead to costly repairs or needing a full replacement sooner. Regular maintenance prevents these problems. Your window AC unit will last longer and serve you well for many seasons. It protects your investment.
Finally, a clean unit prevents unpleasant odors. Mold and mildew can grow in damp, dirty areas inside the AC. This creates a musty, stale smell that spreads through your home. Cleaning removes the source of these odors. Your home will smell fresh and clean. This makes a huge difference in comfort.
Getting Ready: Tools and Safety Steps for AC Cleaning
Before you start to clean your window AC unit, you must prepare. Gathering the right tools makes the job easier and safer. I always lay everything out beforehand. This way, I do not have to stop mid-task.
Tools You Will Need:
- Screwdriver: Often needed to remove the front panel or side panels.
- Vacuum cleaner with brush attachment: For removing loose dust and debris.
- Soft brush or fin comb: To gently clean condenser and evaporator coils.
- Spray bottle: For applying cleaning solutions.
- Mild dish soap or AC coil cleaner: Choose a cleaner specific for AC coils.
- Microfiber cloths or old towels: For wiping surfaces and absorbing water.
- Bucket: To hold water and cleaning solution, or for rinsing dirty parts.
- Gloves and eye protection: To protect your skin and eyes from dirt and cleaning chemicals.
- Dust mask: To avoid inhaling dust and mold spores.
- Plastic tarp or old newspapers: To protect your floor or furniture from drips.
- Garden hose or spray bottle: For rinsing parts, if the unit is removed.
Essential Safety Precautions:
Safety is the most important part of any home maintenance task. When cleaning an electrical appliance like a window AC unit, specific steps are crucial. Do not skip these steps. I always emphasize safety first.
- Unplug the Unit: This is the absolute first step. Pull the power cord from the wall outlet. Do not just turn off the unit. You must disconnect it from the electricity supply. This prevents electric shock.
- Wear Protective Gear: Put on your gloves, eye protection, and dust mask. These items shield you from dirt, mold, and cleaning chemicals. Your health is worth protecting.
- Work in a Well-Ventilated Area: If possible, remove the unit and take it outside. If you clean it in place, open windows. Good airflow helps disperse dust and fumes from cleaners.
- Protect Your Surroundings: Place a plastic tarp or old newspapers under the unit. This catches any drips or dirt. It protects your floor and furniture from getting messy.
- Be Gentle with Fins and Coils: The metal fins on AC coils are very delicate. They bend easily. Use soft brushes and avoid applying too much pressure. Bent fins reduce airflow and efficiency.
Many people wonder if they can clean a window AC unit without removing it from the window. The answer is often yes, for light cleaning. You can clean the filter, front panel, and accessible parts of the coils while the unit stays in place. For a deeper clean, especially reaching the back and bottom, removing the unit makes the job much easier and safer. If you are interested in specific steps for this, you can find more detailed information on how to clean window AC unit without removing it. I find that a thorough clean often requires taking it out.
First Stop: Cleaning Your Window AC Filter for Fresh Air
The air filter is the easiest and most important part to clean on your window AC unit. It traps dust, pet dander, and other airborne particles. A dirty filter blocks airflow and makes your unit work harder. I always start here because it makes the biggest immediate difference.
Most window AC units have a removable filter located behind the front grille. First, unclip or slide out the filter. Some units may require you to open or remove the front panel. Refer to your unit’s manual if you are unsure. Once removed, you will likely see a layer of dust and grime.
Now it is time to clean it. If you have a reusable filter, you can wash it. Take the filter to a sink or bathtub. Rinse it under warm, running water. Use a gentle stream of water. You can add a few drops of mild dish soap to the water if the filter is very dirty. Gently scrub the filter with a soft brush or your hands. Make sure to clean both sides. You will see dirt wash away. Continue rinsing until the water runs clear and the filter looks clean.
After washing, shake off excess water. Let the filter air dry completely before putting it back. Do not use heat to dry it, as this can damage the filter material. A damp filter can promote mold growth, so make sure it is totally dry. Placing it outside in the sun can speed up drying.
Some AC units use disposable filters. You cannot wash these. Instead, simply remove the old, dirty filter and replace it with a new one. Always check your AC unit’s manual to know which type of filter you have. Replacing disposable filters regularly is crucial for air quality.
Cleaning or replacing your filter regularly is the simplest maintenance step you can take. I recommend doing this every 2-4 weeks during peak use. This simple act keeps your air fresh. It also helps your window AC unit run efficiently. For more specific instructions and details on various filter types, including how to clean reusable AC filters, you can visit how to clean reusable AC filters. You might also find helpful information on how to clean window AC unit filter.
Deep Cleaning Your Window AC Unit’s Inside Parts
After cleaning the filter, it is time to tackle the internal components of your window AC unit. This deep cleaning improves performance and prevents mold. This is where most of the magic happens in cooling your home. I find this part very satisfying, as you see the unit transform.
Cleaning Evaporator Coils:
The evaporator coils are inside the unit, behind the filter. These coils get cold and remove heat and humidity from your room’s air. They collect a lot of dust and dirt. Use a vacuum cleaner with a brush attachment to remove loose debris first. Be gentle; the fins are delicate.
For deeper cleaning, you will need a coil cleaner. You can buy specialized AC coil cleaner sprays. Follow the product instructions. Usually, you spray the cleaner onto the coils and let it sit for a few minutes. It foams up and helps loosen dirt. Some cleaners do not require rinsing; they drip into the drain pan. Others might need a light rinse with a spray bottle filled with water. Always check the cleaner’s instructions carefully. Use a soft brush, like a toothbrush or a fin comb, to gently brush away stubborn dirt. Remember, do not bend the delicate metal fins. If you do, a fin comb can help straighten them.
Cleaning the Drain Pan and Drain Line:
Below the evaporator coils is the drain pan. This pan collects condensation (water) removed from the air. A drain line usually carries this water outside. Over time, the pan can accumulate slime, mold, and algae. This causes clogs and odors.
First, remove any standing water from the pan. You can use a wet/dry vacuum or towels. Then, clean the pan with a solution of mild dish soap and warm water. Scrub the pan thoroughly with a brush or cloth. Pay attention to corners where gunk collects. Rinse the pan well. For the drain line, you can pour a small amount of distilled vinegar or a mild cleaning solution down it. This helps clear any blockages. Ensure the water drains freely. If it does not, a thin brush or pipe cleaner might help.
Cleaning Fan Blades and Interior Housing:
The fan circulates air through the unit. Its blades can get very dusty and greasy. Carefully clean the fan blades with a damp cloth and mild soap solution. You may need to spin the fan by hand to clean all parts of the blades. Be gentle and do not apply too much force.
Wipe down the entire interior housing of the unit with a damp cloth. Remove any dust, dirt, or stains. Make sure all surfaces are clean and dry before reassembling. This improves airflow and keeps the unit looking good. Cleaning these inside parts properly makes a big difference. For more detailed instructions on cleaning the interior of your AC unit, you can look up how to clean AC unit inside. Specific advice on coil cleaning can also be found on how to clean coils on window AC unit.
Cleaning Your Window AC Unit’s Outside Components
While the internal parts get most of the attention, the outside of your window AC unit also needs cleaning. The part that faces outdoors, often called the condenser side, gathers a lot of dirt, leaves, and outdoor debris. This outer part is crucial for releasing heat. Keeping it clean helps your unit work its best. I always make sure to clean both sides.
Cleaning the Condenser Coils:
The condenser coils are on the back or outdoor side of the unit. These coils release the heat from your home into the outside air. They are exposed to the elements. They can become clogged with leaves, grass clippings, dust, and even insect nests. A clogged condenser coil cannot efficiently dissipate heat. This makes your AC work harder and reduces its cooling power.
First, use a soft brush or a vacuum cleaner with a brush attachment to remove loose debris. Gently brush away any leaves or large pieces of dirt. You can also use compressed air or a soft-bristled brush to clean between the fins. Be very careful not to bend the delicate fins. They are even more fragile than the evaporator fins.
For tougher grime, you can use a coil cleaner designed for outdoor AC units. Spray the cleaner onto the condenser coils. Allow it to sit for the time specified by the product’s instructions. Some cleaners are self-rinsing, meaning they drip off with condensation. Others might require a gentle rinse. If rinsing, use a garden hose with low pressure. Do not use a high-pressure washer, as it can damage the fins. Ensure water flows only over the coils and does not enter the electrical components. After cleaning, let the coils air dry completely.
Cleaning the Outer Casing and Grille:
The outer metal casing and grille of your window AC unit can also collect dirt and grime. Wipe down all accessible outer surfaces with a damp cloth and a mild all-purpose cleaner. This not only makes the unit look better but also prevents dirt from being drawn into the unit. You can use a small brush to clean crevices in the grille.
If your unit has removable side panels, take them off and clean them thoroughly. Dust and debris can get trapped there. This general cleaning of the exterior helps maintain proper airflow around the unit. It also makes your home look tidier from the outside. Keeping the outside components clean is just as important as cleaning the inside. It ensures efficient operation and longevity of your unit. For a general guide on cleaning outdoor AC units, you can refer to how to clean outside AC unit.
How to Remove Mold from Your Window AC Unit
Finding mold in your window AC unit can be alarming. Mold thrives in dark, damp environments, which perfectly describes the inside of an AC unit. It creates a musty smell and releases spores into your air. Addressing mold quickly is important for your health and your unit’s performance. I have dealt with this before, and it is manageable.
Identifying Mold:
Mold often appears as black, green, or fuzzy spots. You might see it on the drain pan, evaporator coils, or inside the fan housing. A persistent musty smell, even after basic cleaning, often indicates mold presence. You will need to look closely at the internal components.
Steps to Clean Mold:
- Safety First: Always wear gloves, eye protection, and a good quality dust mask or respirator. You do not want to breathe in mold spores. Open windows to ensure good ventilation.
- Disconnect Power: Unplug the unit completely from the wall outlet. Never clean an AC unit with mold while it is powered on.
- Disassemble the Unit: Remove the front grille, filter, and any other panels to access the internal parts. You need full access to the affected areas.
- Vacuum Loose Mold: Use a vacuum with a HEPA filter, if possible, to carefully vacuum up any dry, loose mold or spores. This prevents them from spreading. Do not brush mold vigorously as it can release more spores.
- Apply Mold Cleaner: Create a cleaning solution. A common and effective solution is a 1:1 mixture of white distilled vinegar and water. Vinegar is a natural mold killer. You can also use a specialized non-toxic mold killer designed for HVAC systems. Spray the solution onto the moldy areas. Let it sit for 10-15 minutes. This allows the cleaner to penetrate the mold.
- Scrub Gently: Use a stiff brush or an old toothbrush to gently scrub the mold away. For coils, use a soft brush or coil fin comb. Do not use harsh chemicals like bleach
- AC maintenance
- air quality
- mold removal
- energy savings