· Home Cleaning · 16 min read
How To Clean Window Screens With Magic Eraser
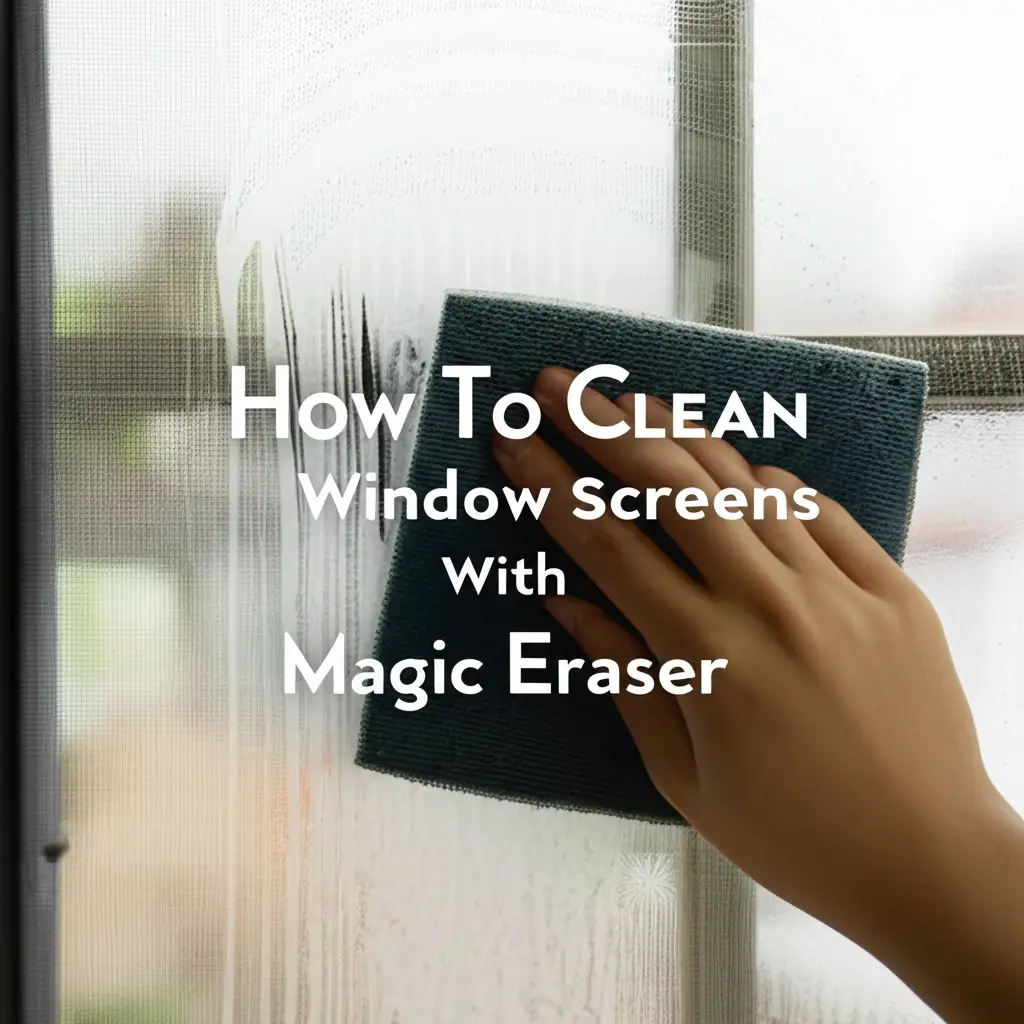
How To Clean Window Screens With Magic Eraser Safely and Effectively
Dirty window screens block natural light and obstruct your view. Over time, screens collect a surprising amount of dust, pollen, spiderwebs, and environmental grime. Cleaning them can seem like a big job, but with the right tools, it becomes simple. Many people wonder if a Magic Eraser is a good solution for this task. I am here to tell you that it can be a fantastic tool to restore your screens. This article explains exactly how to clean window screens with Magic Eraser, giving you back clear, bright windows. We will cover preparation, cleaning steps, and tips for long-lasting results.
Takeaway
- Magic Erasers offer an effective, gentle way to clean window screens without harsh chemicals.
- Always test the Magic Eraser on a small, hidden area of your screen first.
- Combine the Magic Eraser with a damp cloth and mild soap for best results.
- Regular maintenance keeps screens clear and extends their life.
How do you clean window screens with a Magic Eraser?
You can effectively clean window screens with a Magic Eraser by first removing loose debris, then gently wiping the damp Magic Eraser across the screen surface. Work in small sections, applying light pressure to lift dirt and grime. Rinse the screen thoroughly afterward to remove any residue and allow it to air dry completely before reinstallation.
Understanding the Magic Eraser for Screen Cleaning
Magic Erasers have become a household cleaning staple. They work by using melamine foam, which acts like very fine sandpaper. This material has an abrasive quality that can lift dirt from many surfaces. When you apply water, it activates this gentle abrasive action. This makes it effective for removing stubborn marks and grime without needing harsh chemicals.
For window screens, this abrasive quality is both a benefit and a caution. The fine mesh of window screens can trap dirt deep within its fibers. A Magic Eraser can reach into these small spaces and lift away stuck-on particles. Its porous structure also helps to absorb dirt, making the cleaning process efficient. However, too much pressure or aggressive scrubbing can damage delicate screen mesh. Therefore, a gentle approach is always best when cleaning window screens with Magic Eraser.
Before you begin, remember that not all screens are the same. Some screens are made of more delicate materials than others. Always test the Magic Eraser on a small, inconspicuous area first. This helps ensure it does not cause any discoloration or damage. A quick test prevents any unexpected issues on your entire screen. My experience shows that a light touch gets the job done without risk.
Gathering Your Cleaning Arsenal
Before you start to clean window screens with Magic Eraser, gather all necessary supplies. Having everything ready makes the cleaning process smooth and efficient. You do not want to stop in the middle to search for a missing item. Preparation is a simple step that saves time and effort. This list covers all you will need.
First, you need your Magic Erasers. Have a few on hand, especially if you plan to clean multiple screens. These sponges can wear down with use. Next, prepare a bucket of water. Plain tap water works perfectly. You may also want a second bucket of clean water for rinsing. A mild dish soap can be added to one of the buckets. This solution helps to loosen stubborn dirt and provides extra cleaning power.
You will also need a soft brush or vacuum cleaner with a brush attachment. These are essential for removing loose dirt and debris before wet cleaning. A microfibre cloth or an old towel is good for drying. Gloves protect your hands from dirt and cleaning solutions. Finally, a flat, clean surface like a tarp or old sheet can protect your work area. Make sure you have ample space to lay your screens flat. This setup ensures you can effectively clean window screens with Magic Eraser.
- Magic Erasers: Several pieces are good.
- Two Buckets: One for soapy water, one for rinse water.
- Mild Dish Soap: Just a few drops.
- Soft Brush or Vacuum with Brush Attachment: For initial dry cleaning.
- Microfibre Cloths or Old Towels: For drying.
- Gloves: To protect hands.
- Tarp or Old Sheet: To protect your work surface.
Pre-Cleaning Steps for Optimal Results
Proper preparation is crucial before you start to clean window screens with Magic Eraser. This step removes large debris and prevents mud from forming on your screen. Skipping this part can make the entire cleaning process harder. I always start by taking the screens off the windows. This lets me work on a flat surface, which is much easier.
Most window screens are simple to remove. They usually have small tabs, springs, or clips that hold them in place. Gently push or pull these tabs to release the screen. Once loose, carefully pull the screen out of the window frame. Take care not to bend the frame or tear the mesh during removal. If your screens are fixed, you will need to clean them in place. You can still apply these pre-cleaning steps, but you will need to protect your window sills and walls from water.
After removing the screens, lay them flat on a protected surface. A tarp or old sheet on the ground or a large table works well. Now, use a soft brush or a vacuum cleaner with a brush attachment to remove loose dirt. Brush both sides of the screen thoroughly. This step gets rid of spiderwebs, large dust clumps, and dried leaves. It prepares the surface for the Magic Eraser. This initial dry cleaning is key to effectively clean window screens with Magic Eraser.
The Magic Eraser Method: Step-by-Step Instructions
Now that your screens are prepared, it is time to learn how to clean window screens with Magic Eraser. This method is straightforward but requires a gentle touch. Follow these steps for the best results. I find this approach makes the cleaning job much easier than expected.
Step 1: Wet the Magic Eraser. Start by dampening your Magic Eraser. Hold it under running water until it is thoroughly wet. Then, squeeze out the excess water gently. You want the sponge to be damp, not dripping wet. Too much water makes the cleaning process messy. A damp sponge will work more effectively.
Step 2: Add a touch of soap (Optional). For screens with significant grime, you can add a small amount of mild dish soap to your damp Magic Eraser. Just a drop or two directly on the sponge is enough. This helps to break down stubborn grease and dirt. You can also dip the damp Magic Eraser into a bucket of water mixed with a few drops of mild dish soap. For general cleaning, plain water works just fine. If you want to know more about cleaning with these common items, learn how to clean with vinegar and baking soda.
Step 3: Gently wipe the screen. Begin wiping the screen with the damp Magic Eraser. Use light, even pressure. Work in small sections, moving the sponge in one direction, such as horizontally or vertically. Do not scrub hard or use circular motions. Aggressive scrubbing can damage the delicate mesh of the screen. You will see dirt lifting off the screen and transferring to the sponge.
Step 4: Rinse the screen. Once you have cleaned a section or the entire screen, rinse it thoroughly. You can use a garden hose with a gentle spray setting for outdoor screens. For smaller screens, rinse them under a faucet. Ensure all soap residue and loosened dirt are washed away. You want the water to run clear.
Step 5: Inspect and repeat if necessary. After rinsing, inspect the screen for any remaining dirty spots. If you see areas that are still grimy, repeat the Magic Eraser steps on those specific spots. Remember to always use a light hand. This approach helps you get a perfectly clean screen.
Addressing Stubborn Stains and Mold on Screens
Sometimes, a simple wipe down is not enough. Window screens can develop stubborn stains from sap, bird droppings, or even mold. When you need to clean window screens with Magic Eraser for these tough issues, you might need a slightly different approach. These problems require a little more attention.
For dried sap or bird droppings, begin by re-wetting the stained area. Let the water sit for a few minutes to soften the debris. This makes it easier to remove. Then, gently rub the spot with your damp Magic Eraser. You may need to apply a tiny bit more pressure than usual. Be patient and work slowly. If the stain persists, consider using a very mild degreaser or a few drops of rubbing alcohol on a separate cloth, then follow up with the Magic Eraser. Always rinse well afterward.
Mold can be a particular challenge on window screens, especially in damp climates. If you find mold spots, a Magic Eraser can help, but you may need extra steps. First, gently brush away any loose mold or mildew. Then, dampen your Magic Eraser and add a small amount of mild dish soap. Wipe the moldy areas with light pressure. For persistent mold, a solution of equal parts white vinegar and water can be very effective. Spray this mixture onto the mold, let it sit for 10-15 minutes, then wipe with the Magic Eraser. Remember, mold can spread. If you are dealing with mold in other areas, such as an AC unit, consider reading about how to clean mold from window air conditioner. Also, for other general mold issues, checking guides like how to clean mold out of coffee maker can offer helpful insights. After using any cleaning solution, rinse the screen thoroughly with clean water to remove all residues.
Post-Cleaning Care and Reinstallation
Once you clean window screens with Magic Eraser, proper drying and reinstallation are important. Skipping these steps can lead to new problems or damage. A clean screen needs to be fully dry before putting it back. This prevents moisture from getting trapped, which can cause mold or damage to window frames.
After rinsing, lay your screens flat in a well-ventilated area. A sunny spot works well, but avoid direct, intense sunlight for extended periods, especially with older, more delicate screens, as it can cause warping or degradation. You can also prop them up against a wall or fence if the weather is calm. Allow plenty of time for the screens to air dry completely. This might take several hours, depending on humidity and temperature. Do not rush this process. I usually let them sit for at least half a day.
Before reinstalling, inspect the screen frames. Clean any dirt or debris from the window tracks where the screens sit. This ensures a smooth fit and prevents new dirt from clinging to your freshly cleaned screens. Once the screens are completely dry, carefully slide them back into their window frames. Engage any tabs or clips to secure them in place. Make sure they fit snugly to keep insects out. A well-maintained screen looks good and functions properly.
Maintaining Screen Cleanliness and Alternative Methods
Cleaning your window screens regularly keeps them looking good and extends their life. After you learn how to clean window screens with Magic Eraser, you will find maintenance much easier. Consistent light cleaning prevents heavy dirt buildup. This means less effort next time around.
For routine maintenance, a simple dusting can go a long way. Use a soft brush or a vacuum cleaner with a brush attachment once a month to remove loose dust and spiderwebs. This prevents dirt from becoming embedded in the mesh. A quick wipe with a damp cloth can also refresh them. If you notice any stubborn spots, a quick pass with a damp Magic Eraser will likely take care of it. This simple routine saves you from needing a deep clean often.
While Magic Erasers are great, other methods can also clean window screens. A popular method involves using a mixture of vinegar and baking soda. This combination creates a gentle fizzing action that helps lift dirt. You can create a paste with baking soda and water, apply it, then spray with vinegar. For more general cleaning advice, consider tips like how to clean toilet tank with baking soda or even how to clean dishwasher with vinegar and baking soda. Another option is to use a gentle all-purpose cleaner diluted with water. Spray the screen, let it sit for a few minutes, then rinse. For very dirty screens, a power washer on a very low setting can be used from a distance, but this requires extreme caution to avoid damage. Always test any new cleaning method on an inconspicuous area first.
Remember, the goal is to keep your screens clear and functional without causing damage. Choose the method that fits your needs and screen material best. I often rotate methods, using the Magic Eraser for targeted stains and a softer method for general upkeep.
Maximizing Light and Airflow: The Benefits of Clean Screens
Clean window screens do more than just improve your home’s appearance. They also play a big role in the overall comfort and energy efficiency of your living space. When you learn how to clean window screens with Magic Eraser, you are investing in these practical benefits. Dirty screens can silently reduce the quality of your home environment.
First, clean screens allow more natural light into your rooms. Layers of dust, pollen, and grime on screens act like a filter. They dim the light entering your home, making rooms feel darker. By removing this obstruction, you immediately notice a brighter, more open space. This also reduces your reliance on artificial lighting during the day. More natural light can improve mood and productivity. I always feel better in a sunlit room.
Second, clean screens significantly improve airflow. Screens are designed to let air pass through while keeping insects out. However, when the mesh becomes clogged with debris, it restricts ventilation. This means less fresh air circulates through your home. This can make rooms feel stuffy and increase indoor humidity. Cleaning the screens helps maintain optimal airflow, which is especially important during warmer months. Good airflow helps cool your home naturally and reduces the need for air conditioning. This can lead to energy savings. Regular cleaning truly enhances indoor air quality and comfort.
Troubleshooting Common Screen Cleaning Challenges
Even with the best instructions, you might encounter a few hurdles when you clean window screens with Magic Eraser. Knowing how to handle these common issues makes the process smoother. Do not get discouraged if a spot does not come clean on the first try. Every screen is different.
One common challenge is dealing with screens that are too large or fixed in place. For large screens, work in smaller sections. This keeps the Magic Eraser damp and effective. For fixed screens, protect your interior space with towels and plastic sheeting. You can clean them from both inside and outside the window. This may require an extra person to help support the screen from the other side. A small bucket of water and a cloth to rinse the Magic Eraser frequently will be helpful.
Another issue can be leftover residue. Sometimes, even after rinsing, you might see a slight film on the screen. This usually happens if you used too much soap or did not rinse thoroughly. To fix this, simply rinse the screen again with clean water. You can also wipe it down with a clean, damp microfibre cloth to remove any remaining residue. Ensure the screen is completely dry before reinstalling it to prevent streaking or new dust adhesion.
Finally, some screens might have existing damage, like tears or stretched mesh. A Magic Eraser will not repair these issues. In such cases, you might consider professional screen repair or replacement. The goal is always to improve, not worsen, the screen’s condition. Remember, a gentle approach with the Magic Eraser prevents further damage to the mesh. I learned that patience is key when dealing with these small repairs.
FAQ Section
Q1: Can I use a Magic Eraser on all types of window screens? A1: Magic Erasers are generally safe for most standard fiberglass and aluminum window screens. However, always test a small, hidden area first. Some older or more delicate screen materials might be too fragile for even gentle abrasion. A quick test prevents any accidental damage.
Q2: Do I need to remove the window screens before cleaning with a Magic Eraser? A2: Removing screens is highly recommended for a more thorough cleaning. It allows you to work on a flat surface and rinse them easily. If screens are fixed, you can clean them in place by protecting surrounding areas and using less water.
Q3: How often should I clean my window screens? A3: For optimal clarity and airflow, aim to clean your window screens at least once or twice a year. More frequent cleaning, such as quarterly or monthly dusting, prevents heavy buildup. This depends on your local environment and how much dust and pollen are present.
Q4: What if the Magic Eraser damages my screen? A4: Damage usually occurs from excessive pressure or aggressive scrubbing. If you notice any fraying or tearing, stop immediately. The Magic Eraser should be used with a very light touch. Always test first to prevent such issues.
Q5: Can I use cleaning solutions with the Magic Eraser on screens? A5: Yes, you can add a few drops of mild dish soap to the damp Magic Eraser for extra cleaning power. For mold, a vinegar-and-water solution can be effective. Always rinse the screen thoroughly with plain water afterward to remove all residues.
Q6: What is the best way to dry screens after cleaning? A6: After rinsing, lay your screens flat in a well-ventilated area or prop them up to allow air circulation. Allow them to air dry completely. This might take several hours, depending on humidity. Full dryness prevents streaks and mold when reinstalled.
Conclusion
Cleaning window screens with Magic Eraser offers a simple and effective solution to restore clarity and improve airflow in your home. By following the steps outlined, you can easily remove accumulated dirt, dust, and even stubborn stains. Remember to always start with a gentle approach and perform a patch test to ensure compatibility with your screen material. This helps prevent any accidental damage.
Regular maintenance, combined with the power of the Magic Eraser, will keep your views unobstructed and your indoor environment fresh. A clean screen not only looks better but also allows more natural light and fresh air to fill your living space. Make window screen cleaning a regular part of your home maintenance routine. You will notice a significant difference in your home’s brightness and comfort. Give it a try, and enjoy your sparkling clean windows!
- window screen cleaning
- Magic Eraser uses
- screen maintenance
- household cleaning