· Home Cleaning · 7 min read
How To Clean Windows That Don't Tilt
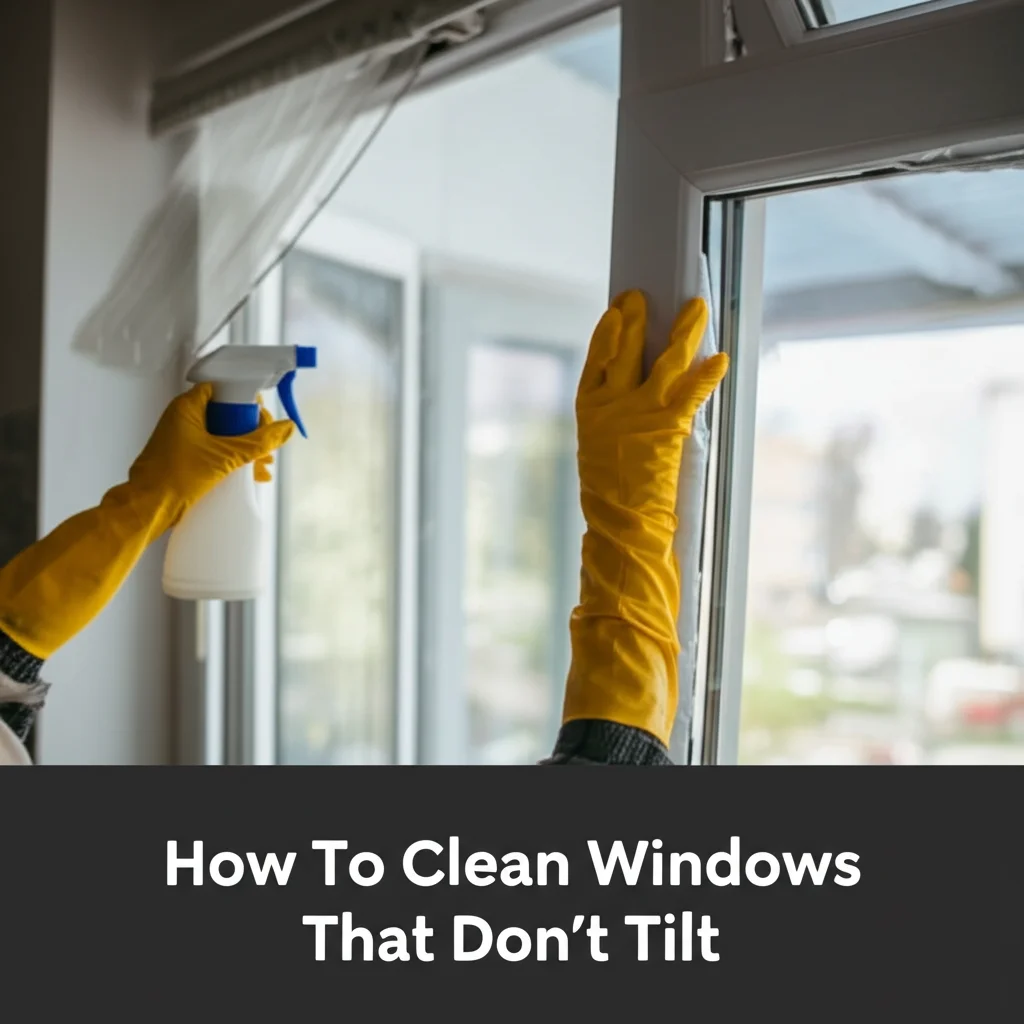
Sparkling Clean: How To Clean Windows That Don’t Tilt
Ever stared at a dirty window, knowing it needs cleaning, but realizing it doesn’t tilt open like the others? You’re not alone! Many homes have fixed windows, meaning they don’t have the convenient tilt-in feature for easy cleaning. Cleaning these windows can seem daunting, but it’s absolutely achievable with the right tools and techniques. This article will guide you through everything you need to know to clean windows that don’t tilt, leaving them streak-free and shining. We’ll cover the best tools, step-by-step methods, safety precautions, and even how to tackle those really tough grime spots.
Here’s a quick answer: To clean windows that don’t tilt, use an extension pole with a microfiber scrubber and squeegee. Spray the window with a cleaning solution, scrub to loosen dirt, then squeegee from top to bottom, overlapping each stroke. Wipe edges with a clean microfiber cloth.
Key Takeaways:
- Use the right tools for reach and safety.
- A good cleaning solution is crucial for effective grime removal.
- Proper squeegeeing technique prevents streaks.
- Safety first – always prioritize secure footing and avoid overreaching.
Why Are Some Windows Fixed?
Before diving into cleaning, let’s quickly understand why some windows don’t tilt. Fixed windows, also known as picture windows, are designed for maximizing light and providing unobstructed views. They don’t open, which contributes to their energy efficiency and structural integrity. Because they don’t move, they can be larger and simpler in construction, making them a cost-effective option. However, this fixed nature presents a unique cleaning challenge. Don’t worry, though – it’s a challenge we can overcome!
Gathering Your Window Cleaning Arsenal
Having the right tools makes all the difference when cleaning windows that don’t tilt. Forget struggling with makeshift solutions; investing in a few key items will save you time, effort, and potential frustration. Here’s what you’ll need:
- Extension Pole: This is essential for reaching high or awkward windows. Look for one that’s lightweight and adjustable.
- Microfiber Scrubber: A microfiber scrubber attaches to the extension pole and gently loosens dirt and grime.
- Squeegee: A high-quality squeegee with a sharp rubber blade is key to streak-free results. Again, choose one that can attach to your extension pole.
- Window Cleaning Solution: You can buy a commercial window cleaner or make your own (more on that later!).
- Microfiber Cloths: These are perfect for wiping edges, sills, and any drips. Avoid paper towels, as they can leave lint.
- Bucket: For holding your cleaning solution.
- Spray Bottle: For applying the cleaning solution.
DIY Window Cleaning Solutions: Save Money & Go Green
You don’t always need to buy expensive commercial window cleaners. Many effective solutions can be made right in your kitchen! These DIY options are often more environmentally friendly and can save you money.
- Vinegar and Water: Mix equal parts white vinegar and distilled water in a spray bottle. This is a classic and effective cleaner. You can learn more about using vinegar for cleaning at https://www.beacleaner.com/how-to-clean-hardwood-floors-with-vinegar/.
- Dish Soap and Water: Add a few drops of mild dish soap to a bucket of warm water. This is good for cutting through grease and grime.
- Rubbing Alcohol and Water: Combine 1/4 cup rubbing alcohol, 1/2 teaspoon dish soap, and 2 cups of water. This solution is great for removing stubborn stains.
Step-by-Step Guide to Cleaning Fixed Windows
Now for the main event! Here’s a detailed, step-by-step guide to cleaning those tricky windows that don’t tilt:
- Prepare the Area: Clear the area around the window, both inside and outside. Move furniture, cover floors with drop cloths, and ensure you have a stable surface to stand on.
- Apply the Cleaning Solution: Fill your spray bottle with your chosen cleaning solution. Generously spray the entire window surface, ensuring it’s thoroughly coated.
- Scrub the Window: Attach the microfiber scrubber to your extension pole. Gently scrub the window in overlapping motions, working from top to bottom. Pay extra attention to areas with visible dirt or grime.
- Squeegee the Window: Attach the squeegee to your extension pole. Start at the top corner of the window and pull the squeegee down in a smooth, even stroke. Overlap each stroke by about an inch to prevent streaks.
- Wipe the Edges: Use a clean microfiber cloth to wipe the edges and sills of the window, removing any drips or remaining cleaning solution.
- Inspect and Repeat: Step back and inspect your work. If you notice any streaks or missed spots, repeat steps 3-5.
Tackling Tough Grime: Stubborn Spots and Residue
Sometimes, windows have more than just dust and dirt. Here’s how to tackle some common tough grime situations:
- Bird Droppings: Let the cleaning solution sit on the droppings for a few minutes to soften them before scrubbing.
- Bug Splatter: Use a plastic scraper (like a credit card) to gently remove the bulk of the splatter before scrubbing.
- Hard Water Stains: Vinegar is your best friend here! Apply undiluted white vinegar to the stains, let it sit for 5-10 minutes, then scrub and rinse.
- Tree Sap: Rubbing alcohol can help dissolve tree sap. Apply it to a microfiber cloth and gently rub the affected area.
If you’re dealing with tough stains on other surfaces, you might find this article helpful: https://www.beacleaner.com/how-to-remove-baking-soda-residue-from-carpet/.
Safety First: Protecting Yourself and Your Home
Cleaning windows, especially those that are high up, requires caution. Here are some essential safety tips:
- Use a Stable Ladder: If you need to use a ladder, ensure it’s stable and on a level surface.
- Avoid Overreaching: Don’t stretch or lean too far. Move the ladder as needed to stay within a safe reach.
- Wear Gloves: Protect your hands from harsh cleaning solutions.
- Be Aware of Your Surroundings: Watch out for power lines, trees, and other obstacles.
- Don’t Clean in Windy Conditions: Wind can make it difficult to maintain your balance and control the cleaning tools.
Maintaining Clean Windows: Preventing Future Grime
Once you’ve put in the effort to clean your windows, you’ll want to keep them that way! Here are a few tips for maintaining clean windows:
- Regular Dusting: Dust your windowsills and frames regularly to prevent dust buildup.
- Quick Spritzes: Give your windows a quick spritz with cleaning solution every few weeks to prevent grime from accumulating.
- Protect from the Elements: Consider using window film to protect your windows from UV rays and harsh weather conditions.
- Address Issues Promptly: Clean up bird droppings, bug splatter, and other messes as soon as you notice them.
Frequently Asked Questions (FAQs)
- Q: Can I use a regular household cleaner on my windows? A: While some household cleaners can be used, it’s best to stick to window-specific cleaners or DIY solutions like vinegar and water. Other cleaners may leave streaks or damage the window surface.
- Q: What’s the best way to dry windows to avoid streaks? A: Using a high-quality squeegee and overlapping your strokes is the most effective way to dry windows streak-free. Follow up with a clean microfiber cloth to wipe any remaining drips.
- Q: How often should I clean my windows? A: This depends on your location and the amount of dirt and grime your windows are exposed to. Generally, cleaning your windows twice a year is sufficient, but you may need to clean them more often if you live in a dusty or polluted area.
- Q: Is it safe to clean windows on a windy day? A: No, it’s not safe to clean windows on a windy day. The wind can make it difficult to maintain your balance and control the cleaning tools, increasing the risk of falls.
Enjoying the View: Sparkling Windows Without the Tilt
Cleaning windows that don’t tilt doesn’t have to be a chore. With the right tools, techniques, and a little bit of patience, you can achieve sparkling clean windows and enjoy the view. Remember to prioritize safety, use effective cleaning solutions, and maintain a regular cleaning schedule. Now, go ahead and give those windows a shine! If you’re looking for more cleaning tips for your home, check out this article on cleaning vinyl plank flooring: https://www.beacleaner.com/how-to-clean-vinyl-plank-flooring/.
- window cleaning
- fixed windows
- hard to reach windows