· Bathroom Care · 17 min read
How To Wash A Shower Cap
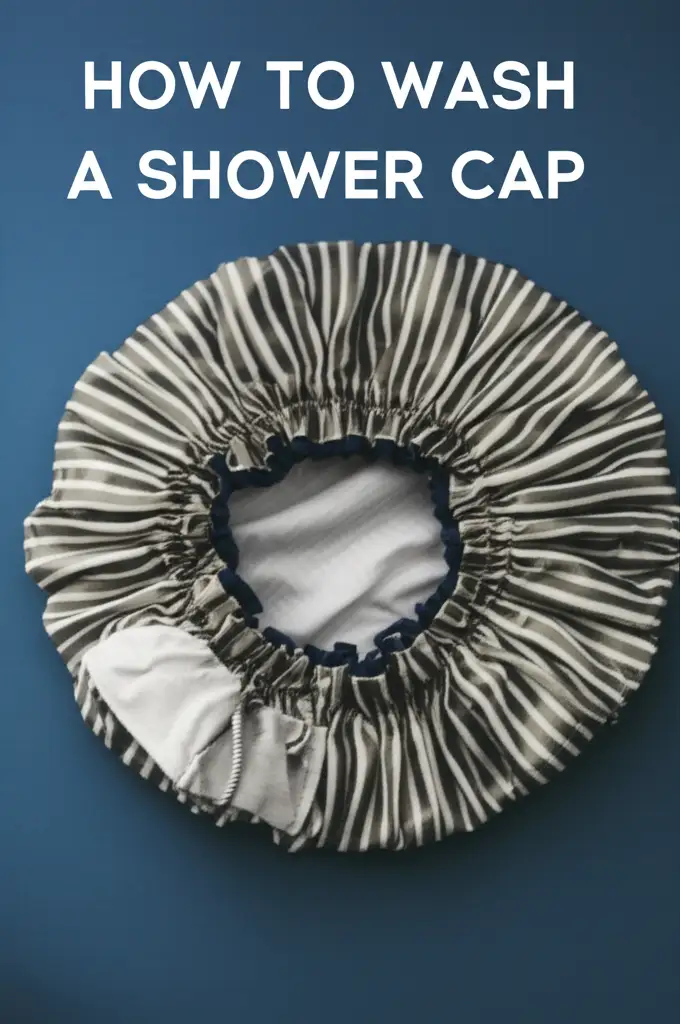
Effortless Ways to Wash a Shower Cap for Lasting Freshness
Your shower cap protects your hair from water, but what protects your shower cap from grime? Many of us use a shower cap daily, yet we often forget about cleaning it. Over time, moisture, soap residue, and warmth create a perfect home for mold, mildew, and bacteria. This can lead to unpleasant smells and even affect your hygiene. Learning how to wash a shower cap is simple but vital for keeping it clean and extending its life.
This article guides you through the process. We will explore different cleaning methods based on your cap’s material. You will discover practical steps for washing both plastic and fabric shower caps. We also cover how to tackle stubborn mold and offer tips for proper drying and storage. By the end, you will know exactly how to keep your shower cap fresh and effective.
Takeaway:
- Clean your shower cap regularly to stop mold and mildew.
- Choose the correct washing method based on the cap’s material.
- Always dry your shower cap completely after every use and wash.
A shower cap needs regular cleaning to remove soap scum, mildew, and bacteria. Hand wash plastic caps with mild soap and water. For fabric caps, check care labels or gently machine wash. Always air dry completely to prevent mold growth and maintain hygiene.
The Unseen Truth: Why Washing Your Shower Cap Is Essential
You might think your shower cap stays clean because it only touches water. However, this is not true. Shower caps are exposed to warm, moist environments every day. This creates an ideal breeding ground for various microorganisms. Soap scum, dead skin cells, and hair products also build up on the surface. These residues help mold and mildew grow quickly.
Ignoring your shower cap can lead to several problems. Mold spots can appear as black, pink, or orange stains. These stains are unsightly and can be hard to remove if left too long. More importantly, mold and mildew can cause unpleasant odors. They might also transfer spores back to your hair or skin, which is not good for your health. A dirty shower cap can even shorten its lifespan. The materials break down faster when constantly exposed to grime and moisture. Regular washing keeps your shower cap fresh, extends its usefulness, and supports your personal hygiene.
Think of your shower cap like a towel or washcloth. You would not use those without washing them regularly. The same rule applies here. Keeping your shower cap clean helps you avoid common bathroom issues. It also ensures you always have a fresh cap ready for use. I make it a habit to check my shower cap for any signs of grime. This simple check helps me decide when it is time for a wash. By understanding these reasons, you gain a better idea of why washing your shower cap is so important.
Know Your Cap: Identifying Material for Proper Cleaning
Before you wash a shower cap, you must know what it is made from. Different materials require different cleaning methods. Using the wrong method can damage your cap or make it less effective. Most shower caps fall into one of two main categories: plastic or fabric. Some caps combine both.
Plastic Shower Caps: These are the most common type. They are usually made from EVA (Ethylene Vinyl Acetate) or PEVA (Polyethylene Vinyl Acetate). These materials are waterproof and durable. They are great for keeping water out of your hair completely. Plastic caps are easy to spot; they often have a smooth, slightly slippery feel. They might also come with a fabric trim around the elastic band. These caps are usually the easiest to clean. You can often just wipe them down or hand wash them quickly.
Fabric Shower Caps: These caps offer a different feel and purpose. Materials include satin, silk, terry cloth, or microfiber. Satin and silk caps protect hair from humidity and frizz without completely blocking water. They are popular for those wanting to preserve a hairstyle between washes. Terry cloth or microfiber caps are more absorbent. They might be used for hair treatments or during a bath. Fabric caps often have a plastic liner on the inside to keep hair dry. However, the outer fabric layer still needs attention. Washing these caps often needs a gentler approach. You might need to hand wash them or use a delicate machine cycle. Always check for a care label if your fabric cap has one. Knowing your cap’s material helps you choose the correct cleaning path.
Simple Steps: How to Wash a Plastic Shower Cap Effectively
Plastic shower caps are usually easy to clean. Hand washing is the best method for them. It helps preserve the material and the elastic band. You can make your cap last longer with simple care. I follow these steps to keep my plastic shower cap spotless.
First, gather your supplies. You will need:
- Mild dish soap or hand soap
- Warm water
- A soft cloth or sponge
Now, follow these easy steps:
- Rinse the cap: Hold your shower cap under warm running water. This helps remove loose hair, soap scum, and any obvious dirt. Make sure to rinse both the inside and outside.
- Apply soap: Put a small amount of mild dish soap onto the soft cloth or sponge. You do not need much, just a pea-sized drop.
- Gently wipe: Use the soaped cloth to gently wipe down the entire surface of the shower cap. Pay special attention to the elastic band area. This part often collects more residue. Wipe any visible stains or areas that feel slimy. The mild soap helps break down oils and grime effectively. For tougher stains, you can consider using a paste of baking soda and water. Cleaning your shower with baking soda can also help with removing tough stains, showing how versatile baking soda is for various cleaning tasks.
- Rinse thoroughly: Rinse the cap again under warm running water. Make sure to remove all soap residue. Soap left on the cap can attract more dirt later. Continue rinsing until the water runs clear and the cap feels clean, not soapy.
- Inspect: Hold the cap up to the light to check for any missed spots or lingering grime. If you see any, repeat the wiping and rinsing steps.
- Dry completely: This is the most crucial step for plastic caps. Gently shake off excess water. Then, hang the shower cap to air dry. Make sure it is fully dry before storing it. Hanging it over a shower rod or on a hook works well. You want good airflow around it. This stops mold from growing.
Gentle Care: Washing Fabric Shower Caps
Washing fabric shower caps requires a bit more care than plastic ones. The method depends on the fabric type. Satin and silk caps are delicate. Terry cloth or microfiber caps can be more robust. Always check for a care label first. If there is no label, I assume hand washing is safest.
Hand Washing Delicate Fabric Caps (Satin, Silk):
- Prepare a basin: Fill a clean basin or sink with cool or lukewarm water.
- Add mild detergent: Pour a tiny amount of gentle liquid detergent into the water. Baby shampoo or a specific silk-friendly detergent works well. Avoid harsh soaps, which can damage delicate fibers.
- Submerge and soak: Place your fabric shower cap into the soapy water. Gently swish it around. Let it soak for about 5-10 minutes. Do not twist or wring the fabric.
- Gently clean: Lightly rub any soiled areas with your fingertips. Pay attention to the elastic band and edges. For tougher areas, you might need a very soft brush.
- Rinse thoroughly: Drain the soapy water. Rinse the cap under cool, running water until all soap is gone. Gently squeeze out excess water. Do not wring tightly, as this can stretch or damage the fabric. You can learn more about how to wash clothes without a washer for more hand-washing tips. For larger fabric items or when you have more time, washing clothes in a bathtub can be a good option for thorough cleaning, similar to how you might handle a fabric shower cap.
- Air dry: Lay the cap flat on a clean, dry towel. Roll the towel and cap together to absorb more water. Then, hang the cap or lay it flat on a drying rack. Ensure good air circulation. Never put delicate fabrics in a dryer.
Machine Washing Sturdier Fabric Caps (Terry Cloth, Microfiber):
- Check the label: If the label allows, machine washing can be an option.
- Use a mesh bag: Place the shower cap inside a mesh laundry bag. This protects the elastic and fabric from stretching or snagging.
- Select gentle cycle: Wash on a delicate or gentle cycle with cold water. Use a mild detergent.
- Avoid bleach: Do not use bleach or harsh stain removers.
- Air dry: Remove the cap immediately after the cycle. Air dry by hanging or laying flat. Avoid high heat from a dryer, which can damage the elastic and fabric. Just as you’d learn how to wash a hat in a washing machine, similar gentle cycles and protective measures apply to fabric shower caps.
Battling the Buildup: Removing Mold and Mildew from Your Cap
Mold and mildew are common issues for shower caps due to moisture. If you see black, pink, or orange spots, it is time to act. Prevention is always best, but sometimes you need to treat an existing problem. I have found a few natural remedies work well for this.
Using Vinegar: Vinegar is a powerful natural cleaner. It helps kill mold and remove stains.
- Prepare a solution: Mix equal parts white vinegar and warm water in a spray bottle or basin.
- Soak or spray: For plastic caps, spray the moldy areas directly. For fabric caps, you can soak the entire cap in the solution for 30 minutes.
- Scrub gently: After soaking, use a soft brush or cloth to gently scrub the moldy spots. You should see them start to lift. Vinegar is also effective for cleaning many other bathroom surfaces. For example, learning how to clean your shower head with vinegar uses similar principles to tackle limescale and grime. You can also use vinegar to clean shower doors with vinegar, proving its broad utility.
- Rinse thoroughly: Rinse the cap completely with clean water. Make sure no vinegar smell remains.
- Dry completely: Air dry the cap in a well-ventilated area until it is bone dry.
Using Baking Soda: Baking soda is another excellent option for scrubbing away mold and absorbing odors.
- Make a paste: Mix a small amount of baking soda with water to form a thick paste.
- Apply to spots: Apply the paste directly to the moldy areas. Let it sit for 15-30 minutes.
- Scrub and rinse: Use a soft brush or old toothbrush to scrub the paste into the mold. The abrasive nature of baking soda helps lift the grime. Then, rinse the cap thoroughly under running water.
- Dry completely: Just like with vinegar, proper drying is critical to prevent mold from returning. You can also use baking soda to clean your shower in general, which shows how useful it is for bathroom messes.
When to Discard: Sometimes, mold is too deep-seated, especially in fabric caps or if the plastic has become porous. If mold persists after cleaning, or if the cap has a lingering musty smell, it is best to replace it. Your health is more important than saving an old cap. Look for caps made with anti-mold properties next time.
The Golden Rule: Drying Your Shower Cap Right
Drying your shower cap completely after every use and wash is the single most important step. This is the “golden rule” for preventing mold and mildew growth. Even a tiny bit of lingering moisture can become a breeding ground for fungi. I always make sure my shower cap is completely dry before putting it away.
Here are the best ways to ensure your shower cap dries properly:
- Hang it up: After showering, shake off any excess water from your cap. Then, hang it over your shower rod, a towel rack, or a dedicated hook. This allows air to circulate around all sides of the cap. Ensure it is not bunched up or pressed against a wall. Good airflow helps moisture evaporate quickly.
- Lay it flat (for delicate fabrics): For very delicate fabric shower caps that might stretch when hung, lay them flat on a clean, dry towel. You can also place them on a drying rack. Ensure the area has good air circulation. You might need to flip it once or twice to ensure both sides dry.
- Avoid enclosed spaces: Never ball up your wet shower cap and leave it in a drawer or basket. This traps moisture and guarantees mold growth. Avoid putting it directly into your laundry hamper if it is still damp.
- Do not use a dryer: While it might seem faster, do not put your shower cap in a clothes dryer. High heat can damage the plastic material, making it brittle. It can also melt the elastic band or cause fabric caps to shrink and lose their shape. Air drying is always the safest and most effective method.
- Check for dampness: Before storing your cap, always feel it all over. Make sure there are no damp spots. Even a slightly damp elastic band can lead to mold over time. If it still feels cool or damp, let it air dry longer.
By following these drying tips, you extend the life of your shower cap significantly. You also keep it hygienic and free from unpleasant odors. This simple habit makes a big difference in the long run.
How Often to Clean Your Shower Cap: A Practical Guide
Determining how often to wash a shower cap depends on how frequently you use it and its material. There is no one-size-fits-all answer, but I can give you some practical guidelines. Regular cleaning helps prevent problems before they start.
- Daily Users: If you use your shower cap every single day, it will accumulate soap scum and moisture more rapidly. For daily users, I recommend a quick rinse and air dry after each use. A thorough hand wash should happen at least once a week. This weekly wash removes buildup and keeps it fresh. If you notice any smells or spots appearing sooner, wash it right away.
- Occasional Users: If you only use your shower cap a few times a week, you might stretch out the washing schedule a bit. A thorough wash every two to three weeks is generally sufficient. Always ensure it dries completely after each use.
- Signs It Needs Washing: Your shower cap will tell you when it needs cleaning. Look for these signs:
- Visible spots: Black, pink, or orange spots are clear signs of mold or mildew.
- Slimy feel: If the plastic feels slimy or sticky, it has soap scum and bacterial buildup.
- Unpleasant odor: A musty or stale smell indicates mildew growth.
- Cloudiness: Plastic caps can become cloudy or develop a film.
Even if you do not use your cap often, dirt and dust can still settle on it. So, give it a quick rinse or wipe before use if it has been sitting for a long time. Creating a routine makes it easier to remember. For example, I might wash my shower cap every Sunday morning with my bathroom cleaning routine. This way, it always stays in good condition.
Beyond Cleaning: Extending Your Shower Cap’s Life
Washing your shower cap is a great start, but extending its life involves more than just cleaning. Good habits help your cap stay effective and hygienic for longer. I’ve learned that small actions can make a big difference.
- Rinse After Every Use: Even if you do not wash it thoroughly, a quick rinse after each shower is helpful. Rinse off any lingering steam, soap residue, or hair products. This simple step stops buildup from happening.
- Wipe Down Promptly: For plastic caps, a quick wipe with a clean towel immediately after use can help remove most moisture. This speeds up the drying process.
- Gentle Handling: Be gentle with your shower cap. Do not pull roughly on the elastic. Do not stretch the material more than needed. Rough handling can damage the cap’s integrity, leading to tears or stretched elastic. A damaged elastic means the cap will not fit well and water might get in.
- Proper Storage: Once your shower cap is completely dry, store it in a clean, dry place. Avoid keeping it in a damp shower caddy or directly on a wet counter. A hook on the back of the bathroom door or inside a cabinet works well. This protects it from dust and humidity.
- Check the Elastic: The elastic band is crucial for a shower cap’s function. Over time, it can lose its stretch. Regularly check the elastic for signs of wear. If it becomes loose or no longer fits snugly, water will get into your hair. At this point, it is usually time to replace the cap.
- Consider Quality: Investing in a good quality shower cap can also mean it lasts longer. Thicker plastic or well-made fabric caps often stand up better to regular use and cleaning. They might cost a little more upfront, but they save money in the long run by needing fewer replacements.
By combining proper washing with these care tips, you ensure your shower cap remains a clean, effective tool in your daily routine. This approach saves you money and keeps your bathroom more hygienic.
FAQ Section
Q1: Can I put my shower cap in the washing machine? It depends on the material. Plastic shower caps should always be hand washed to protect the plastic and elastic. Fabric shower caps, especially those made of terry cloth or microfiber, might be machine washable on a gentle cycle. Always check for a care label first. Place fabric caps in a mesh laundry bag for protection.
Q2: How do I get rid of mold on my shower cap? You can remove mold using white vinegar or baking soda. For vinegar, mix equal parts vinegar and water, then spray or soak the cap. Scrub gently and rinse well. For baking soda, make a paste with water, apply to moldy spots, scrub, and rinse. Always air dry completely after treatment.
Q3: How often should I replace my shower cap? Replace your shower cap when it shows signs of damage or persistent mold. If the elastic is stretched out, if there are tears in the material, or if mold stains remain after cleaning, it is time for a new one. On average, a well-cared-for cap might last 6-12 months.
Q4: What kind of soap should I use to clean my shower cap? For plastic shower caps, mild dish soap or hand soap works best. For delicate fabric shower caps like satin or silk, use a gentle liquid detergent or baby shampoo. Avoid harsh chemicals, bleach, or abrasive cleaners, as they can damage the cap’s material and elastic.
Q5: Why does my shower cap smell bad? A bad smell usually means mold or mildew growth. This happens when the shower cap does not dry completely between uses. Moisture, warmth, and soap residue create a perfect environment for fungi to grow. Washing it thoroughly and ensuring complete air drying after every use will stop the smell.
Q6: Can I dry my shower cap in a dryer? No, you should not dry your shower cap in a clothes dryer. The high heat can damage plastic materials, causing them to crack or melt. For fabric caps, high heat can shrink the material and weaken the elastic. Always air dry your shower cap by hanging it up or laying it flat in a well-ventilated area.
Conclusion
Keeping your shower cap clean is an important part of personal hygiene and bathroom maintenance. It might seem like a small detail, but a dirty shower cap can harbor mold, mildew, and bacteria. Now you understand why regular cleaning is essential and how easy it is to do. We explored different methods for plastic and fabric caps, emphasizing gentle care and thorough rinsing.
The key to a long-lasting, fresh shower cap is consistent drying after every use. Remember, the simple act of learning how to wash a shower cap and applying these tips will make a big difference. You will enjoy a cleaner, more hygienic shower experience. Start today by adding this easy task to your routine. Your shower cap, and your hair, will thank you!
- shower cap cleaning
- hygiene tips
- bathroom cleaning
- mold prevention
- personal care