· Nail Care · 7 min read
How To Clean A Nail Stamper
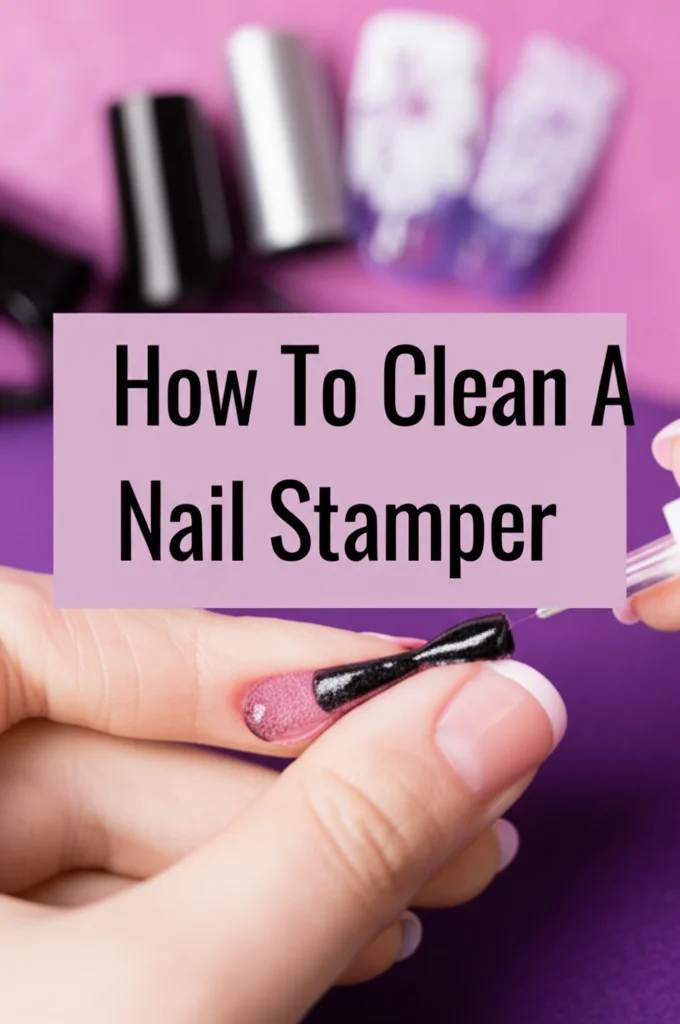
Keeping Your Designs Crisp: How To Clean A Nail Stamper
Have you ever struggled with blurry nail art designs? A dirty nail stamper is often the culprit! Cleaning your nail stamper regularly is crucial for achieving crisp, clear images. This article will guide you through everything you need to know about how to clean a nail stamper, ensuring your stamping manicures always look their best. We’ll cover daily maintenance, deep cleaning methods, and preventative measures to keep your stamper in top condition. Let’s dive in and get your stamping game strong!
Takeaway:
- Clean your stamper after each use with lint roller or tape.
- Use acetone or nail polish remover for deeper cleaning, but sparingly.
- Avoid harsh chemicals that can damage the silicone.
- Proper cleaning extends the life of your stamper and improves design quality.
What’s the best way to clean a nail stamper?
A quick swipe with a lint roller after each use is usually enough for daily maintenance. For a deeper clean, use acetone or nail polish remover sparingly on a cotton pad, gently rolling it across the stamper head. Avoid soaking the stamper, as this can damage the silicone.
Why Cleaning Your Nail Stamper Matters
A clean nail stamper is the foundation of a successful stamping manicure. Polish residue builds up quickly, causing designs to become blurry or incomplete. Think of it like trying to paint with a dirty brush – the results won’t be as sharp or defined. Regular cleaning prevents polish from drying and hardening on the stamper head, which can permanently damage the silicone. Maintaining a clean stamper also extends its lifespan, saving you money in the long run. If you’re looking for other ways to keep your beauty tools in good shape, consider how often you should clean your windows to maintain a clear view! https://www.beacleaner.com/how-often-to-clean-windows
Daily Stamper Maintenance: Quick & Easy
After each use, a quick clean is all your nail stamper needs. This prevents polish buildup and keeps your designs looking sharp. Here’s how to do it:
- Lint Roller: Gently roll a lint roller across the stamper head. This removes most of the excess polish.
- Sticky Tape: Alternatively, use a piece of sticky tape (like Scotch tape) and press it onto the stamper head. Lift it off to remove polish residue.
- Avoid Water: Do not use water for daily cleaning, as it can leave streaks and affect the stamper’s grip.
This simple routine takes just seconds and makes a huge difference in the quality of your stamping.
Deep Cleaning Your Nail Stamper: When & How
Even with daily maintenance, your nail stamper will need a deeper clean occasionally. This is especially important if you use glitter polishes or darker colors. Here’s a step-by-step guide:
- Gather Supplies: You’ll need acetone (or a non-acetone nail polish remover – though acetone is more effective), cotton pads, and a clean, dry cloth.
- Apply Acetone: Dampen a cotton pad with acetone. Do not saturate the pad, as you don’t want the acetone to run down the stamper body.
- Gentle Rolling: Gently roll the cotton pad across the stamper head. Avoid scrubbing, as this can damage the silicone.
- Repeat if Necessary: If there’s still polish residue, use a clean cotton pad and repeat the process.
- Dry Thoroughly: Allow the stamper to air dry completely before using it.
Remember, acetone is a strong solvent, so use it sparingly and avoid prolonged contact with the stamper body. Keeping your home clean also requires careful use of cleaning products; you might be interested in learning how often to clean the pool to maintain water quality. https://www.beacleaner.com/how-often-to-clean-the-pool
Choosing the Right Remover: Acetone vs. Non-Acetone
While non-acetone polish remover is gentler, acetone is generally more effective at removing stubborn polish residue. If you’re concerned about damaging your stamper, start with non-acetone remover and see if it does the trick. If not, use acetone sparingly. Always test a small, inconspicuous area of the stamper first to ensure it doesn’t react negatively.
What Not To Use When Cleaning Your Stamper
Certain cleaning agents can damage your nail stamper, shortening its lifespan and affecting its performance. Avoid these:
- Harsh Chemicals: Stay away from bleach, rubbing alcohol, and other harsh chemicals.
- Abrasive Cleaners: Don’t use scouring pads or abrasive cleaners, as they can scratch the silicone.
- Soaking: Never soak your stamper in acetone or any other liquid.
- Dish Soap: While seemingly gentle, dish soap can leave a residue that affects polish adhesion.
Using the wrong cleaning agents can ruin your stamper, so stick to acetone or nail polish remover and gentle cleaning methods.
Extending Your Stamper’s Life: Preventative Measures
Beyond regular cleaning, there are steps you can take to prolong the life of your nail stamper.
- Store Properly: Store your stamper in a clean, dry place, away from direct sunlight and extreme temperatures.
- Use Quality Polish: Using high-quality stamping polishes can reduce polish buildup and make cleaning easier.
- Scrape Excess Polish: Before stamping, scrape off any excess polish from the image plate. This prevents excess polish from transferring to the stamper.
- Avoid Glitter Polish Daily: While glitter polishes are fun, they can be more difficult to remove. Limit their use and clean your stamper immediately after.
Taking these preventative measures will help keep your stamper in excellent condition for longer. Just like maintaining your nail stamper, regular cleaning of your home is essential; you might find it helpful to learn how much it costs to clean out a house. https://www.beacleaner.com/how-much-to-clean-out-a-house
Troubleshooting Common Stamper Cleaning Issues
Sometimes, even with the best care, you might encounter issues with your nail stamper. Here are a few common problems and how to fix them:
- Sticky Residue: If your stamper feels sticky even after cleaning, try using a slightly stronger acetone solution.
- Blurry Designs: Blurry designs are usually caused by a dirty stamper or old polish. Clean your stamper thoroughly and use fresh polish.
- Damaged Silicone: If the silicone is cracked or torn, it’s time to replace your stamper.
FAQ: Nail Stamper Cleaning
Q: Can I use hand sanitizer to clean my nail stamper?
A: While hand sanitizer contains alcohol, it also contains other ingredients that can leave a residue on the stamper. It’s best to stick to acetone or nail polish remover for effective cleaning.
Q: How often should I replace my nail stamper?
A: With proper care, a nail stamper can last for several months. However, if the silicone becomes damaged or worn, it’s time to replace it.
Q: What if my stamper still feels tacky after cleaning with acetone?
A: Ensure the acetone has fully evaporated. If it persists, a very light buff with a very fine nail buffer (used for natural nails) might help, but proceed with extreme caution as it can damage the silicone.
Q: Is it okay to use a makeup sponge to clean my stamper?
A: No, makeup sponges can leave fibers and residue on the stamper, which will affect your designs. Stick to lint rollers, tape, or cotton pads.
Conclusion: A Clean Stamper, A Perfect Manicure
Learning how to clean a nail stamper is a small investment of time that yields big results. By following these simple steps, you can ensure your stamping manicures always look crisp, clear, and professional. Remember to clean your stamper after each use, deep clean it regularly, and avoid harsh chemicals. A well-maintained nail stamper is a key tool for any nail art enthusiast. Now go forth and create stunning designs! And remember, just like keeping your nail stamper clean, maintaining a clean home is important; you might want to check how often to clean grout to keep your tiles looking their best. https://www.beacleaner.com/how-often-to-clean-grout
- nail stamper
- nail art cleaning
- stamping polish
- nail stamping
- manicure tools

