· Automotive · 7 min read
How To Clean A Rusty Gas Tank With Muriatic Acid
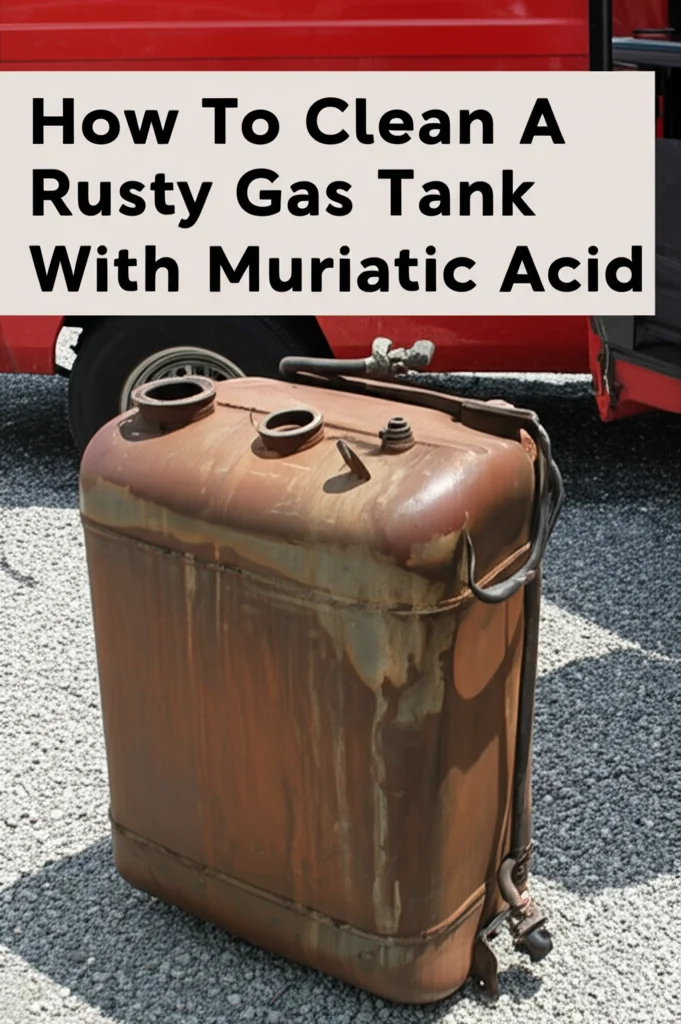
Cleaning a Rusty Gas Tank With Muriatic Acid: A Step-by-Step Guide
Is your classic car or motorcycle suffering from a rusty gas tank? Don’t worry, you’re not alone! A rusty fuel tank can cause fuel contamination, clogged filters, and poor engine performance. Fortunately, you can often restore a rusty gas tank to working order using muriatic acid. This article will guide you through the process, ensuring safety and effectiveness. We’ll cover everything from preparation to final rinsing, helping you get your fuel system back in top shape.
Takeaway:
- Always prioritize safety when working with muriatic acid.
- Thoroughly clean and neutralize the tank after acid treatment.
- Proper ventilation and protective gear are essential.
- A rust converter can help stabilize remaining rust.
Quick Answer:
Cleaning a rusty gas tank with muriatic acid involves carefully neutralizing the rust through a chemical reaction. This process requires proper safety precautions, including ventilation, protective gear, and thorough rinsing and neutralization of the tank after treatment.
Why Muriatic Acid Works on Rust
Muriatic acid, also known as hydrochloric acid, is a powerful chemical commonly used for cleaning and etching. It’s effective on rust because it reacts with iron oxide (rust), converting it into a soluble iron chloride. This means the rust literally dissolves, leaving behind clean metal. However, it’s crucial to understand that muriatic acid isn’t selective; it will also attack good metal if left for too long. Therefore, careful monitoring and dilution are key to success. For alternative cleaning methods, you might consider exploring how to clean a boat gas tank for different approaches.
Safety First: Essential Precautions
Working with muriatic acid demands respect and caution. It’s a corrosive substance that can cause severe burns and respiratory irritation. Before you even open the bottle, gather your safety gear. This includes:
- Chemical-resistant gloves: Nitrile or PVC gloves are ideal.
- Safety goggles: Protect your eyes from splashes.
- Respirator: A respirator with acid gas cartridges is essential for indoor work.
- Protective clothing: Wear long sleeves and pants to shield your skin.
- Well-ventilated area: Work outdoors or in a garage with open doors and windows.
Always add acid to water, never water to acid, to avoid a violent reaction. Have a source of clean water nearby for rinsing in case of accidental contact. Understanding these safety measures is paramount before proceeding.
Preparing the Gas Tank for Cleaning
Before introducing any acid, proper preparation is vital. First, remove the gas tank from the vehicle and ensure it’s completely empty of fuel. Next, carefully inspect the tank for any large debris or loose rust flakes.
Here’s a breakdown of the preparation steps:
- Drain and Flush: Completely drain any remaining fuel. Flush the tank with water several times to remove loose sediment.
- Remove Fittings: Remove any fuel senders, petcocks, or other fittings. This allows the acid to reach all rusted areas.
- Inspect for Leaks: Check for any existing holes or cracks. Muriatic acid will exacerbate these issues. If the tank is severely compromised, it may be beyond repair.
- Create Access Points: If the tank only has a single opening, you may need to carefully drill a small access hole for draining and rinsing.
Proper preparation ensures the acid works effectively and minimizes potential hazards. If you’re dealing with a plastic tank, you’ll need a different approach; check out this guide on how to clean a plastic fuel tank.
The Muriatic Acid Cleaning Process
Now for the core of the operation. Dilution is crucial. A common starting point is a 10% solution of muriatic acid to water. Always add the acid to the water slowly, stirring constantly. Pour the diluted solution into the gas tank, ensuring it coats all interior surfaces.
Here’s a step-by-step guide:
- Initial Soak: Let the solution sit for 20-30 minutes, gently rocking the tank periodically to ensure complete coverage.
- Inspect and Repeat: Carefully inspect the tank. If rust remains, repeat the process with a fresh solution. Do not exceed a 20% acid concentration.
- Monitor Closely: Keep a close eye on the tank during the process. If you notice excessive bubbling or corrosion of the metal, immediately neutralize the acid (see next section).
- Avoid Prolonged Exposure: Prolonged exposure to muriatic acid can damage the tank’s metal.
Remember, patience is key. Multiple short soaks are better than one long soak. For a different approach to fuel tank restoration, consider learning how to clean a motorcycle gas tank with vinegar.
Neutralizing and Rinsing the Tank
Once the rust is dissolved, it’s critical to neutralize the acid. Pour a solution of baking soda and water into the tank. This will neutralize any remaining acid. Continue adding baking soda until the solution stops bubbling.
Follow these steps:
- Baking Soda Solution: Mix approximately 1 cup of baking soda with 1 gallon of water.
- Neutralize: Pour the baking soda solution into the tank and let it sit for at least 30 minutes.
- Thorough Rinse: Rinse the tank repeatedly with clean water until all traces of acid and baking soda are gone. Check the pH of the rinse water with pH strips to ensure it’s neutral (around 7).
- Dry Completely: Allow the tank to dry completely before reinstalling it. You can use compressed air to speed up the drying process.
Failing to neutralize and rinse thoroughly can lead to corrosion and fuel contamination.
Rust Prevention and Long-Term Care
After cleaning, consider applying a rust converter to any remaining surface rust. A rust converter chemically transforms rust into a stable, paintable surface. This helps prevent future corrosion. You can also use a fuel tank sealer to create a protective coating on the inside of the tank.
Here are some additional tips:
- Fuel Stabilizer: Use a fuel stabilizer to prevent rust formation in the future.
- Regular Inspection: Periodically inspect the tank for signs of rust.
- Proper Storage: If storing the vehicle for an extended period, drain the fuel tank completely.
Taking these preventative measures will help keep your gas tank rust-free for years to come. If you’re also dealing with rust on other parts of your vehicle, you might find this guide on how to clean rusty pickups helpful.
Frequently Asked Questions (FAQ)
Q: Is muriatic acid safe for all gas tanks? A: No, muriatic acid can damage some materials. It’s generally safe for steel tanks, but avoid using it on aluminum, plastic, or fiberglass tanks. Always check the tank material before proceeding.
Q: How long does it take to clean a gas tank with muriatic acid? A: The cleaning time varies depending on the amount of rust. It can take anywhere from a few hours to a full day, including soaking, neutralizing, and rinsing.
Q: What if the tank has a lot of rust buildup? A: You may need to repeat the muriatic acid treatment several times. However, if the rust is extremely severe, the tank may be beyond repair.
Q: Can I use a stronger acid than muriatic acid? A: While stronger acids exist, they are significantly more dangerous and require specialized handling. Muriatic acid is generally the most practical and safe option for DIY gas tank cleaning.
Q: What should I do with the used acid solution? A: Used acid solution must be disposed of properly. Neutralize it completely with baking soda and then follow your local regulations for hazardous waste disposal.
Conclusion
Cleaning a rusty gas tank with muriatic acid is a viable option for restoring your fuel system, but it requires careful planning and execution. Remember to prioritize safety, follow the steps outlined in this guide, and take preventative measures to avoid future rust buildup. By taking the time to properly clean and maintain your gas tank, you can ensure reliable performance and extend the life of your vehicle. Don’t hesitate to seek professional help if you’re uncomfortable working with muriatic acid.
- gas tank rust removal
- muriatic acid
- fuel tank cleaning
- rust converter
- automotive restoration