· Painting & Art Supplies · 7 min read
How To Clean Acrylic Paint Off Brushes Between Colors

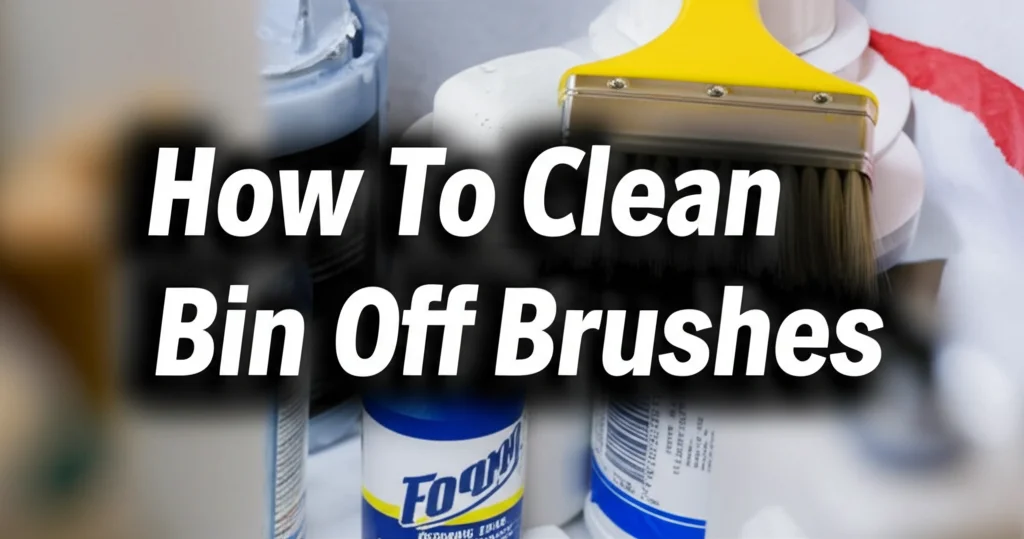
Keeping Your Colors Pure: How To Clean Acrylic Paint Off Brushes Between Colors
Have you ever struggled with muddy colors while painting with acrylics? It’s often because your brushes aren’t clean enough between switching shades. Cleaning your brushes between colors is a crucial step for any acrylic painter, ensuring vibrant mixes and preventing frustrating color contamination. This article will guide you through the best methods to quickly and effectively clean your acrylic brushes mid-painting, saving you time, paint, and a lot of frustration. We’ll cover everything from quick water rinses to using brush cleaners, and how to maintain your brushes for long-lasting performance.
Takeaway:
- Rinse brushes thoroughly in water after each color.
- Use a palette cleanser or brush soap for stubborn paint.
- Reshape brush bristles and store them properly to maintain their shape.
- Prevent paint from reaching the ferrule to extend brush life.
Quick Answer:
To clean acrylic paint off brushes between colors, quickly rinse the brush under water, working the bristles to release the paint. Follow with a small amount of brush soap or palette cleanser if needed, then rinse again until the water runs clear. Reshape the bristles and continue painting!
Why Clean Brushes Between Colors?
Mixing colors is the heart of acrylic painting, and clean brushes are essential for achieving the shades you envision. If you don’t clean your brushes properly, residual paint will contaminate your next color, resulting in dull, muddy tones. This is especially noticeable with lighter colors, which can quickly become tainted by darker hues. Think of it like cooking – you wouldn’t use a spoon that still has tomato sauce on it to stir your vanilla frosting, would you?
Beyond color purity, cleaning between colors also maintains the integrity of your brushes. Allowing paint to dry inside the bristles can stiffen them, making them difficult to use and shortening their lifespan. Proper cleaning ensures your brushes remain flexible and responsive, giving you better control over your artwork. For more information on maintaining all your painting tools, consider learning how to clean a paint can to keep your supplies in top condition.
The Quick Water Rinse Method
For a fast color change, a simple water rinse is often sufficient. This method works best when switching between similar colors or when you haven’t loaded the brush with a large amount of paint. Here’s how to do it:
- Dip: Submerge the brush bristles in a container of clean water.
- Swirl & Press: Gently swirl the brush in the water, pressing the bristles against the bottom of the container to release the paint.
- Repeat: Repeat the dipping, swirling, and pressing process until the water runs clear.
- Shape: Gently reshape the bristles with your fingers.
This quick rinse is ideal for maintaining flow during your painting session. However, it’s not always enough for heavily pigmented colors or when switching between drastically different shades.
Using Brush Soap or Palette Cleanser
When water alone isn’t cutting it, brush soap or a palette cleanser is your next best friend. These products are specifically designed to break down acrylic polymers, lifting the paint from the bristles.
- Brush Soap: A gentle option, brush soap cleans and conditions the bristles, extending their life. Apply a small amount to the brush, work it into a lather with water, and rinse thoroughly.
- Palette Cleanser: A more powerful option, palette cleanser quickly dissolves acrylic paint. Use sparingly, as it can be drying to the bristles.
To use either product:
- Apply: Apply a small amount of soap or cleanser to the brush bristles.
- Work It In: Gently work the product into the bristles, creating a lather.
- Rinse: Rinse thoroughly under running water until all traces of soap or cleanser are gone.
- Shape: Reshape the bristles.
If you’re dealing with dried acrylic paint, a dedicated brush cleaner might be necessary. You can also find helpful tips on cleaning other surfaces, like learning how to clean stainless steel sink paint stains if you’ve had a little spill.
Preventing Paint From Reaching the Ferrule
The ferrule is the metal part that connects the bristles to the handle. If paint dries inside the ferrule, it can cause the bristles to splay out and become unusable. This is a common problem, but it’s easily preventable.
- Avoid Overloading: Don’t dip your brush too far into the paint. Only load the tips of the bristles.
- Thorough Rinsing: Ensure you’re rinsing the brush thoroughly, paying attention to the base of the bristles.
- Regular Cleaning: Clean your brushes frequently, even if you’re just switching between shades of the same color.
Taking these preventative measures will significantly extend the life of your brushes and save you money in the long run.
Choosing the Right Brush for the Job
Different brushes are designed for different purposes. Using the right brush for the task can minimize the amount of paint buildup and make cleaning easier.
- Synthetic Brushes: Generally better for acrylics, as they are less absorbent and easier to clean.
- Natural Bristle Brushes: Can be used for acrylics, but require more thorough cleaning.
- Brush Shape: Round brushes are good for detail work, while flat brushes are better for covering large areas.
Consider the type of painting you’re doing and choose brushes accordingly. Investing in quality brushes will also make a difference, as they are typically made with more durable bristles and better construction. You might also find it useful to learn how to clean a water brush if you use those for watercolor or acrylic techniques.
Drying and Storing Your Brushes
Proper drying and storage are just as important as cleaning. Leaving brushes lying flat can cause water to seep into the ferrule, leading to bristle splay.
- Dry Vertically: Dry brushes vertically, with the bristles pointing upwards. This allows water to drain away from the ferrule.
- Reshape: Before drying, reshape the bristles with your fingers to maintain their original shape.
- Store Properly: Store brushes in a container or brush roll to protect the bristles from dust and damage.
Taking these simple steps will ensure your brushes stay in excellent condition for years to come.
FAQ: Acrylic Brush Cleaning
Q: Can I use dish soap to clean my acrylic brushes?
A: While dish soap can be used in a pinch, it’s not ideal. Dish soap isn’t formulated to break down acrylic polymers and can dry out the bristles over time. Brush soap or palette cleanser is a much better option.
Q: How do I revive stiff acrylic brushes?
A: Soak the brush in warm water with a few drops of brush soap or palette cleanser for several hours, or even overnight. Gently work the bristles to loosen the paint, then rinse thoroughly.
Q: What’s the best way to clean brushes after a long painting session?
A: Give your brushes a thorough cleaning with brush soap or palette cleanser, ensuring all traces of paint are removed. Dry them vertically and store them properly.
Q: Can I use rubbing alcohol to clean acrylic brushes?
A: Rubbing alcohol can be used to remove dried acrylic paint, but it’s very harsh and can damage the bristles. Use it only as a last resort and follow with a thorough cleaning with brush soap.
Conclusion
Maintaining clean brushes between colors is a game-changer for acrylic painters. It ensures vibrant color mixes, protects your brushes, and ultimately enhances your artwork. Remember to rinse frequently, use brush soap or palette cleanser when needed, prevent paint from reaching the ferrule, and dry and store your brushes properly. By following these simple steps, you’ll keep your brushes in top condition and enjoy a more satisfying painting experience. Don’t forget to explore other cleaning tips on our site, like how to clean oil paint brushes between colors if you also work with oils!
- acrylic paint
- brush cleaning
- painting techniques
- art supplies
- paint brushes