· Home Maintenance · 14 min read
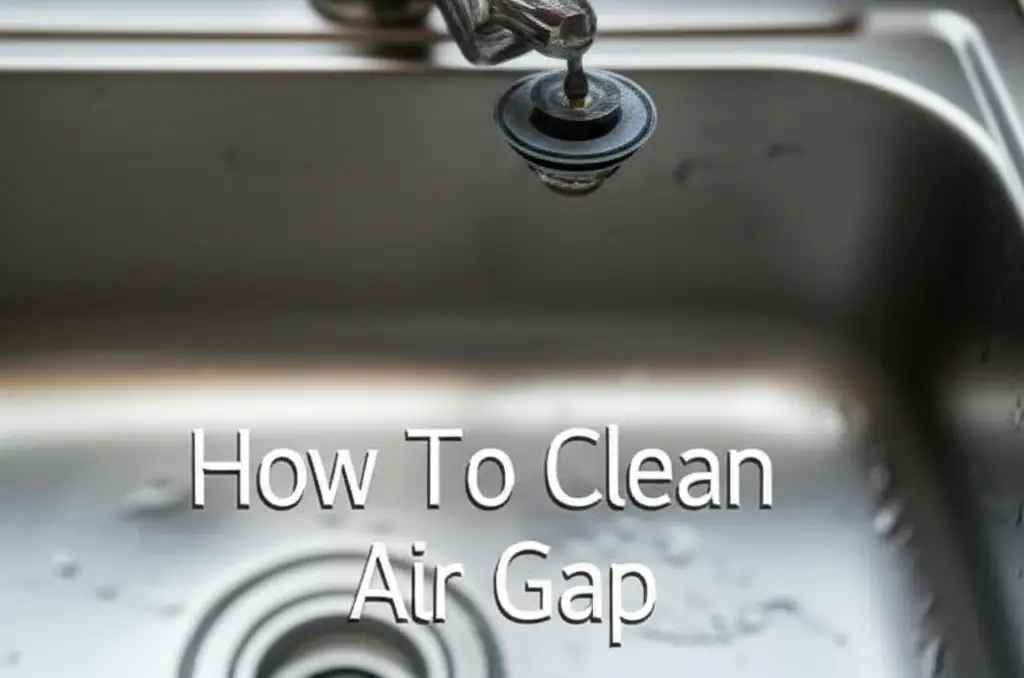
How To Clean Air Gap
Clean Your Air Gap: A Simple Guide
Have you ever noticed your kitchen sink draining slowly? Perhaps a strange, stale smell comes from the sink area. These common household problems often point to one small device: your kitchen sink air gap. This important plumbing component ensures your dishwasher operates safely and keeps your home’s water supply clean. When an air gap gets dirty, it causes big headaches.
Knowing how to clean air gap plumbing is a crucial skill for any homeowner. It stops clogs, gets rid of bad smells, and keeps your dishwasher working right. A simple cleaning routine prevents many common kitchen drainage issues. This article will show you how to identify an air gap, what tools you need, and a clear step-by-step cleaning process. We also cover troubleshooting tips and how to prevent future problems. Let us help you keep your kitchen drains clear and fresh.
Takeaway:
- Regularly clean your kitchen sink air gap device.
- Use simple household items like a screwdriver, small brush, and vinegar.
- Prompt cleaning prevents clogs, foul odors, and ensures proper drainage.
To clean an air gap, first remove its cap and cover. Clear visible debris with a small brush or toothpick. Flush with hot water, then a vinegar solution. Reassemble the components. This simple task prevents clogs and foul odors in your kitchen drainage. It also helps your dishwasher drain properly.
Understanding Your Kitchen Sink Air Gap Device
A kitchen sink air gap is a small, cylindrical device. It sits on top of your sink deck or countertop. It usually has a chrome or plastic cap. This cap matches your faucet. The air gap’s main job is to prevent dirty dishwasher water from flowing back into your clean water supply. This is called backflow. Plumbing codes in many areas require this device. It acts as a safety barrier.
The air gap has two hoses connected to it. One hose comes from the dishwasher. The other hose goes to the garbage disposal or the main sink drain. When your dishwasher drains, water goes up into the air gap. Then it flows down into the drain. This small open space inside the air gap stops dirty water from going backward. It protects your drinking water.
Over time, food particles, grease, and mineral deposits build up inside the air gap. This accumulation causes problems. The device can get clogged. When it clogs, water backs up into your sink. It might even leak onto your countertop. A dirty air gap can also create bad smells. Regular cleaning keeps this device working correctly. It ensures your kitchen stays hygienic.
This little device plays a big role in kitchen sanitation. It protects your family from contaminated water. Understanding its function helps you see why regular maintenance is so important. Clean your air gap to keep your kitchen plumbing healthy.
Signs Your Air Gap Needs Cleaning
Your air gap gives clear signals when it needs attention. Ignoring these signs can lead to bigger plumbing problems. One common sign is slow drainage from your kitchen sink. If water sits in the sink longer than usual, your air gap might be partially blocked. The dishwasher might also struggle to drain its water. This causes standing water at the bottom of the dishwasher after a cycle.
Foul odors are another strong indicator. Food particles and grease can get trapped inside the air gap. These decompose over time. This creates a musty or rotten smell. The odor often comes directly from the air gap cap itself. You might also hear gurgling sounds from your sink drain when the dishwasher runs. This noise means air cannot move freely through the air gap due to a blockage.
Visible leaks from the air gap cap are a serious sign. If water spills onto your counter when the dishwasher drains, the air gap is completely clogged. Water cannot flow down the drain pipe. Instead, it overflows from the top. Do not ignore these leaks. They can damage your countertops and cabinets.
Sometimes, the dishwasher’s wash cycle might stop early. This happens if it cannot drain properly. The machine detects a drainage issue. It pauses or shows an error code. Pay attention to all these signs. They tell you it is time to clean your air gap. Addressing them quickly saves you from bigger issues later.
Gathering the Right Tools and Materials
Cleaning your air gap does not require special equipment. You likely have most of the items already. Gathering everything before you start saves time. It makes the cleaning process smooth. First, you will need a screwdriver. Most air gaps have a decorative cap that twists off. Some models might need a flathead or Phillips screwdriver to remove a screw. Look closely at your cap.
Next, get a small brush. A bottle brush works well for reaching inside the narrow opening. You can also use an old toothbrush or a pipe cleaner. These tools help dislodge stubborn debris. Paper towels or old rags are essential. They catch any spilled water or grime during the cleaning process. This keeps your counter clean. A small bucket or bowl is also helpful. You can place the removed parts in it. It also catches any water that overflows when you test the drain.
For cleaning solutions, white vinegar is a top choice. It is a natural disinfectant and helps dissolve grease and mineral buildup. Hot water is also very important. It flushes away loosened debris and helps the vinegar work better. You might want to wear rubber gloves. This keeps your hands clean and protected.
Sometimes, pliers can help if the cap is very tight. A flashlight might be useful to see inside the air gap’s deeper parts. Having these items ready ensures you can clean your air gap efficiently. This quick preparation makes the task simple.
Step-by-Step Instructions to Clean Air Gap
Cleaning your kitchen sink air gap is a straightforward task. Follow these steps carefully for the best results. You will restore proper drainage and eliminate odors.
Preparation: Safety and Setup
Before you begin, ensure you have all your tools ready. Place a few old rags or paper towels around the base of the air gap on your countertop. This catches any water or debris that might spill. You do not usually need to turn off the water supply for this task. The air gap is part of the drain system. However, if you are unsure or see active leaks, you can turn off the water to your dishwasher at the shut-off valve under the sink. This ensures safety and prevents unexpected water flow. Always work carefully.
Disassembly and Initial Inspection
Locate the air gap device on your kitchen sink. It is typically a small cylinder between the faucet and the sink edge. First, remove the decorative cap. Most caps either twist counter-clockwise to loosen or pull straight up. Some older models might have a small screw on the side; use your screwdriver for these. Once the cap is off, you will see an inner plastic cover. Remove this as well. It usually just lifts out.
With both parts removed, look inside the air gap opening. You will likely see standing water, food particles, grease, or other debris. This is a common sight. Note how much build-up is present. This initial inspection helps you gauge how thorough your cleaning needs to be. Take a moment to understand how the parts fit together. This makes reassembly easier.
Deep Cleaning the Air Gap Components
Now, it is time for the real cleaning. Use your small brush, pipe cleaner, or old toothbrush. Reach into the air gap opening. Gently scrub the inside walls. Push the brush down as far as it can go. Try to dislodge any visible food bits, grease, or slimy buildup. You might need to use a toothpick or a small wire to poke out very stubborn pieces. Focus on the two ports inside the air gap. These are where the hoses connect. Ensure these openings are clear.
For the removed cap and inner cover, wash them thoroughly in warm, soapy water. Use your small brush to clean any grime from these parts. Rinse them well. They should look clean and free of debris. This step removes the superficial dirt. It prepares the system for a deeper flush. If you notice any stubborn grease on the parts, you can use a degreasing dish soap. This is similar to how you might clean grease from an air fryer.
Flushing the Drain Line
After mechanically cleaning the inside, it is time to flush the system. Pour about half a cup of white vinegar directly into the air gap opening. Let the vinegar sit for 10 to 15 minutes. Vinegar helps dissolve mineral deposits and breaks down remaining grease. It also acts as a natural disinfectant.
After the waiting period, follow the vinegar with a strong flush of very hot water. You can pour several cups of hot water down the opening. This washes away the loosened gunk. Then, run your dishwasher for a short cycle, perhaps just a few minutes. This pushes water through the entire system, including the hoses connected to the air gap. Pay attention to how the water drains. Does it flow freely? Is there any backup? A good flush ensures the entire line is clear.
Reassembly and Testing
Once you finish cleaning and flushing, put the air gap back together. First, replace the inner plastic cover. Make sure it sits correctly. Then, put the decorative cap back on. Twist it clockwise until it is snug or replace any screws you removed. Do not overtighten.
Finally, run a full wash cycle on your dishwasher. During the cycle, observe the air gap area. Check for any leaks. Listen for unusual noises. The water should drain smoothly from the dishwasher, through the air gap, and down the sink drain. If you still see leaks or slow drainage, repeat the cleaning steps. Sometimes, a stubborn clog needs a second effort. This thorough cleaning helps prevent common issues. It maintains a fresh and efficient kitchen.
Common Issues and Troubleshooting Your Air Gap
Even after cleaning, you might encounter issues with your air gap. Knowing how to troubleshoot helps fix them quickly. One common problem is slow drainage that persists. If you have cleaned the air gap itself, the clog might be further down the line. Check the hoses connected to the air gap under your sink. Make sure they are not kinked or crimped. A bent hose restricts water flow. Also, inspect your garbage disposal if you have one. Often, food debris in the disposal causes drain issues. Run your disposal for a longer period with plenty of water to clear it.
Water leaking from the air gap is a clear sign of a severe blockage. If cleaning the air gap cap does not stop the leak, the main drain line from the air gap to the disposal or drain pipe is likely blocked. You might need to disconnect the hoses from the air gap and manually clear them. Use a bottle brush or a plumber’s snake if you are comfortable. Be careful not to damage the hoses.
Foul odors returning quickly means the source of the smell might not be just in the air gap. Check your garbage disposal. Run a solution of ice, salt, and lemon peels through it to clean and deodorize. You might also have mold or mildew growing around the air gap area or in the drain line. Proper cleaning of surrounding areas helps. This is similar to how you would clean mold around air vents in other parts of your home.
Sometimes, the dishwasher makes a gurgling noise but does not drain. This often points to a clog. The air gap itself might be clear, but the connection to the disposal or drain could be blocked. Try pouring a pot of boiling water down the air gap opening. This can help dislodge grease clogs. If problems continue after these steps, the issue might be deeper in your plumbing system. Consider calling a professional plumber for diagnosis and repair. They have specialized tools to clear stubborn blockages.
Maintaining Your Air Gap for Long-Term Health
Cleaning your air gap just once is not enough. Regular maintenance is key to preventing future clogs and odors. Make cleaning your air gap a routine task. I recommend doing it every three to six months. If your household uses the dishwasher often, or if you notice minor drainage issues, clean it more frequently. This proactive approach saves you from major clogs.
Proper dish preparation helps a lot. Scrape food scraps from plates before loading them into the dishwasher. Large food particles are the main cause of air gap and drain clogs. Avoid washing dishes with large amounts of grease. These can solidify in the drain lines. This causes blockages. Running the garbage disposal regularly also helps. Always use plenty of cold water when running your disposal. This flushes food particles completely down the drain.
You can also use preventative measures. Periodically pour hot water down your sink drain. This helps melt grease buildup in the pipes. Some homeowners use enzymatic drain cleaners as a preventative measure. These cleaners break down organic matter in the pipes. Follow product instructions carefully. They are not harsh like chemical drain openers.
Consider the overall cleanliness of your kitchen drains. If your sink trap or other parts of your drain system are dirty, they can contribute to air gap problems. A clean drain system works together efficiently. Regular cleaning for other filters or “air” systems in your home, like when you clean your air conditioner filter or even clean an air purifier filter, sets a good precedent for routine maintenance. Keep your entire kitchen drain system clear. This ensures your air gap stays clean and functional.
When Professional Help or Replacement is Needed
Most air gap issues are simple clogs you can fix yourself. However, some situations require professional attention or indicate the need for a new air gap. Knowing when to call a plumber saves you time and prevents further damage. If your air gap consistently leaks despite your best cleaning efforts, it might be damaged. The internal seals or housing could have cracks. These leaks can damage your cabinets and floors.
A visibly cracked or broken air gap device needs immediate replacement. Plastic components can become brittle over time. They might break if accidentally hit. Corrosion, especially on older metal parts, can also lead to structural failure. You might notice rust or significant wear. If the cap no longer fits securely, or the internal mechanism seems loose, replacement is a good idea.
Sometimes, the issue is not just the air gap itself but the connected plumbing. If you have a persistent clog that you cannot clear, even with a plumbing snake, the problem might be deeper in your drain lines. A plumber has specialized equipment to clear severe blockages. They can also diagnose issues with your garbage disposal or main drain pipe. These issues can mimic air gap problems.
While replacing an air gap is a fairly simple DIY project for many, if you are uncomfortable working with plumbing, or if the connections are complex, call a professional. A plumber ensures proper installation and compliance with local codes. They can also inspect your entire kitchen drainage system. This gives you peace of mind. Do not hesitate to seek expert help for ongoing plumbing problems.
FAQ Section
Q1: How often should I clean my air gap?
You should clean your kitchen sink air gap every three to six months. If your dishwasher is used very often, or you notice slow drainage or foul odors, clean it more frequently. Regular cleaning prevents debris buildup. It also helps avoid more serious clogs.
Q2: What causes water to leak from the air gap?
Water leaks from the air gap when a blockage prevents water from flowing down the drain. Food particles, grease, and mineral deposits accumulate inside. When the dishwasher drains, the water has nowhere to go. It overflows from the top of the air gap cap.
Q3: Can I run my dishwasher without an air gap?
No, you should not run your dishwasher without an air gap if your local plumbing code requires one. The air gap protects your potable water supply from contaminated drain water backflow. Removing it creates a health hazard. It also violates plumbing regulations in many areas.
Q4: What if my air gap is clogged but I don’t have vinegar?
If you do not have vinegar, you can try using a strong solution of hot, soapy water. Pour it into the air gap after clearing visible debris. Let it sit for a few minutes, then flush with more hot water. A baking soda and hot water paste can also help break down grease.
- kitchen cleaning
- plumbing tips
- air gap maintenance