· Home Maintenance · 12 min read
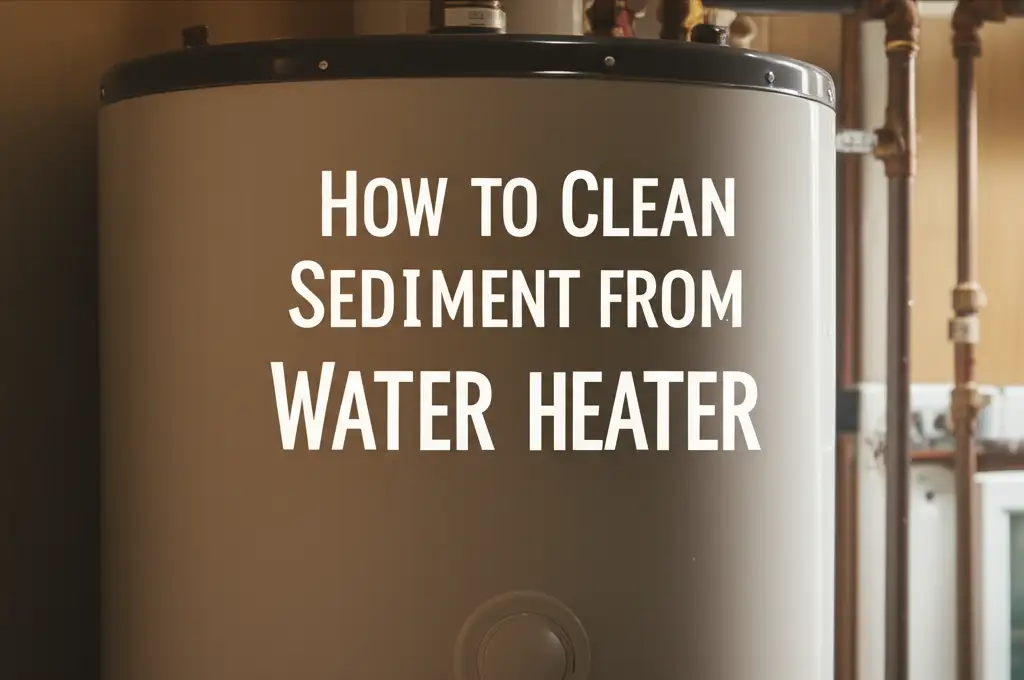
How To Clean Sediment From Water Heater
Restore Your Hot Water: How To Clean Sediment From Your Water Heater
Have you noticed your water heater making strange noises? Perhaps your hot water supply runs out quickly. These issues often point to a common problem: sediment buildup. Mineral deposits from hard water settle at the bottom of your water heater tank. This accumulation harms your appliance’s performance and shortens its life.
Cleaning sediment from your water heater is a vital maintenance task. It improves efficiency and ensures a consistent hot water supply. I will guide you through the process step-by-step. You will learn the necessary tools, safety measures, and effective cleaning techniques. Maintaining your water heater saves money and keeps your home comfortable. Let us begin this essential home project together.
Takeaway
- Routine Flushing: Regularly flush your water heater to remove sediment.
- Safety First: Always turn off power and water supply before starting.
- Tools Ready: Gather all necessary equipment before beginning the process.
- Observe Signs: Pay attention to noises or reduced hot water indicating sediment.
- Prevent Future Buildup: Consider water softeners or anode rod checks for long-term solutions.
Clear, Concise Answer
You clean sediment from a water heater by flushing its tank. First, turn off power and water. Then, attach a hose to the drain valve. Open the drain valve to empty the tank. This removes built-up mineral deposits and debris. Repeat flushing until the water runs clear.
Understanding Water Heater Sediment: What It Is and Why It Matters
Water is not pure H2O. It contains dissolved minerals like calcium and magnesium. These minerals are common, especially in areas with “hard water.” When water heats up inside your water heater, these minerals come out of solution. They form solid particles. These particles settle at the bottom of the tank. This material is what we call sediment. Over time, sediment builds up in layers. This creates several problems for your water heater.
Sediment acts as an insulating layer. It sits between the heating element or burner and the water itself. This makes your water heater work harder to heat the water. Your energy bills can increase significantly because of this inefficiency. The heating elements or burner can also overheat. This leads to premature failure of these parts. My experience shows that ignoring sediment buildup always leads to higher costs. You pay more for energy, and you pay more for repairs.
This buildup also takes up space inside the tank. Your water heater’s capacity effectively shrinks. You get less hot water than before. Sediment can also create popping or rumbling noises. These sounds happen when trapped water pockets within the sediment boil. The sediment prevents normal heat transfer. Understanding these effects helps you see why cleaning is so important.
Signs Your Water Heater Needs Sediment Cleaning
Your water heater often tells you when it needs attention. Listen to your appliance. It will give you clues that sediment has built up. One common sign is strange noises. You might hear popping, hissing, or rumbling sounds. These noises come from trapped water boiling beneath the sediment layer. The sediment prevents heat from escaping smoothly. This creates pockets of superheated steam. This steam then bursts, causing the noise.
Another clear sign is a reduced hot water supply. Sediment takes up space at the bottom of your tank. This reduces the amount of water your heater can hold. My family noticed this immediately when our showers turned cold faster than usual. You might also find your water heater runs more often. It struggles to reach the set temperature because of the insulating sediment. This means it uses more energy.
Look at your hot water’s appearance. Sometimes, sediment can dislodge and flow into your pipes. You might see cloudy water coming from your hot water faucets. Small white or gray particles could appear in your bath or sink. If you notice these signs, your water heater definitely needs a flush. Addressing these issues quickly prevents more serious problems. It helps maintain your system’s health.
Essential Tools and Safety Precautions Before You Begin
Before you start cleaning, gather your tools. Having everything ready saves time and frustration. You will need a garden hose. This hose connects to the drain valve on your water heater. Make sure it is long enough to reach a suitable drain. A bucket is also useful for catching any initial drips. You might need a flathead screwdriver or a wrench for the drain valve. Some valves have a plastic handle, others require a tool.
Safety is paramount when working with appliances. Your water heater uses both electricity or gas, and hot water. First, turn off the power to the water heater. For electric models, go to your home’s breaker panel and flip the breaker labeled “water heater” to the “off” position. For gas models, turn the gas control knob to the “pilot” or “off” setting. Do not skip this step. Working with live power or gas is extremely dangerous.
Next, shut off the cold water supply to the water heater. Look for a valve on the cold water inlet pipe. This pipe usually comes into the top of the water heater. Turn this valve until it is fully closed. This stops new water from entering the tank. Always read your water heater’s manual for specific instructions. Wearing work gloves protects your hands. Be prepared for some water to be very hot when it first drains. These precautions ensure a safe and effective cleaning process.
Step-by-Step Guide to Draining Your Water Heater
Draining the water heater is the first big step in cleaning sediment. This process removes the water and brings the sediment with it. Begin by shutting off the water and power, as discussed before. Double-check that these are off. Next, locate the drain valve at the bottom of your water heater. It often looks like a garden hose spigot.
Attach your garden hose to this drain valve. Route the other end of the hose to a safe drainage point. This could be a floor drain, a large utility sink, or outside your house. Ensure the hose lays flat and has a downward slope. This allows water to flow out easily. Avoid draining hot water onto grass or plants. It can cause damage.
Now, open a hot water faucet somewhere in your house. A bathtub or sink faucet works well. This breaks the vacuum inside the tank. Air can enter, allowing water to drain out. Then, slowly open the drain valve on the water heater. You will hear water start to flow out through the hose. The water might look cloudy or contain particles at first. This is the sediment leaving the tank. Let the tank drain completely. This can take 30 minutes or more, depending on your tank size and sediment level.
Flushing Out Stubborn Sediment: Techniques for Effective Cleaning
Draining the tank is only the beginning. The real cleaning happens during the flushing process. Once the tank is empty, or nearly empty, close the drain valve. Leave the garden hose attached. Now, slowly turn on the cold water supply valve to the water heater. You will hear water rushing into the tank. This incoming water stirs up the remaining sediment. The force helps push it out through the hose.
Let the water run for a few minutes. You will see more cloudy water or sediment bits coming out of the hose. Then, turn the cold water supply off again. Let the water drain out until the flow slows. Repeat this process several times. Turn the cold water on, let it run, then turn it off and let it drain. Each cycle helps dislodge more stubborn deposits. I often repeat this 3-5 times until the water running through the hose appears clear.
For very heavy sediment buildup, you might need a more aggressive method. You could try power flushing. This involves using a power flush kit. This kit attaches to your drain valve and uses water pressure to agitate sediment. Another option is a vinegar flush. After draining, close the drain valve and remove the hose. Pour several gallons of white vinegar into the tank through the hot water outlet pipe (after removing the hot water line). Let it sit for a few hours or overnight to dissolve mineral deposits. Then, drain and flush as usual. Vinegar is effective for dissolving hard water scale, similar to how you might clean hard water from a shower head.
After flushing, close the drain valve and remove the hose. Turn off the hot water faucet you opened inside your home. Slowly turn the cold water supply back on to the water heater. Let the tank fill completely. You will hear it filling. Once full, turn the power back on at the breaker panel or gas knob. Wait for the water to heat up before using it. This process can greatly extend your water heater’s life.
Preventing Future Sediment Buildup: Maintenance Tips
Once your water heater is clean, you want to keep it that way. Regular maintenance is the best defense against future sediment buildup. The simplest and most effective prevention method is routine flushing. I recommend flushing your water heater once a year. If you have very hard water, consider flushing it every six months. This frequent flushing removes new mineral deposits before they accumulate into a thick, problematic layer. You can check your local water utility for information on your area’s water hardness.
Consider installing a water softener. A water softener removes minerals like calcium and magnesium from your water before it enters your home. This significantly reduces the amount of sediment that can form in your water heater. It also helps prevent hard water stains on fixtures, similar to how you might clean hard water stains off chrome. This is a larger investment but can offer substantial long-term benefits for all your water-using appliances.
Another important maintenance item is checking your anode rod. The anode rod protects your tank from corrosion. It sacrificially corrodes instead of the tank walls. Over time, the anode rod depletes. A depleted rod can also contribute to sediment as it breaks down. Check and replace your anode rod every 3-5 years, or more often in hard water areas. These proactive steps ensure your water heater operates efficiently and lasts longer.
When to Call a Professional: Knowing Your Limits
While cleaning your water heater is a common DIY task, some situations require a professional. It is wise to know your limits. If you feel uncomfortable with any step of the process, call a licensed plumber. Dealing with water, electricity, or gas always carries risks. A professional has the experience and tools to handle these systems safely.
You should also call a professional if you encounter major problems. For example, if the drain valve is stuck or leaking, forcing it can cause more damage. If you suspect a gas leak or electrical wiring issues, do not proceed. These are serious hazards that only trained experts should address. A professional can quickly diagnose and fix these issues.
Consider a professional if your water heater is very old. Older tanks can be more fragile. Draining them might cause leaks that were not present before. If your water heater is consistently failing after cleaning, it might be nearing the end of its life. A plumber can assess its condition and recommend repair or replacement. Investing in professional help ensures safety and proper functionality for your home.
FAQ Section
How often should I flush my water heater?
You should flush your water heater annually. If you live in an area with very hard water, consider flushing it every six months. Regular flushing prevents mineral buildup. This helps maintain efficiency and extends the life of your appliance. My experience shows this simple step saves money.
Can I clean sediment without draining the tank?
No, you cannot effectively clean sediment without draining the tank. Sediment settles at the bottom. Draining the water allows the sediment to exit with the water. Without draining, new water simply mixes with the existing deposits. This does not remove the buildup.
What are the dangers of not cleaning sediment?
Not cleaning sediment leads to several dangers. It reduces efficiency, increasing energy bills. It can cause your heating element or burner to overheat and fail prematurely. Sediment also reduces the tank’s capacity. In extreme cases, severe buildup can damage the tank itself, leading to leaks.
How long does it take to clean a water heater?
The entire process usually takes about 1 to 2 hours. This includes shutting off utilities, draining the tank, flushing the sediment, refilling, and restoring power. The exact time depends on your tank size and how much sediment has accumulated. My last cleaning took about an hour and a half.
Does a water softener prevent sediment?
Yes, a water softener significantly prevents sediment buildup. It removes hardness minerals like calcium and magnesium from your water before it enters the water heater. This reduces the amount of material that can settle and form sediment. It protects your water heater and other appliances.
Can I use chemicals to clean sediment?
I do not recommend using harsh chemicals to clean sediment from a water water heater. Most household chemicals are not safe or effective for this purpose. They can damage tank linings or release harmful fumes. White vinegar is a natural, safe, and effective option for dissolving mineral deposits.
Conclusion
Cleaning sediment from your water heater is a critical home maintenance task. You have learned how mineral deposits affect efficiency, reduce hot water, and cause noisy operation. I have walked you through gathering tools and prioritizing safety. We covered the step-by-step process of draining and flushing your tank. Remember, regular maintenance, like a yearly flush, prevents these issues.
This simple procedure can save you money on energy bills. It also extends the life of your water heater. I encourage you to take charge of this maintenance. If you face challenges or have concerns, a professional plumber is always an option. Keeping your water heater free of sediment ensures a reliable and efficient hot water supply for your home. Start your cleaning project today for better hot water tomorrow!
- water heater maintenance
- sediment removal
- appliance cleaning
- flushing water heater
- hard water issues
- plumbing tips