· Automotive Maintenance · 14 min read
How To Clean Aluminum Valve Covers
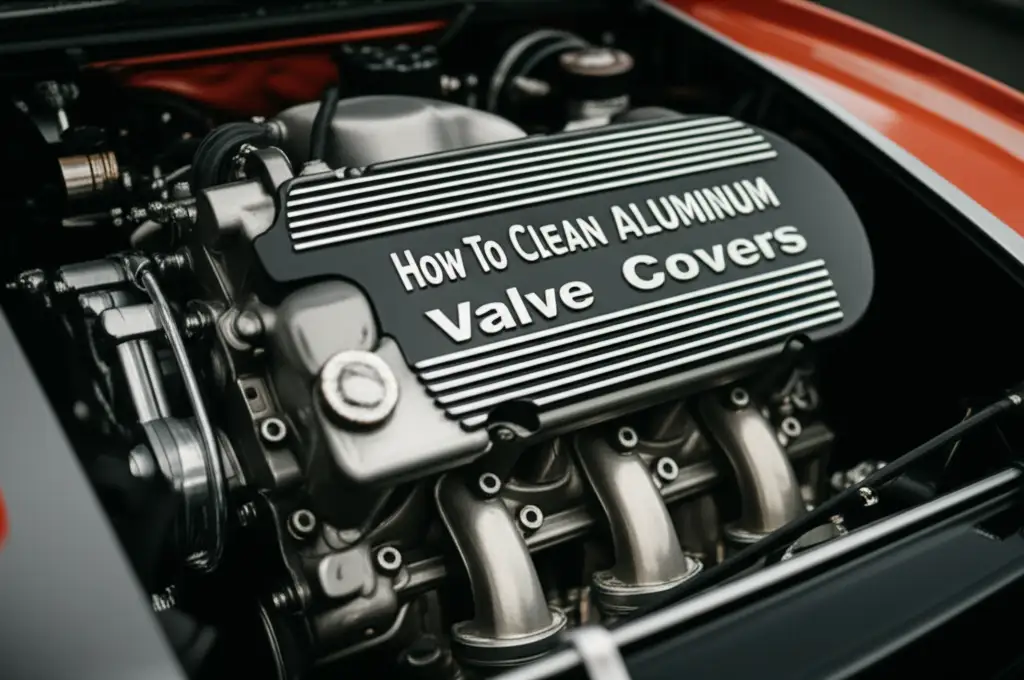
Restore Your Engine’s Shine: How To Clean Aluminum Valve Covers
Have you looked at your engine bay lately? Those shiny aluminum valve covers might now look dull or covered in grime. I know the feeling; a dirty engine takes away from a car’s overall appeal. Learning how to clean aluminum valve covers can make a huge difference. This process brings back the original luster and protects them from further damage.
Cleaning valve covers is more than just making them look good. It is an important part of engine care. Over time, oil, dirt, and heat can cause corrosion and oxidation on aluminum parts. This guide shows you how to bring back the shine. We will cover everything from preparation to polishing. You will find simple steps to restore your engine’s appearance.
Takeaway
- Safety First: Always wear protective gear and disconnect the battery.
- Remove for Best Results: Take off valve covers for thorough cleaning.
- Degrease Deeply: Use a strong degreaser to cut through oil and grime.
- Tackle Oxidation: Apply specialized cleaners or gentle abrasives for oxidized areas.
- Polish and Protect: Finish with aluminum polish and a protective coating.
How to clean aluminum valve covers effectively?
To effectively clean aluminum valve covers, first remove them from the engine. Then, degrease them thoroughly to remove oil and grime. Address oxidation with specialized aluminum cleaners or fine abrasives. Finally, polish the covers to restore their shine and apply a protective sealant for lasting results.
Why Clean Your Aluminum Valve Covers? More Than Just Looks
Cleaning your engine’s components offers many benefits. Aluminum valve covers often become dirty from oil leaks, road grime, and general engine heat. This accumulation can make your engine bay look neglected. But the reasons to clean them go deeper than just appearance.
A clean engine bay shows proper maintenance. It adds to the overall value of your vehicle. Over time, contaminants can cause aluminum to oxidize. Oxidation creates a dull, chalky white finish. This dullness not only looks bad but can also harm the metal itself. Cleaning prevents this build-up. It helps maintain the integrity of the aluminum.
Dirty valve covers can also hide potential problems. Freshly cleaned surfaces make it easier to spot new oil leaks. They also show other issues that need attention. This makes diagnosis much simpler for you or your mechanic. A well-maintained engine runs better and lasts longer. Taking the time to clean these parts is a clear sign of good vehicle care. I always feel a sense of accomplishment after seeing a clean engine. It boosts my confidence in my car’s health.
Keeping these parts clean prevents long-term damage. Corrosive substances from road salts or spilled fluids can sit on the surface. These substances eat away at the aluminum over time. Regular cleaning washes away these harmful elements. This extends the life of your valve covers. It keeps them looking great for years to come.
Gathering Your Cleaning Arsenal: Essential Tools and Supplies
Before you begin cleaning aluminum valve covers, gather all necessary tools. Having everything ready makes the job smoother. You will need a variety of cleaning agents and tools. Safety gear is also very important for this task. Make sure you have a well-ventilated work area.
Here is a list of what I recommend:
- Safety Gear:
- Safety glasses or goggles protect your eyes from chemicals and debris.
- Chemical-resistant gloves shield your hands.
- A respirator mask is helpful in poorly ventilated areas.
- Basic Tools:
- Socket wrench set to remove the valve covers.
- Pry tools or flathead screwdrivers for gaskets.
- Plastic scraper for old gasket material.
- Clean rags or microfiber cloths.
- Detailing brushes of various sizes.
- Wire brush (nylon or brass, not steel for aluminum).
- Cleaning Solutions:
- Heavy-duty degreaser formulated for engine parts.
- Aluminum-safe cleaner for oxidation.
- All-purpose cleaner for general grime.
- Distilled water for rinsing.
- Optional: Aluminum polish or buffing compound.
- Optional: Clear protective coating or wax.
Choosing the right cleaner is vital for aluminum. Harsh chemicals can stain or damage the metal. Always check labels for “aluminum safe.” Some products, like those for general how to clean aluminum engine parts, work well here. I prefer biodegradable degreasers when possible. They are tough on grime but gentler on the environment. Good tools make a huge difference in the outcome.
The Removal Process: A Crucial First Step for Thorough Cleaning
For the best results, you must remove the aluminum valve covers from the engine. Cleaning them while they are still on the engine is difficult. It can also lead to water or chemicals entering engine components. Removal allows for complete access to all surfaces. This ensures a deep and effective clean.
First, make sure your engine is cool. A hot engine makes chemicals evaporate too fast and can cause burns. Disconnect the car battery’s negative terminal. This prevents accidental shorts or electrical damage. Then, carefully disconnect any hoses, wires, or sensors attached to the valve covers. Labeling these connections can help with reinstallation.
Next, use a socket wrench to loosen the bolts holding the valve covers in place. Work in a crisscross pattern to prevent warping. Once all bolts are loose, gently pry the covers away from the cylinder head. The old gasket might stick. Use a plastic scraper to separate it. Be careful not to damage the mating surfaces. I usually keep a small container nearby for all the bolts. This prevents losing any hardware during the process.
After removal, you will likely see old gasket material stuck to the valve covers and the engine. Carefully scrape off all old gasket bits from both surfaces. Using a non-abrasive tool is key here. A plastic scraper or a razor blade held at a very low angle works well for the engine side. For the valve cover side, you can be a bit more aggressive, but still avoid deep scratches. Some people also use a gasket remover spray. This helps dissolve stubborn residue. Remember to clean the head gasket surface carefully before reinstallation. This ensures a proper seal with the new gasket. For a complete guide on how to clean other engine components, you might find tips on how to clean aluminum intake manifold useful, as the preparation steps are similar.
Deep Cleaning: Tackling Grease and Grime on Aluminum
Once the aluminum valve covers are off, it’s time for the deep clean. This stage focuses on removing all the heavy grease, oil, and baked-on grime. A good degreaser is your best friend here. I usually start this process outside or in a well-ventilated garage area.
Start by wiping off as much loose dirt and oil as possible with an old rag. This helps the degreaser work more efficiently. Then, generously spray your chosen heavy-duty degreaser all over the valve covers. Pay special attention to areas with thick oil residue. Let the degreaser soak for the time recommended on its label. This allows it to break down the hardened contaminants. For really stubborn spots, you might need to reapply the degreaser multiple times.
After soaking, use a stiff bristle brush to scrub the entire surface. A nylon or brass brush is ideal for aluminum. Steel brushes can scratch or damage the softer aluminum. Work the degreaser into all the nooks and crannies. You can use smaller brushes for tight areas. Rinse the valve covers thoroughly with water. Use a strong stream to wash away all the loosened grime and degreaser. I often use a garden hose with a spray nozzle. Ensure no degreaser residue remains.
Sometimes, a single degreasing might not be enough for heavily soiled covers. If you still see greasy spots or dark stains, repeat the degreasing and scrubbing process. For tougher grime, some people use a pressure washer, but with caution. Keep the nozzle a good distance away from the aluminum. This prevents damage to the metal. After rinsing, let the covers air dry completely before moving to the next step. Ensuring they are dry prevents water spots. This prepares the surface for further treatment.
Restoring Luster: Removing Oxidation and Stains
After degreasing, you might notice dullness or white, chalky spots. This is oxidation, a common issue with aluminum. Removing oxidation is key to restoring the valve covers’ original shine. This step requires a different approach than just degreasing.
For mild oxidation, a non-abrasive aluminum cleaner or polish can work wonders. Apply the cleaner with a soft cloth and rub in small circular motions. Follow the product’s instructions for application and dwell time. Then, buff it off with a clean, dry cloth. You will see the dullness lift away. This reveals the brighter metal underneath.
For heavier oxidation, you may need a more aggressive method. Fine-grade steel wool (0000 grade) or very fine sandpaper (600-grit or higher) can carefully remove stubborn layers. Always use these with a lubricant, like water or the aluminum cleaner itself. Rub gently in one direction, not circles, to avoid visible swirl marks. Start with a higher grit and move to finer grits if needed. This process creates a smoother surface. It prepares the aluminum for polishing.
Chemical aluminum brighteners are also an option. These products contain acids that react with and dissolve oxidation. Always use them with extreme caution. Wear full safety gear, including gloves and eye protection. Apply the brightener evenly and rinse immediately as directed. Do not let it dry on the surface. These chemicals are powerful. They can cause streaks or etching if not used correctly. For similar issues on other parts, understanding how to clean oxidized aluminum wheels can provide additional insights into tackling stubborn oxidation on different aluminum surfaces.
After removing oxidation, rinse the valve covers completely. Ensure no cleaner or abrasive particles remain. Dry them thoroughly. The surface should now be much brighter. It will be ready for the final polishing step. This preparation is crucial for a mirror-like finish.
Polishing and Protecting Your Valve Covers for a Brilliant Finish
Once the aluminum valve covers are clean and free of oxidation, it is time to make them truly shine. Polishing brings out the metal’s natural brilliance. This step also prepares the surface for a protective layer. A brilliant finish adds a lot of appeal to your engine bay.
Choose a high-quality aluminum polishing compound. You can apply this by hand with a soft microfiber cloth. For faster and more even results, use a polishing ball or cone attachment on a drill. Apply a small amount of compound to the polisher or cloth. Work it into the aluminum surface using moderate pressure. Move in small sections. You will see the aluminum start to shine as you work. The compound will turn black as it removes microscopic imperfections.
Once polished, wipe off the black residue with a clean microfiber cloth. You might need to use several clean cloths. Inspect the surface. If you see dull spots, repeat the polishing process. The goal is a consistent, reflective finish. For complex designs or deep grooves, use smaller polishing tools or a soft brush with polishing compound. Patience is key here.
After achieving the desired shine, protect your hard work. Apply a clear protective coating designed for aluminum. This can be a specialized aluminum sealant, a clear ceramic coating, or a high-quality car wax. These coatings create a barrier. They protect the aluminum from future oxidation, dirt, and oil. Follow the product instructions for application and curing time. A protective layer makes future cleaning easier. It helps the shine last longer. This final step ensures your valve covers stay looking new for many miles.
Reinstallation and Ongoing Maintenance Tips
You have cleaned, de-oxidized, and polished your aluminum valve covers. Now it’s time to put them back on your engine. Proper reinstallation is just as important as the cleaning itself. It ensures a leak-free seal and keeps your engine safe.
Before reinstalling, make sure the mating surfaces on both the valve covers and the cylinder head are perfectly clean. Any old gasket residue or debris can cause a leak. I always use a clean cloth with some solvent to wipe down these surfaces one last time. This is also a good time to inspect the head gasket surface for any imperfections or damage. For tips on cleaning this specific area, check out how to clean aluminum head gasket surface.
Next, install a new valve cover gasket. Never reuse old gaskets. They are designed to compress once. A new gasket ensures a tight, reliable seal. Place the new gasket carefully into the groove on the valve cover. Some gaskets snap into place, while others might need a small amount of gasket adhesive to hold them. Once the gasket is seated, carefully position the valve cover back onto the cylinder head. Align the bolt holes.
Hand-tighten all the valve cover bolts first. Then, use a torque wrench to tighten them to the manufacturer’s specified torque settings. Tighten them in a crisscross pattern. This ensures even pressure across the gasket. Over-tightening can warp the valve cover or crush the gasket. Under-tightening can cause oil leaks. Finally, reconnect all the hoses, wires, and sensors that you removed earlier. Refer to your labels if you made them. Reconnect the battery’s negative terminal.
For ongoing maintenance, regular light cleaning helps. Wipe down your valve covers whenever you clean your engine bay. Use a mild car wash soap and water. A quick application of a spray wax or detailer can keep the protective layer fresh. If you spot new oil leaks or excessive grime, address them quickly. This prevents the need for another deep cleaning session too soon. Your efforts will keep your engine bay looking sharp and performing well.
Frequently Asked Questions
Can I clean aluminum valve covers without removing them?
You can clean aluminum valve covers without removing them for light dirt. Use a degreaser and brushes carefully. However, for a deep clean, removing them is best. This avoids getting chemicals or water into engine components. It also allows full access to all surfaces, especially for oxidation removal.
What is the best cleaner for aluminum valve covers?
The best cleaner for aluminum valve covers is a heavy-duty, aluminum-safe degreaser. Look for products specifically labeled “aluminum safe” or “engine degreaser.” For oxidation, specialized aluminum brighteners or polishes work well. Avoid harsh acids or strong alkaline cleaners that can stain or corrode aluminum.
How often should I clean my valve covers?
The frequency depends on driving conditions and your personal preference. For appearance, you can clean them every few months. For deep cleaning and oxidation removal, once a year or every two years is sufficient for most vehicles. Regular light wiping down will reduce the need for deep cleaning.
Can soda blasting damage aluminum valve covers?
Soda blasting is a gentle abrasive method for cleaning. It generally does not damage aluminum valve covers when done correctly. It can remove paint, rust, and grime without pitting the surface. However, ensure all soda residue is completely removed afterward, as it can be corrosive if left behind.
Is it okay to use a wire brush on aluminum?
It is okay to use a wire brush on aluminum, but only if it’s made of brass or nylon. Steel wire brushes are too abrasive for aluminum. They can scratch the softer metal and even embed steel particles. These particles can cause rust spots on the aluminum. Always choose softer materials for cleaning aluminum.
Conclusion
Cleaning aluminum valve covers transforms your engine’s appearance. It also contributes to proper vehicle maintenance. We have walked through the entire process. You now know how to tackle grime, oil, and oxidation. The steps cover everything from removal to polishing and protection. Taking the time to do this task pays off. It makes your engine look better. It also helps preserve these vital components.
Remember to gather all your tools first. Always prioritize safety. Disconnecting the battery and wearing protective gear are important steps. Removing the valve covers is essential for a thorough clean. This allows you to really get into all the hidden spots. Using the right cleaners and techniques makes a big difference. Be gentle with the aluminum, especially when dealing with oxidation. A good polish and protective coating will lock in that shine.
Your engine bay reflects your car’s overall care. A clean set of aluminum valve covers shows attention to detail. It boosts the aesthetic appeal of your vehicle. It also makes future inspections easier. Take pride in your engine’s appearance. With these steps, you can achieve professional-level results at home. Get started today and see the remarkable difference for yourself!
- aluminum valve covers
- engine cleaning
- car maintenance
- oxidized aluminum
- automotive detailing