· Cleaning Tips · 13 min read
How To Clean Antique Bottles

Restore Shine: How To Clean Antique Bottles Safely
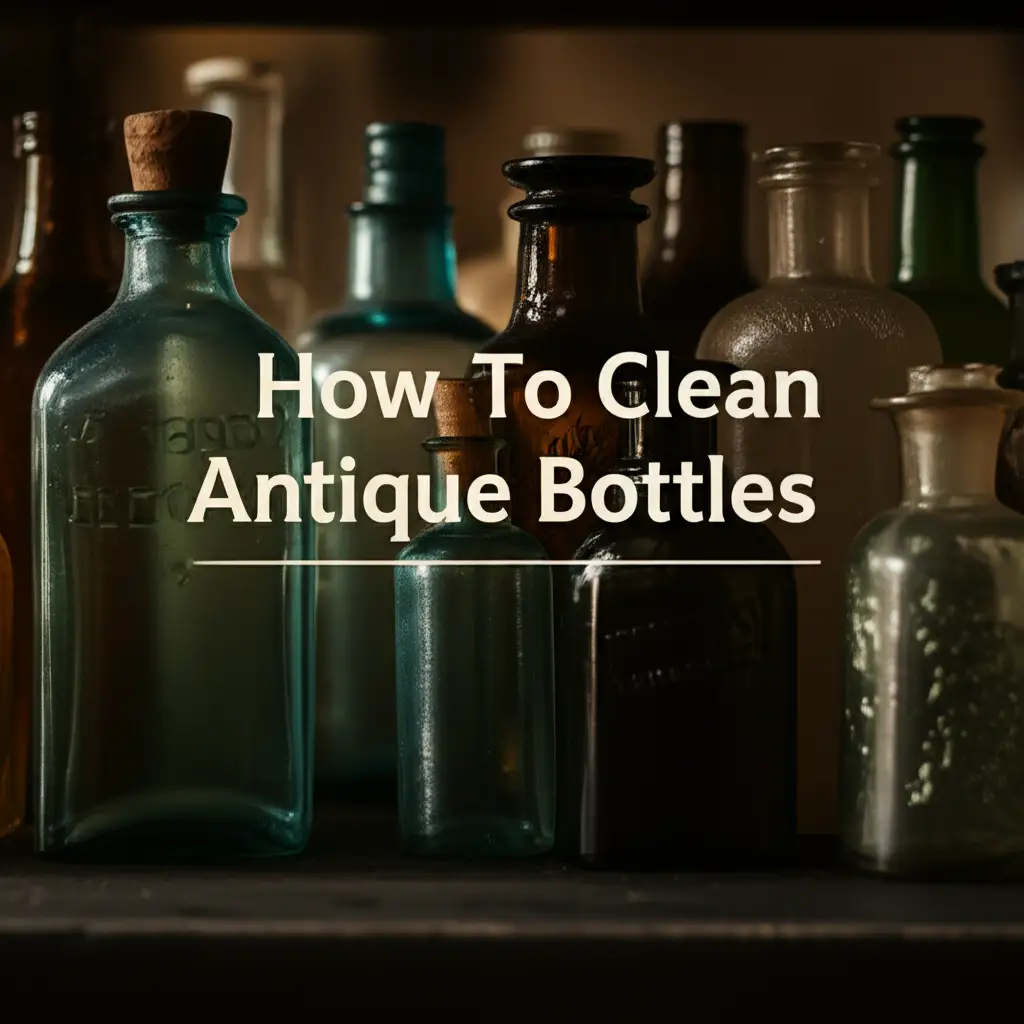
I love finding old treasures. Antique bottles hold stories from the past. You want to make them shine again without causing damage. Learning how to clean antique bottles properly is essential for any collector.
Many old bottles have dirt, grime, or mineral deposits. These things hide their true beauty. This article will show you safe and effective methods to bring back their sparkle. We will cover everything from initial inspection to final polishing. Get ready to transform your vintage glass.
Takeaway
- Inspect First: Always check your bottle for cracks or damage before cleaning.
- Start Gentle: Use plain water and mild soap for initial cleaning.
- Tackle Deposits: Use vinegar or a rice and soap mixture for stubborn grime inside.
- Dry Thoroughly: Allow bottles to air dry completely to prevent water spots.
- Preserve Value: Gentle cleaning protects the bottle’s historical value and appearance.
How do you safely clean antique bottles without causing damage?
You clean antique bottles safely by starting with gentle methods. Use warm water and mild dish soap first. For stubborn internal dirt, try a vinegar solution or a mixture of rice, soap, and water. Avoid harsh chemicals or abrasive tools to preserve the bottle’s integrity and value.
Understanding Your Antique Bottle
Every antique bottle has its own history. Before you clean, understand what you have. Glass quality and age vary greatly. Some bottles are very sturdy, others are delicate.
Look at the glass type. Is it clear, colored, or iridescent? The color might come from minerals in the glass, not from a coating. This knowledge helps you choose the right cleaning method. Know what you are working with.
Identifying Glass Type and Age
Different glass types react differently to cleaning. Early glass can be less stable. Modern glass is often more robust. Knowing the age helps you handle it correctly.
- Pressed Glass: Often thicker, with visible mold seams. It is usually durable.
- Blown Glass: Can be thinner and more delicate. Look for pontil marks on the bottom. Handle these with extreme care.
- Colored Glass: Colors like cobalt blue or amber are common. These colors are usually part of the glass itself. They will not wash off.
Initial Inspection and Safety Steps
Always inspect your antique bottle carefully. This step is very important. Look for any cracks, chips, or weak spots. Cleaning a damaged bottle can make it break completely.
Protect yourself and the bottle. Wear gloves to protect your hands from dirt. They also give you a better grip. This helps prevent dropping the bottle.
Checking for Damage and Fragility
Before any cleaning begins, hold the bottle up to light. Look at every part. Small hairline cracks can become big problems. If you find damage, consider if cleaning is worth the risk.
- Examine the Surface: Check for chips along the rim and base.
- Look Inside: Use a flashlight to see if internal cracks exist.
- Test Stability: Gently tap the bottle. A dull sound might indicate a crack. A clear ring is good.
Some bottles are very thin. Others may have weak points from their creation. This fragility means you must be extra gentle. Avoid any sudden movements or harsh scrubbing. This will keep the bottle safe.
Gentle Cleaning for Antique Bottles
Start with the gentlest approach. Many antique bottles only need light cleaning. Warm water and mild soap are your best friends here. This method removes surface dirt without harming the glass.
I always begin with this simple wash. It helps me see what kind of dirt I am dealing with. Often, this first step is all that is needed. It is safe for almost all glass types.
Basic Soaking and Rinsing
Fill a basin with warm (not hot) water. Add a few drops of mild dish soap. Place your bottle gently into the soapy water. Let it soak for 15-30 minutes. This softens the grime.
After soaking, use a soft cloth or sponge to wipe the outside. For the inside, a bottle brush works well. Make sure the brush is soft and has no metal parts. Rinse the bottle thoroughly under cool running water. Ensure all soap is gone.
- Materials Needed:
- Large plastic basin or sink
- Warm water (not hot)
- Mild dish soap (e.g., Dawn)
- Soft cloth or sponge
- Non-abrasive bottle brush
Tackling Stubborn Internal Grime
Some antique bottles have stubborn grime inside. This can be dirt, mineral deposits, or even old product residue. Simple washing often fails here. You need stronger, but still safe, methods.
I have found these techniques very effective for tough internal stains. They loosen dirt without scratching the glass. Patience is key when dealing with old grime.
Using Vinegar for Mineral Deposits
Vinegar is excellent for mineral deposits like lime scale or white haze. Fill the bottle with undiluted white vinegar. Let it sit for several hours, or even overnight. The acid in vinegar breaks down mineral deposits.
After soaking, pour out the vinegar. Rinse the bottle thoroughly with water. If some residue remains, you can try a second vinegar soak. Vinegar is safe for most glass and does not leave a residue if rinsed well. You can learn more about how to clean glass with vinegar.
Rice or Sand for Abrasive Cleaning
For dirt that sticks to the inside, try a gentle abrasive. Rice works very well. Put a tablespoon of uncooked rice inside the bottle. Add a few drops of mild dish soap and some warm water. Shake the bottle vigorously. The rice acts as a tiny scrubber.
- Steps for Rice Method:
- Add 1 tablespoon of uncooked rice.
- Add a few drops of mild dish soap.
- Fill with warm water (halfway is fine).
- Cover the opening with your hand.
- Shake vigorously for several minutes.
- Rinse out thoroughly.
- Repeat if necessary.
You can also use fine sand or small aquarium gravel. Always choose particles that are smooth and won’t scratch the glass. After shaking, rinse the bottle many times to remove all particles. This method is surprisingly effective for hard-to-reach areas. Consider exploring techniques for cleaning essential oil bottles for more small-bottle methods.
Dealing with Persistent Stains and Haze
Sometimes, bottles have stains that do not come out easily. These can be iridescent stains, haze, or stubborn film. These require more specific treatments. Do not give up if your bottle is still cloudy.
Some types of haze are not actual dirt. They are a chemical change in the glass itself. This is called sick glass or glass disease. It is often irreversible. Know when a stain is permanent.
Removing Iridescent Haze (Sick Glass)
Iridescent haze looks like an oily rainbow film. It is often permanent. This happens when the glass reacts with its environment over many years. It is a surface change, not dirt.
You cannot remove true sick glass. Trying to scrub it will damage the surface. Sometimes, a very light mineral oil can temporarily reduce its appearance. This is more of a cosmetic treatment than cleaning. It is part of the bottle’s aging process.
Treating Stubborn Films or Stains
For stubborn films, you can try a denture tablet. Drop one or two tablets into the bottle. Fill with warm water. Let it fizz and soak overnight. The chemicals in denture tablets are mild but effective at breaking down organic residues.
Another option for tough, non-mineral stains is a weak bleach solution. Mix one part bleach with ten parts water. Fill the bottle and let it sit for a few hours. Always rinse extremely well afterward. Bleach can be dangerous. Use it only when other methods fail and with caution. If your bottle has mold, using a vinegar solution may also help. Learn more about how to clean mold with vinegar for general applications.
Drying and Polishing Your Antique Bottle
Proper drying is as important as proper cleaning. Water spots can form if a bottle dries improperly. These spots make the glass look dull again. Take your time with this step.
Polishing adds a final touch. It brings out the glass’s natural luster. A well-polished antique bottle truly shines. It makes all your cleaning efforts worthwhile.
Air Drying Techniques
Never use high heat to dry antique bottles. This can cause the glass to crack or shatter. Air drying is the safest method. Place the bottle upside down on a drying rack. You can use a towel underneath to absorb drips.
For narrow-neck bottles, place them at an angle. This allows air to circulate inside. A fan can speed up drying. Ensure the air is not too strong. Let the bottle dry completely. This can take several hours, or even a full day. You want absolutely no moisture left inside.
External Polishing for Luster
Once the bottle is completely dry, polish the outside. Use a soft, lint-free cloth. A microfiber cloth works well. You can use a small amount of glass cleaner designed for antiques. Avoid harsh window cleaners.
- Polishing Steps:
- Ensure the bottle is completely dry.
- Apply a small amount of glass polish to a soft cloth.
- Gently rub the entire outer surface.
- Buff with a clean, dry part of the cloth until it shines.
This step removes any lingering smudges or fingerprints. It enhances the bottle’s clarity and shine. It also helps to reveal any intricate designs or patterns on the glass.
Advanced Cleaning Considerations
Some antique bottles present unique challenges. These might include paper labels, delicate painted designs, or unusual shapes. Standard cleaning methods can harm these features. Always proceed with caution.
Knowing when not to clean is also important. Some bottles are more valuable with their original dirt or patina. Do not risk damage if the gain is small.
Handling Bottles with Labels or Paint
Bottles with paper labels or painted designs require special care. Water can destroy these elements instantly. Do not immerse these bottles in water. Do not spray them with cleaners.
Clean these bottles very gently. Use a soft, dry brush to remove loose dust. If you must clean, use a damp (not wet) cloth on unpainted glass areas only. Wipe very carefully around the label or design. For paper labels, consider professional conservation if they are dirty. It is better to leave them as is than to destroy them.
What to Avoid During Cleaning
Never use abrasive cleaners or scrubbers. This includes steel wool, harsh powders, or rough brushes. They will scratch the glass surface. Scratches are permanent and reduce the bottle’s value.
Avoid very hot water or sudden temperature changes. Antique glass can be brittle. Thermal shock causes cracks. Always use lukewarm water. Do not put bottles in a dishwasher. The high heat, harsh detergents, and agitation will destroy them. Dishwashers are for modern items only. Also, be careful with other antique items you clean, such as antique brass hardware. Each material needs specific care.
Preserving Your Cleaned Antique Bottles
Cleaning an antique bottle is just the first step. Proper storage is crucial for its long-term preservation. You want to keep your bottle clean and protected. This prevents future damage and dirt buildup.
Thoughtful display also protects them. Direct sunlight or extreme temperatures are bad for glass. They can cause fading or damage over time. Your efforts will last longer with good care.
Proper Storage and Display
Store antique bottles in a stable environment. Keep them away from direct sunlight. Sunlight can cause some glass colors to fade. It also creates heat, which is bad for old glass. Avoid areas with high humidity. Humidity can encourage mold growth, especially if any moisture is trapped.
Display bottles in a cabinet or on a shelf where they are safe from being knocked over. Use felt pads under the bottles if they are on a hard surface. This prevents scratches to both the bottle and the surface. Make sure the display area has stable temperatures. Do not put bottles near heat vents or drafty windows.
Regular Maintenance Tips
Dust your antique bottles regularly. Use a soft, dry cloth or a feather duster. This prevents dust from building up and becoming ingrained. Gentle dusting keeps them looking fresh.
Avoid using chemical sprays near your bottles. Aerosols can leave a film on the glass. This film attracts more dust. If a bottle gets a fingerprint, wipe it gently with a clean, soft cloth. Regular, light care is better than infrequent, harsh cleaning. This keeps your collection beautiful for years.
FAQ Section
Q1: Can I use boiling water to clean antique bottles?
No, do not use boiling water. Antique glass can be very fragile. Sudden temperature changes, like from cold to hot water, can cause the bottle to crack or even shatter. Always use lukewarm or cool water for cleaning to avoid thermal shock. This protects the bottle’s integrity.
Q2: How can I remove white haze or cloudy film from the inside of a bottle?
For white haze, try filling the bottle with white vinegar and letting it soak overnight. Vinegar dissolves mineral deposits. For stubborn film, a mix of uncooked rice, a few drops of mild dish soap, and warm water, then shaking vigorously, can help scrub away internal grime.
Q3: Is it safe to clean antique bottles in a dishwasher?
No, it is not safe to clean antique bottles in a dishwasher. Dishwashers use high heat, strong detergents, and powerful water jets. These elements can easily damage, crack, or even break delicate antique glass. Hand-washing is the only safe method for these items.
Q4: What should I do if my antique bottle has its original paper label?
If your antique bottle has an original paper label, avoid getting it wet. Water will destroy the label. Only clean the glass areas that do not have the label. Use a soft, dry brush to remove dust from the label itself. For significant label dirt, consult a professional conservator.
Q5: What if my bottle still looks dirty after cleaning?
If your bottle still looks dirty, it might have “sick glass.” This is a permanent chemical change in the glass itself, not dirt. It looks like an iridescent or cloudy film. This type of haze cannot be cleaned away. It is part of the bottle’s aging process.
Q6: When should I avoid cleaning an antique bottle?
Avoid cleaning a bottle if it has significant cracks, chips, or if it feels extremely fragile. Cleaning could cause it to break. Also, if the bottle has a rare or valuable paper label, avoid any wet cleaning. Sometimes, the original “patina” or light dirt is part of the bottle’s history and appeal.
Conclusion
Cleaning antique bottles lets you enjoy their beauty again. It is a rewarding process. We talked about how to clean antique bottles safely. You start with inspection and gentle washing. Then, you use specific methods for tough internal dirt, like vinegar or rice. Remember to dry them well and polish the outside.
You learned what to avoid, such as hot water or harsh chemicals. You also understand the importance of careful handling. Proper storage keeps your bottles safe for years. By following these steps, you preserve these pieces of history. Your efforts will keep these vintage treasures shining brightly. You are now ready to clean your own antique bottle collection.
- antique bottle cleaning
- vintage glass restoration
- old bottle care
- glass cleaning techniques
- preserving antique glass


